In Part I of this article I wrote about the subtleties of managing different variables to determine the best exposure for maintaining star points in astro-landscape photographs. We learned that determining the longest usable shutter speed based on sensor size, focal length and cardinal direction was the starting point for all astro-landscape photograph images.
Additionally, considerations for depth of field and image quality needed to be taken into account. When an image contains a nearby foreground element, a smaller aperture is required to increase depth of field. When an image will be printed to a high degree of magnification, the ISO must be kept as low as possible to maintain image quality. Either choosing a small aperture or a low ISO will require a longer shutter speed, increasing the probability of the stars being rendered as trails or lines in the sky. This is something we try to avoid as much as possible, so finding just the right compromise of these three exposure variables is key to successful astro-landscape photographs.

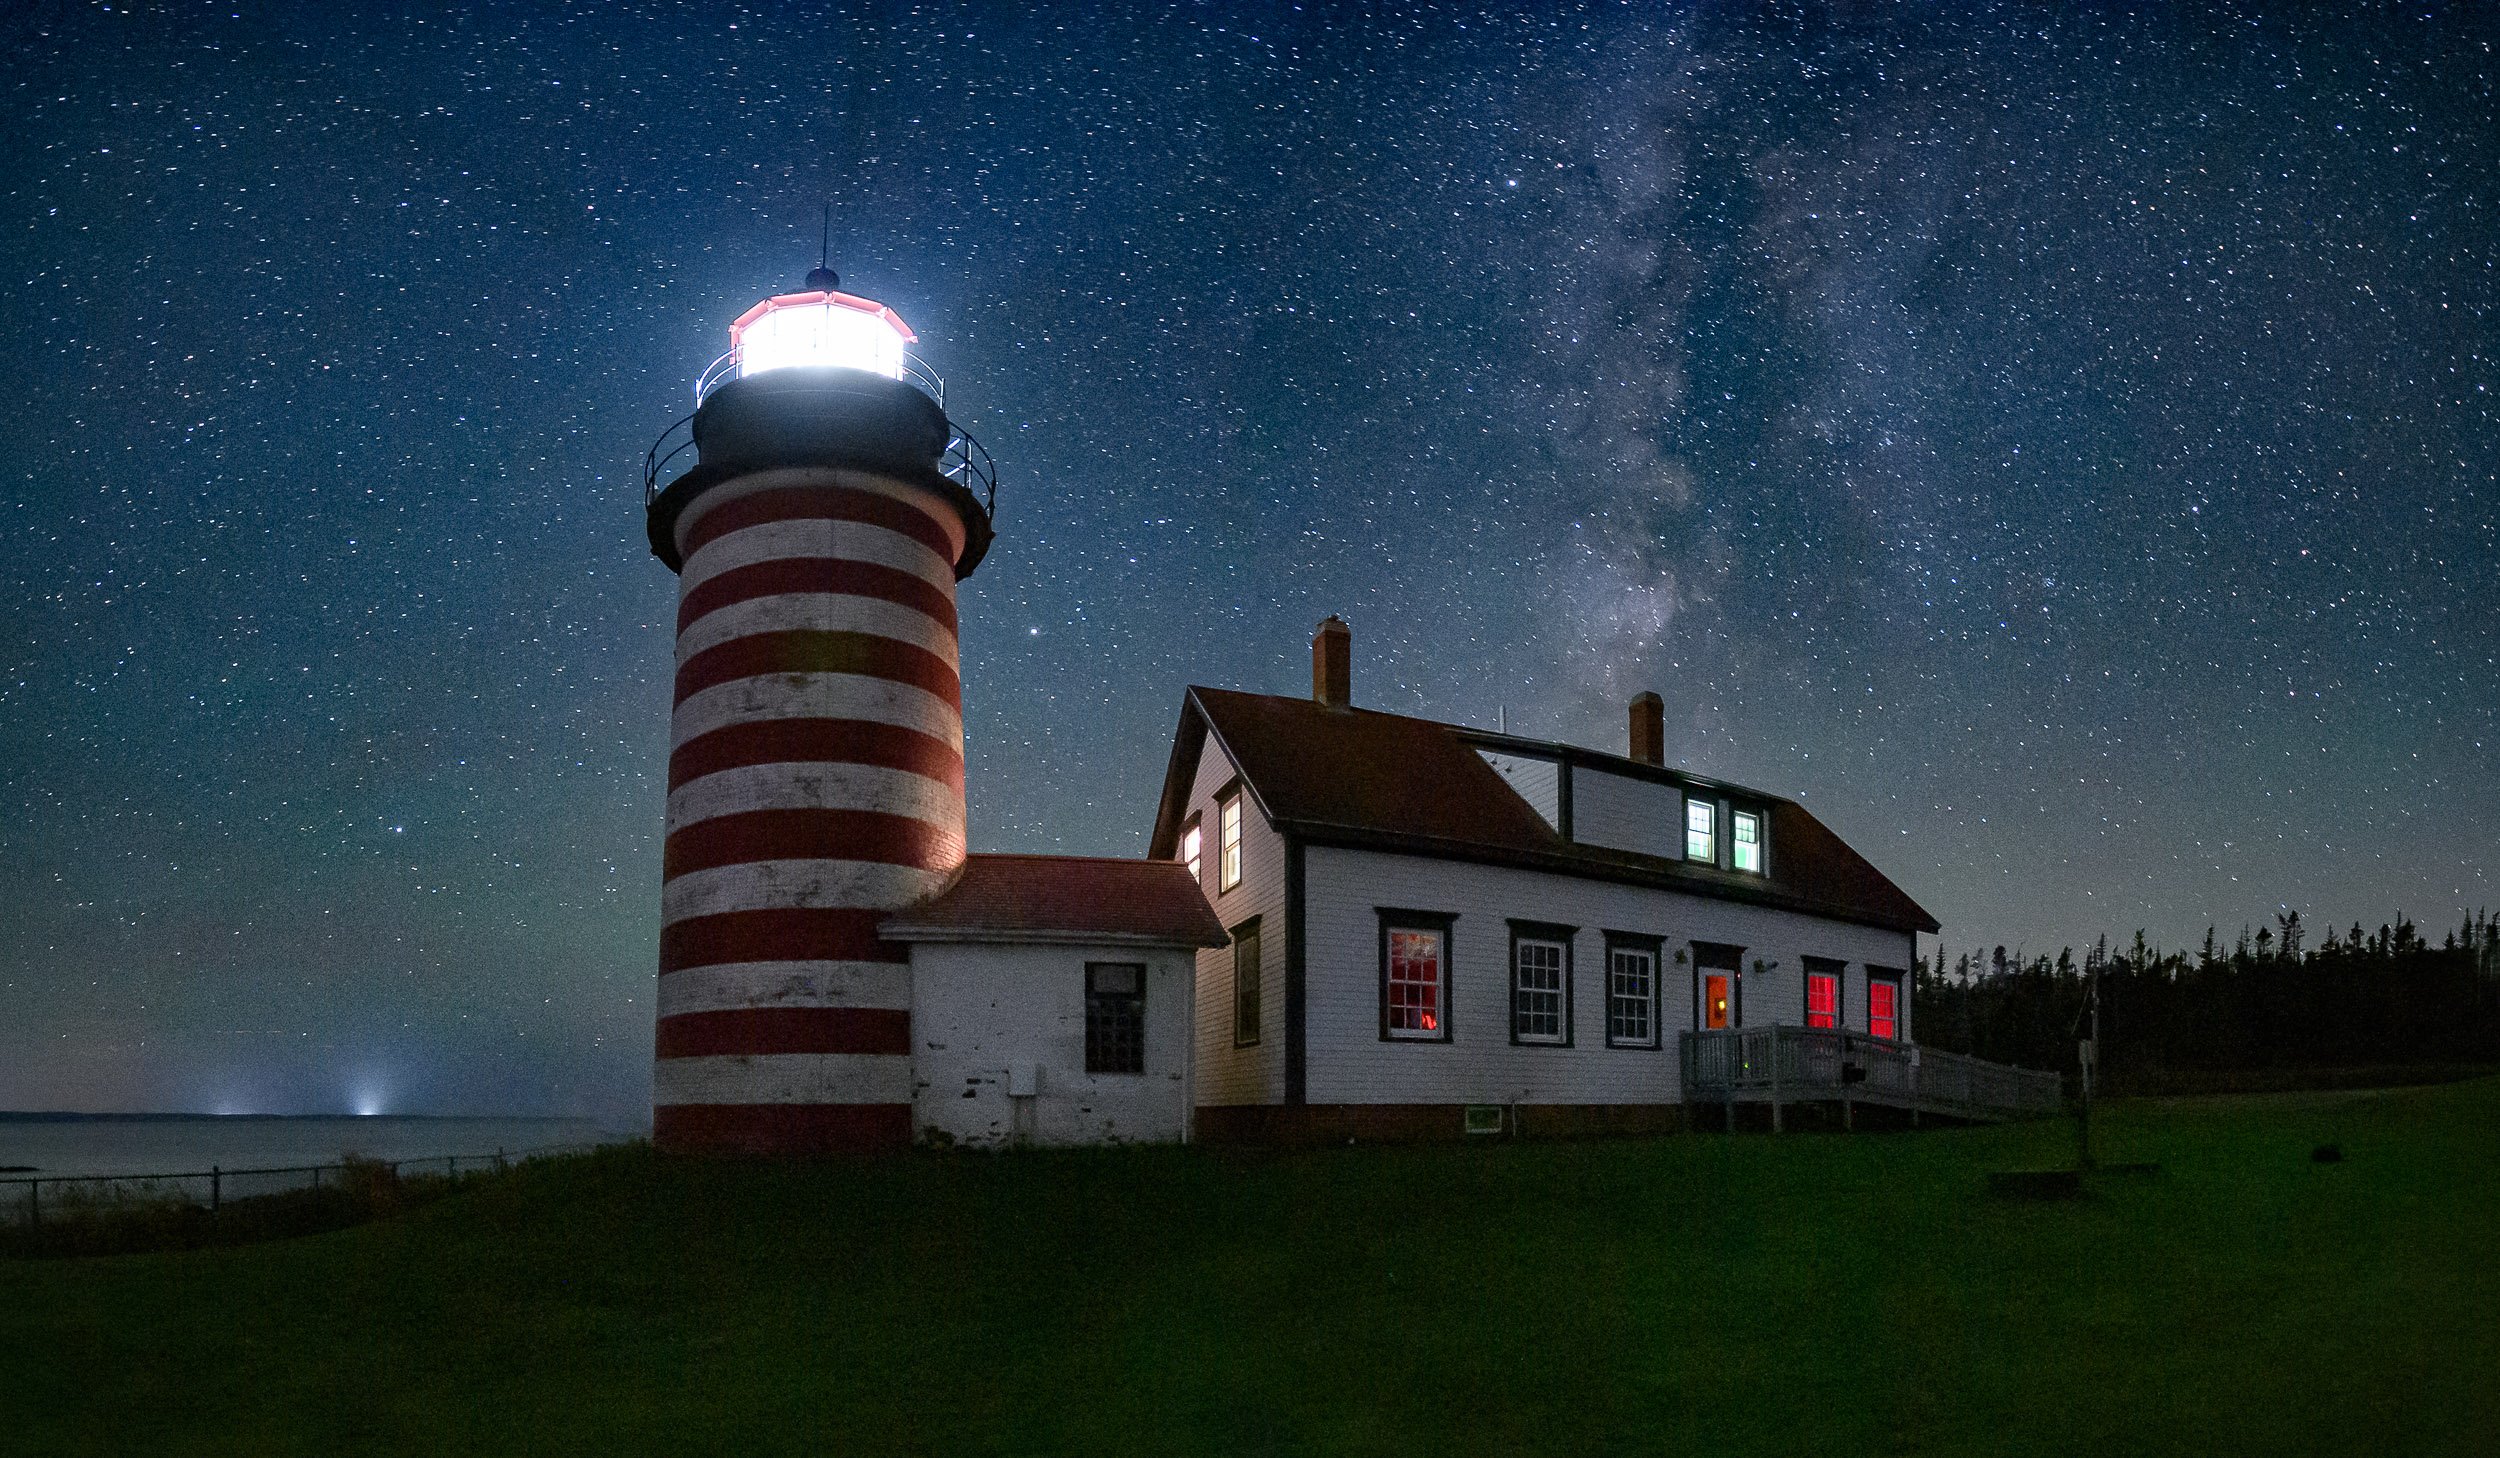
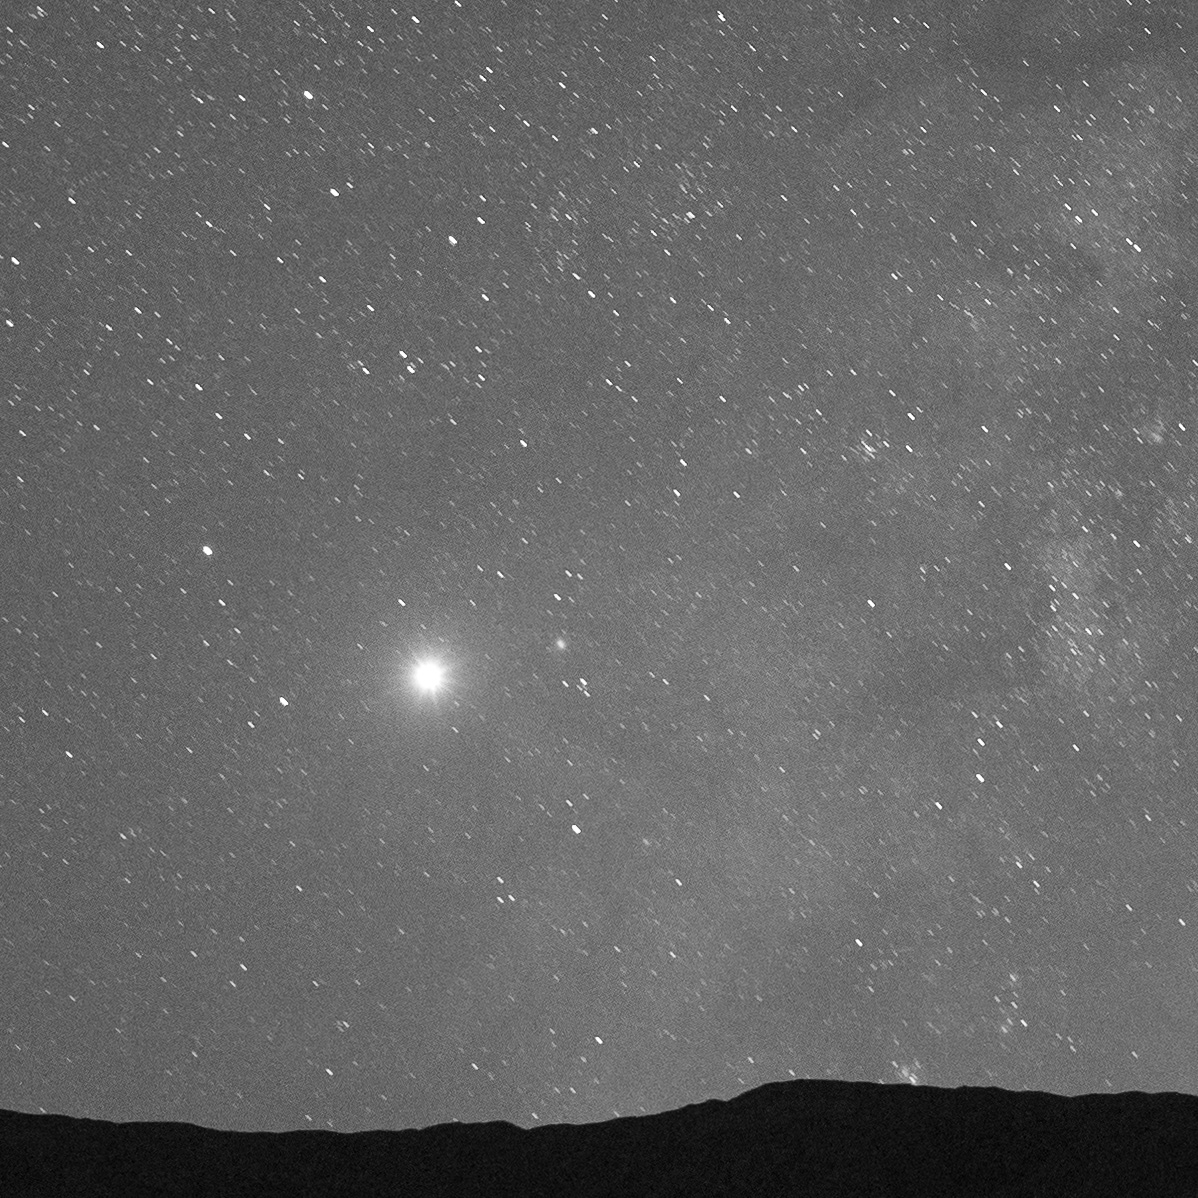
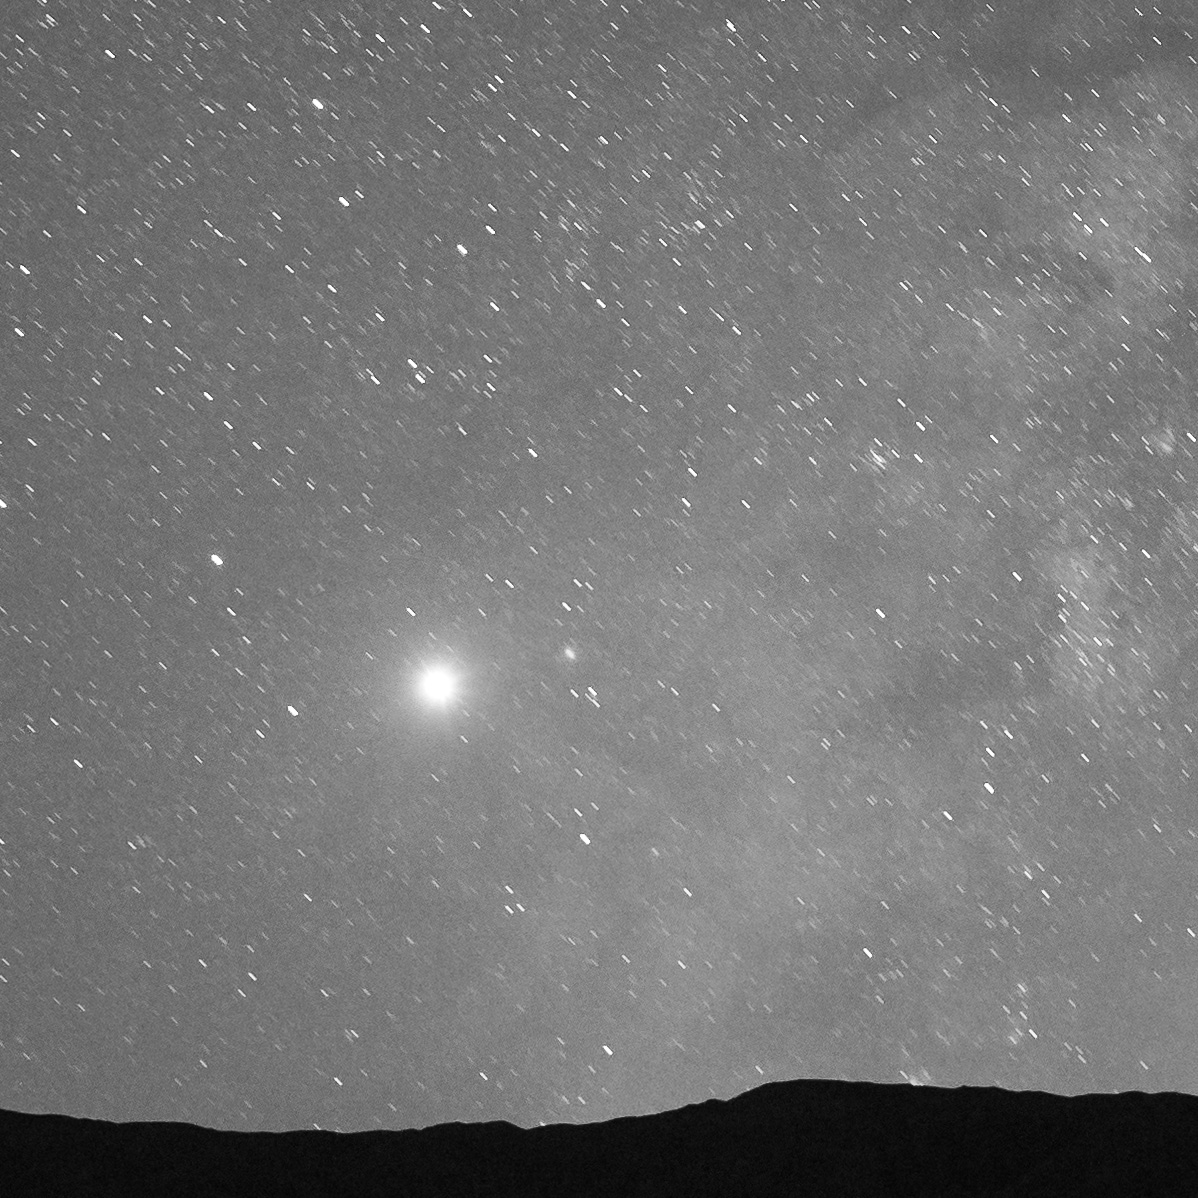
Under the Milky Way. 20 seconds, f/2.8, ISO. 20mm lens.
400 vs. 500
In Part I of this article, the concept of the 500 Rule was briefly mentioned without explanation. In this second part, I will explain what it is and how to use it.
An internet search of the 500 Rule turns up a lot of information, much of it contradictory. I have been unable to find a clear answer as to when, how or by whom it was created. It is a fairly crude tool to help with determining the longest usable shutter speed for star points. Simply stated, if you divide 500 by the focal length of your lens, the result is the maximum number of seconds you can expose without star trails with a full-frame DSLR camera. The 500 Rule does not take print size or camera orientation into account, nor does it accommodate APS-C or smaller sensors.
If you delve into those search results, you’ll find a variety of highly technical alternatives and variations to the 500 Rule. If you are as much into mathematics as photography, check out TL-Photography or Greg Boratyn’s sites. My goal is to keep things simple and convenient.
“The 400 Rule results in shorter shutter speeds, and greater likeliness of sharp stars.”
The 500 Rule often yields unsatisfactory results. This is in part due to modern cameras having higher resolution than those available when the rule was first used, and in part because it doesn’t account for camera orientation or the possibility of large-format prints. Therefore, instead of the 500 Rule, I propose using the 400 Rule (divide 400 by the focal length of your lens to reveal the maximum number of seconds before star trails begin to appear). The 400 Rule results in shorter shutter speeds, and greater likeliness of sharp stars.
For APS-C cameras, the 250 Rule yields approximately equivalent results. Another way to determine shutter speeds for APS-C cameras is to use the 400 Rule and then divide the result by the crop factor, which is 1.5 for Nikon and Sony cameras, and 1.6 for Canon cameras. Since our goal is to keep things simple, I suggest using the 250 Rule, which yields almost identical results.
Below you can see the results of test photos shot with a 24mm lens on a full-frame camera, shot at shutter speeds ranging from 8 seconds (very sharp stars) to 30 seconds (very apparent motion).
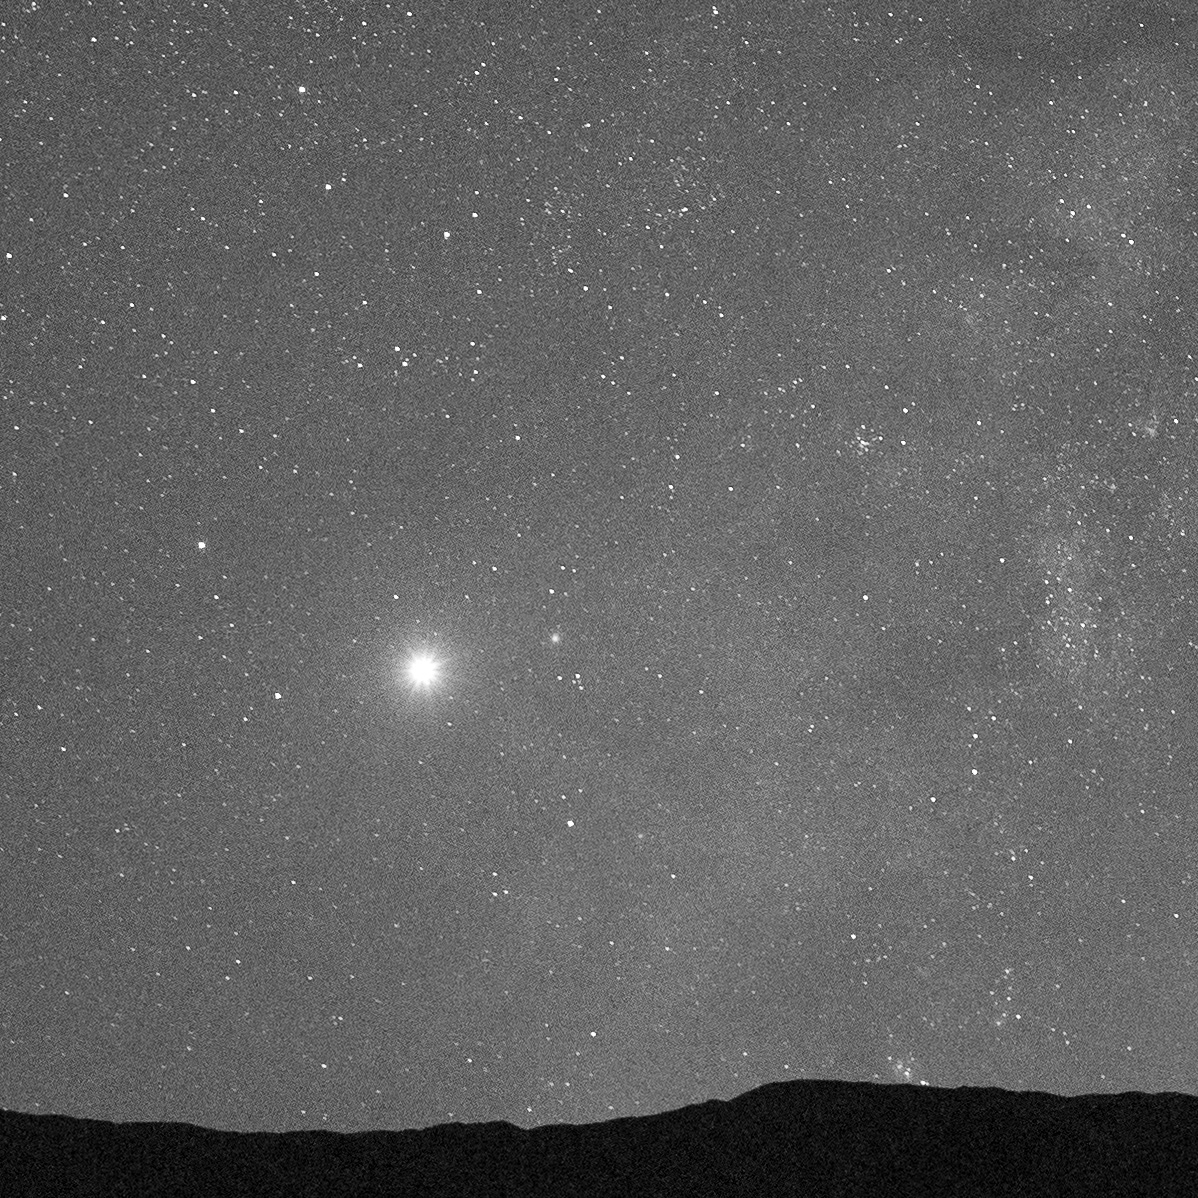
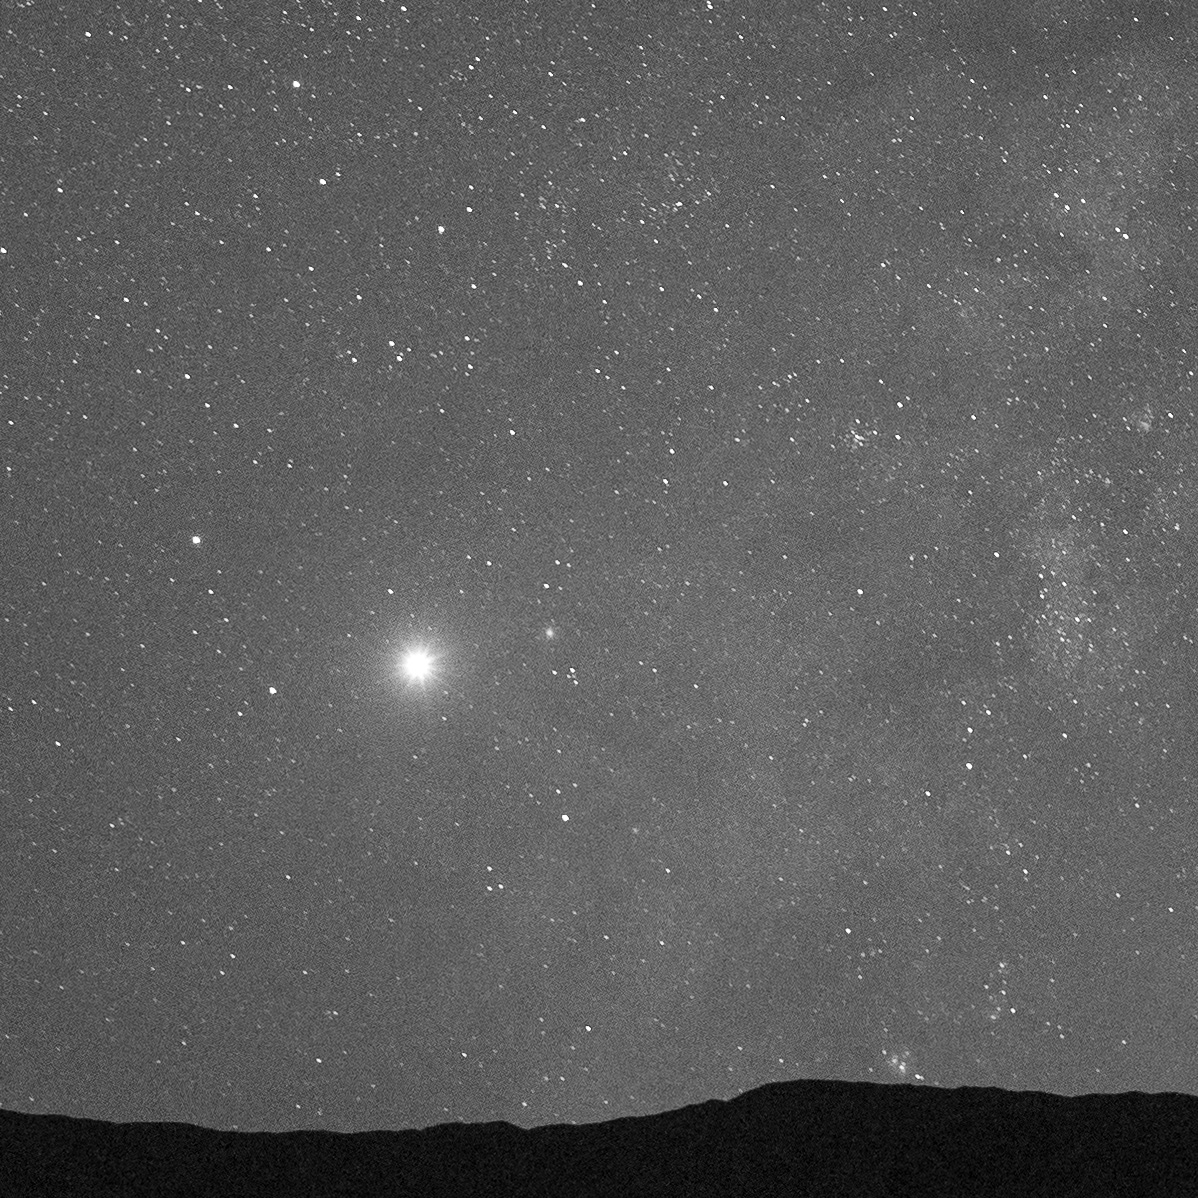
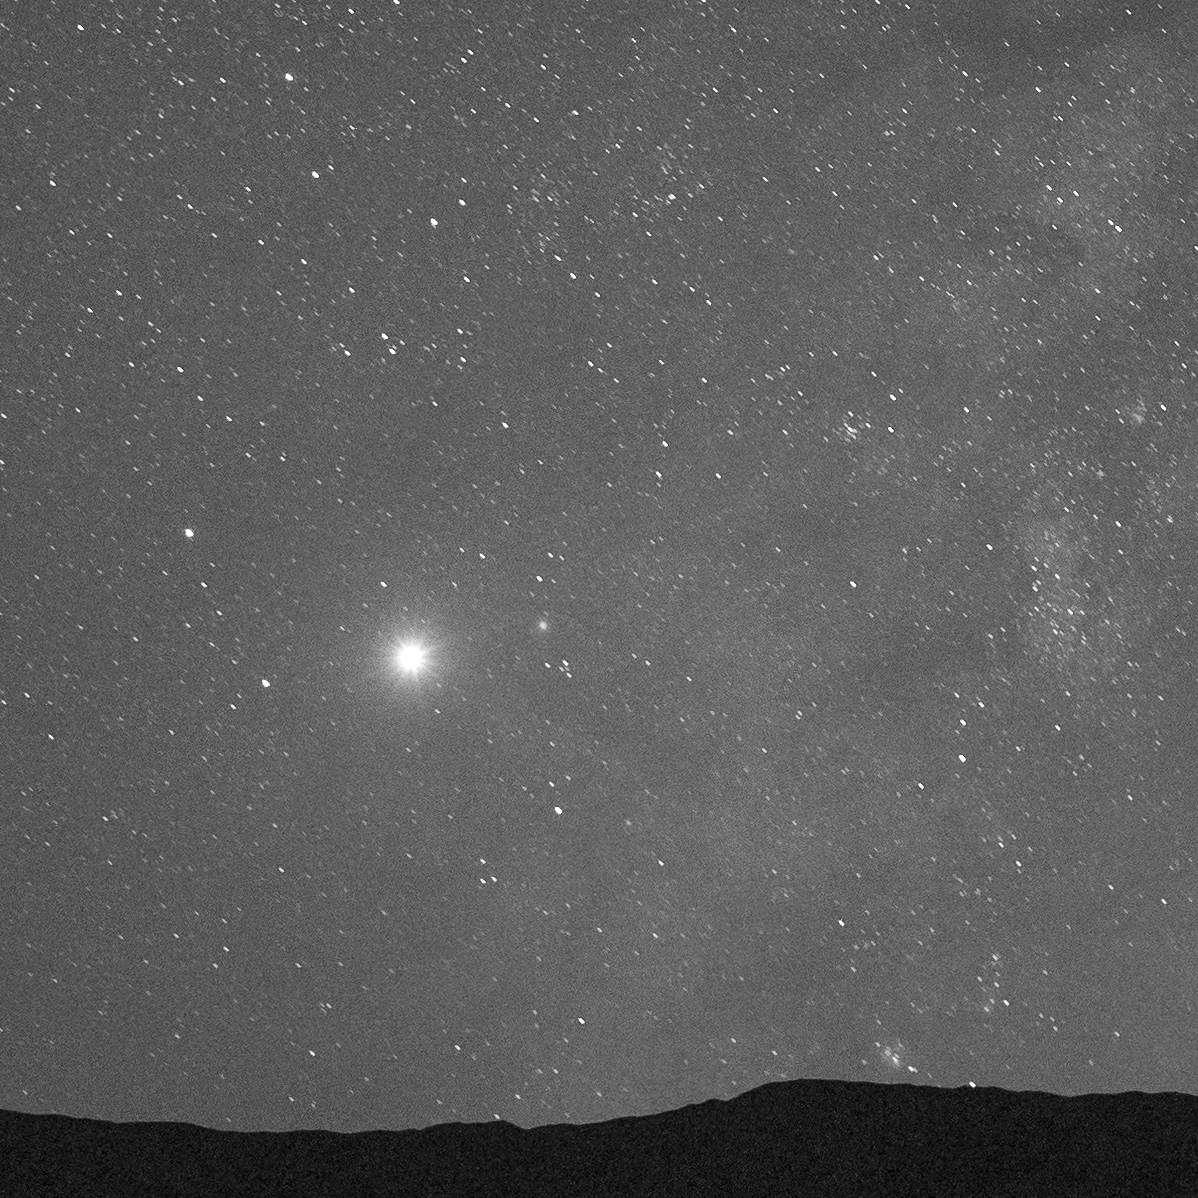
All of these images were shot with a 24mm lens. Above, see the transition of how much apparent motion is visible at different shutter speeds. Below, click/tap each to view at full size.
Putting This Into Practice
Let’s look at some examples.
For a 20mm lens on a full-frame camera, using the 500 Rule results in a maximum shutter speed of 25 seconds (500 / 20 = 25).
With the same 20mm lens and full-frame camera, the 400 Rule yields a maximum shutter speed of 20 seconds (400 / 20 = 20).
If you use that same 20mm lens on an APS-C camera, you end up with only 10 seconds as your longest usable shutter speed (250 / 20 = 12.5). If you instead use the 400 Rule and then divide by the crop factor, you get 13 seconds for a Nikon APS-C camera, (400 / 20 = 20, 20 / 1.5 = 13) and 12.5 seconds for a Canon APS-C camera (400 / 20 = 20, 20 / 1.6 = 12.5).
If your head is swimming with all of these calculations, remember that the results are constant for each focal length. This means that you can precalculate the longest usable shutter speed for each focal length lens in your bag, and make a cheat sheet to carry with you. This modified rule still does not account for camera orientation, but because you are starting with shorter maximum shutter speeds, it’s more likely that you will end up with star points rather than star trails.

Workshop attendees on the salt flats of Death Valley National Park.
The way to make sure you are using the best shutter speed for the situation is to review your images in camera at full magnification, and adjust the time accordingly. Bear in mind that you should check all sky areas in the frame, because the stars closer to north may be sharp while those farther away are not––even in the same image!
You’ll need to consider the various factors—star sharpness, depth of field and focus, and image quality—and make the best exposure decision you can based on prioritizing those factors. It’s a combination of science, art and simply what feels right for the image. Getting to the place where you have a strong sense of when it feels right is simply a matter of practice, so get out there under the stars and photograph.