Best Practices

Five Field Tips to Make Night Photography Go a Little Smoother

We’ve said night photography is fun. We’ve never said it’s easy.

We all encounter challenges that we need to overcome in order to get the shot. This is true even when working with other night photographers, but it’s especially true when we’re shooting alone.

Every photographer has their solutions to these little (or sometimes big) problems, which help us be more productive in the field at night. Below, each of the five National Parks at Night instructors offers one tip to work just a little smoother, a little better, a little more efficiently in the dark.

Lay Your Flashlight in Your Light Painting Spot

by Gabriel Biderman

When I first started light painting I was incredibly frustrated with the inconsistencies of my painting from shot to shot. The problem was that I would try a lighting strategy, then walk back to the camera to see how I did, then walk back out into the scene and try again—always from a slightly different spot! Why? Because it was dark and I couldn’t see exactly where I’d been standing before. That meant that the angle and distance would change as I went back and forth between my camera and my approximate painting location.

The first solution I came up with was marking my spot in the dirt or putting a rock there, so I’d know where I’d been standing. However, there aren’t rocks or etchable dirt at every location, and again, it was dark, so the mark could be hard to find.

Eventually I realized that there was another good marker that I always have with me: a flashlight. Now when I’m done testing some light painting, I place my flashlight on the ground at my feet, and my spot is easy to find again!

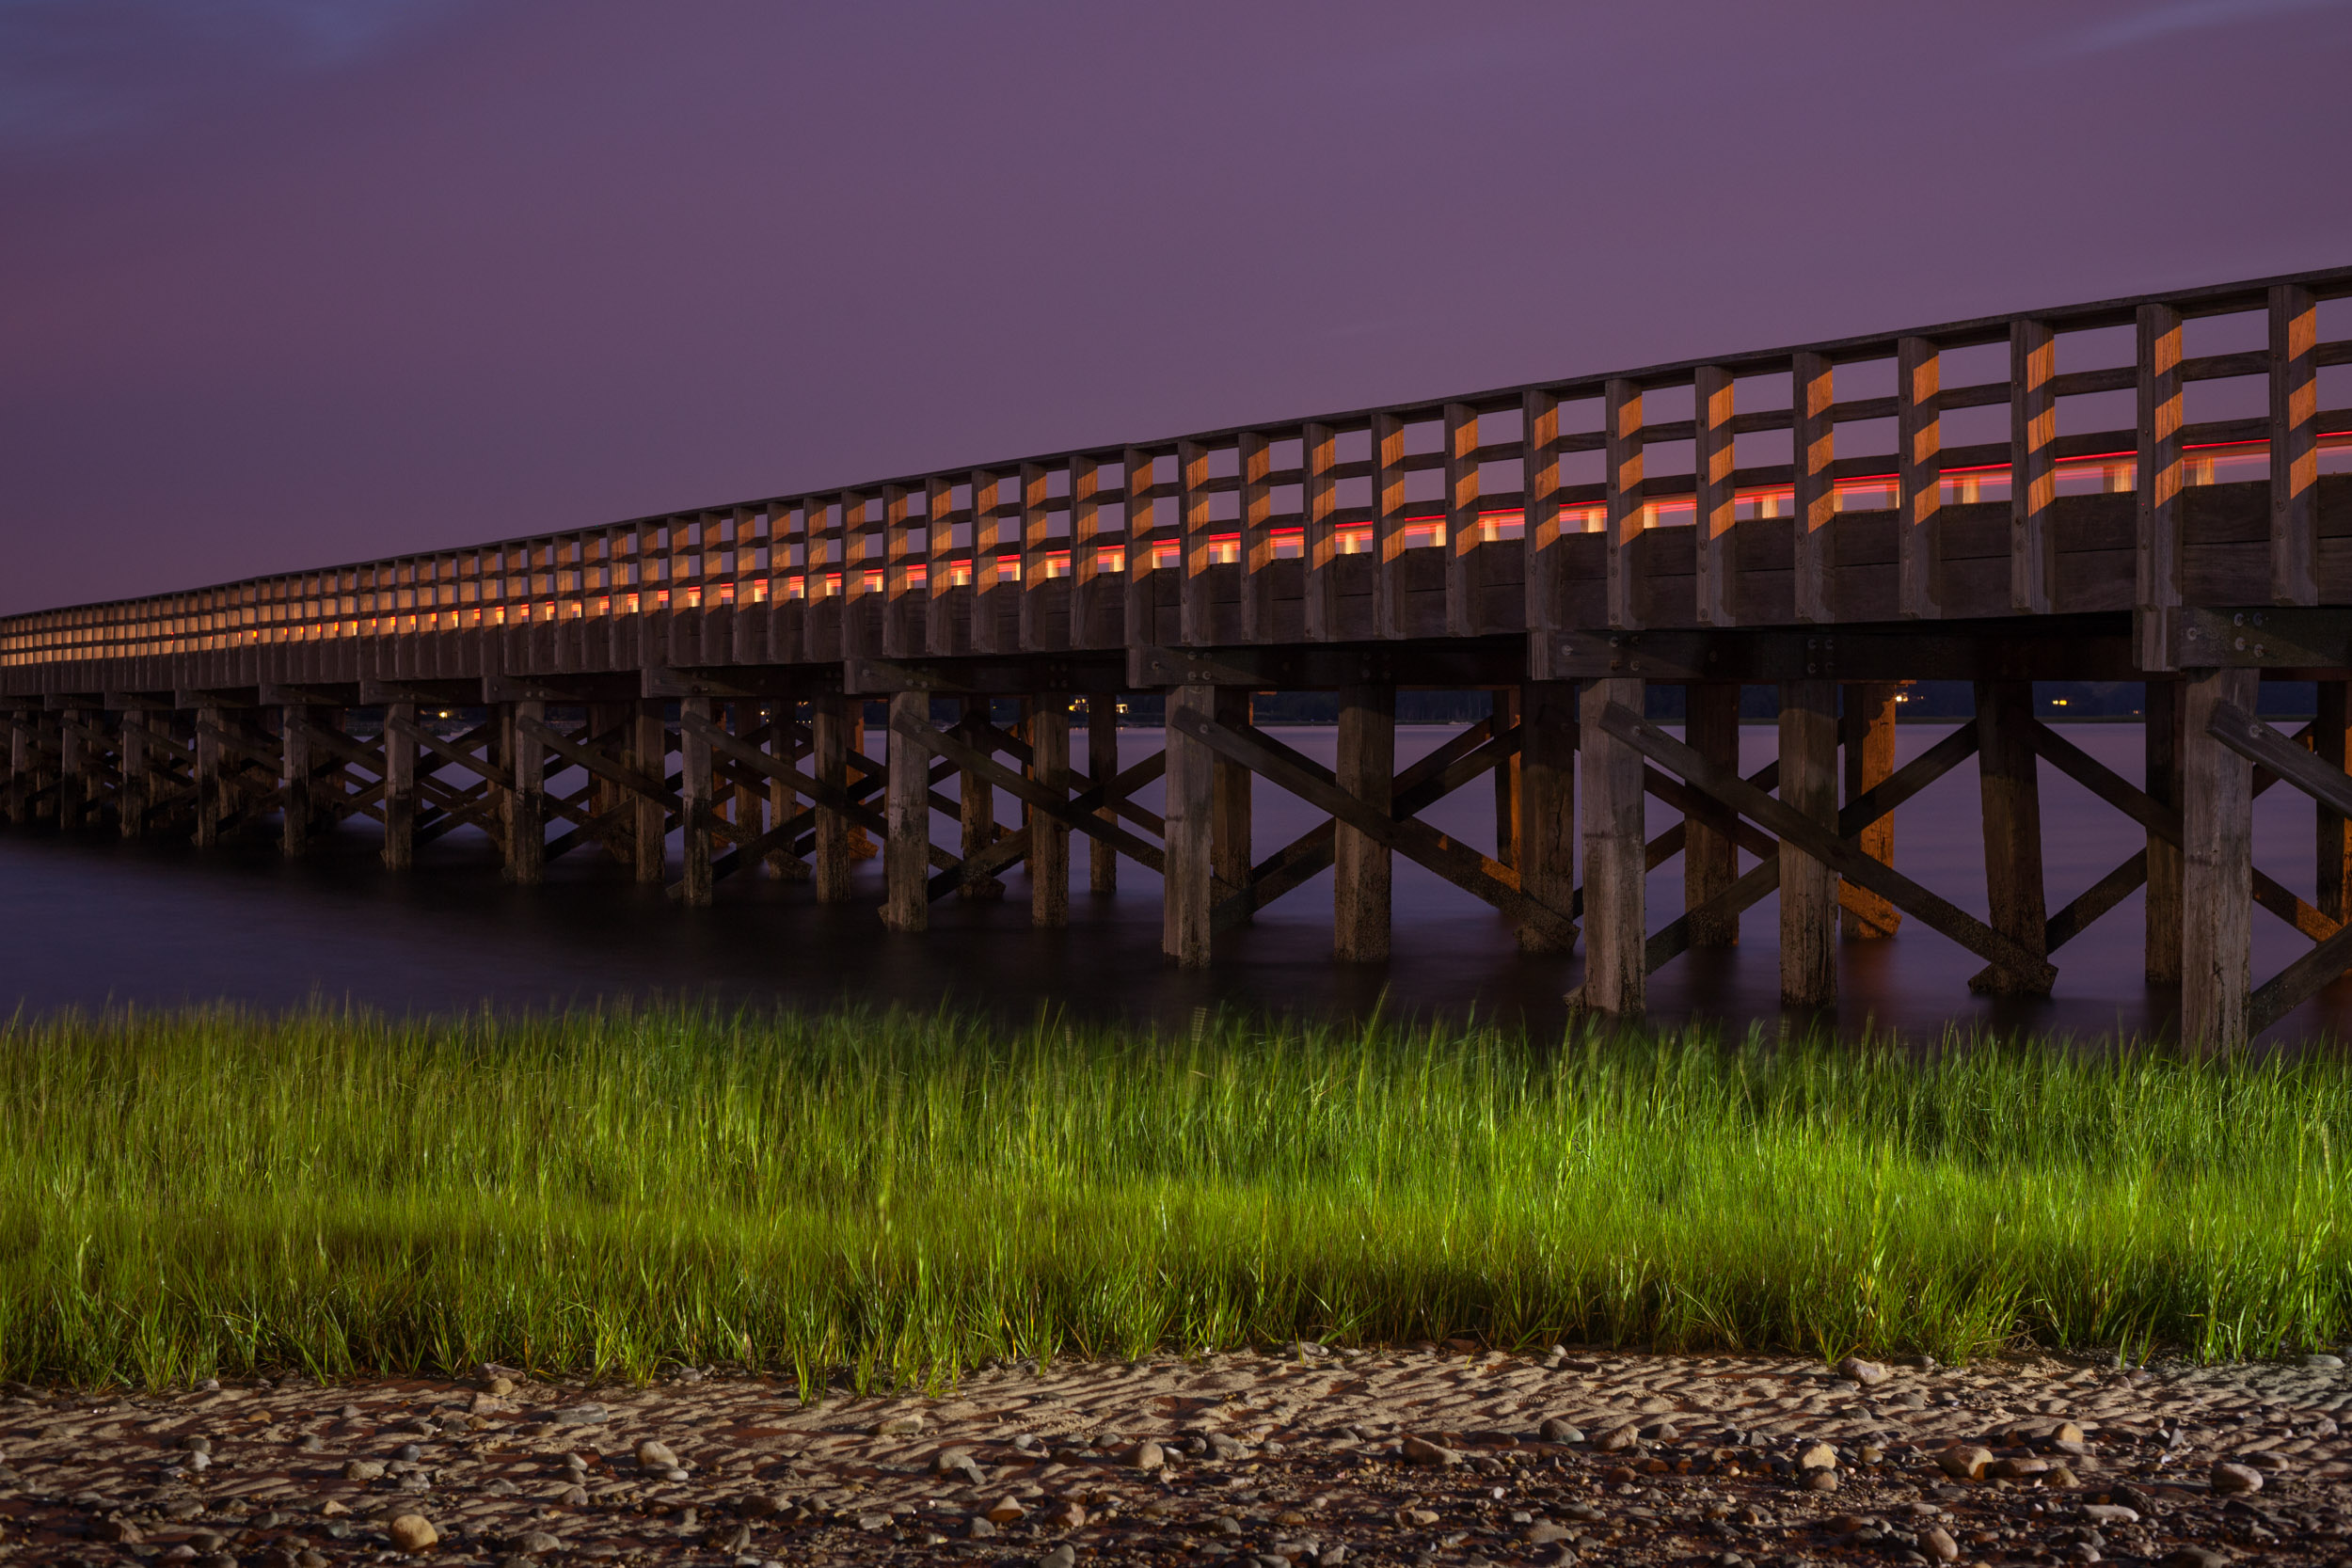
When working on this image in Cape Hatteras National Seashore, I put my flashlight on the ground to mark the spot I was light painting from, so I could easily return after checking the image on the camera’s LCD. You can see the beam shining along the grass from where it was laying.

Of course, this works only if my spot is not in the frame, otherwise the camera will record the flashlight during the rest of the exposure. Also, if the exposure is still running, then I make sure to put the flashlight on the ground facing away from the scene, so as not to spill in more light than I want.

Now I can always find my exact place to repeat the lighting process after reviewing my image. This has been incredibly helpful when I am photographing alone and has helped me nail my light painting more quickly and more efficiently.

Set Up a Custom Menu

by Tim Cooper

As we all know, night photography can pose many challenges. For this reason it’s important to eliminate as many issues as we can so we can focus our efforts on the actual photography. One challenge to overcome is working with our camera in the dark. By being very familiar with our camera’s controls, we can easily make adjustments, focus and shoot without the constant need for turning on our flashlights or fumbling around while wasting otherwise productive time.

That’s easy enough (with practice) when we’re talking about buttons and dials—the controls that are on the camera body. But many features live deep in the camera’s menu system. Scouring the extensive menus for a particular function while in the field can be frustrating. It’s also avoidable.

I save a lot of time in the field by setting up a custom menu in my camera. Most modern cameras allow this, specifically so you can collect your most oft-used functions into one easily accessible place. In the following video, I’ll show you how to do just that!

Use a Low-Powered Light For Seeing

by Lance Keimig

If you’ve been on a workshop with me, you might have been gently chastised for using your 2 million-lumen flashlight to adjust your camera settings. Overly bright flashlights wipe out your hard-won night vision, making it difficult to visualize your surroundings without the light. And in a workshop environment, using a flashlight that’s brighter than necessary often causes unwanted light pollution in other people’s images.

Red lights cause similar but often more serious problems, because even at very low levels they bleed profusely into the shadow areas of everyone’s images. Red lights also diminish depth perception, making accidents much more likely on uneven ground, especially in red-rock environments.

To avoid all these issues, I use a flashlight in the field as little as possible (except for when light painting), and when I do, I use the dimmest in my arsenal. That way I can get a little extra light in extra-dark situations without ruining my night vision or other people’s photographs.

Using a bright flashlight (left) just to check camera settings is overkill—it will ruin your night vision, not to mention the exposures of others who may be working around you. A lower-powered light (right) is a more subtle option that is less likely to cause unintended consequences.

My favorite for this purpose is the Coast G9, which Coast has been gifting to our domestic workshop attendees for the past couple of years. This small and relatively dim flashlight can be easily dimmed even further by removing the head and placing a couple of layers of tissue or toilet paper in front of the bulb. (If you want to get fancy and warm up the color temperature, add a piece of CTO or warming gel at the same time.)

This 2-minute hack will provide you with a light that will be just bright enough to navigate a dark path, to find that spare battery in your camera bag, or anything else that requires just a touch of illumination.

Protect Yourself and Your Bag With a Blanket

by Matt Hill

One thing I’ve found I just couldn’t live without is something I didn’t even buy for myself. I didn’t know how much I needed it until after I received it as a gift! (Thanks, D&E!) I’m referring to the Matador Pocket Blanket.

Sometimes the ground is … well, dirty. And during a long exposure I might want to just stretch out and gaze lovingly at the stars. Or I might even want to—gasp!—put down my camera bag without getting it muddy or sandy. This super-thin blanket packs to 4-by-3 inches, so stowing it in my bag is easy, yet it unfolds to a surprising 63-by-44. I can use the hidden corner stakes to anchor it in place, and when it’s time to fold the blanket, a stitched line pattern reminds me of the perfect way to make it tiny once again.

I love this blanket so much that when I misplaced it, I bought another. And then I found the original. So now I have two. Which makes me twice as happy.

Use an LED to Find Your Tripod

by Chris Nicholson

A lot of night photography involves long exposures. And not just long exposures, but looooonnnnnnggggg exposures. Leaving the shutter open for an hour or more is not unusual. During those times, I often wander away from the camera, whether to explore, to return to a warm location, or even to shoot with a second setup somewhere else. The problem is that sometimes it’s hard to find that camera again in the dark.

Of course, I could probably locate the camera more often than not by just waving a high-powered flashlight around. But that would likely ruin my exposure (especially if I inadvertently shined the light directly into the lens), not to mention ruin the work of anyone I might be out shooting with.

The solution I use most often is to put a tiny light right on the tripod—something bright enough for me to see in the dark, but not bright enough to affect exposure. And to be safe, I point that light away from the scene.

Even a tiny LED can be seen from pretty far away in the dark, making it easy to find a tripod that’s supporting a long exposure.

What kind of light? I use the flashing LED on my geotracker. It’s a piece of gear I always have with me on a shoot. It usually hangs off my belt loop or my backpack strap. But it also hangs nicely on the hook below my ball head.

Contrary to what a non-night person might assume, that LED is incredibly easy to see in dark conditions. In 2017 I was shooting at the Racetrack Playa in Death Valley National Park. It was way too cold to stay out with the camera during a one-hour exposure, so we walked back to the Jeep—one mile away! Even from there, I could faintly discern that tiny LED flashing in perfect darkness across the flats. Found my camera right away.

Wrapping Up

There you have it—five tips for working just a little easier in the dark!

How about you? What are some hacks that you’ve found useful for making the night photography experience just a little simpler or a little more enjoyable? Feel free to share in the comments below or on our Facebook page.

Chris Nicholson is a partner and workshop leader with National Parks at Night, and author of Photographing National Parks (Sidelight Books, 2015). Learn more about national parks as photography destinations, subscribe to Chris' free e-newsletter, and more at www.PhotographingNationalParks.com.

UPCOMING WORKSHOPS FROM NATIONAL PARKS AT NIGHT

Wonders of Workflow: How Consistency Will Improve Your Night Photography

In my 20 years of teaching night photography, there is one thing I’ve found that can make a huge difference in both the consistency and quality of your images, as well as reducing your frustration and increasing your enjoyment in the field. It’s not glamorous, it’s not sexy, but it will make you a better photographer.

You’ve probably heard the term “mindfulness” before. Before you roll your eyes and click off of this page, be assured that I’m not going to get all spiritual and New Agey on you. Hear me out.

As the website Mindful.org defines it, “Mindfulness is the basic human ability to be fully present, aware of where we are and what we’re doing, and not overly reactive or overwhelmed by what’s going on around us.”

Being present. Focused. Intentional. It’s a  simple concept, but one that many of us find increasingly difficult in today’s chaotic, digitally “enhanced” world. It’s certainly something I struggle with. But I promise, it will make you a better night photographer.

How to be Mindful at Night

There are numerous ways to apply the concept of mindfulness to photography, from the way you observe the world to the way you edit your images, but what I’m suggesting here has to do with your workflow.

We tend to think of workflow as beginning when we download our images, but really it begins when you decide to go out and photograph. Every little decision that we make—or don’t make—impacts everything that comes afterward. If you have a checklist, and if you go over it before you head out to make images, then you will always have the gear you need, your batteries will always be fully charged, and you will never waste amazing images because you accidentally shot with image quality set to “JPG Small” at ISO 1,000,000.

Some people are more naturally inclined to working methodically, while others require intense effort to discipline themselves. Whichever category you fall under, I promise that it’s worth the effort.

Perhaps the most important thing I teach during night photography workshops is that everyone should consciously develop their own field workflow. By this, I simply mean creating a sequence of repeatable steps that you do every time you set out for a location, and every time you push the shutter release. Doing so means that a much higher percentage of your images will end up being keepers, and that you will be able to see more clearly what worked and what didn’t in your shoots. Some people are more naturally inclined to working methodically, while others require intense effort to discipline themselves. Whichever category you fall under, I promise that it’s worth the effort.

With that in mind, I’m going to share my workflow with you. But I’m not trying to get you to do what I do. Rather, I’m sharing it as an example with hope that it will help you develop your own working methods that get you the results that you are looking for. Each of us at NPAN has our own procedure that we follow. There isn’t a right or a wrong way to do this—the key is to figure out what works for you.

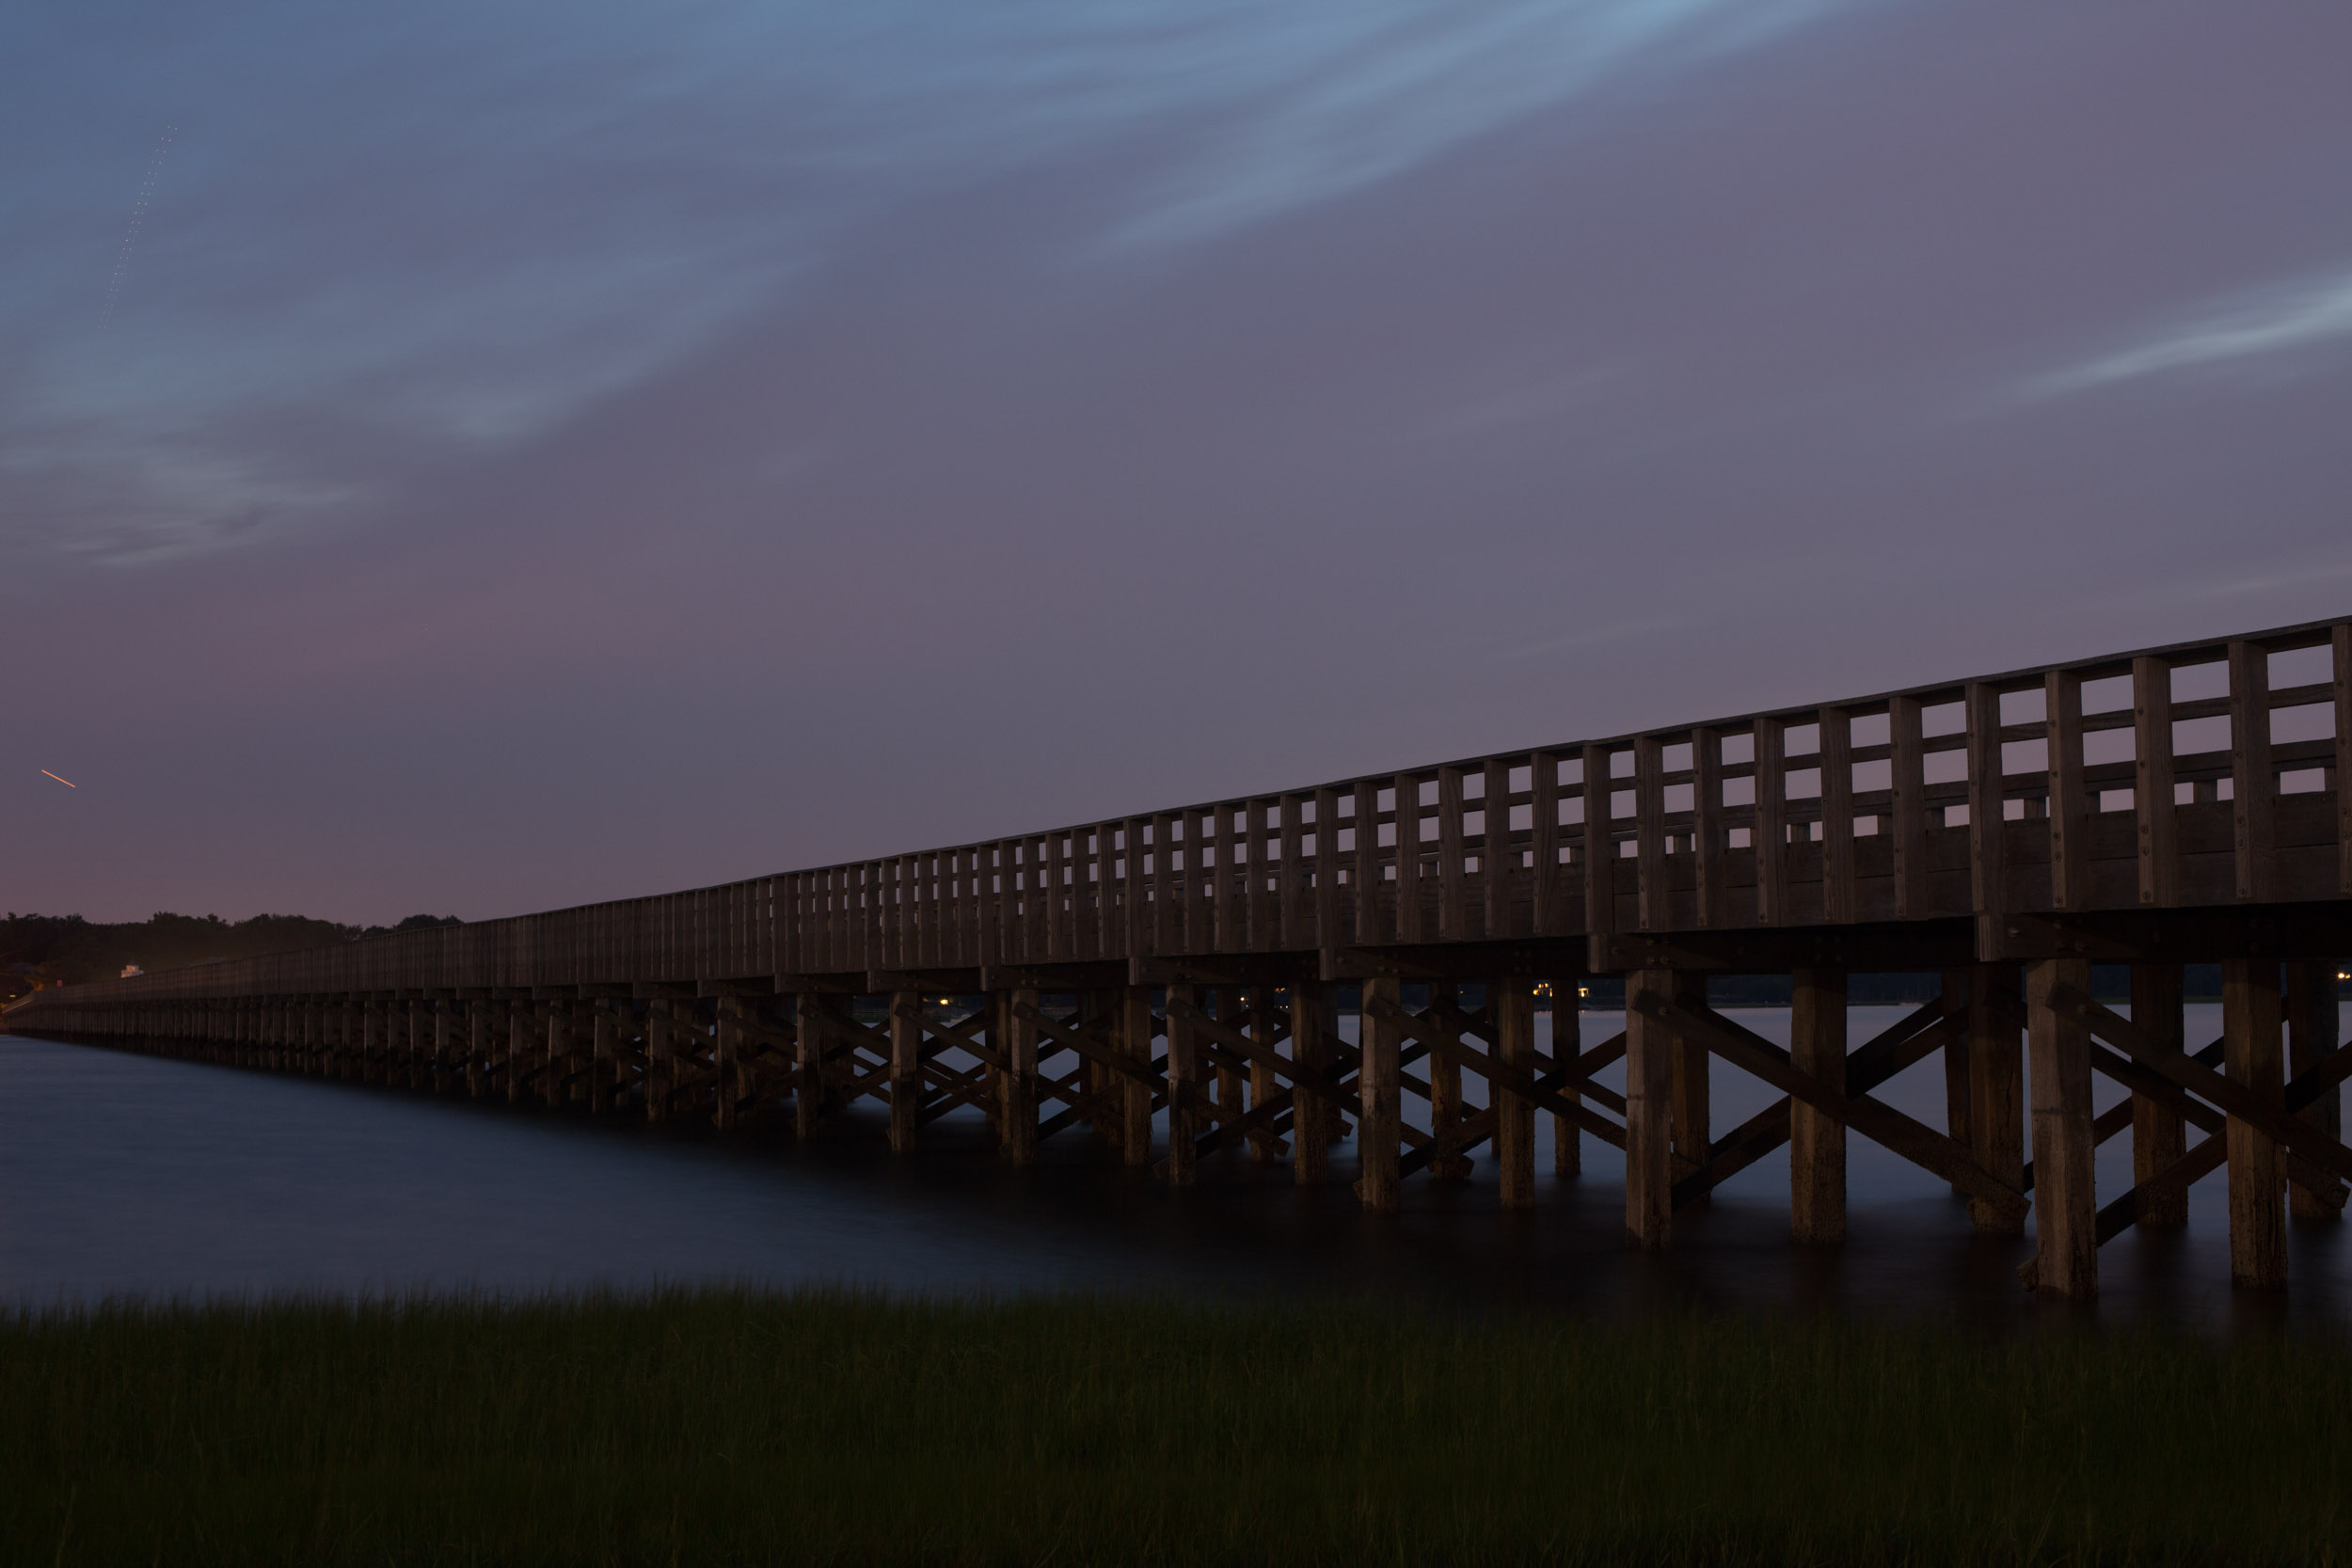
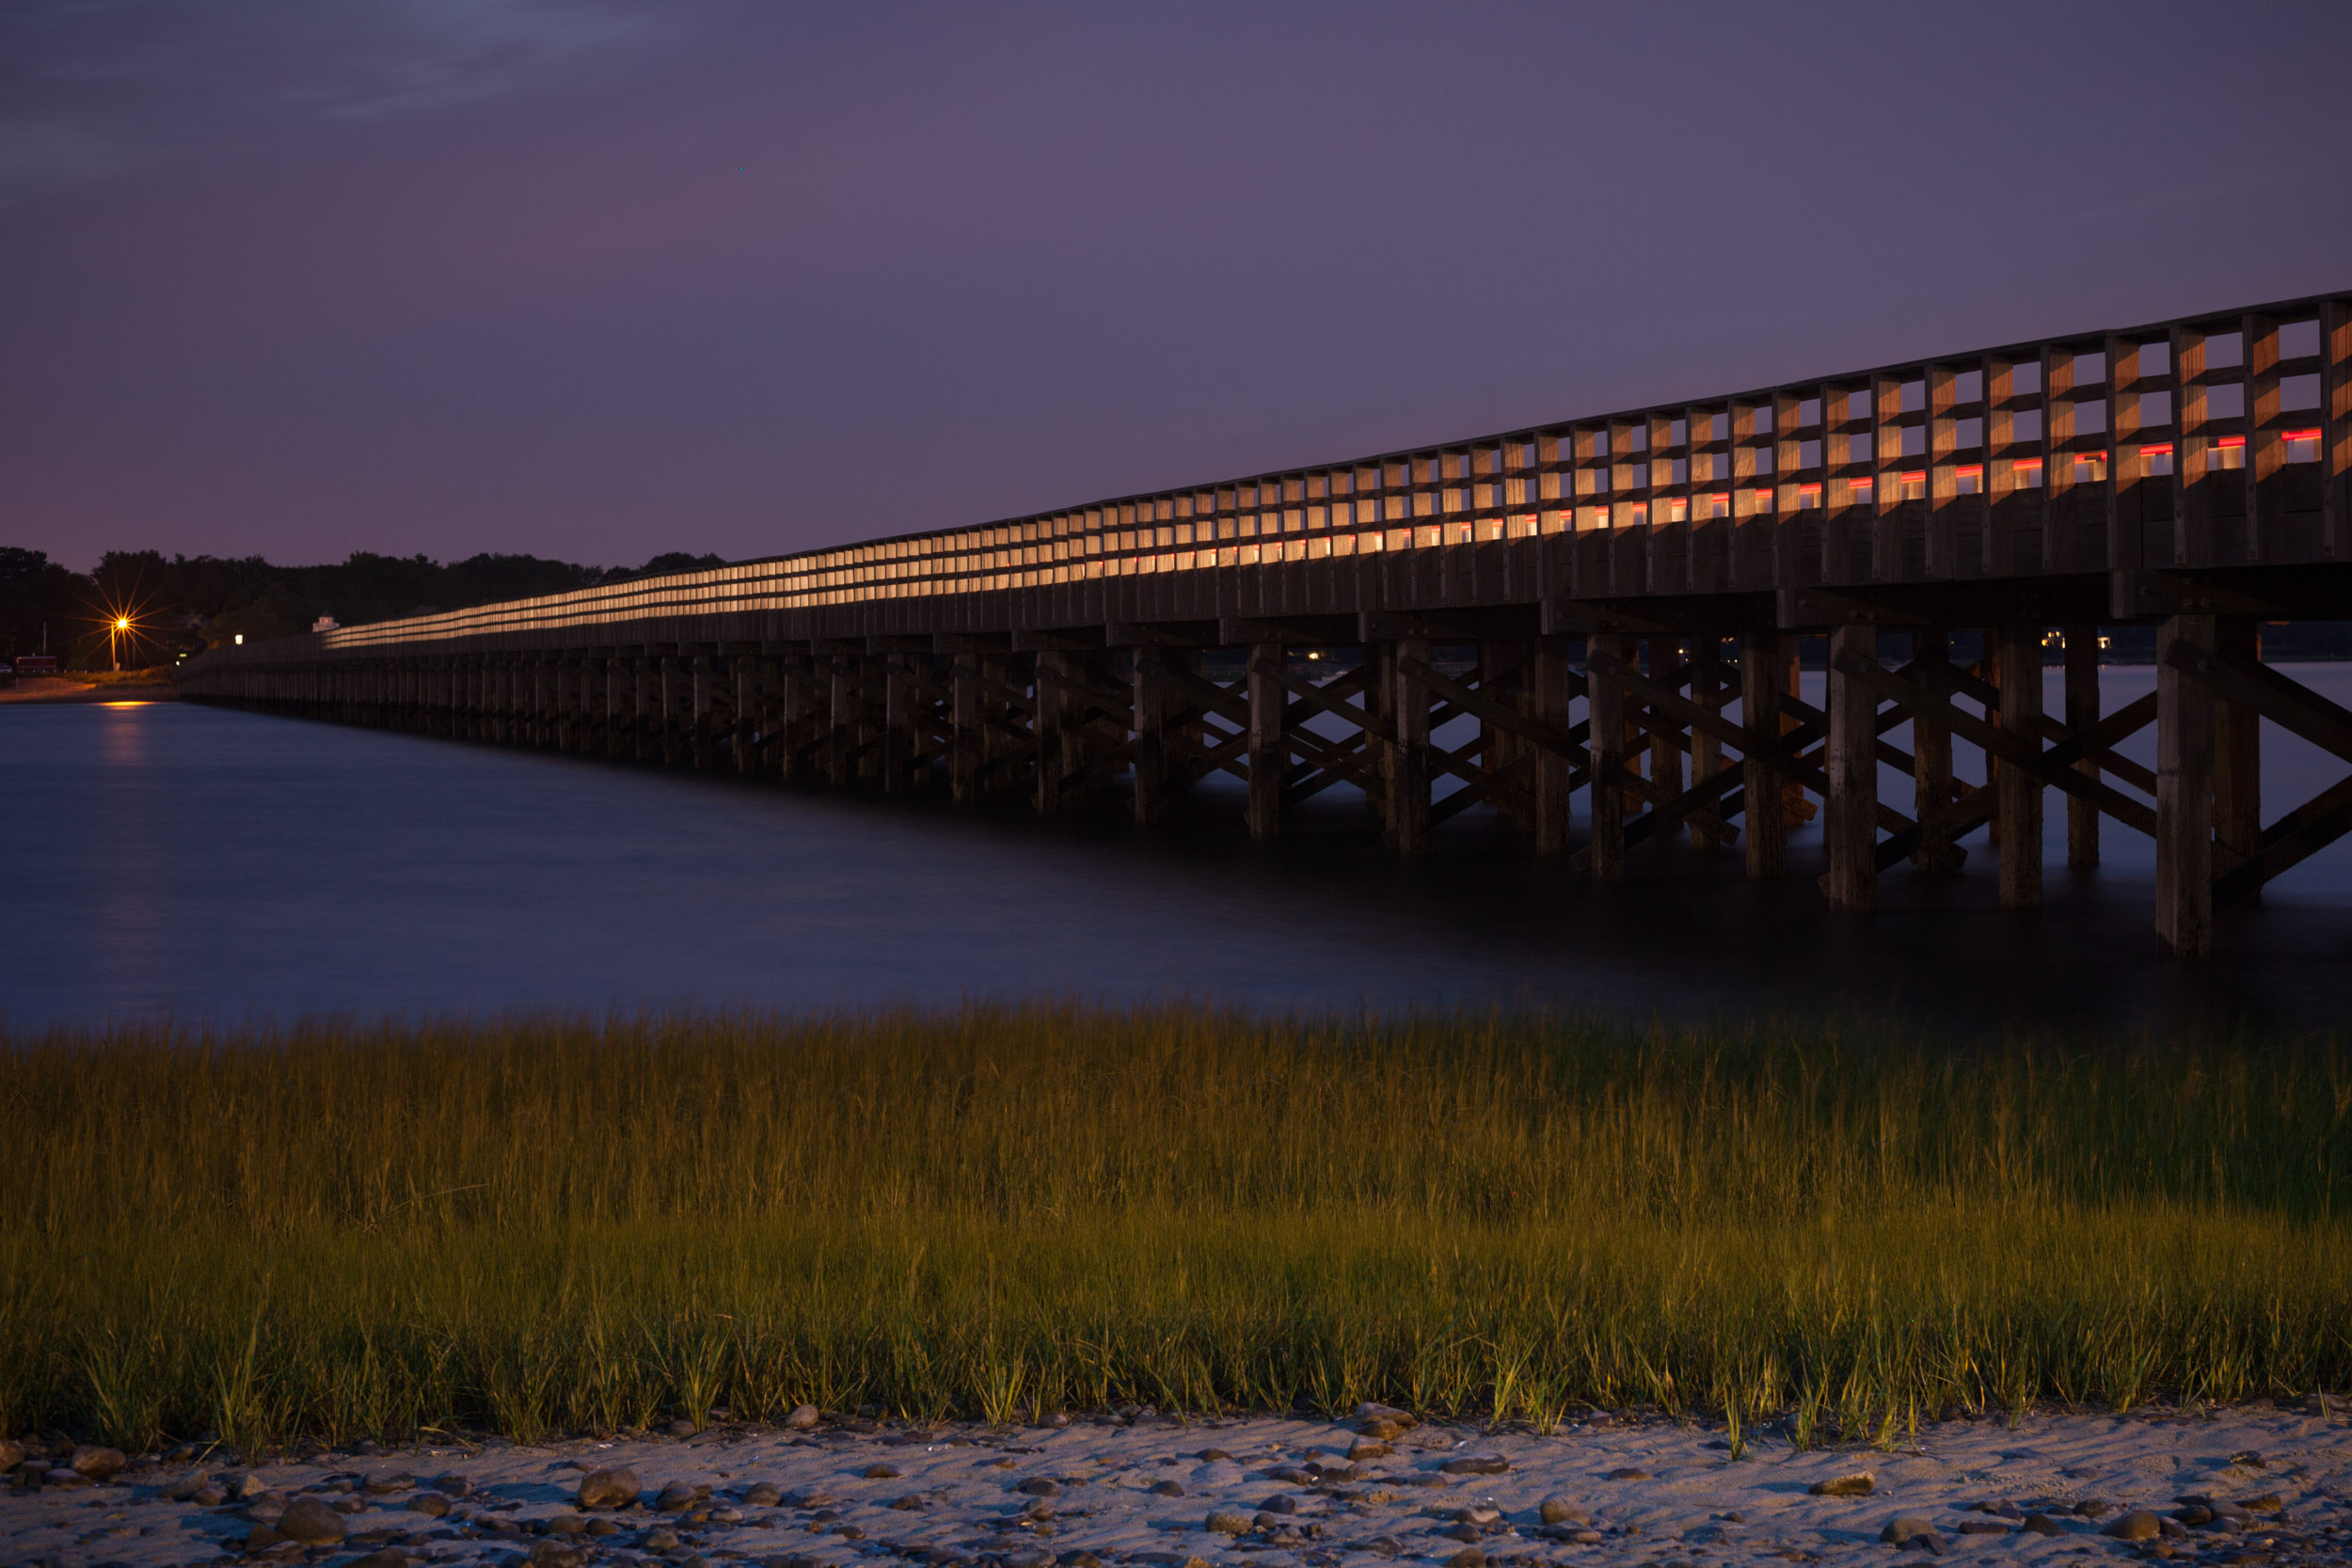
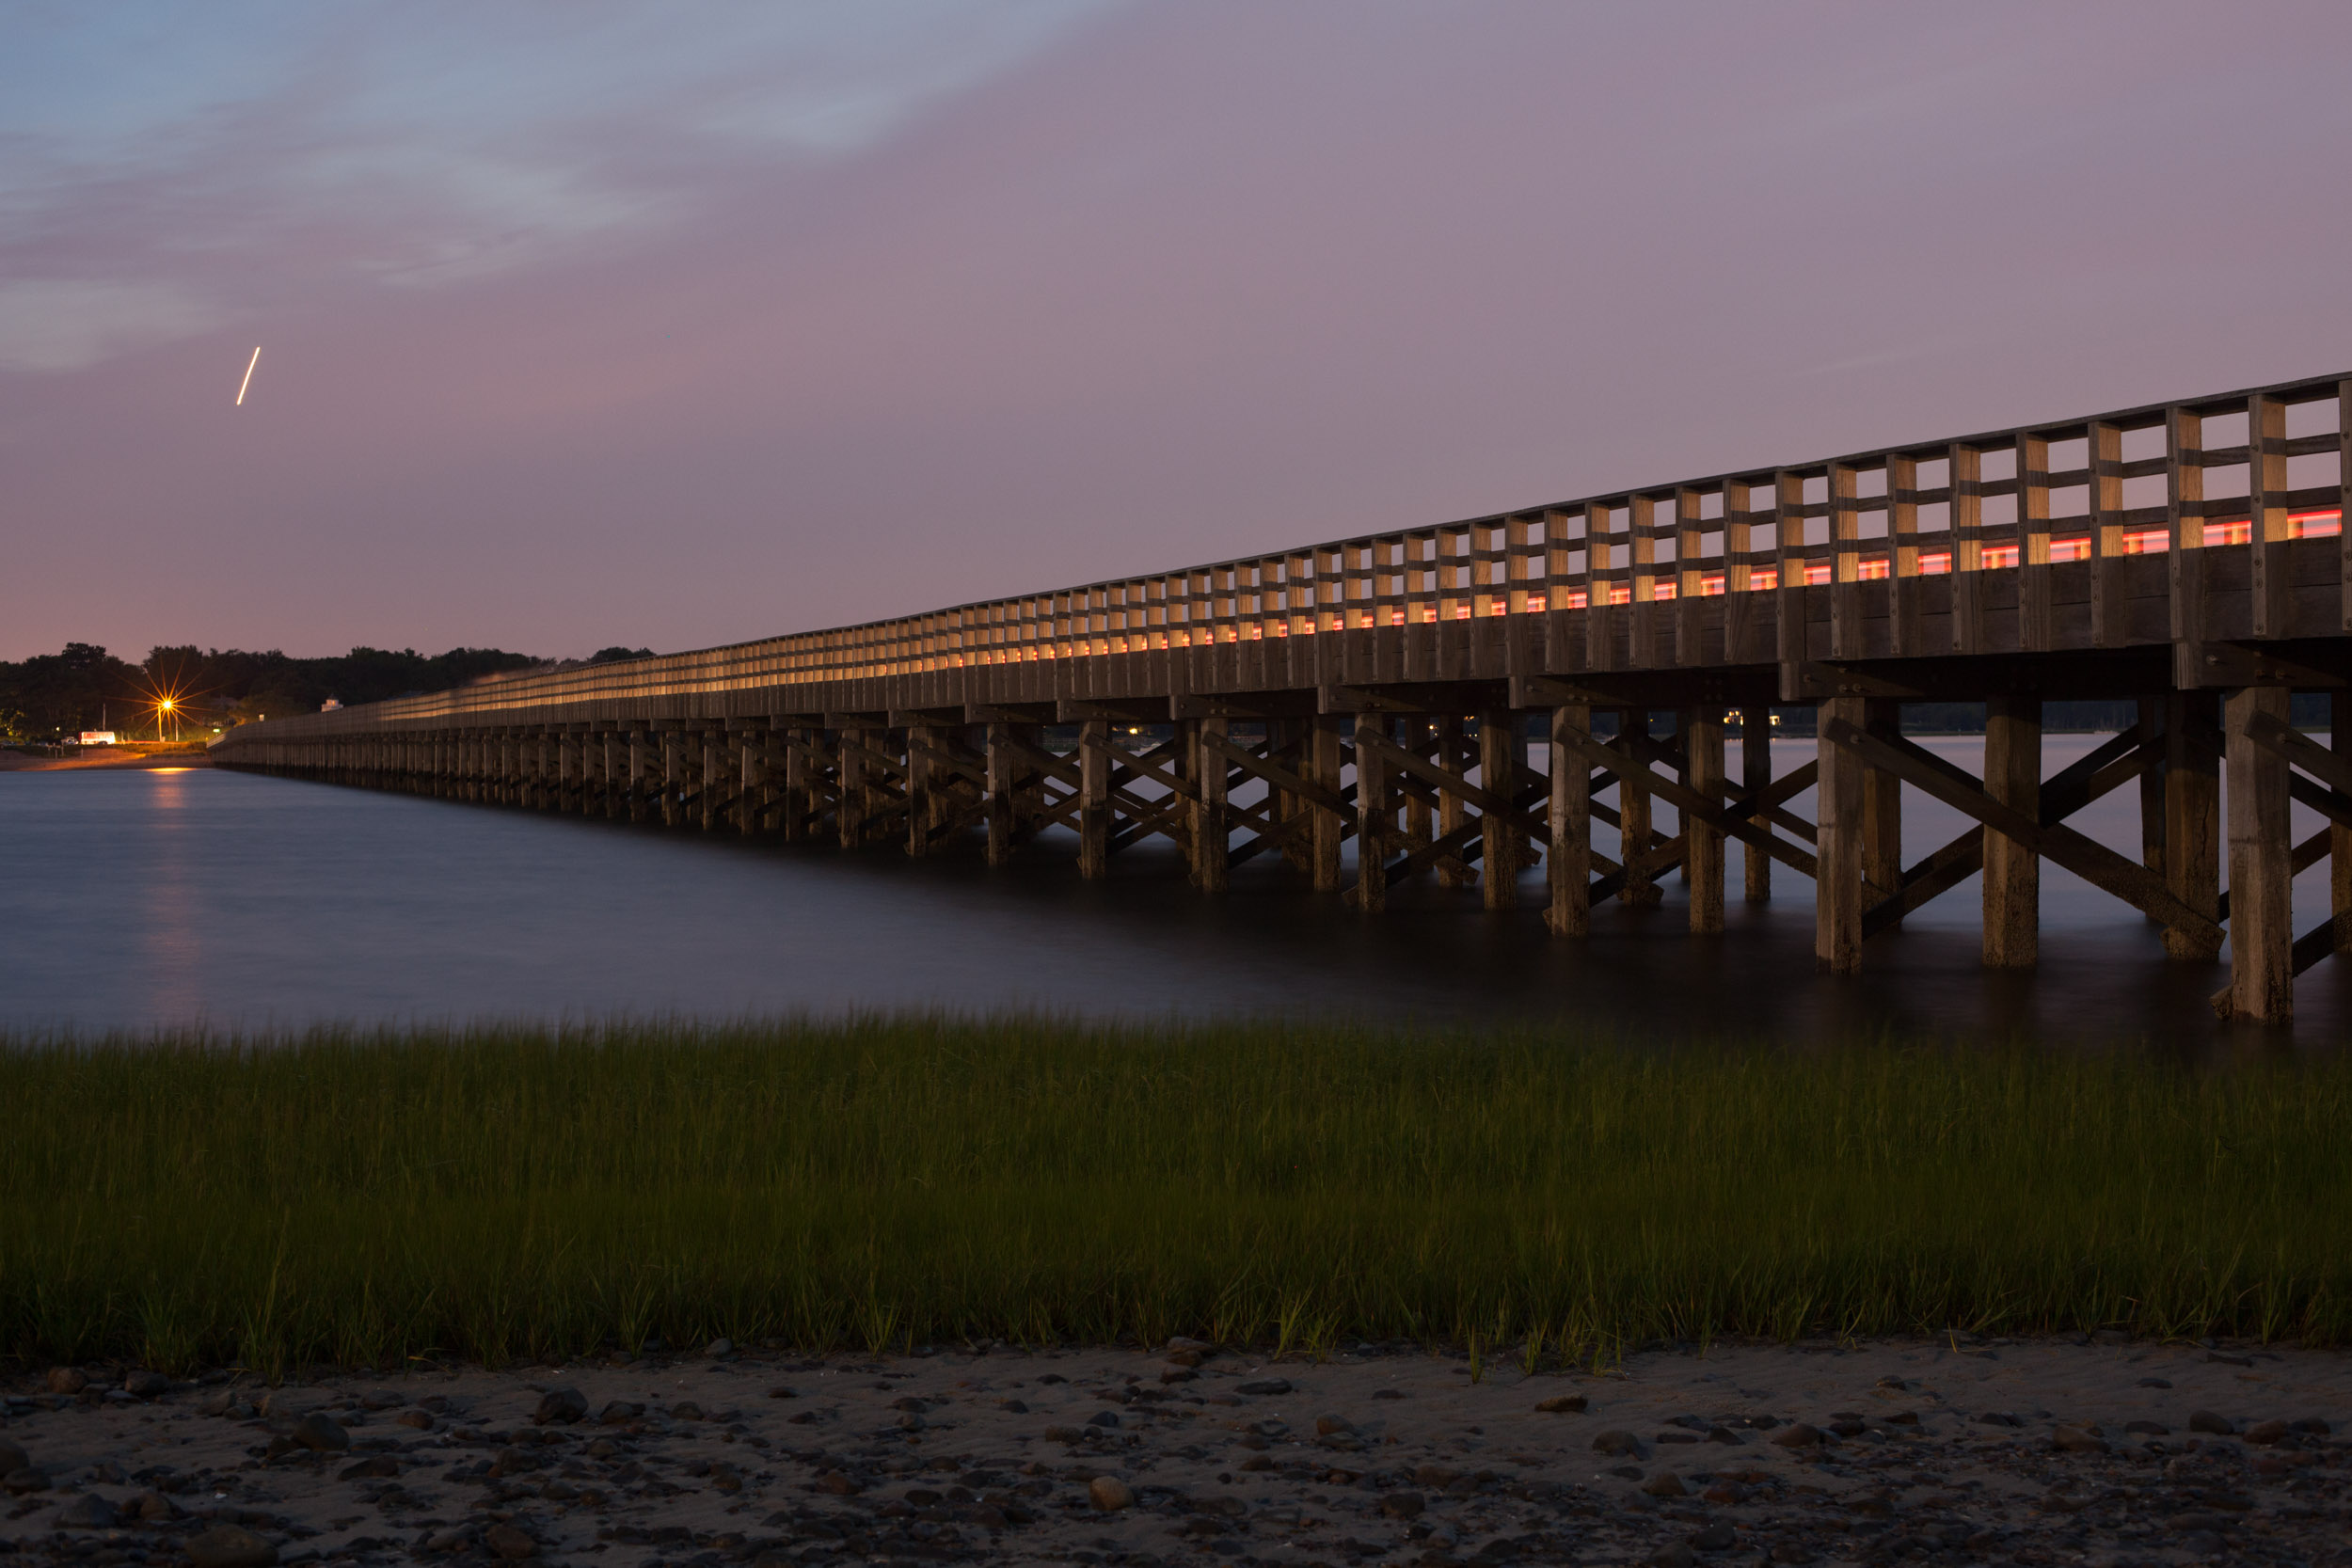
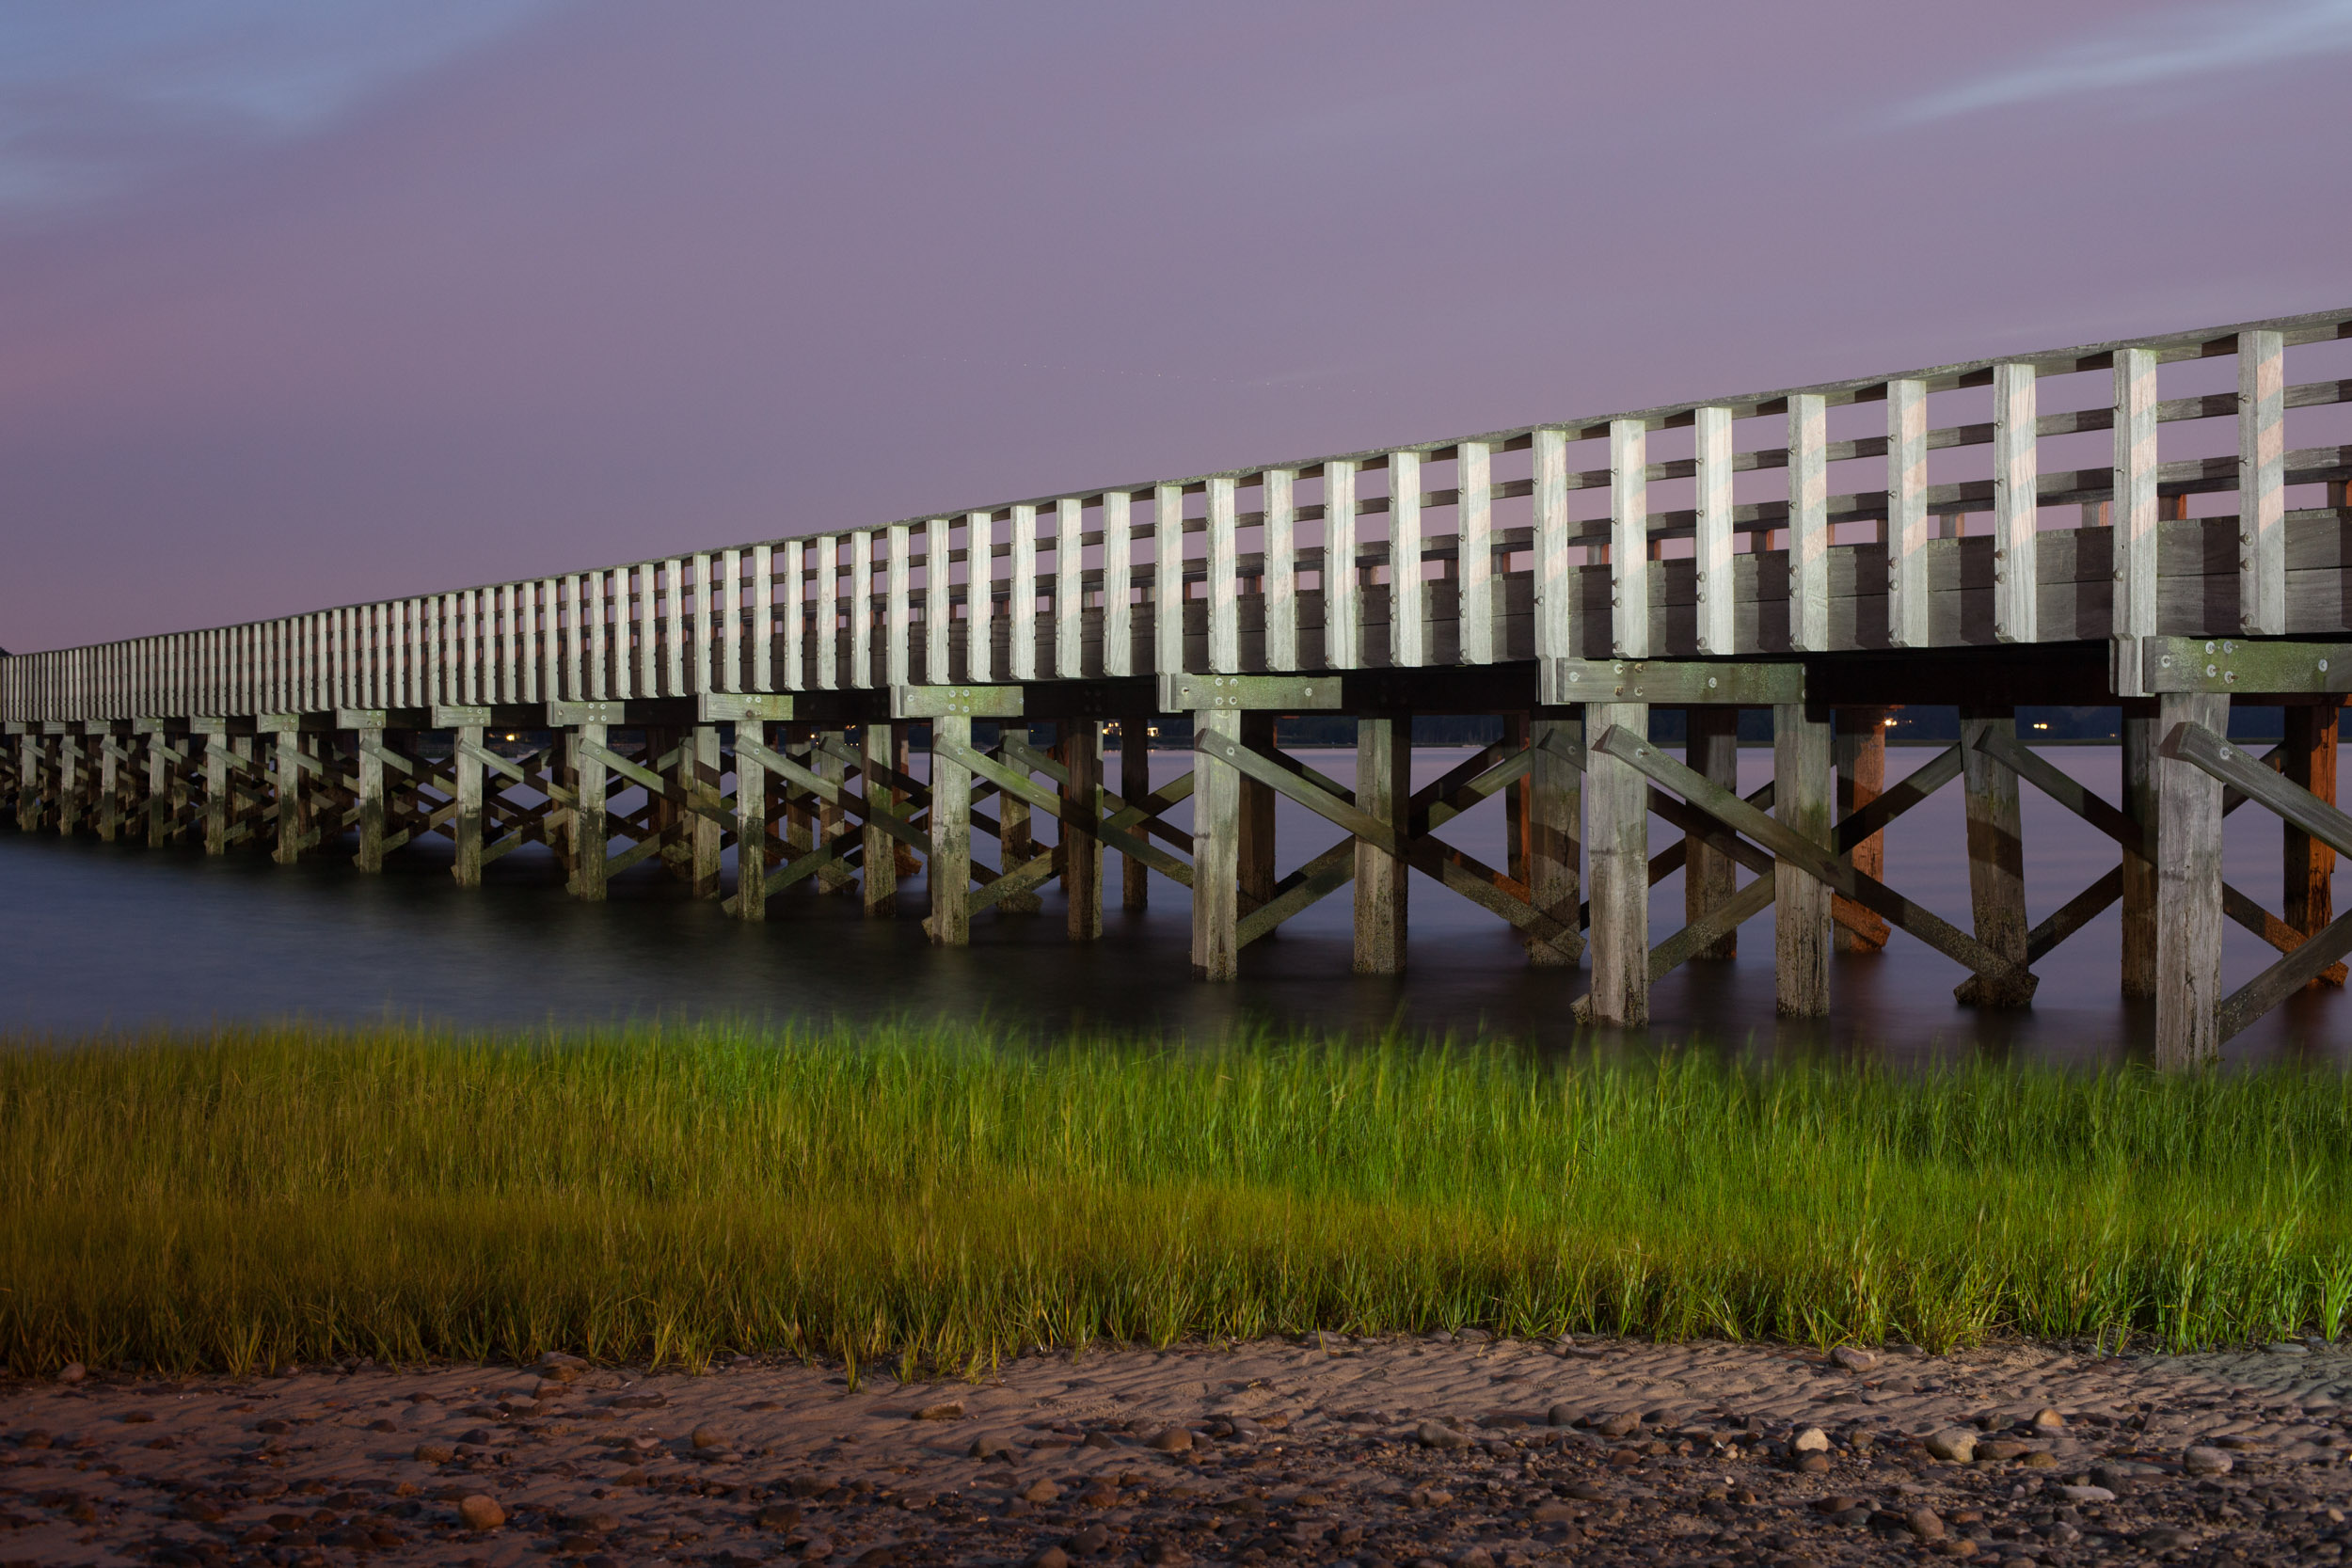
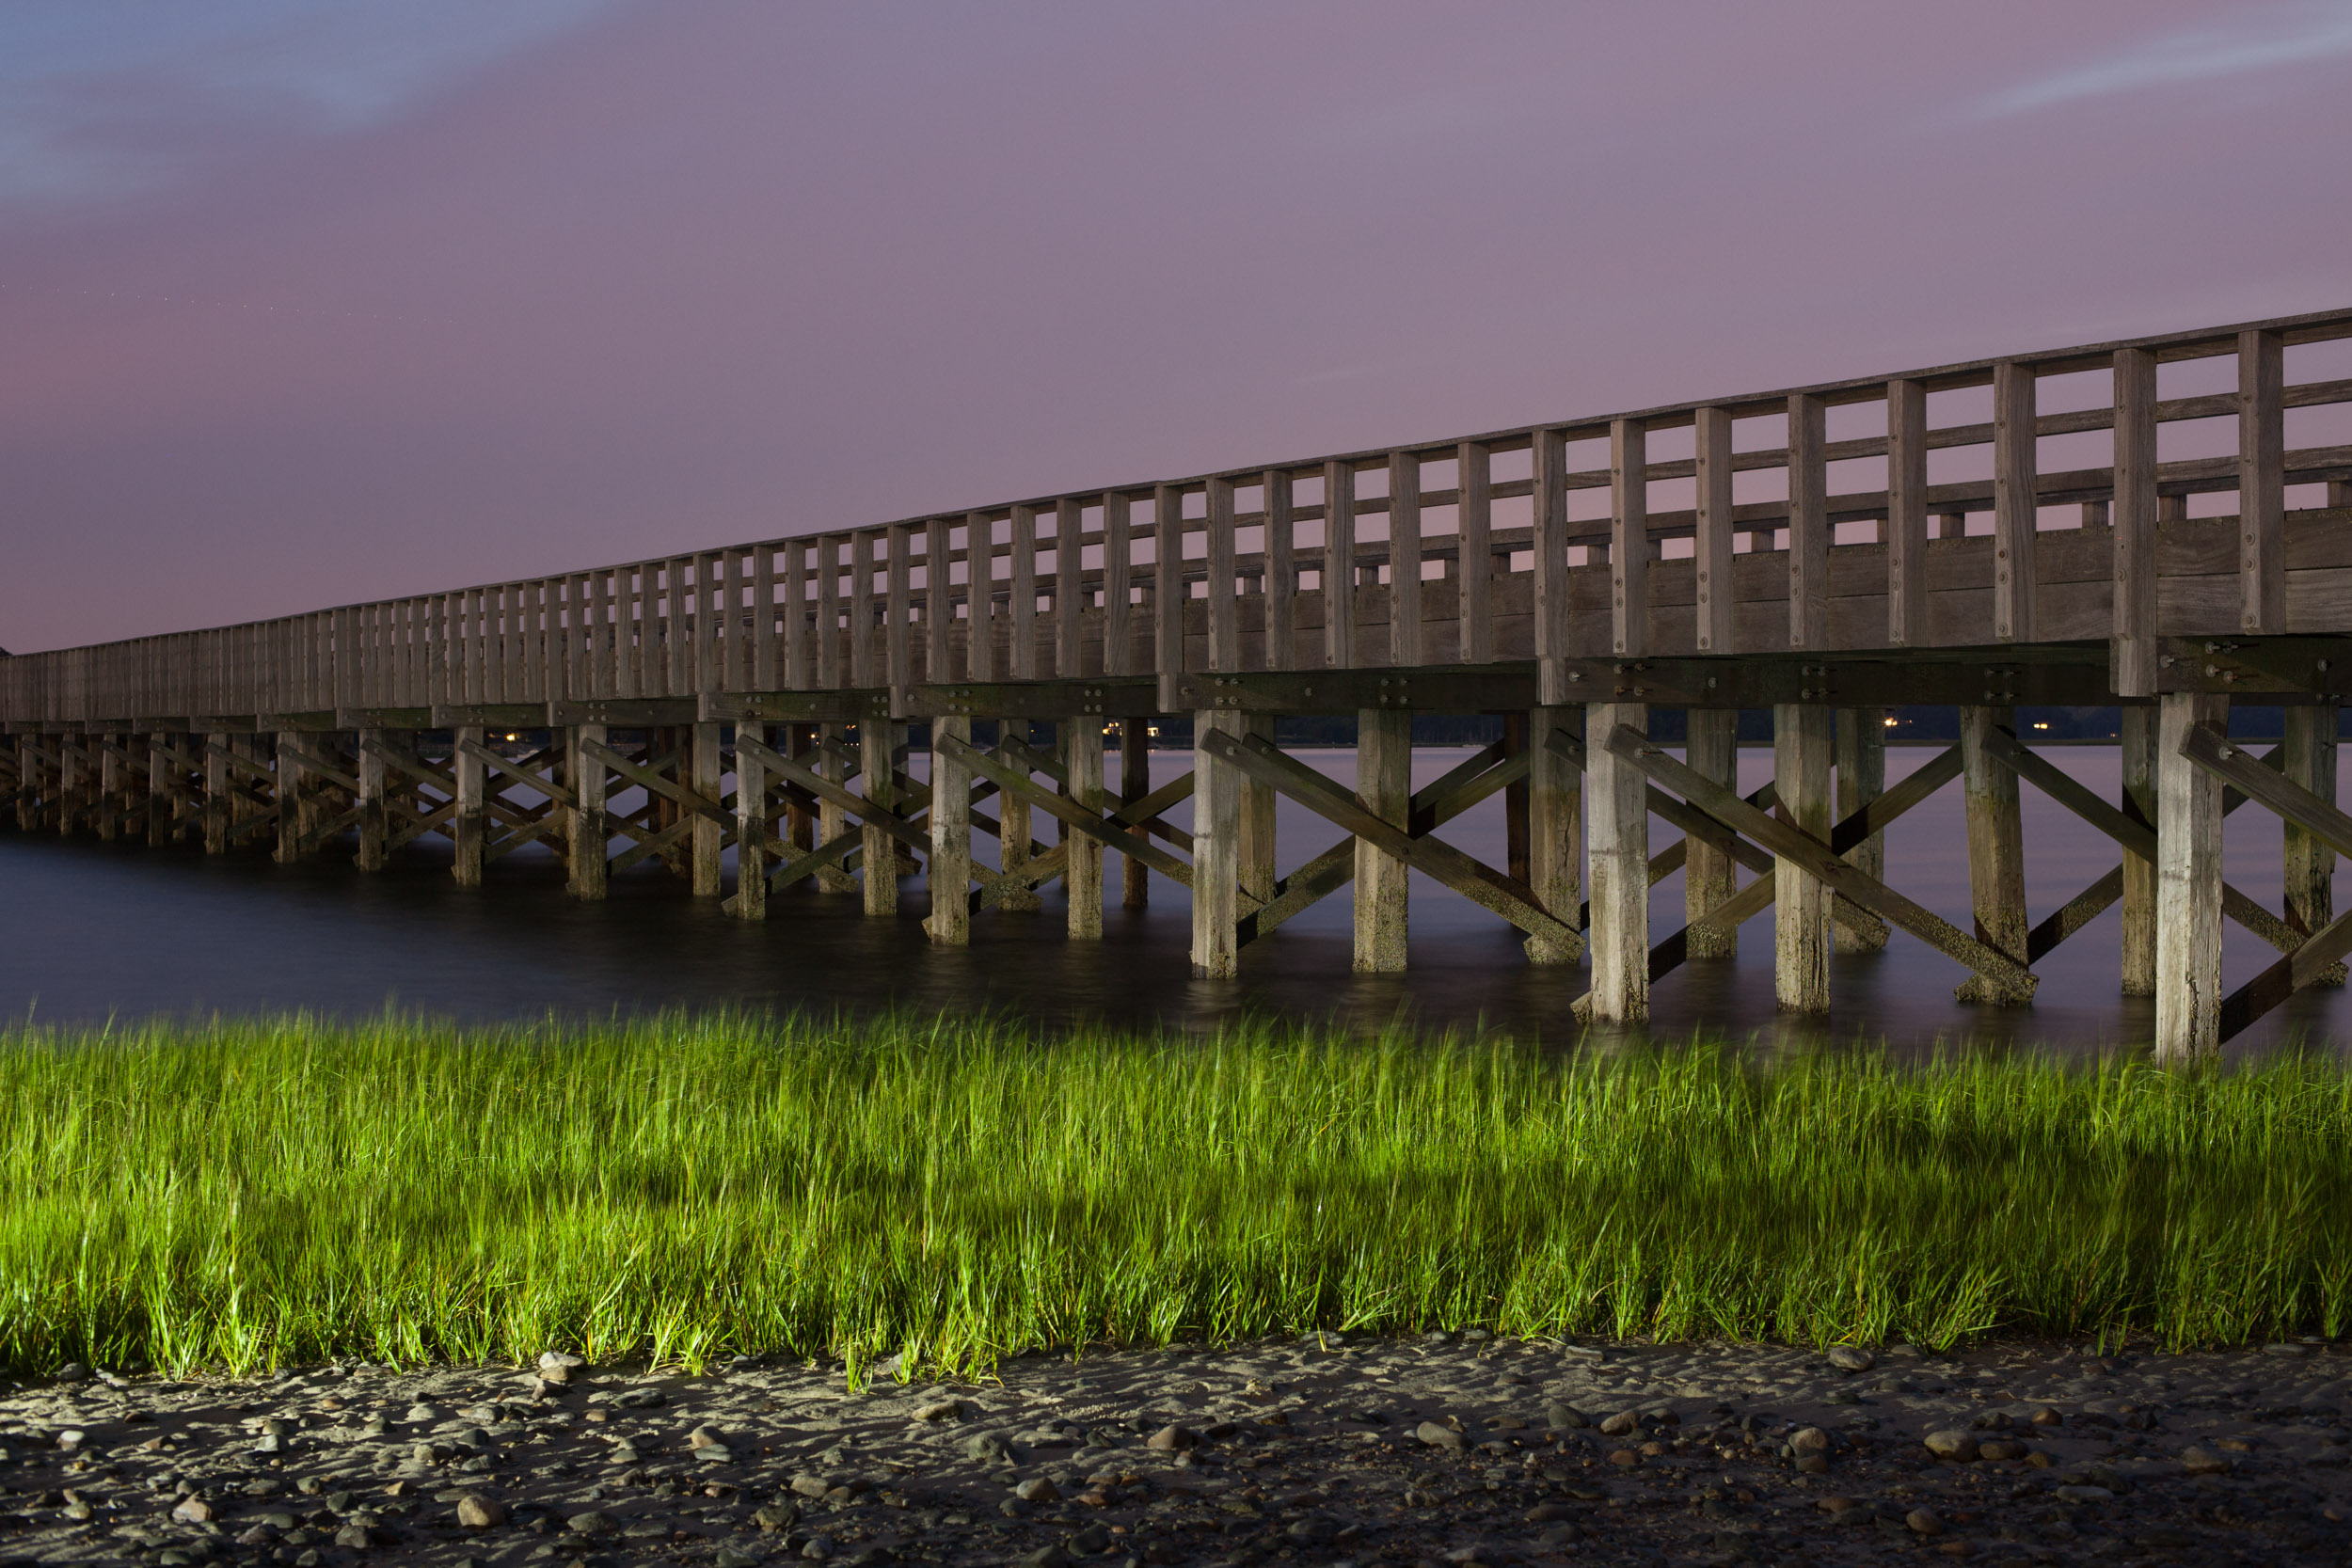
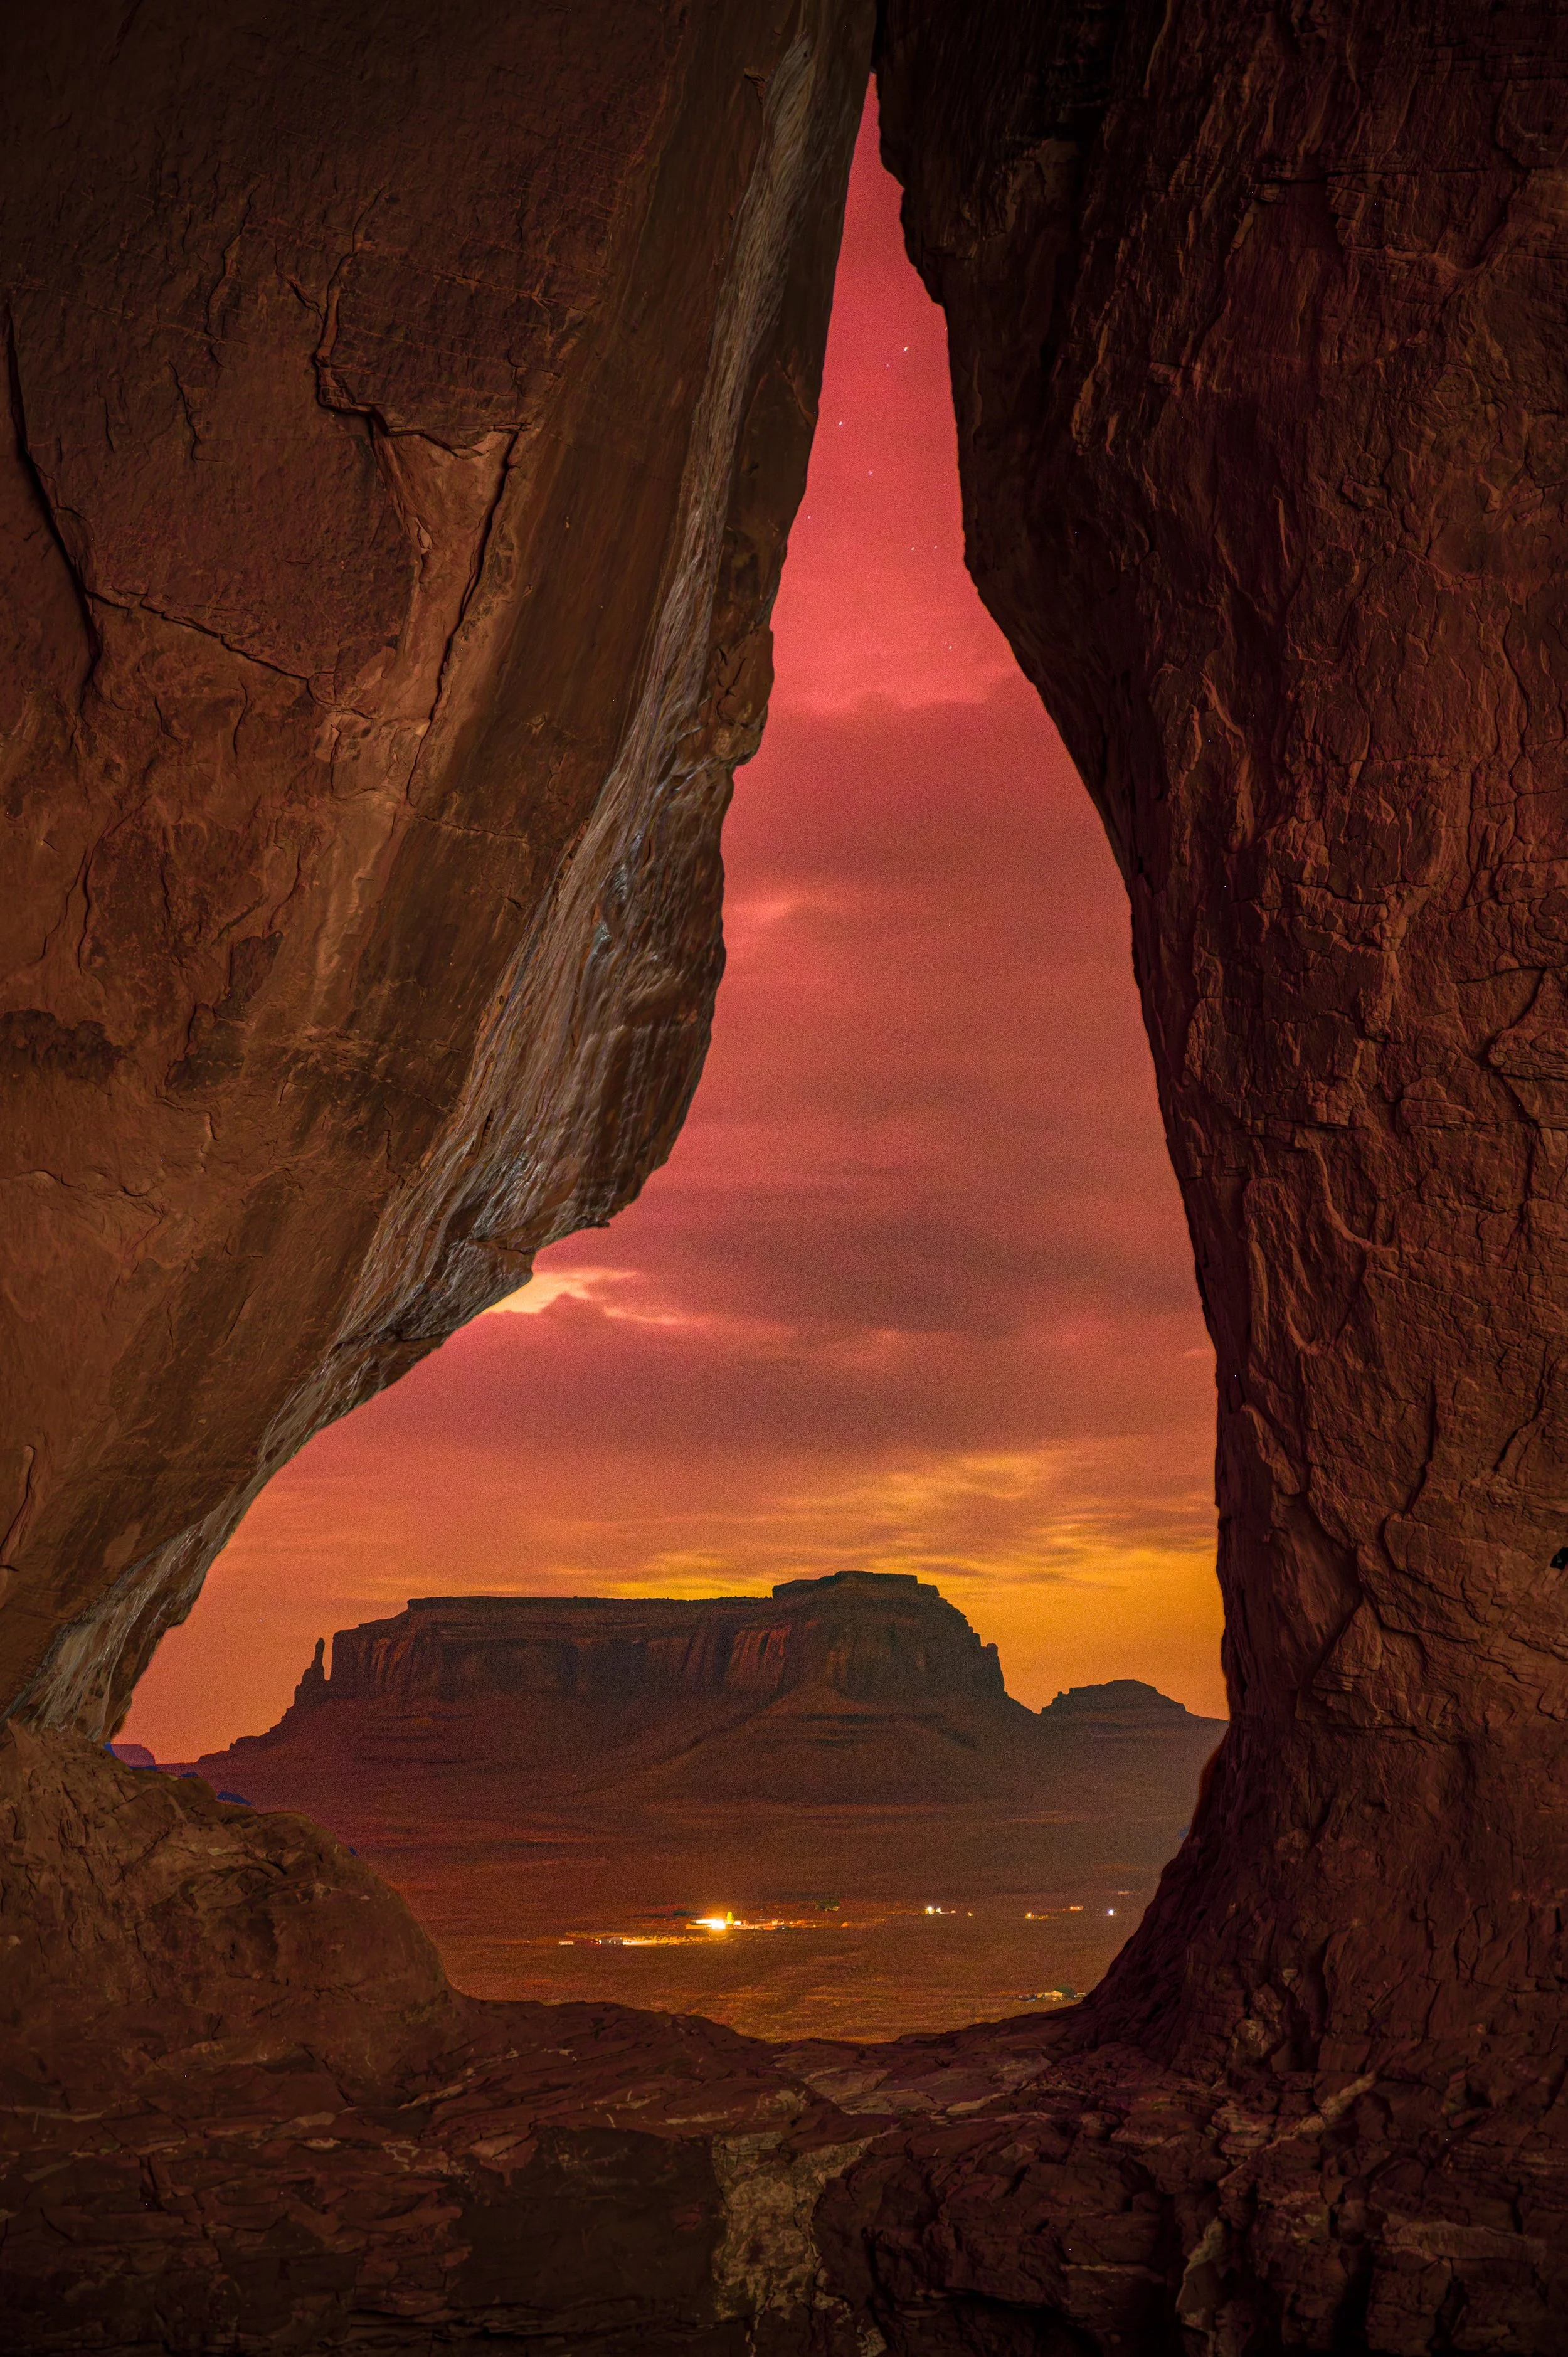
Field Workflow Example 1: Duxbury, Massachusetts. Building a night image from beginning to end, marching through the same steps time after time.

Before You Go

Because I travel frequently, I don’t always keep the same gear in my bag—moreover, I don’t always even work out of the same bag from one trip to the next. So it would be easy for me to find myself on location without an essential piece of gear and not even realize my error until right when I need it. And this is why I always check my kit before leaving home.

When I’m planning a shoot, I consider what the lighting conditions will be, the type of subject matter I’ll be shooting, the weather conditions, and if I’ll be working close to a vehicle or hiking some distance to my location. Each of these factors dictates what I bring with me––not just in the camera bag, but also accessories like clothing, food and drink, and whether I’ll be better served by a backpack or shoulder bag.

Step 1: Pre-Shoot Scouting

Research location if it is unfamiliar. Scout ahead of time if possible. Check for access/trespassing/permit/safety issues. Use PhotoPills to access celestial conditions and possible shot locations if appropriate. Look at the Google Earth view of the location, as well as night images available online. When is the best time of year, or the best part of the lunar cycle for the location? How about parking?

Step 2: Gear Selection

Choose a bag, camera(s) and lenses based on location. Pack camera batteries only after making sure they are fully charged. Make sure rechargeables are recharged, and include some disposable batteries as needed. Choose light sources for light painting, as well as light modifiers such as snoots and gobos. Check accessories: tripod, an extra tripod plate and tools, intervalometer with fresh batteries, filters, hand warmers, water bottle, snack, phone, phone charging cable, hat, gloves, extra layers as needed.

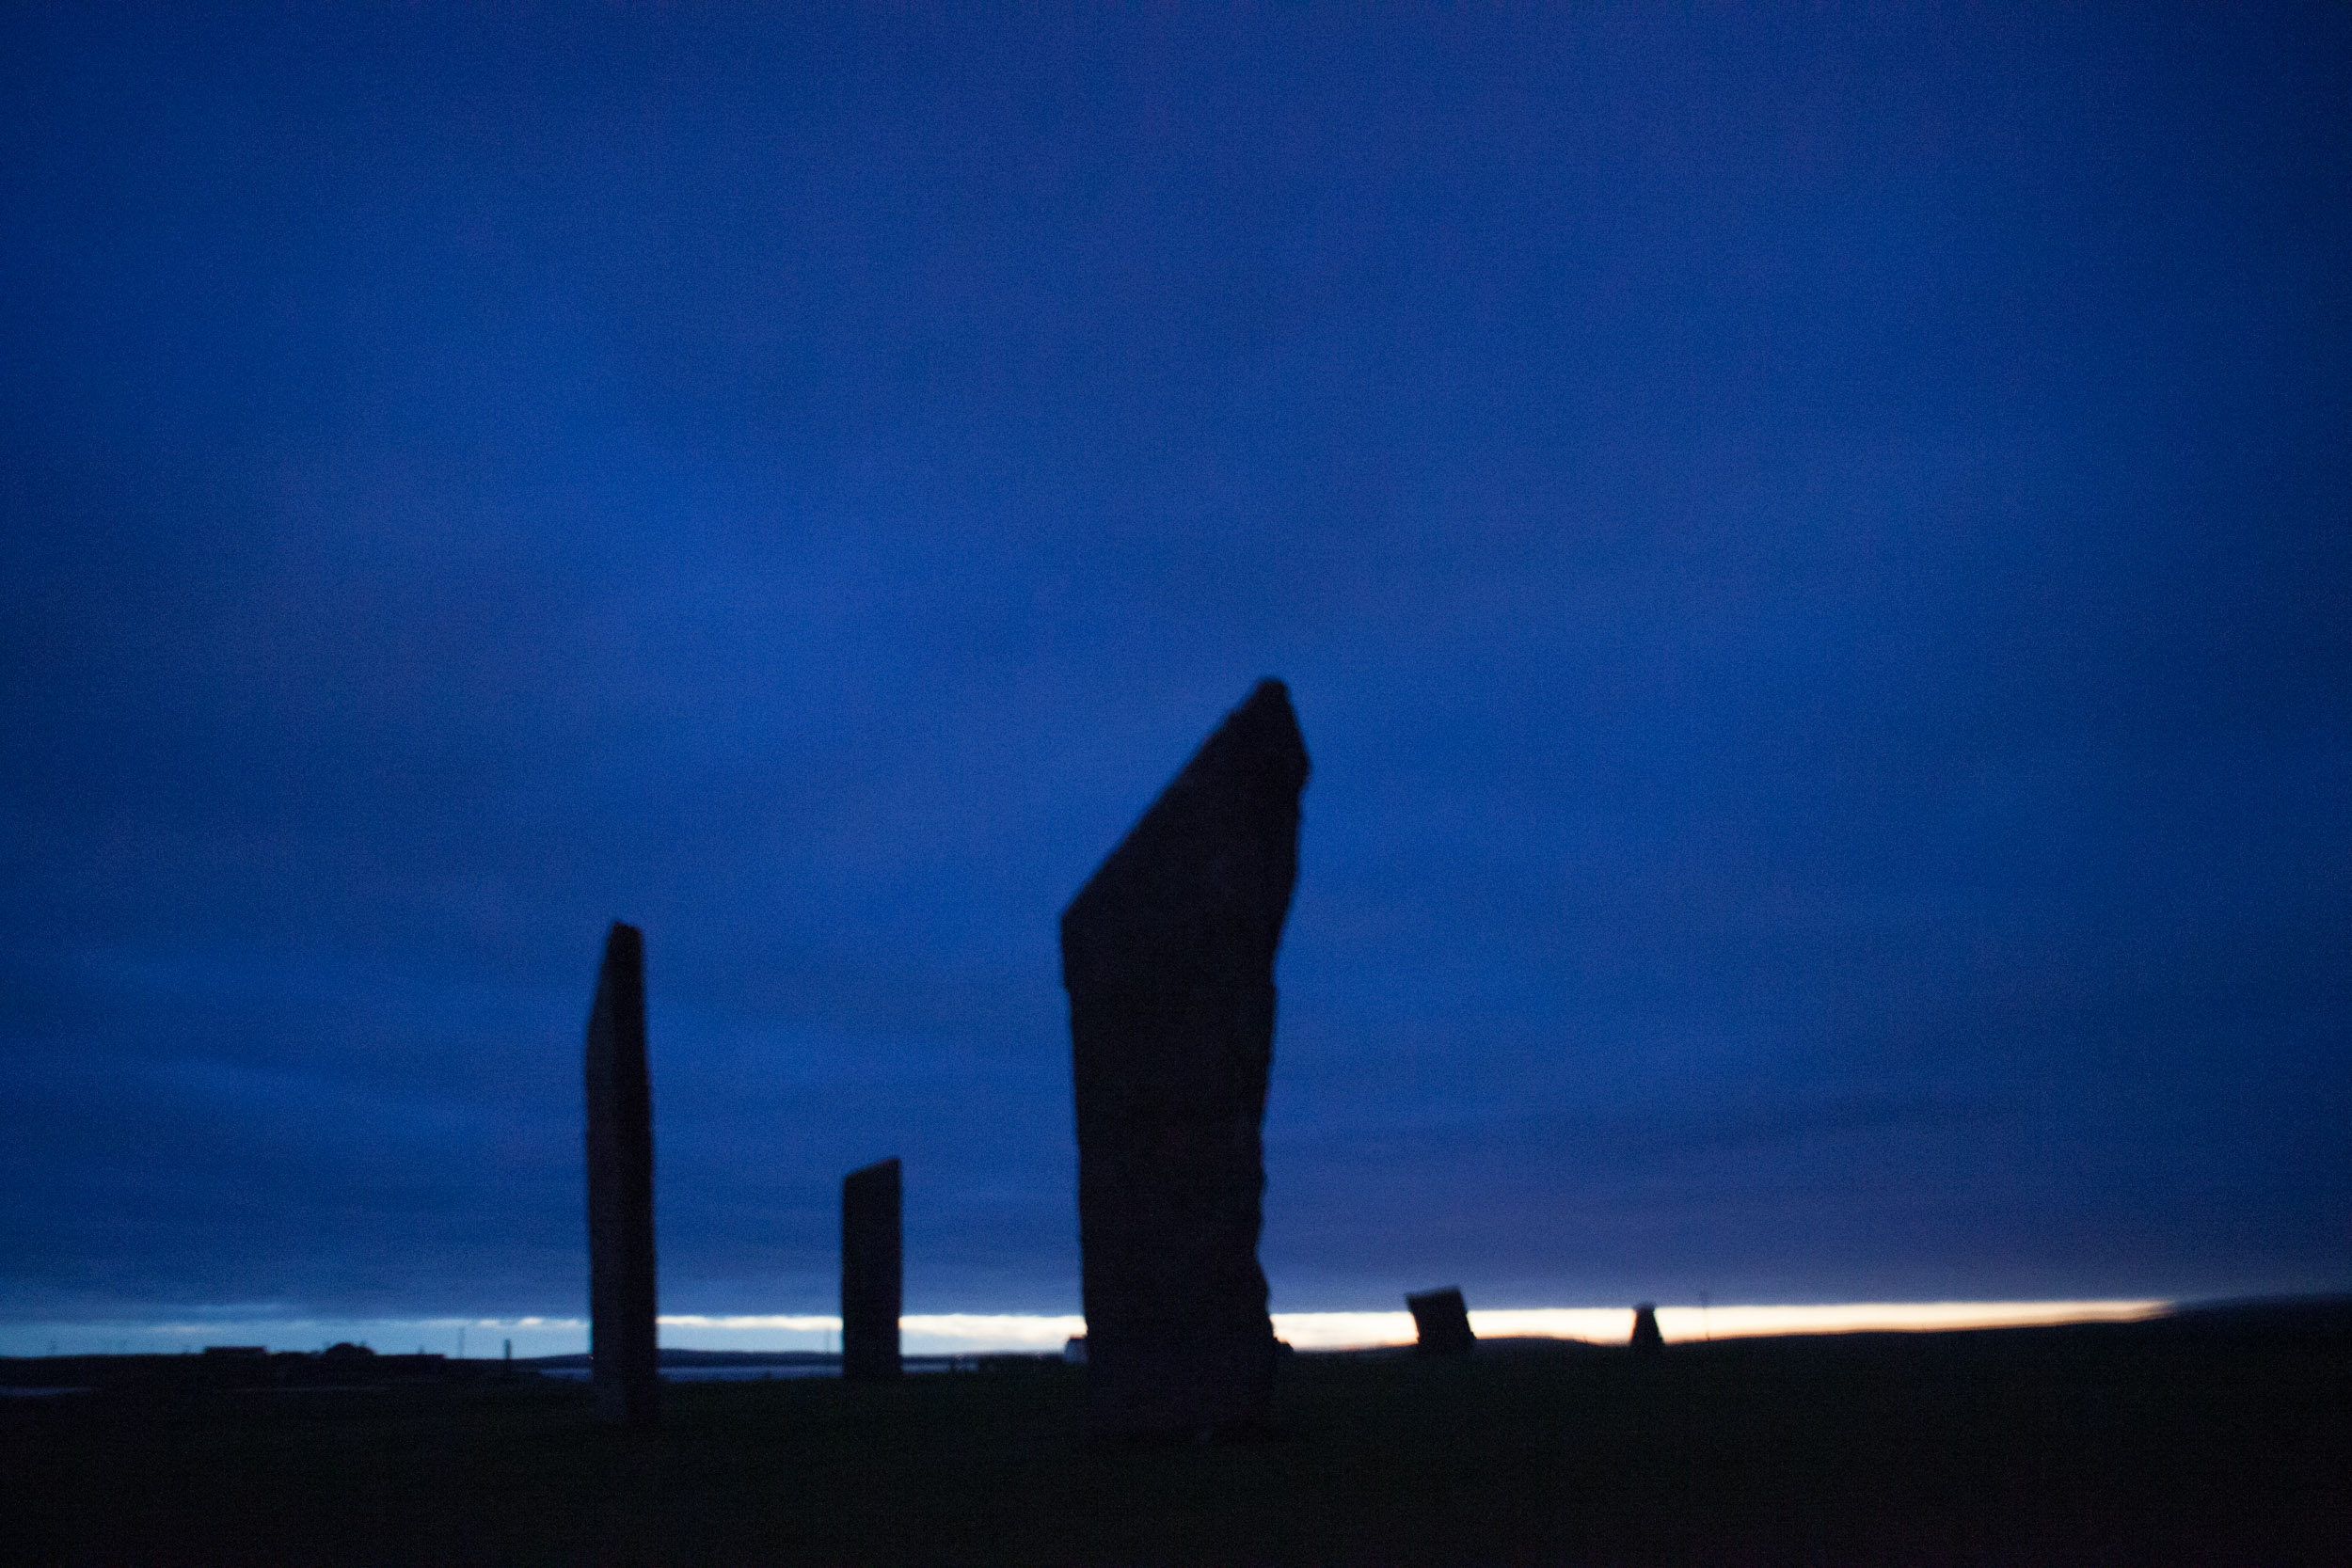
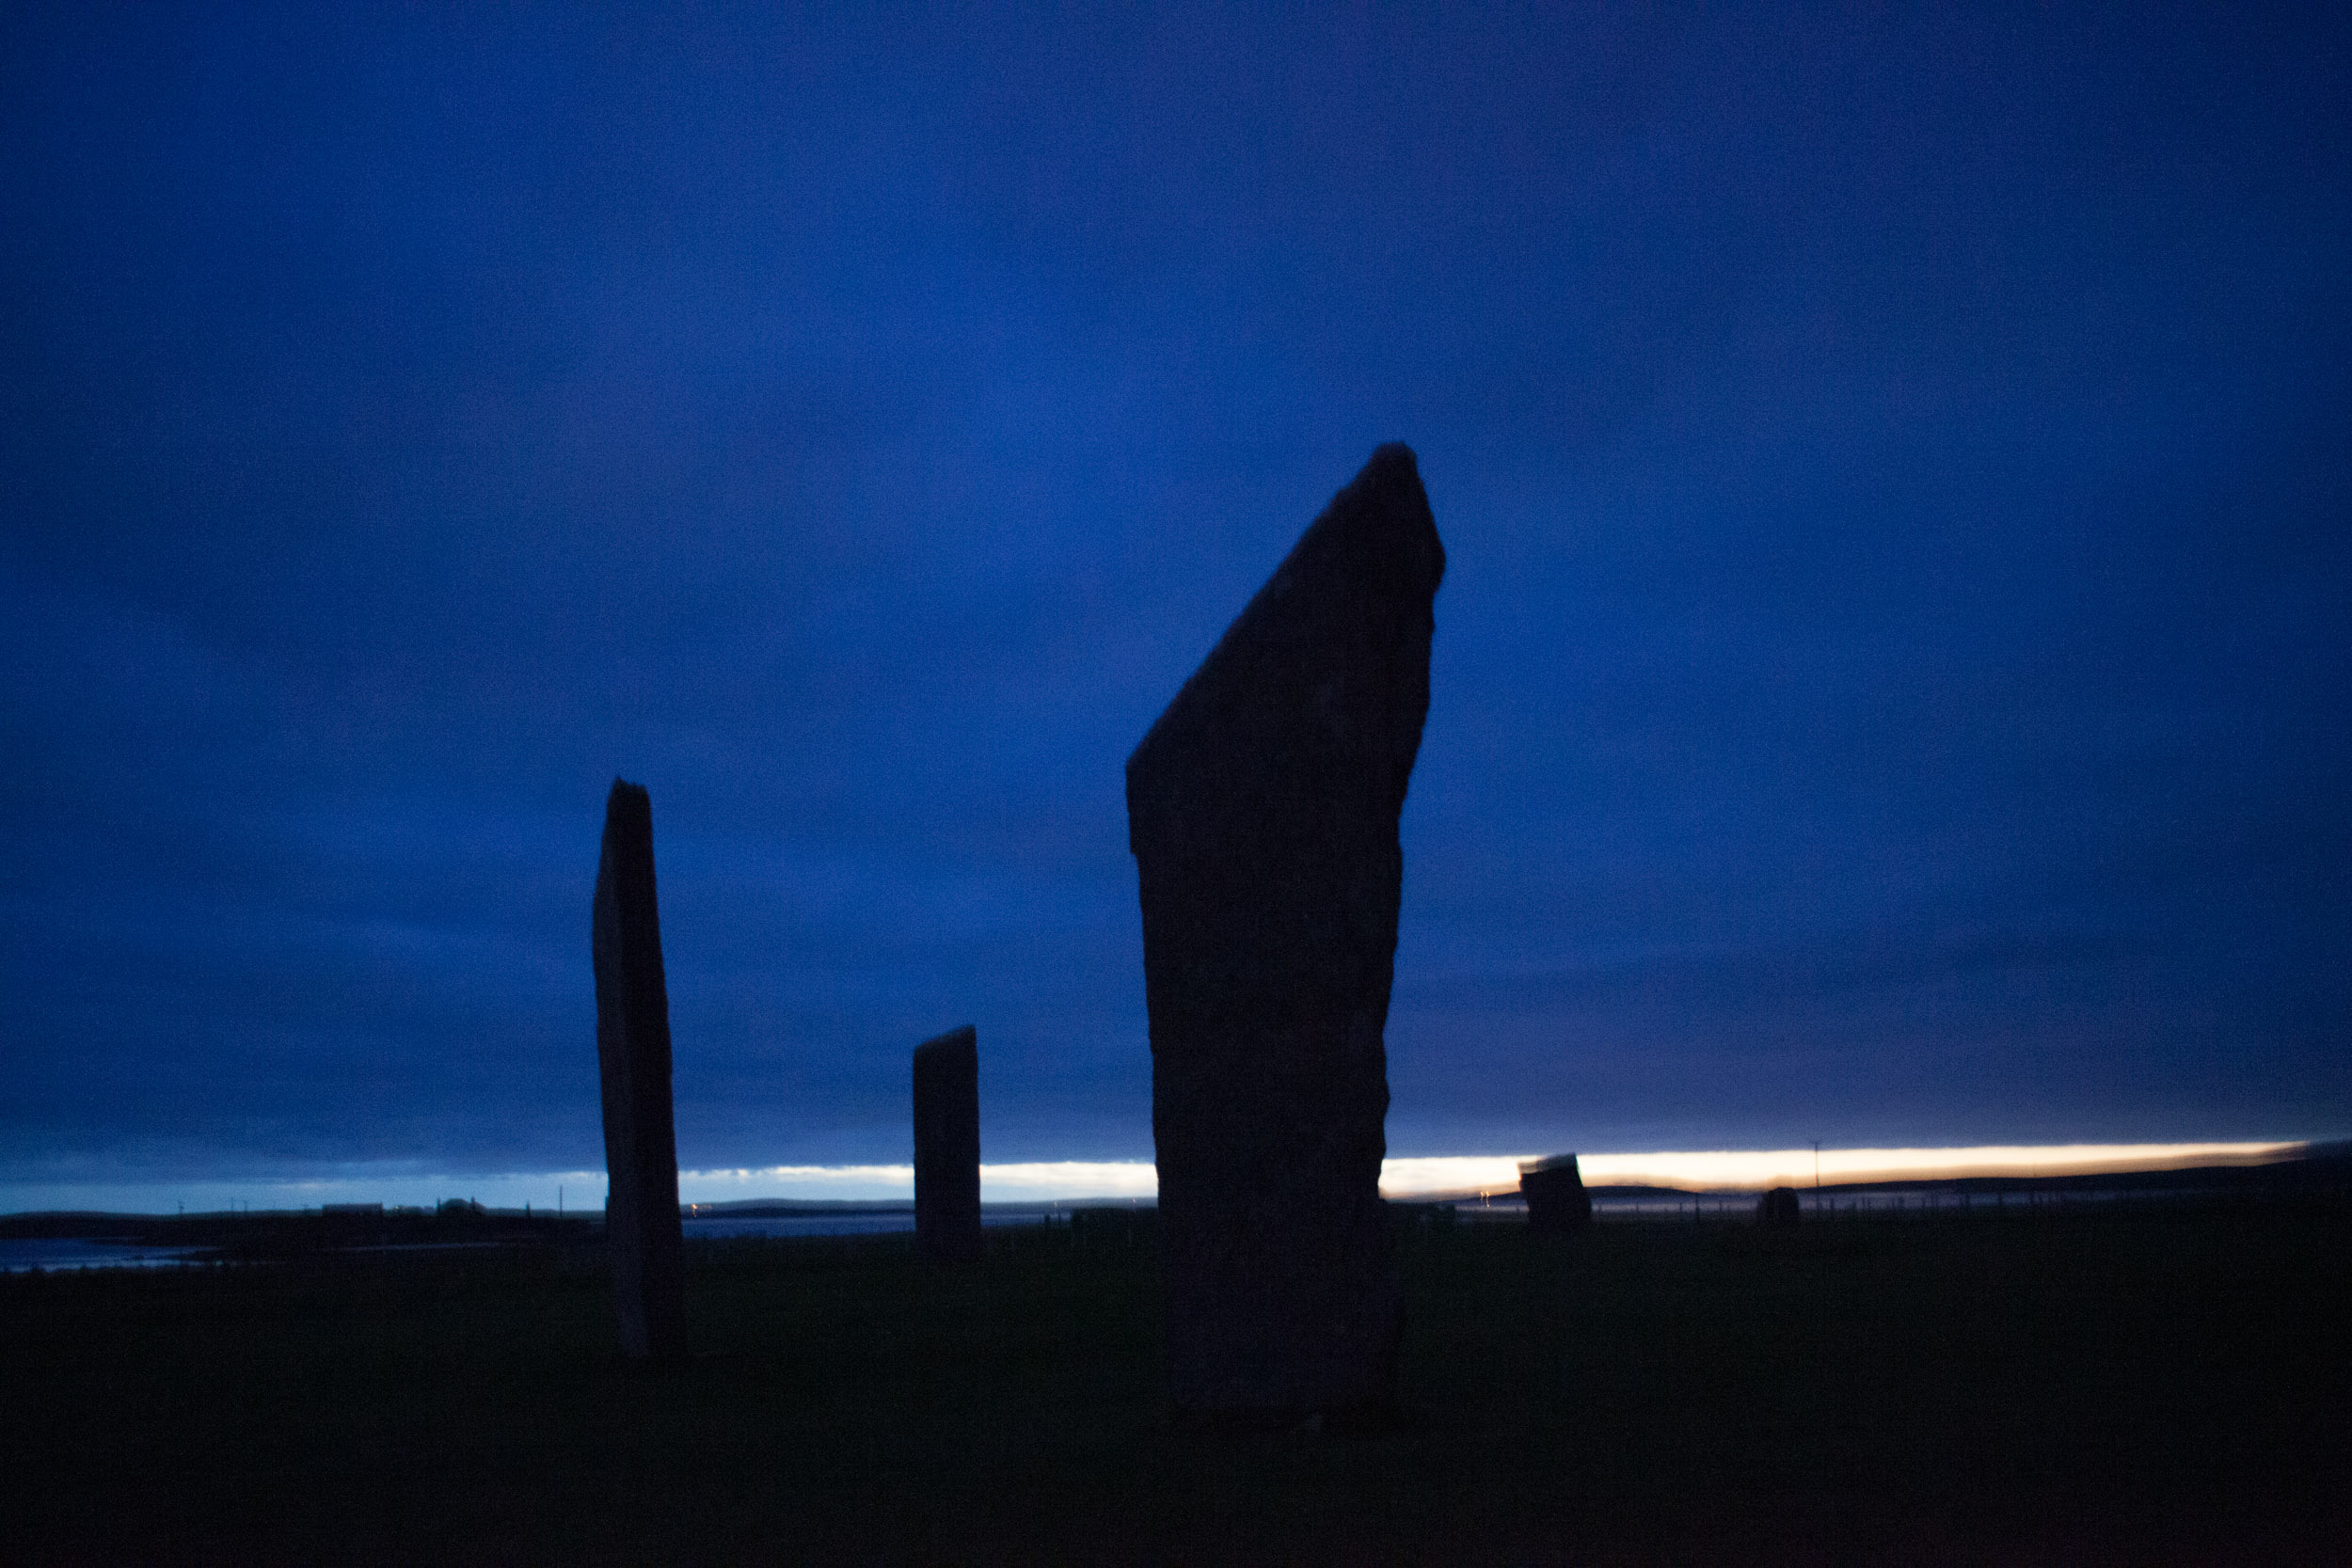
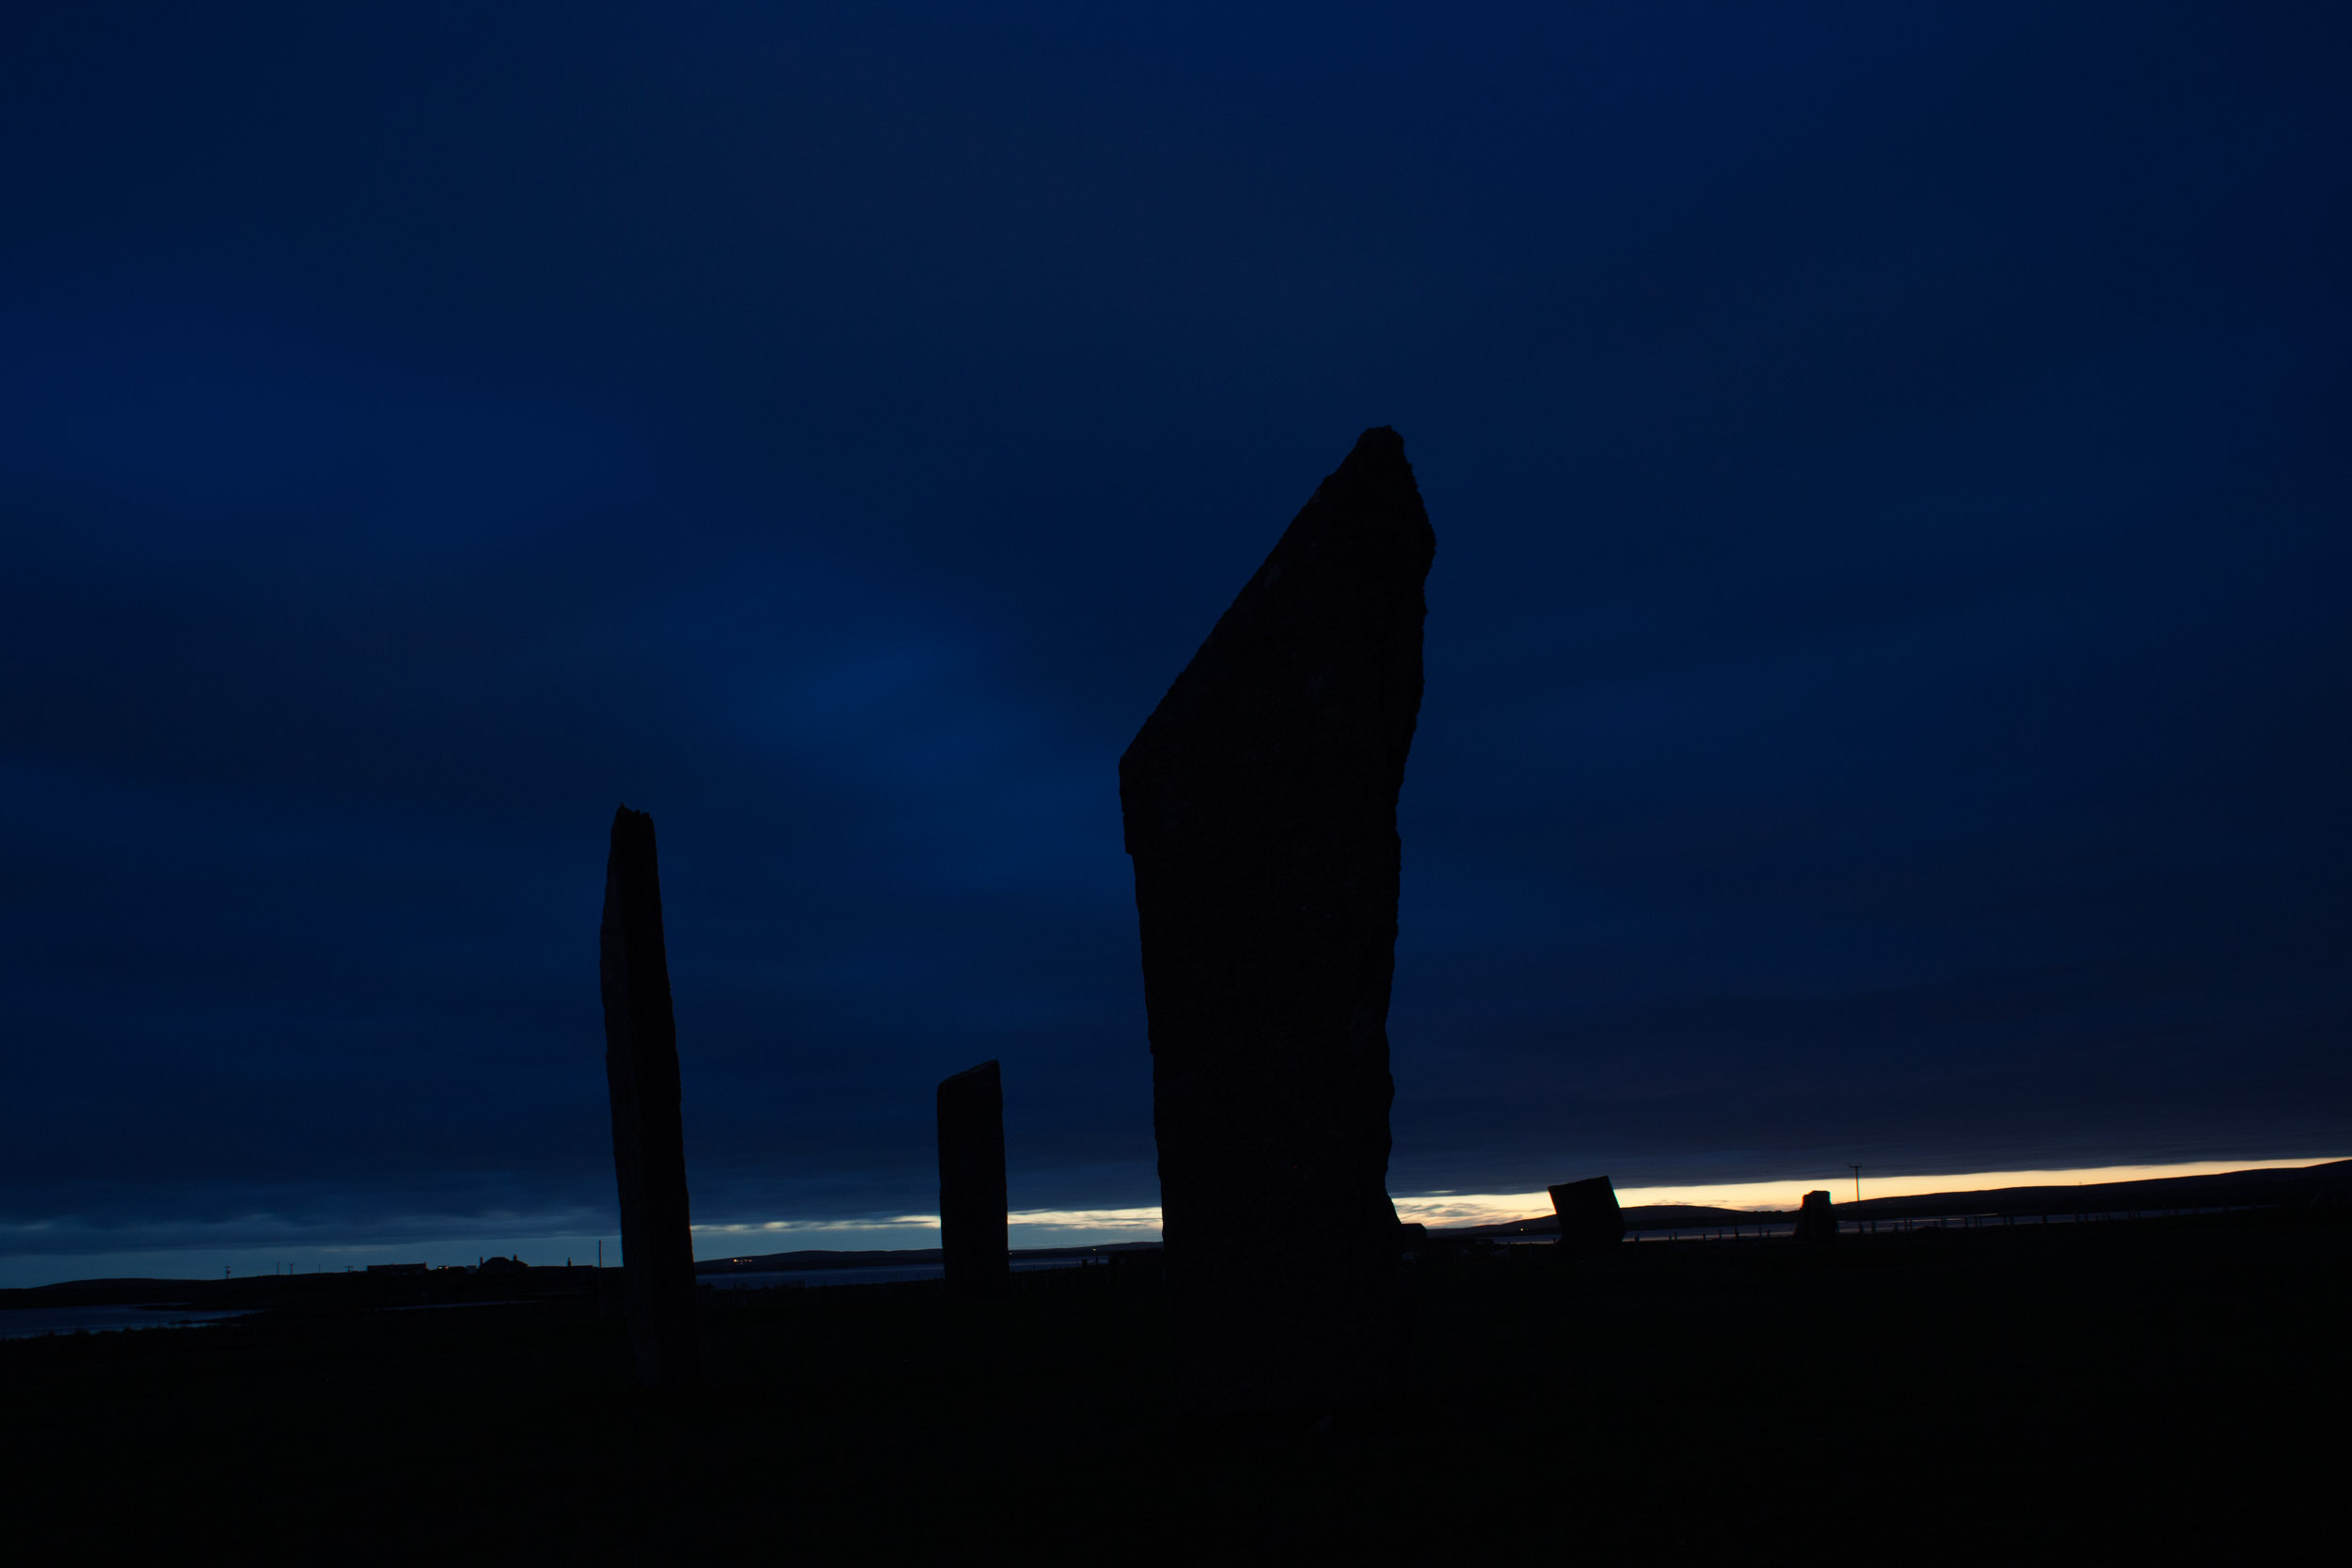
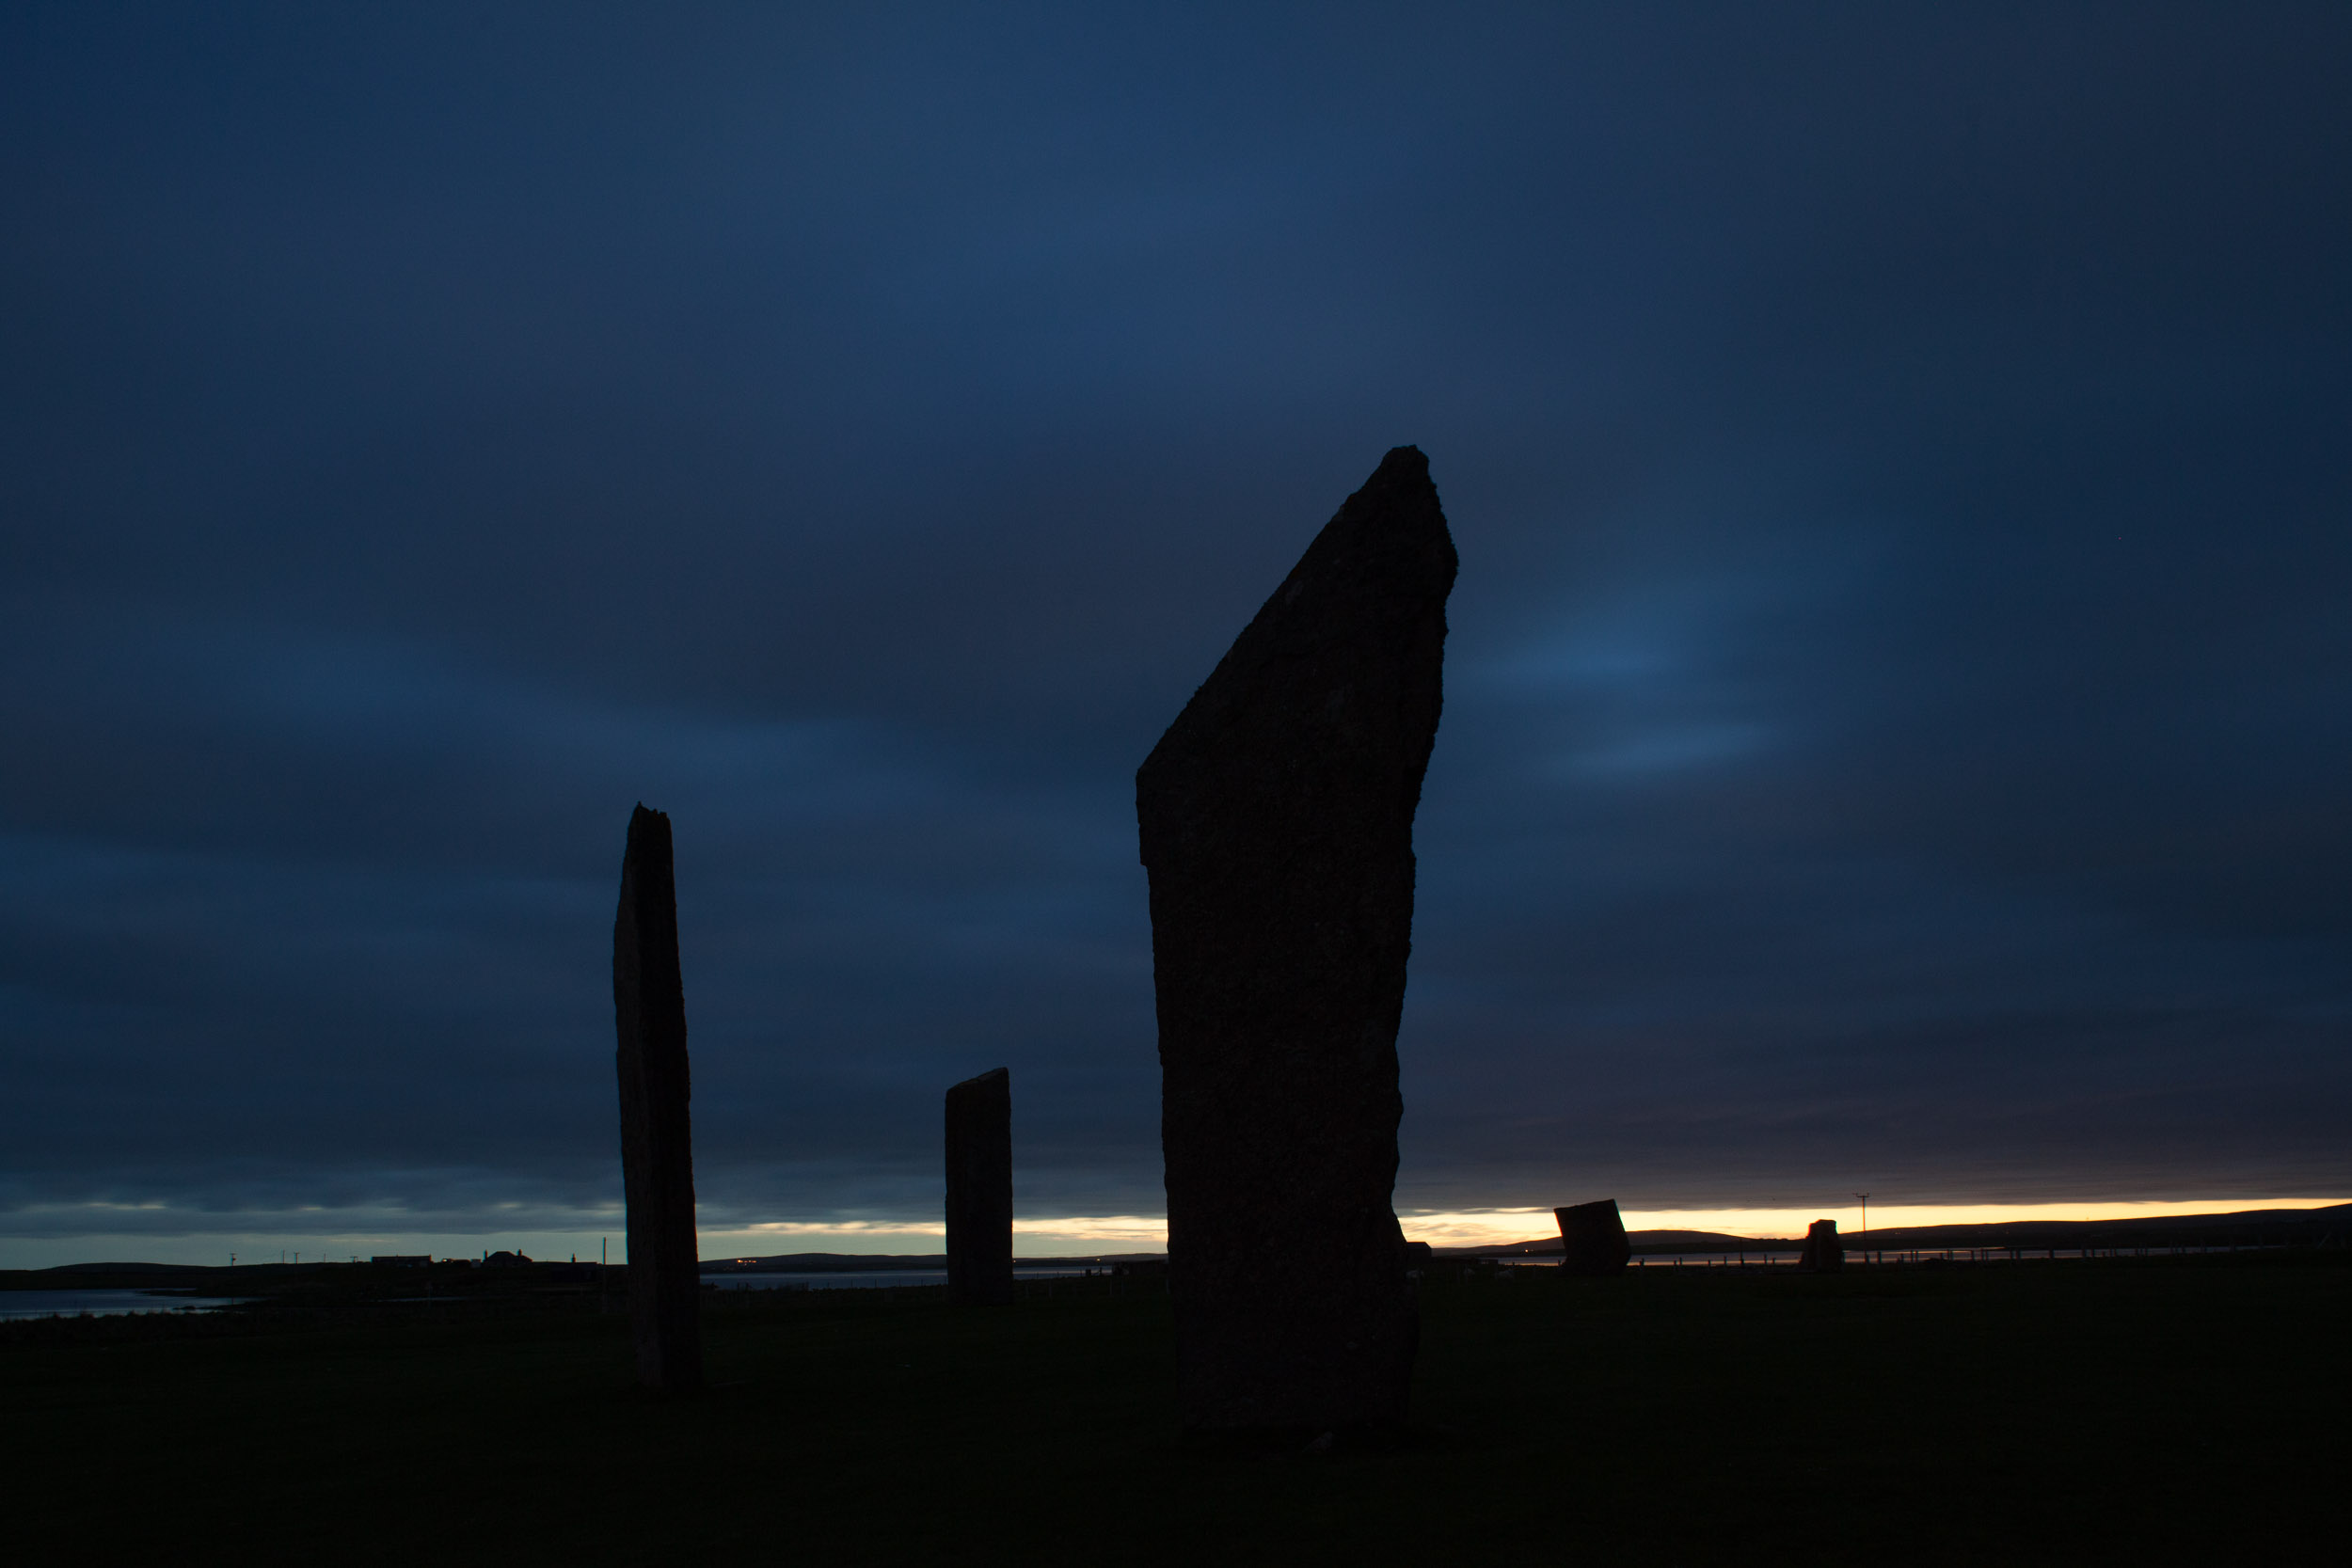
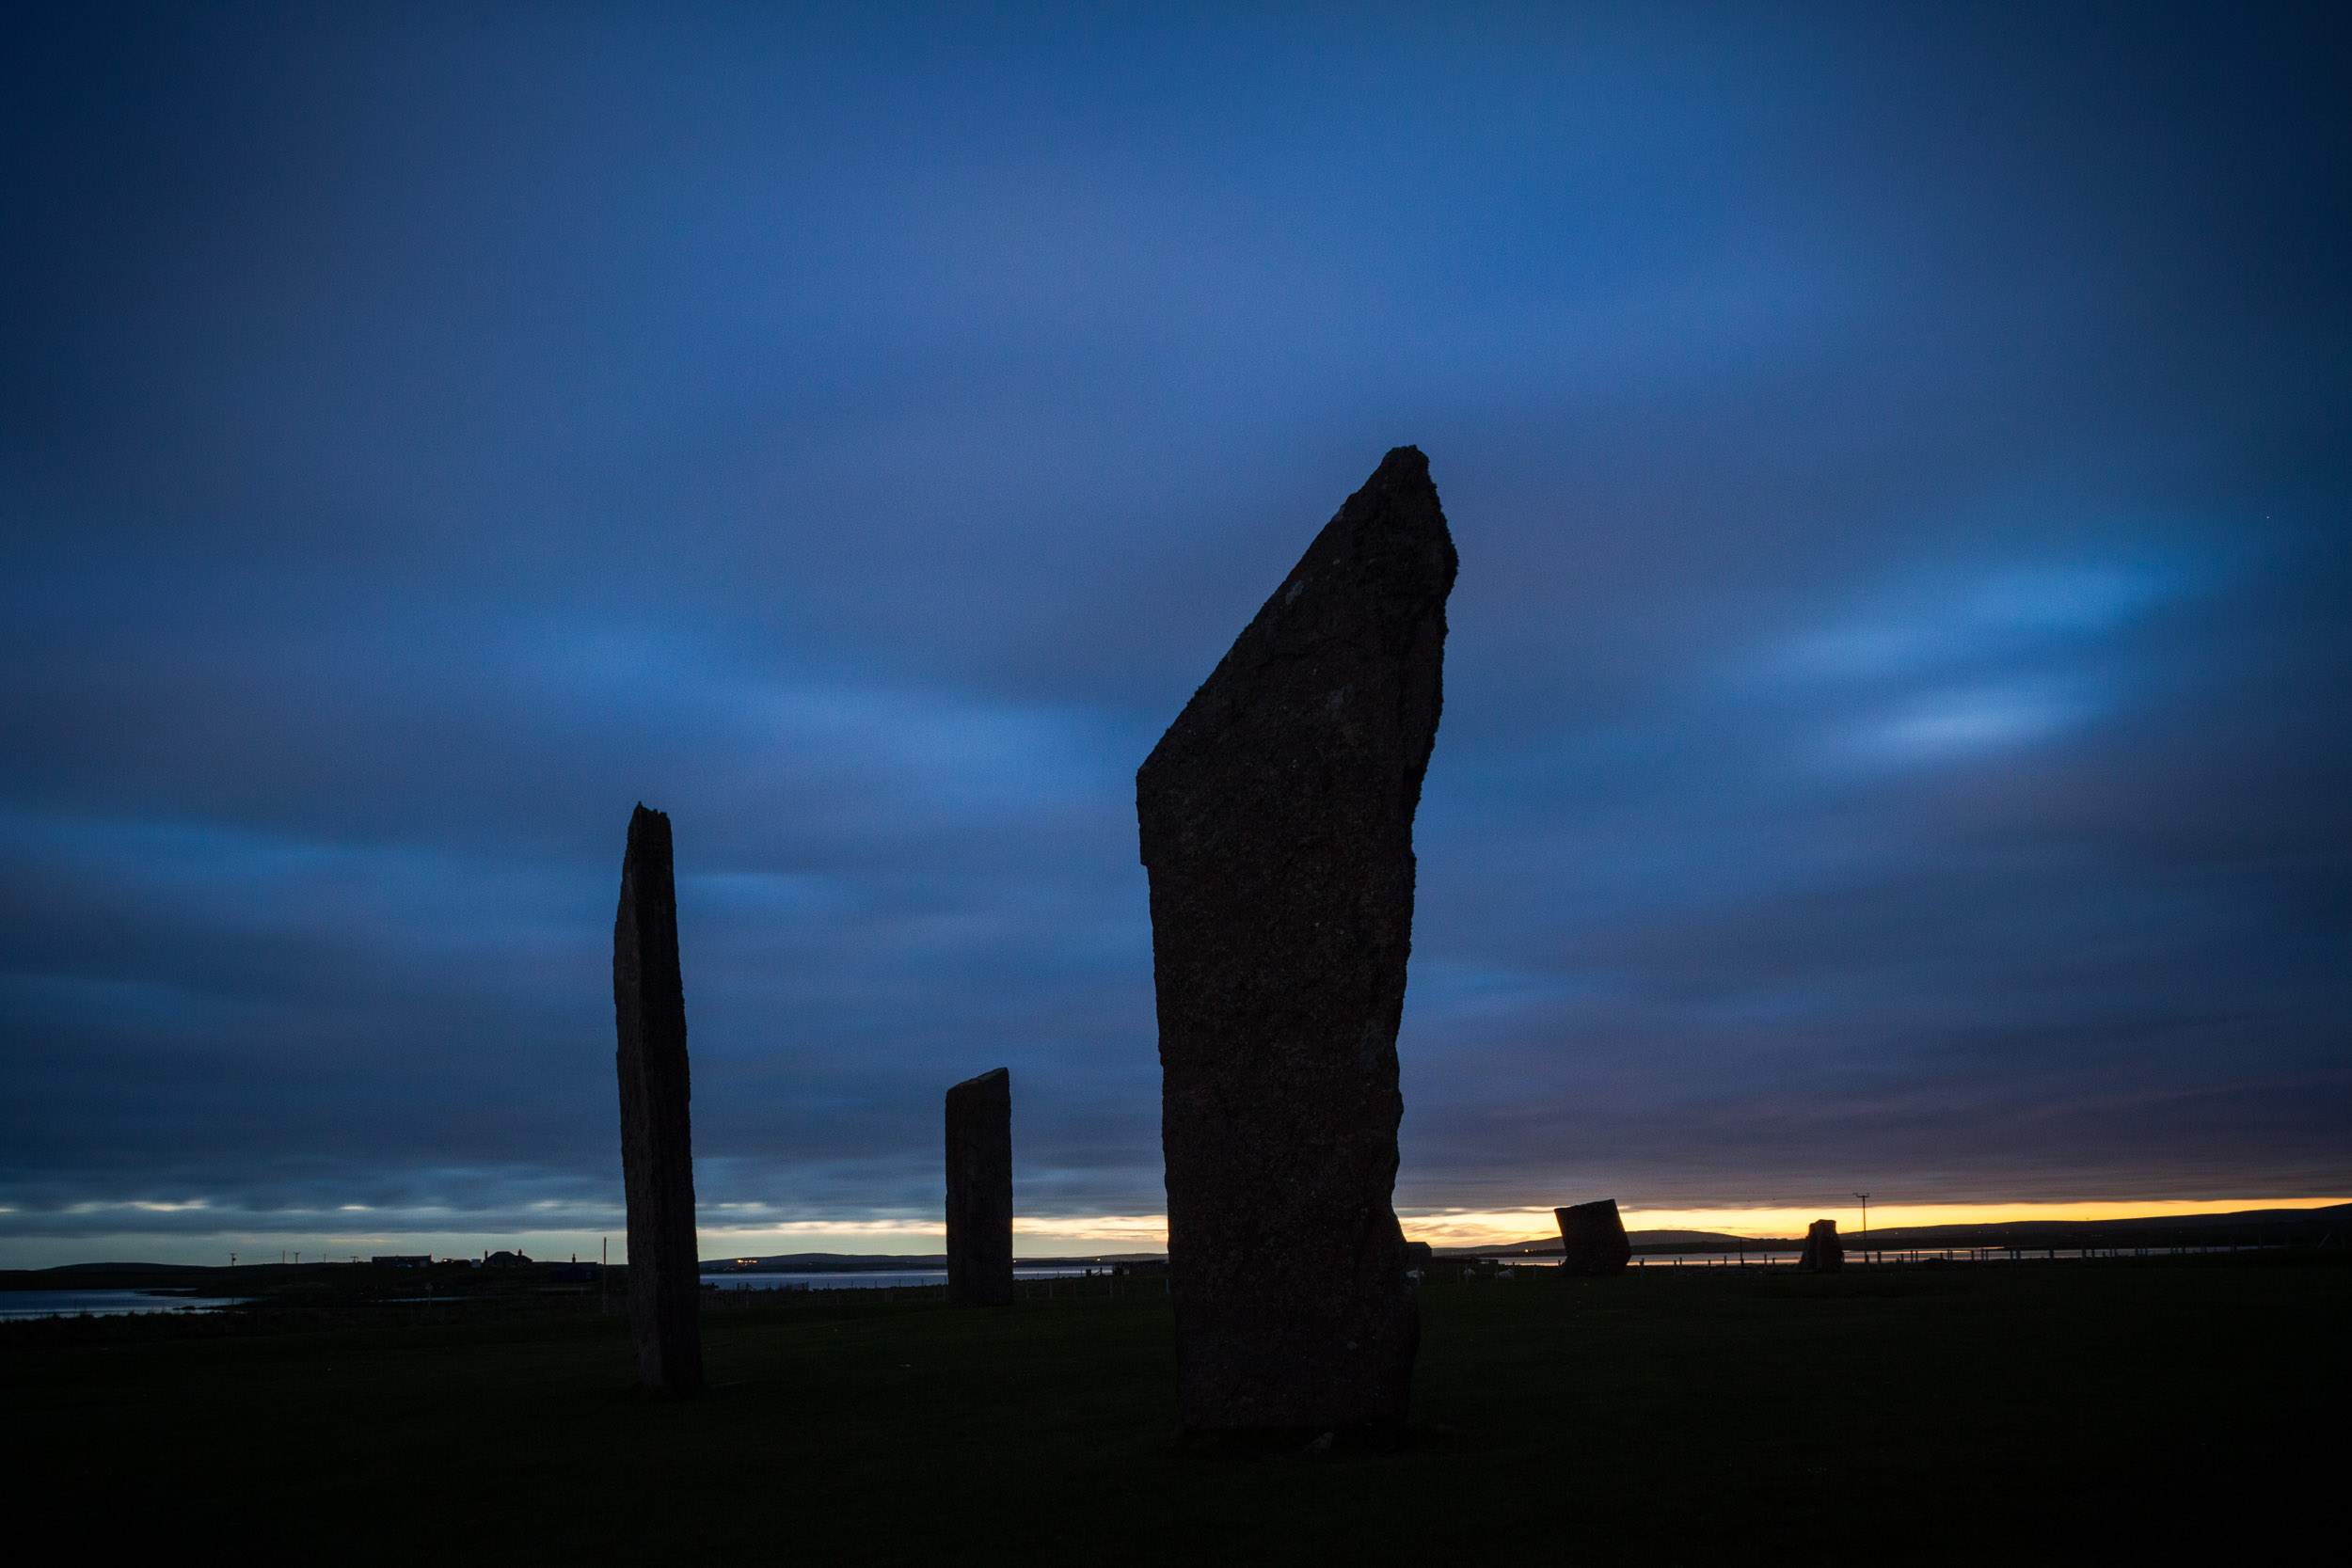
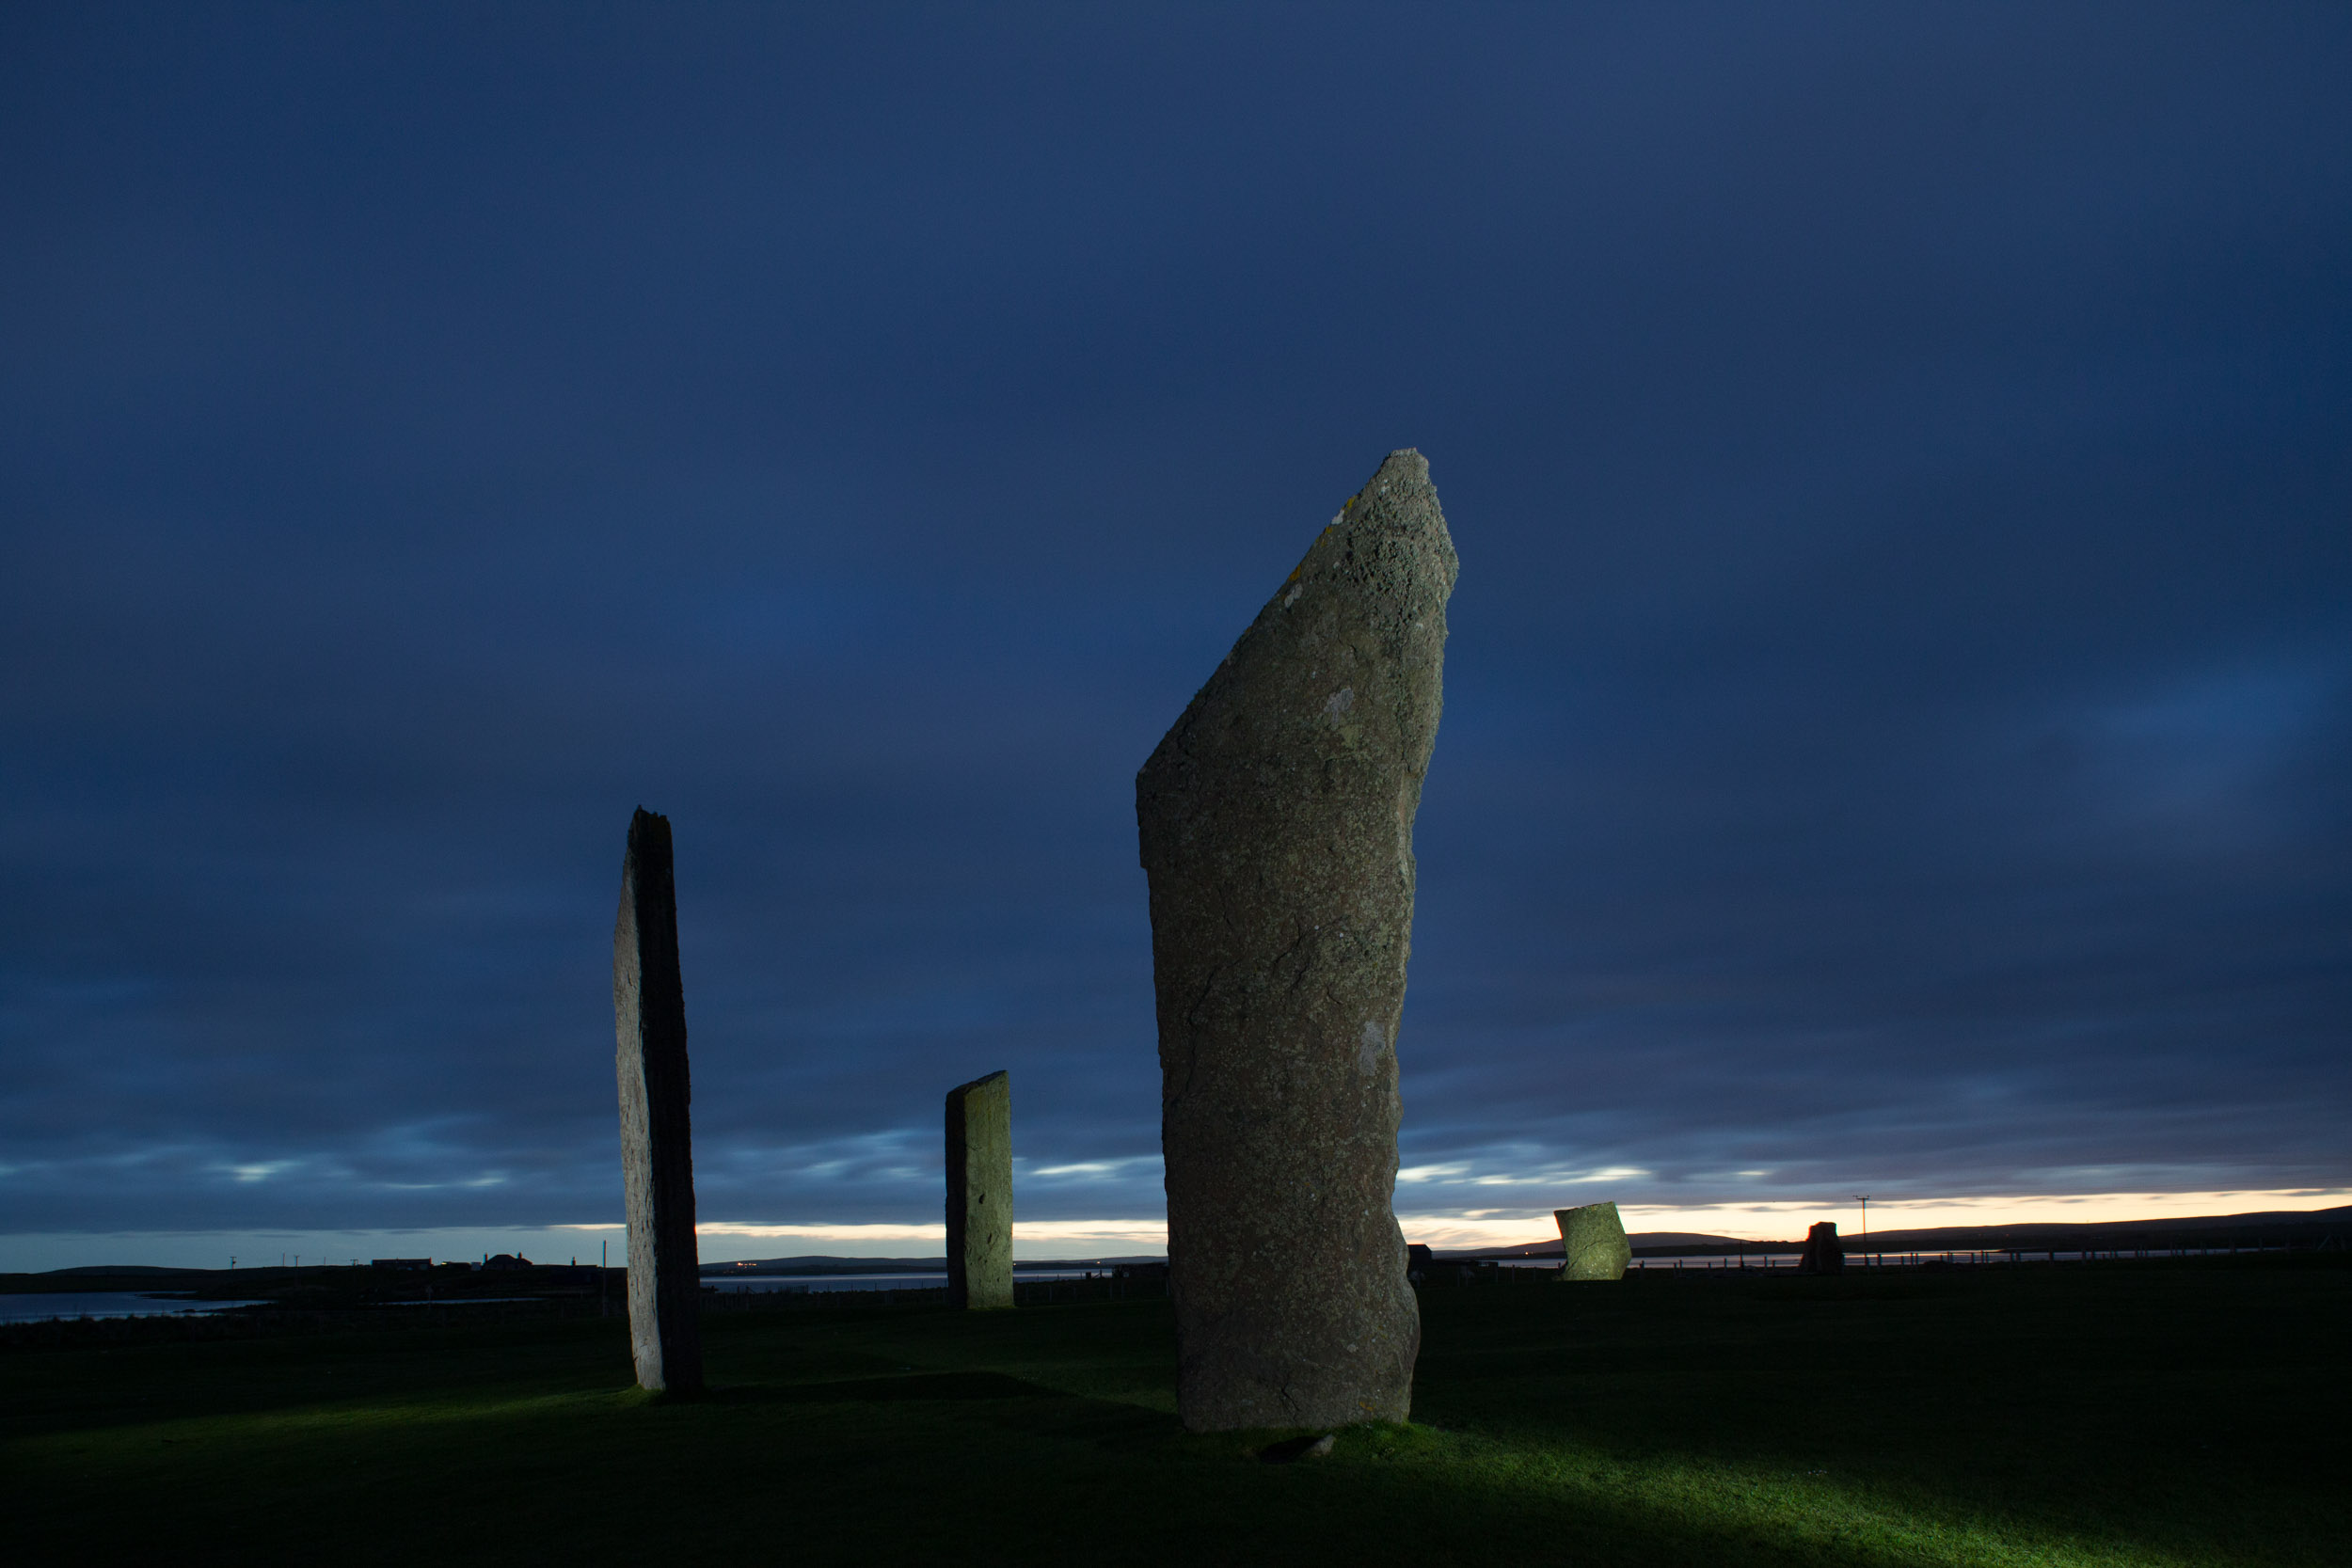
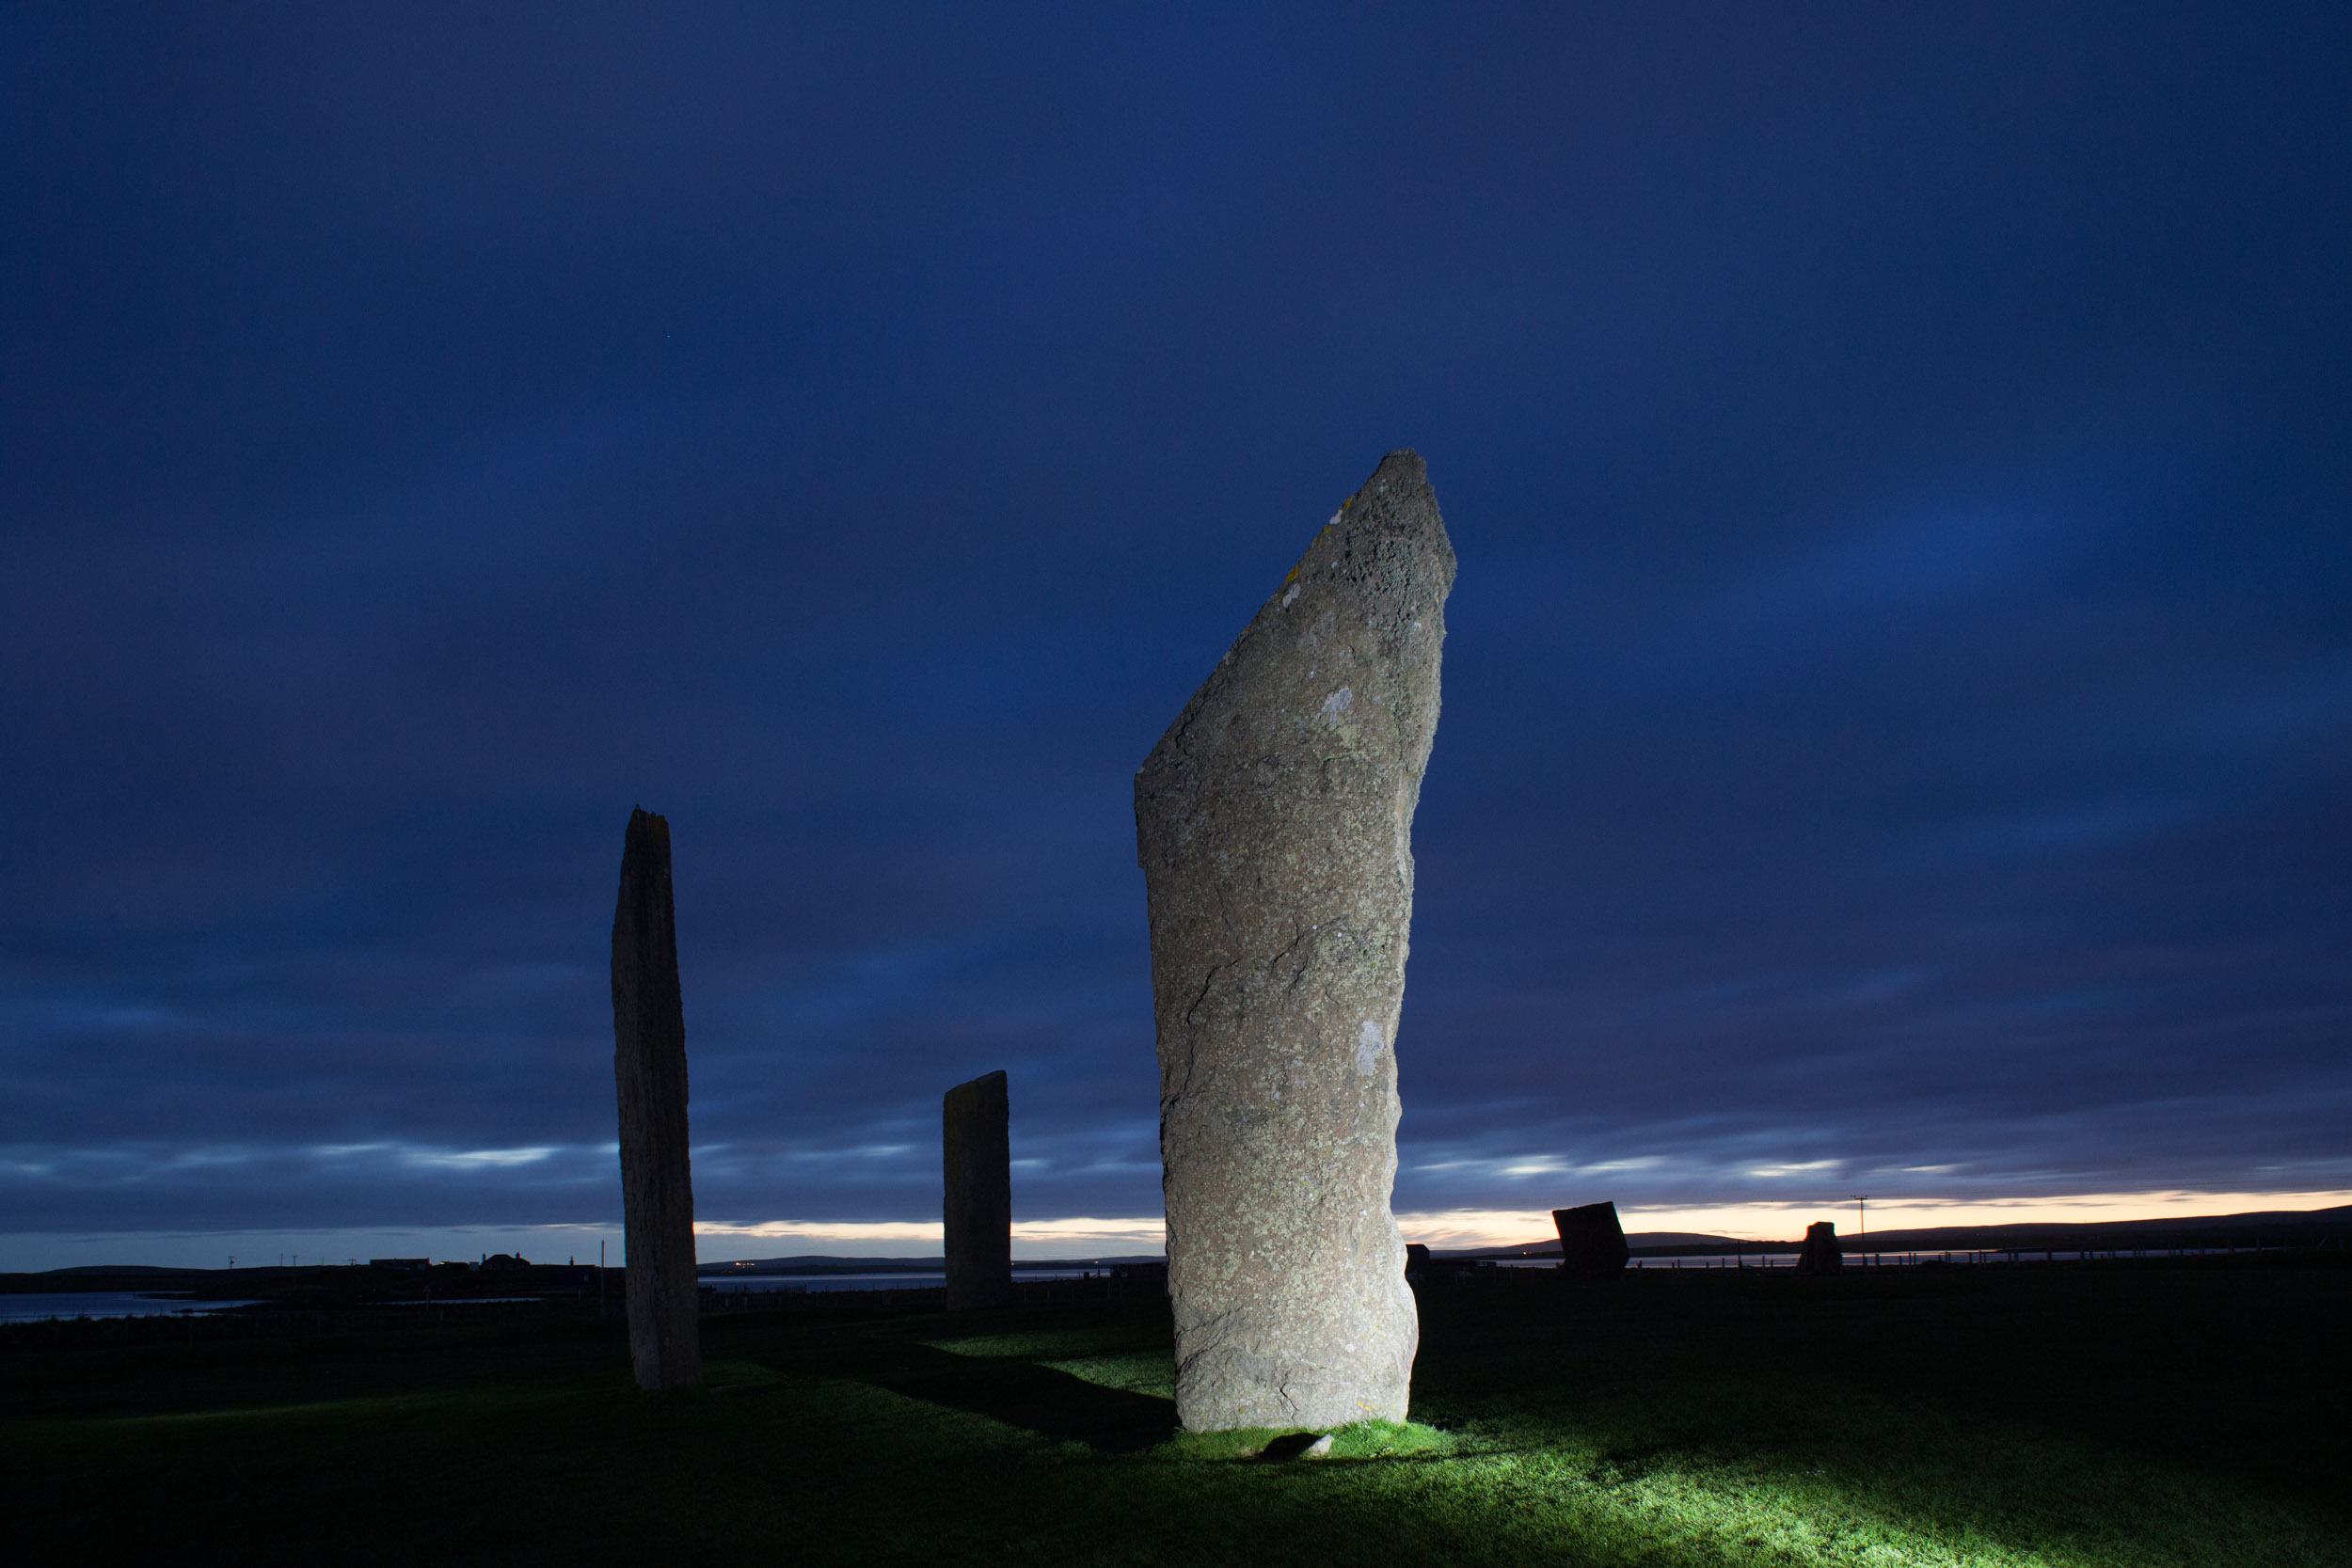
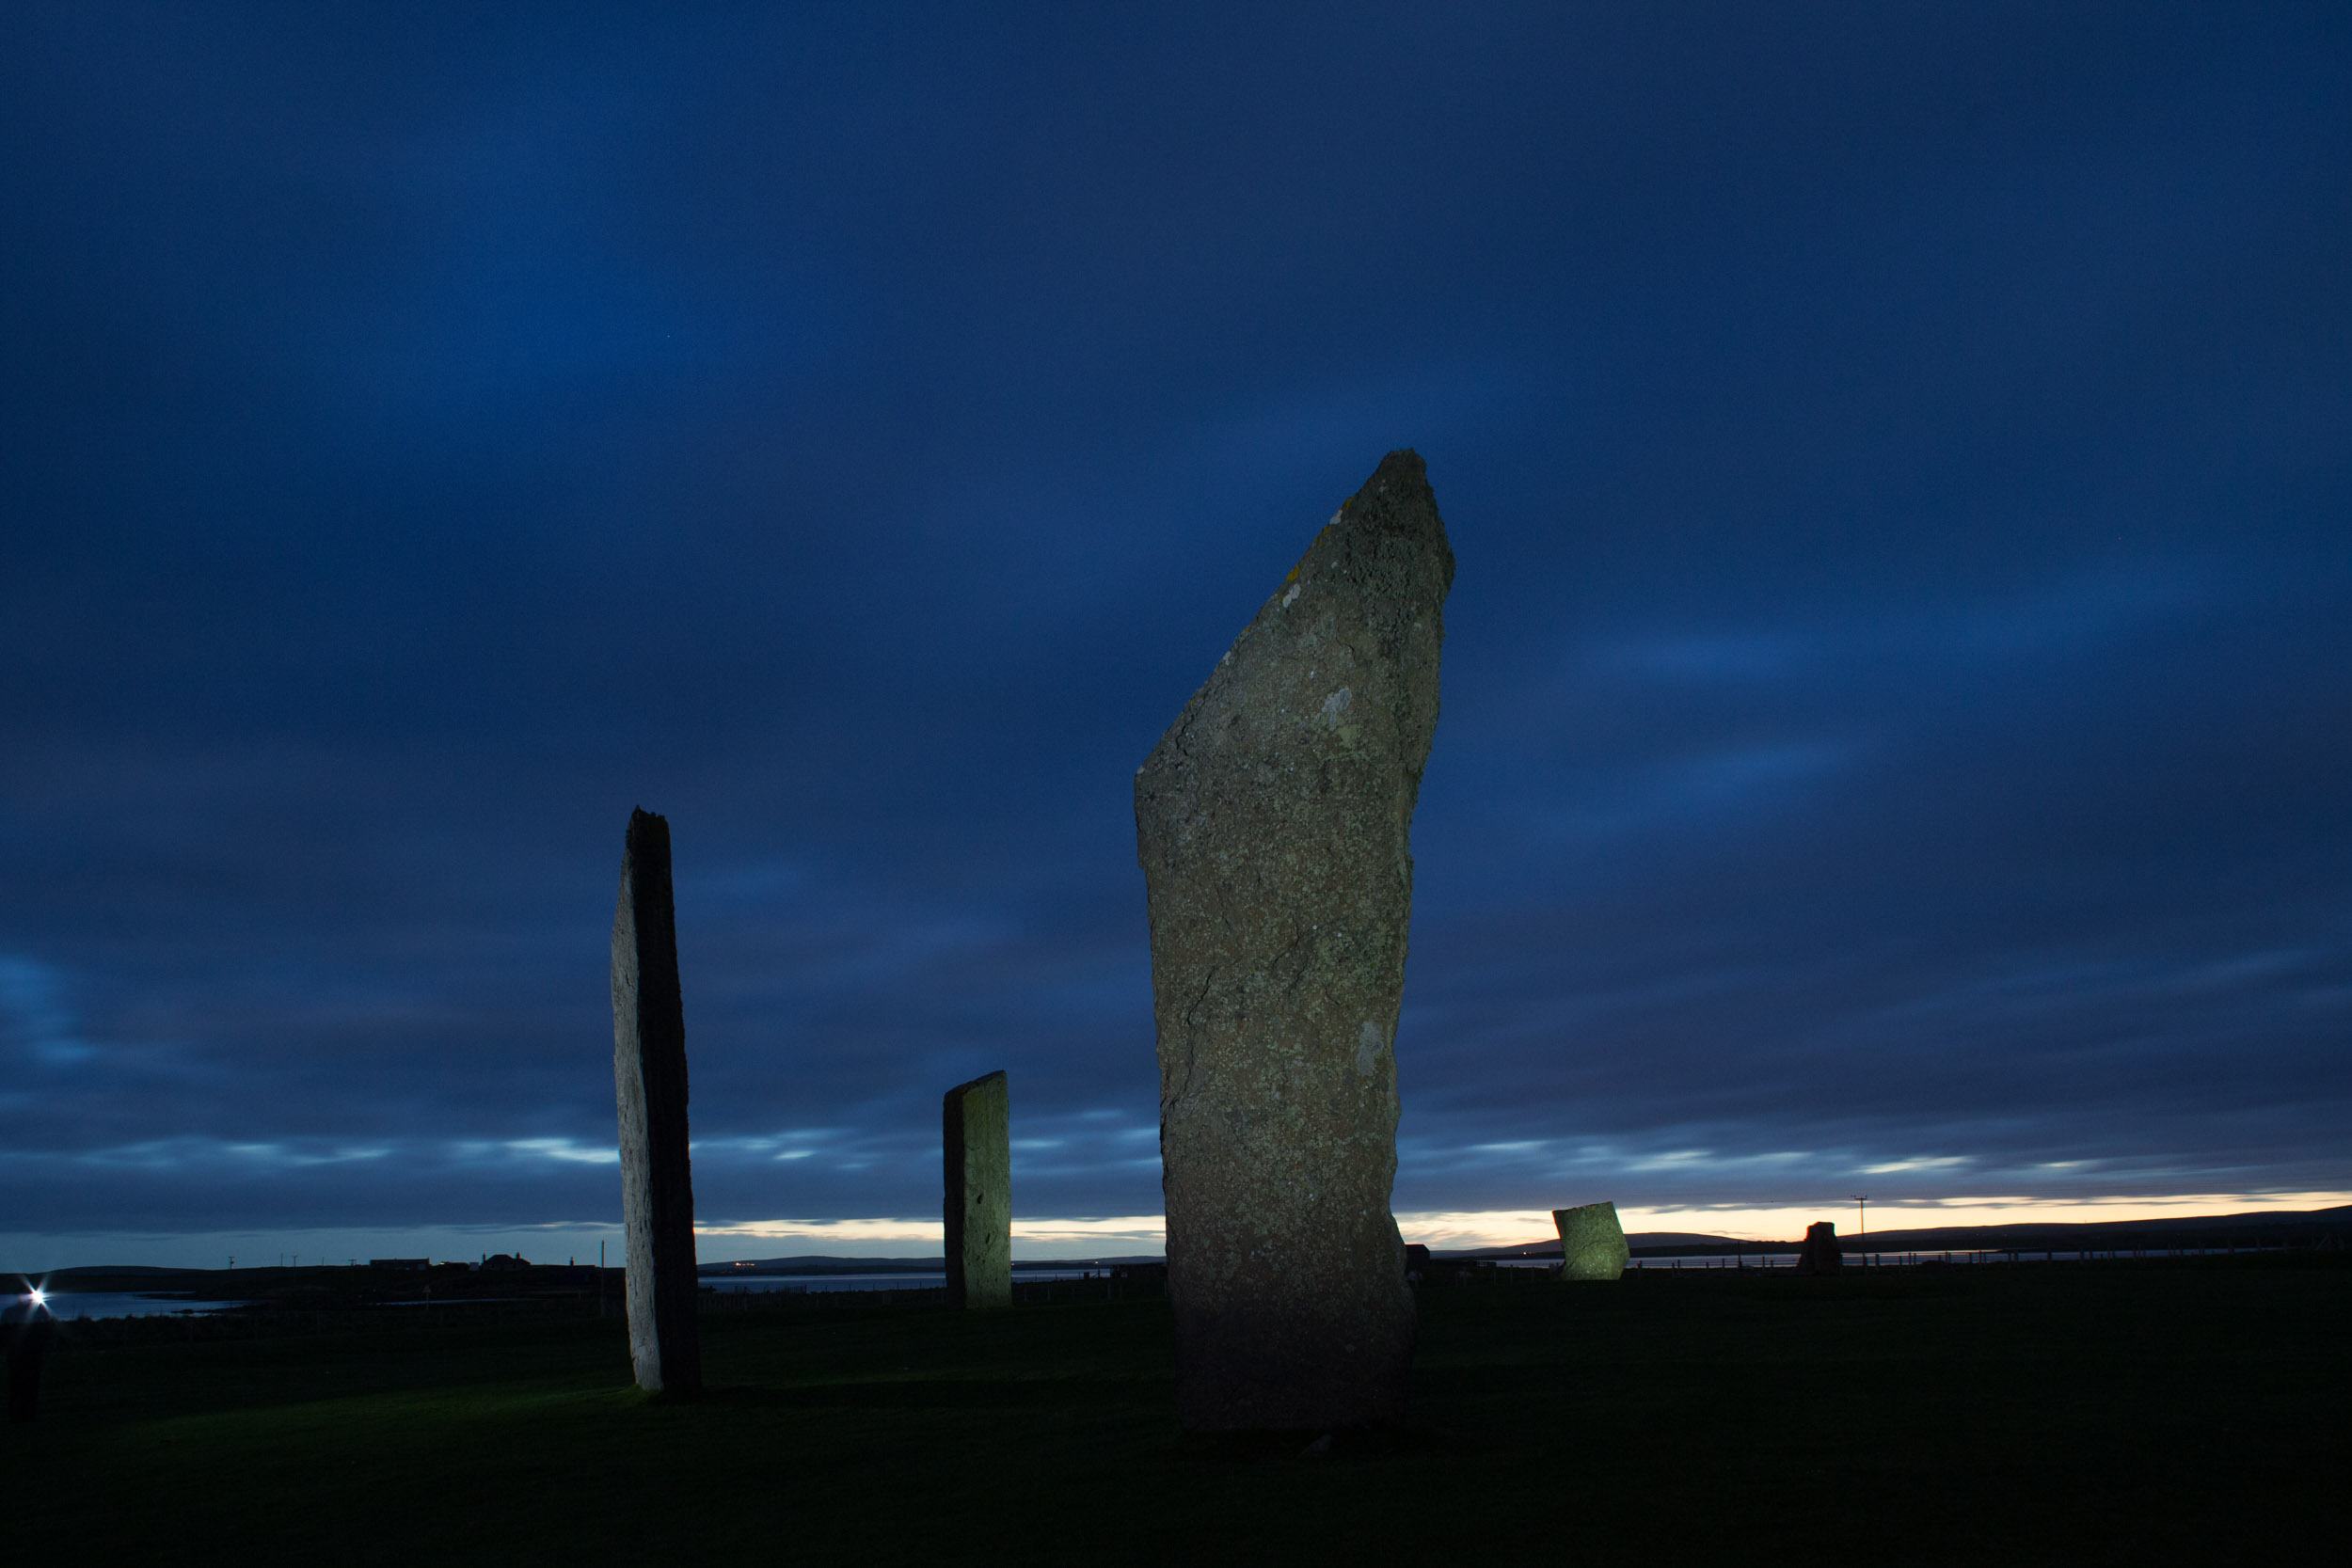
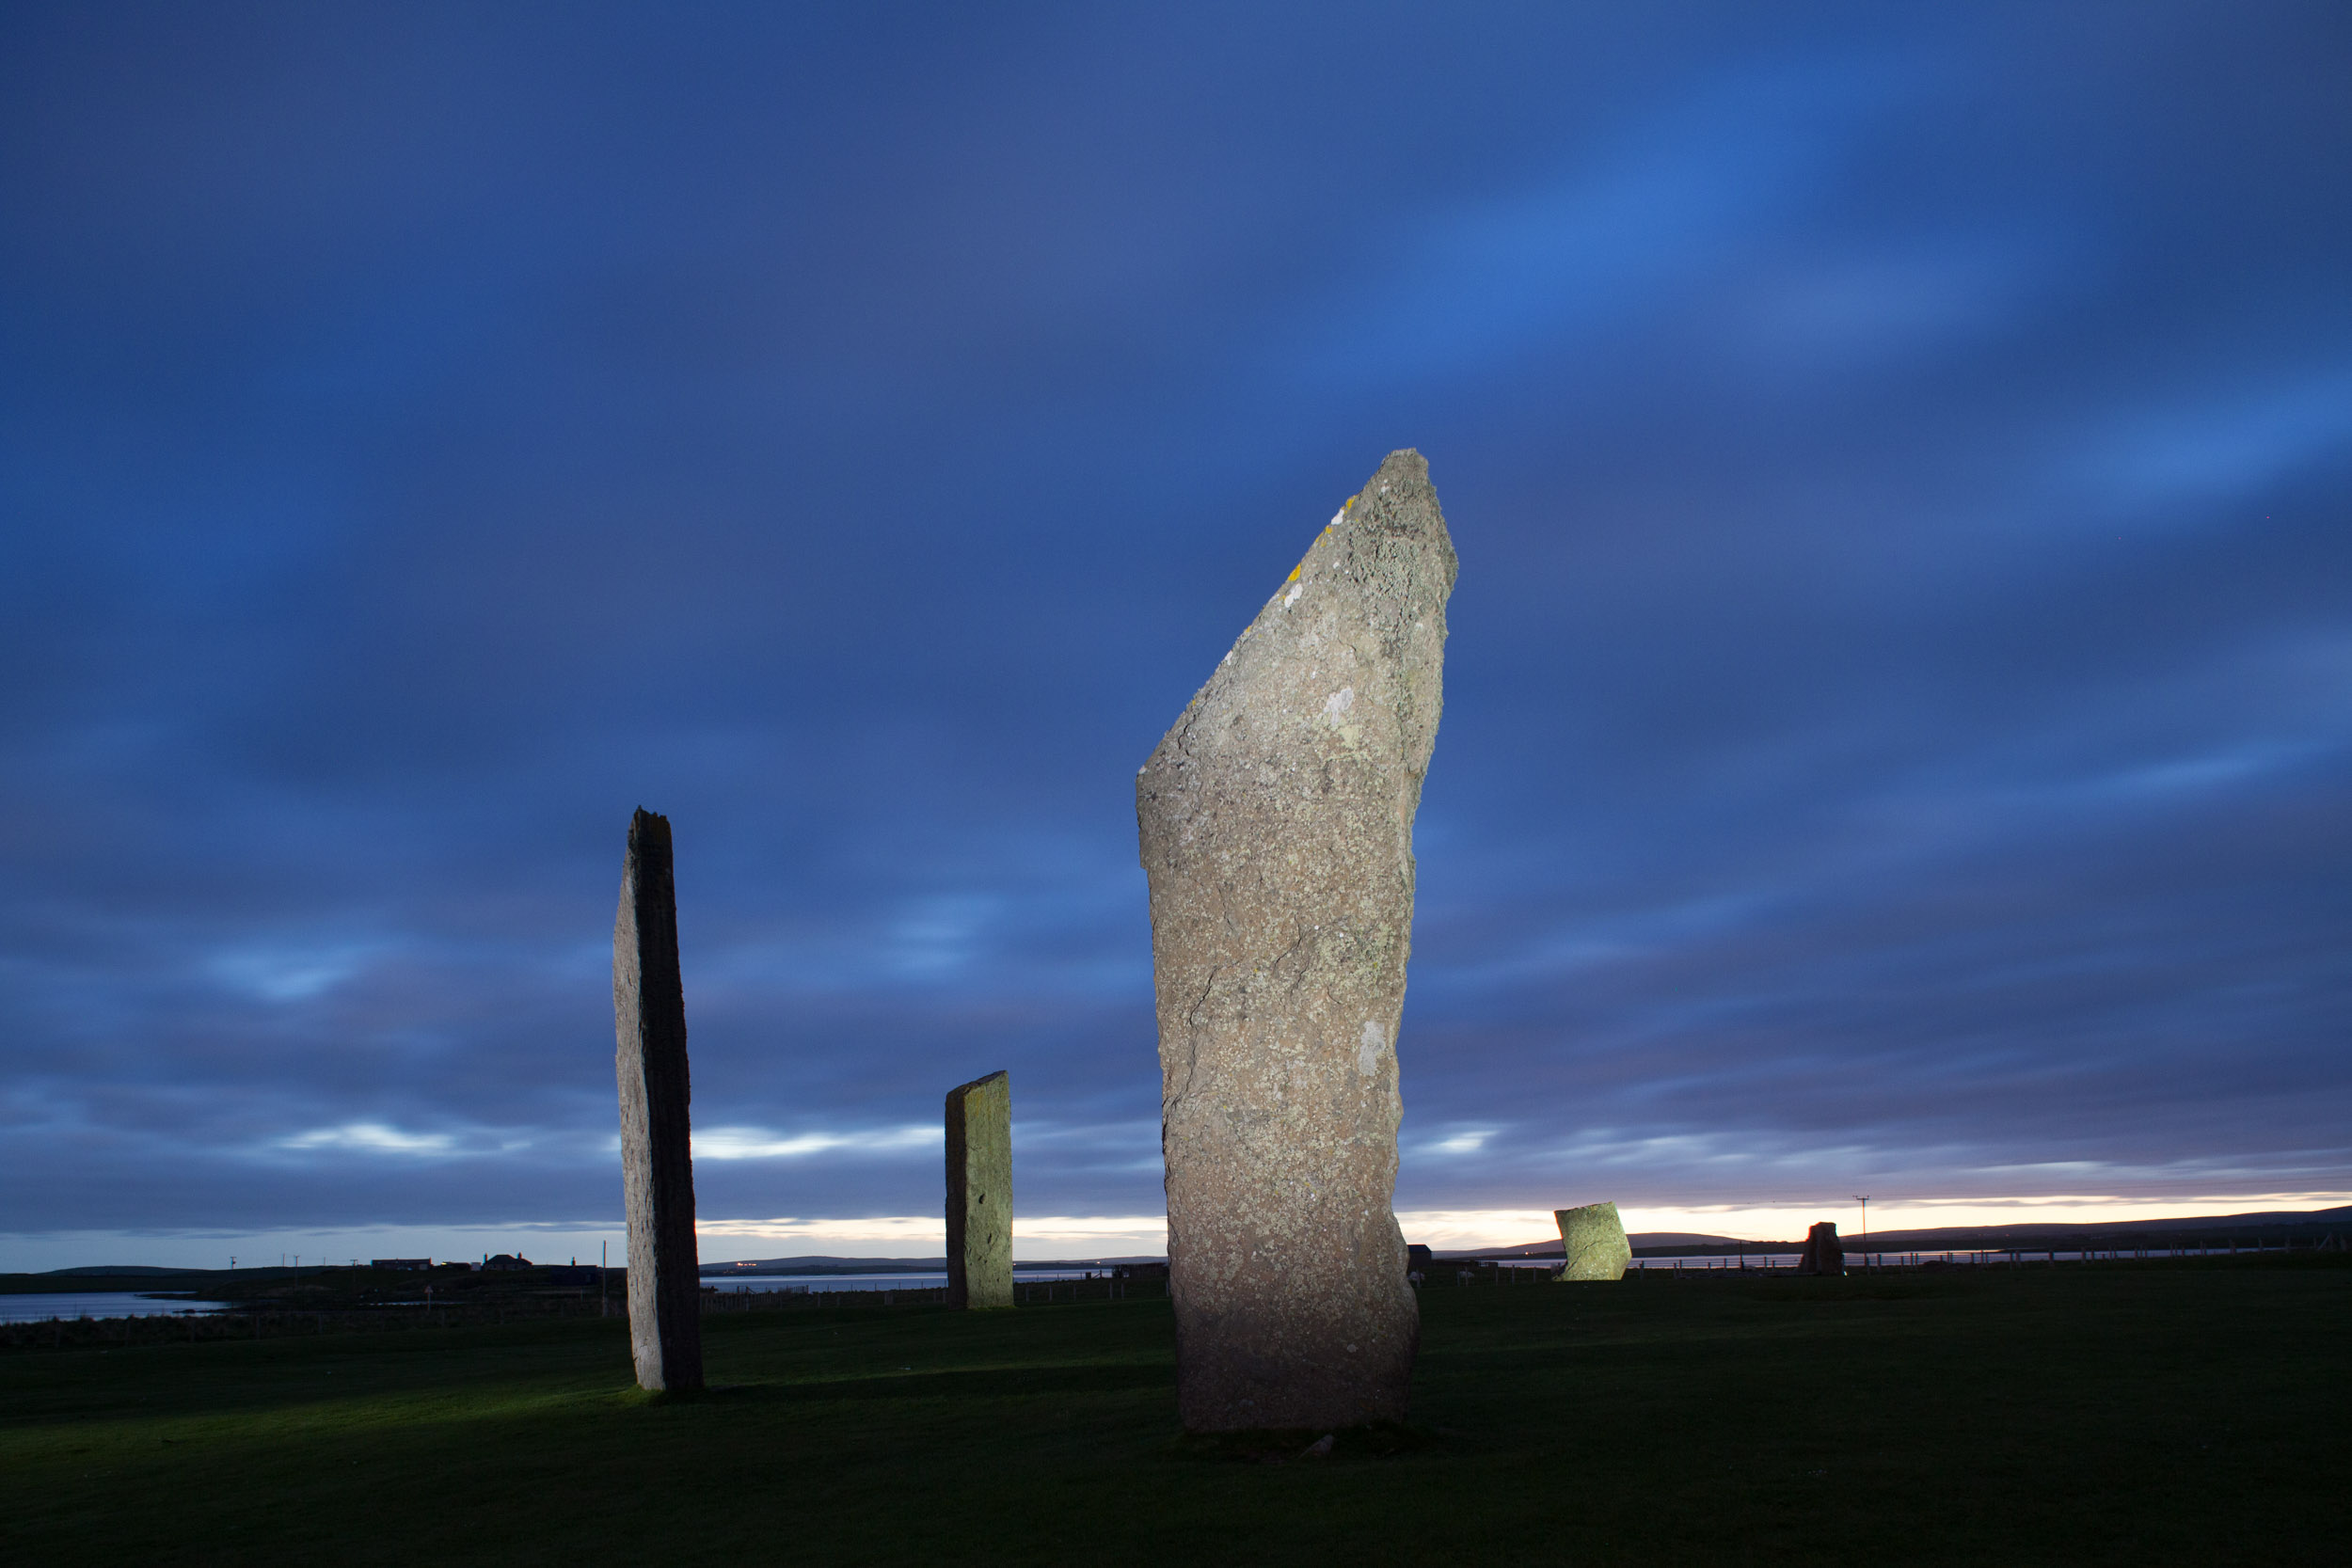
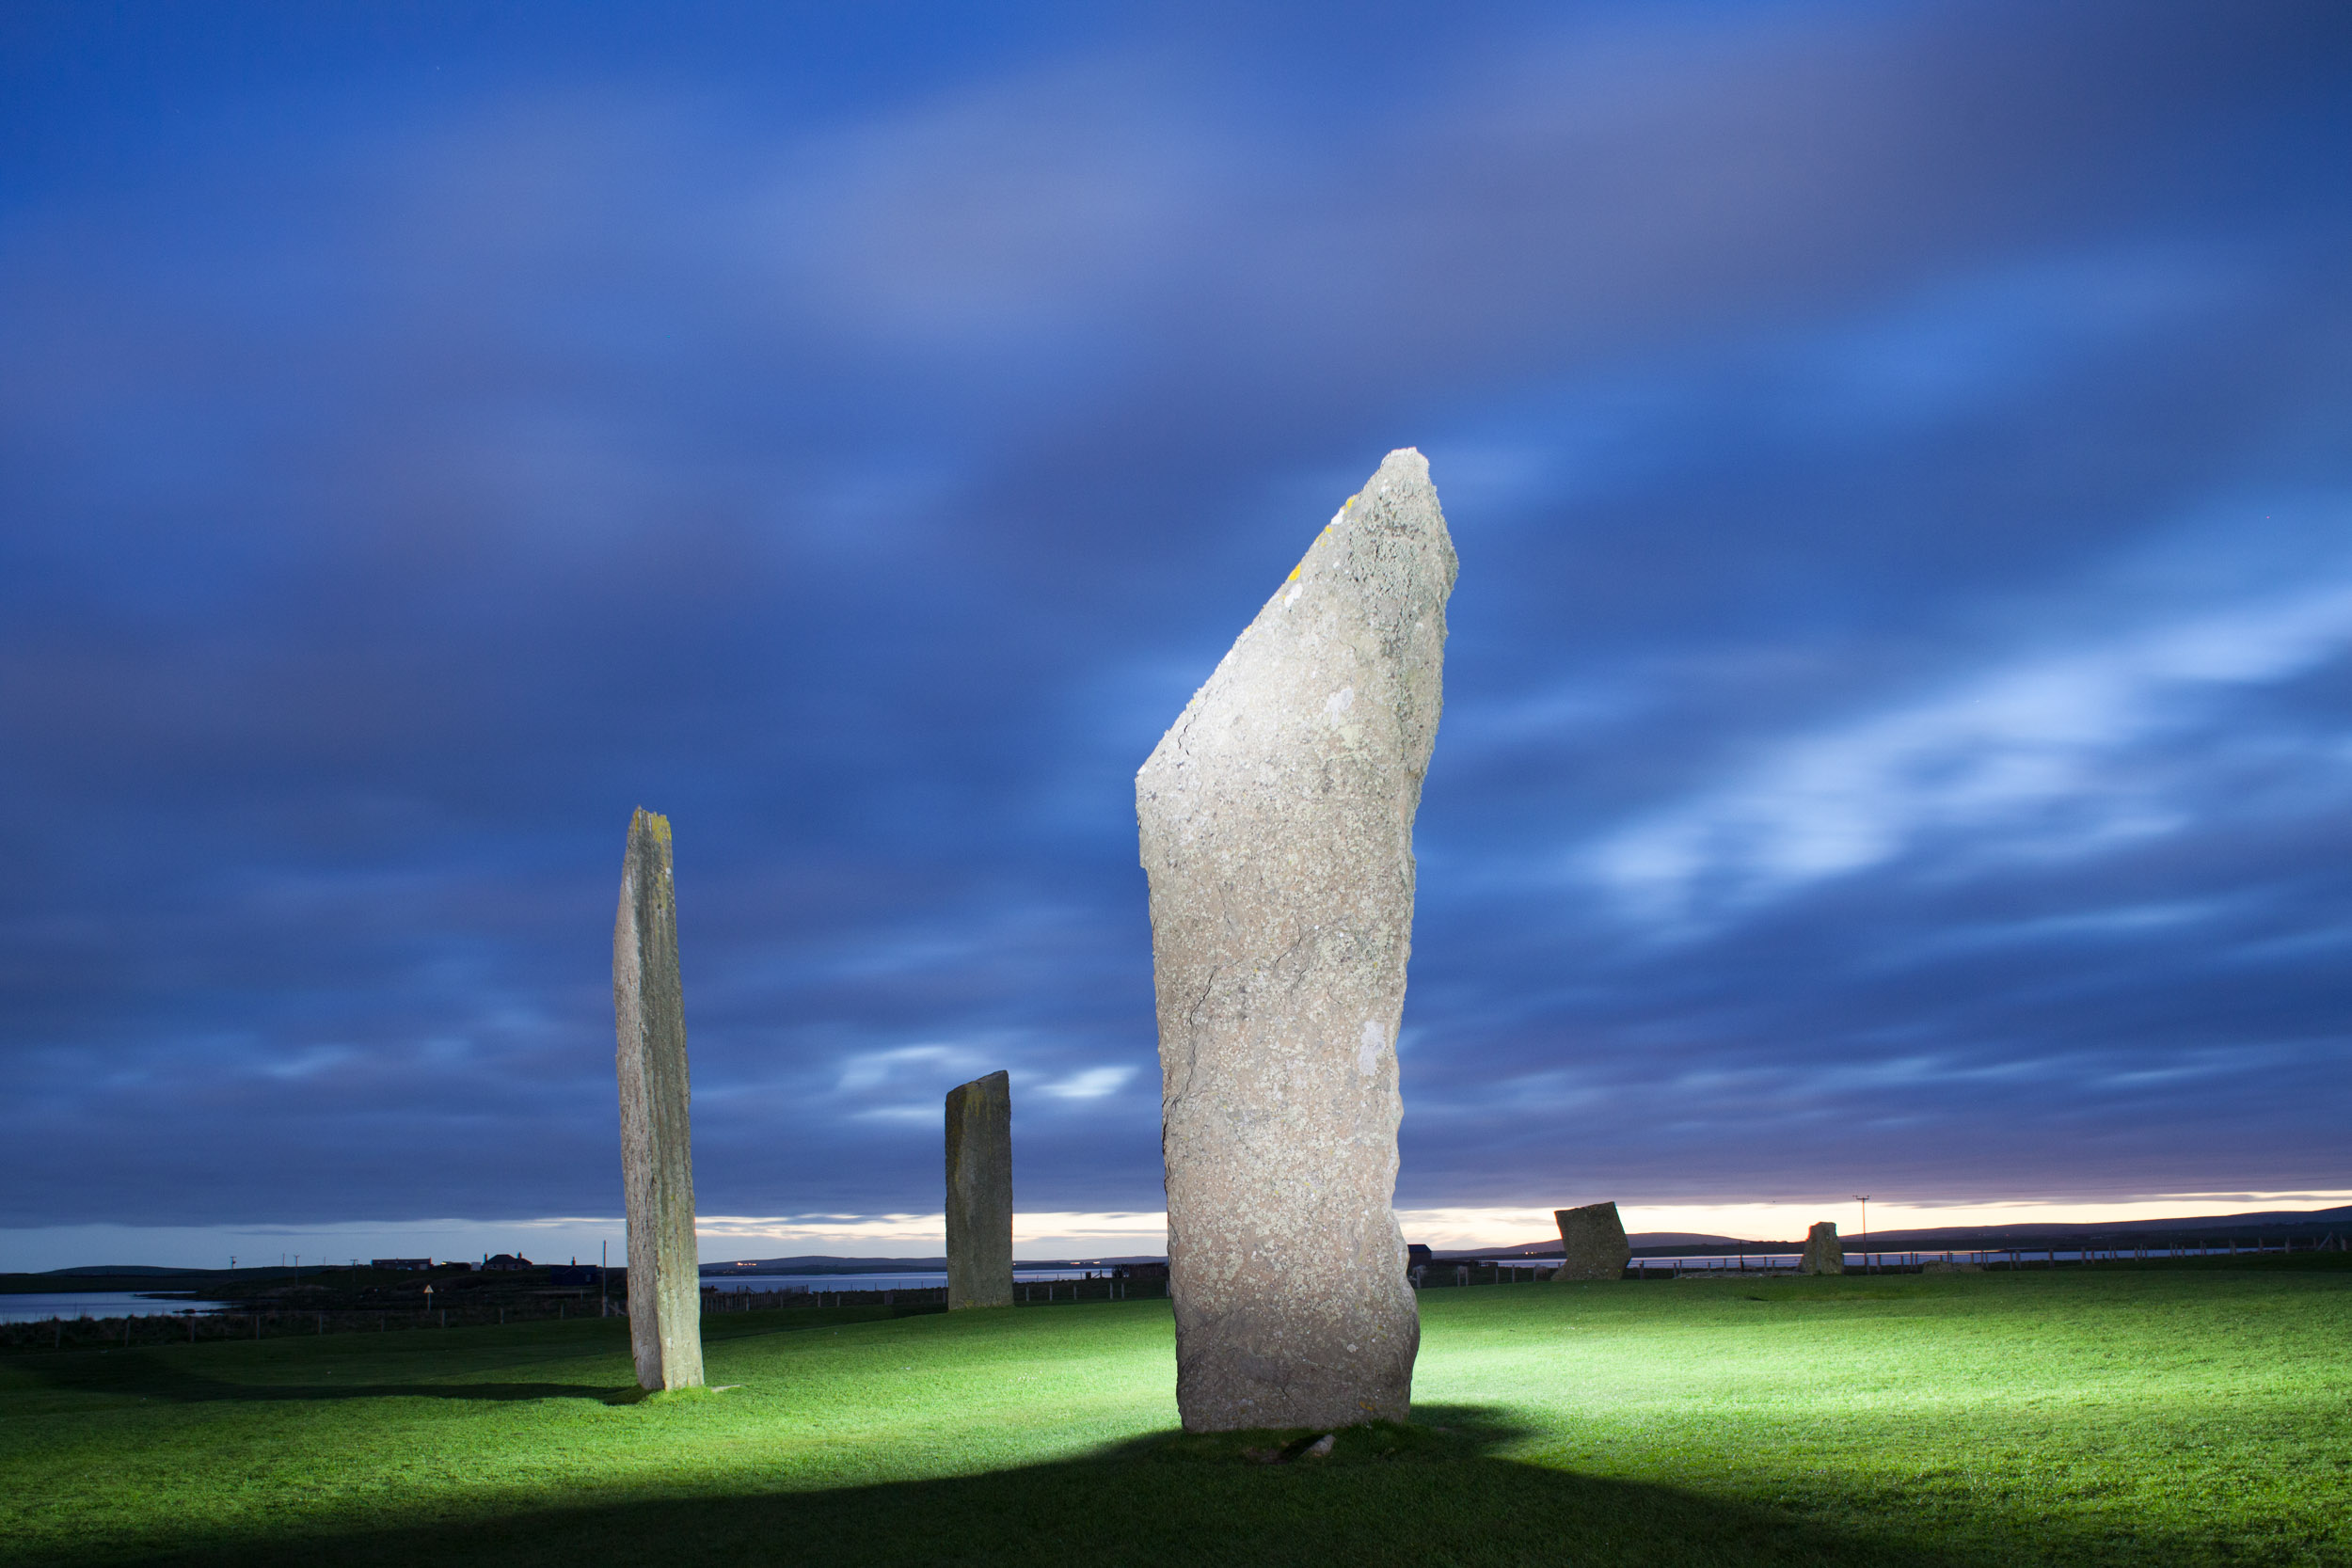
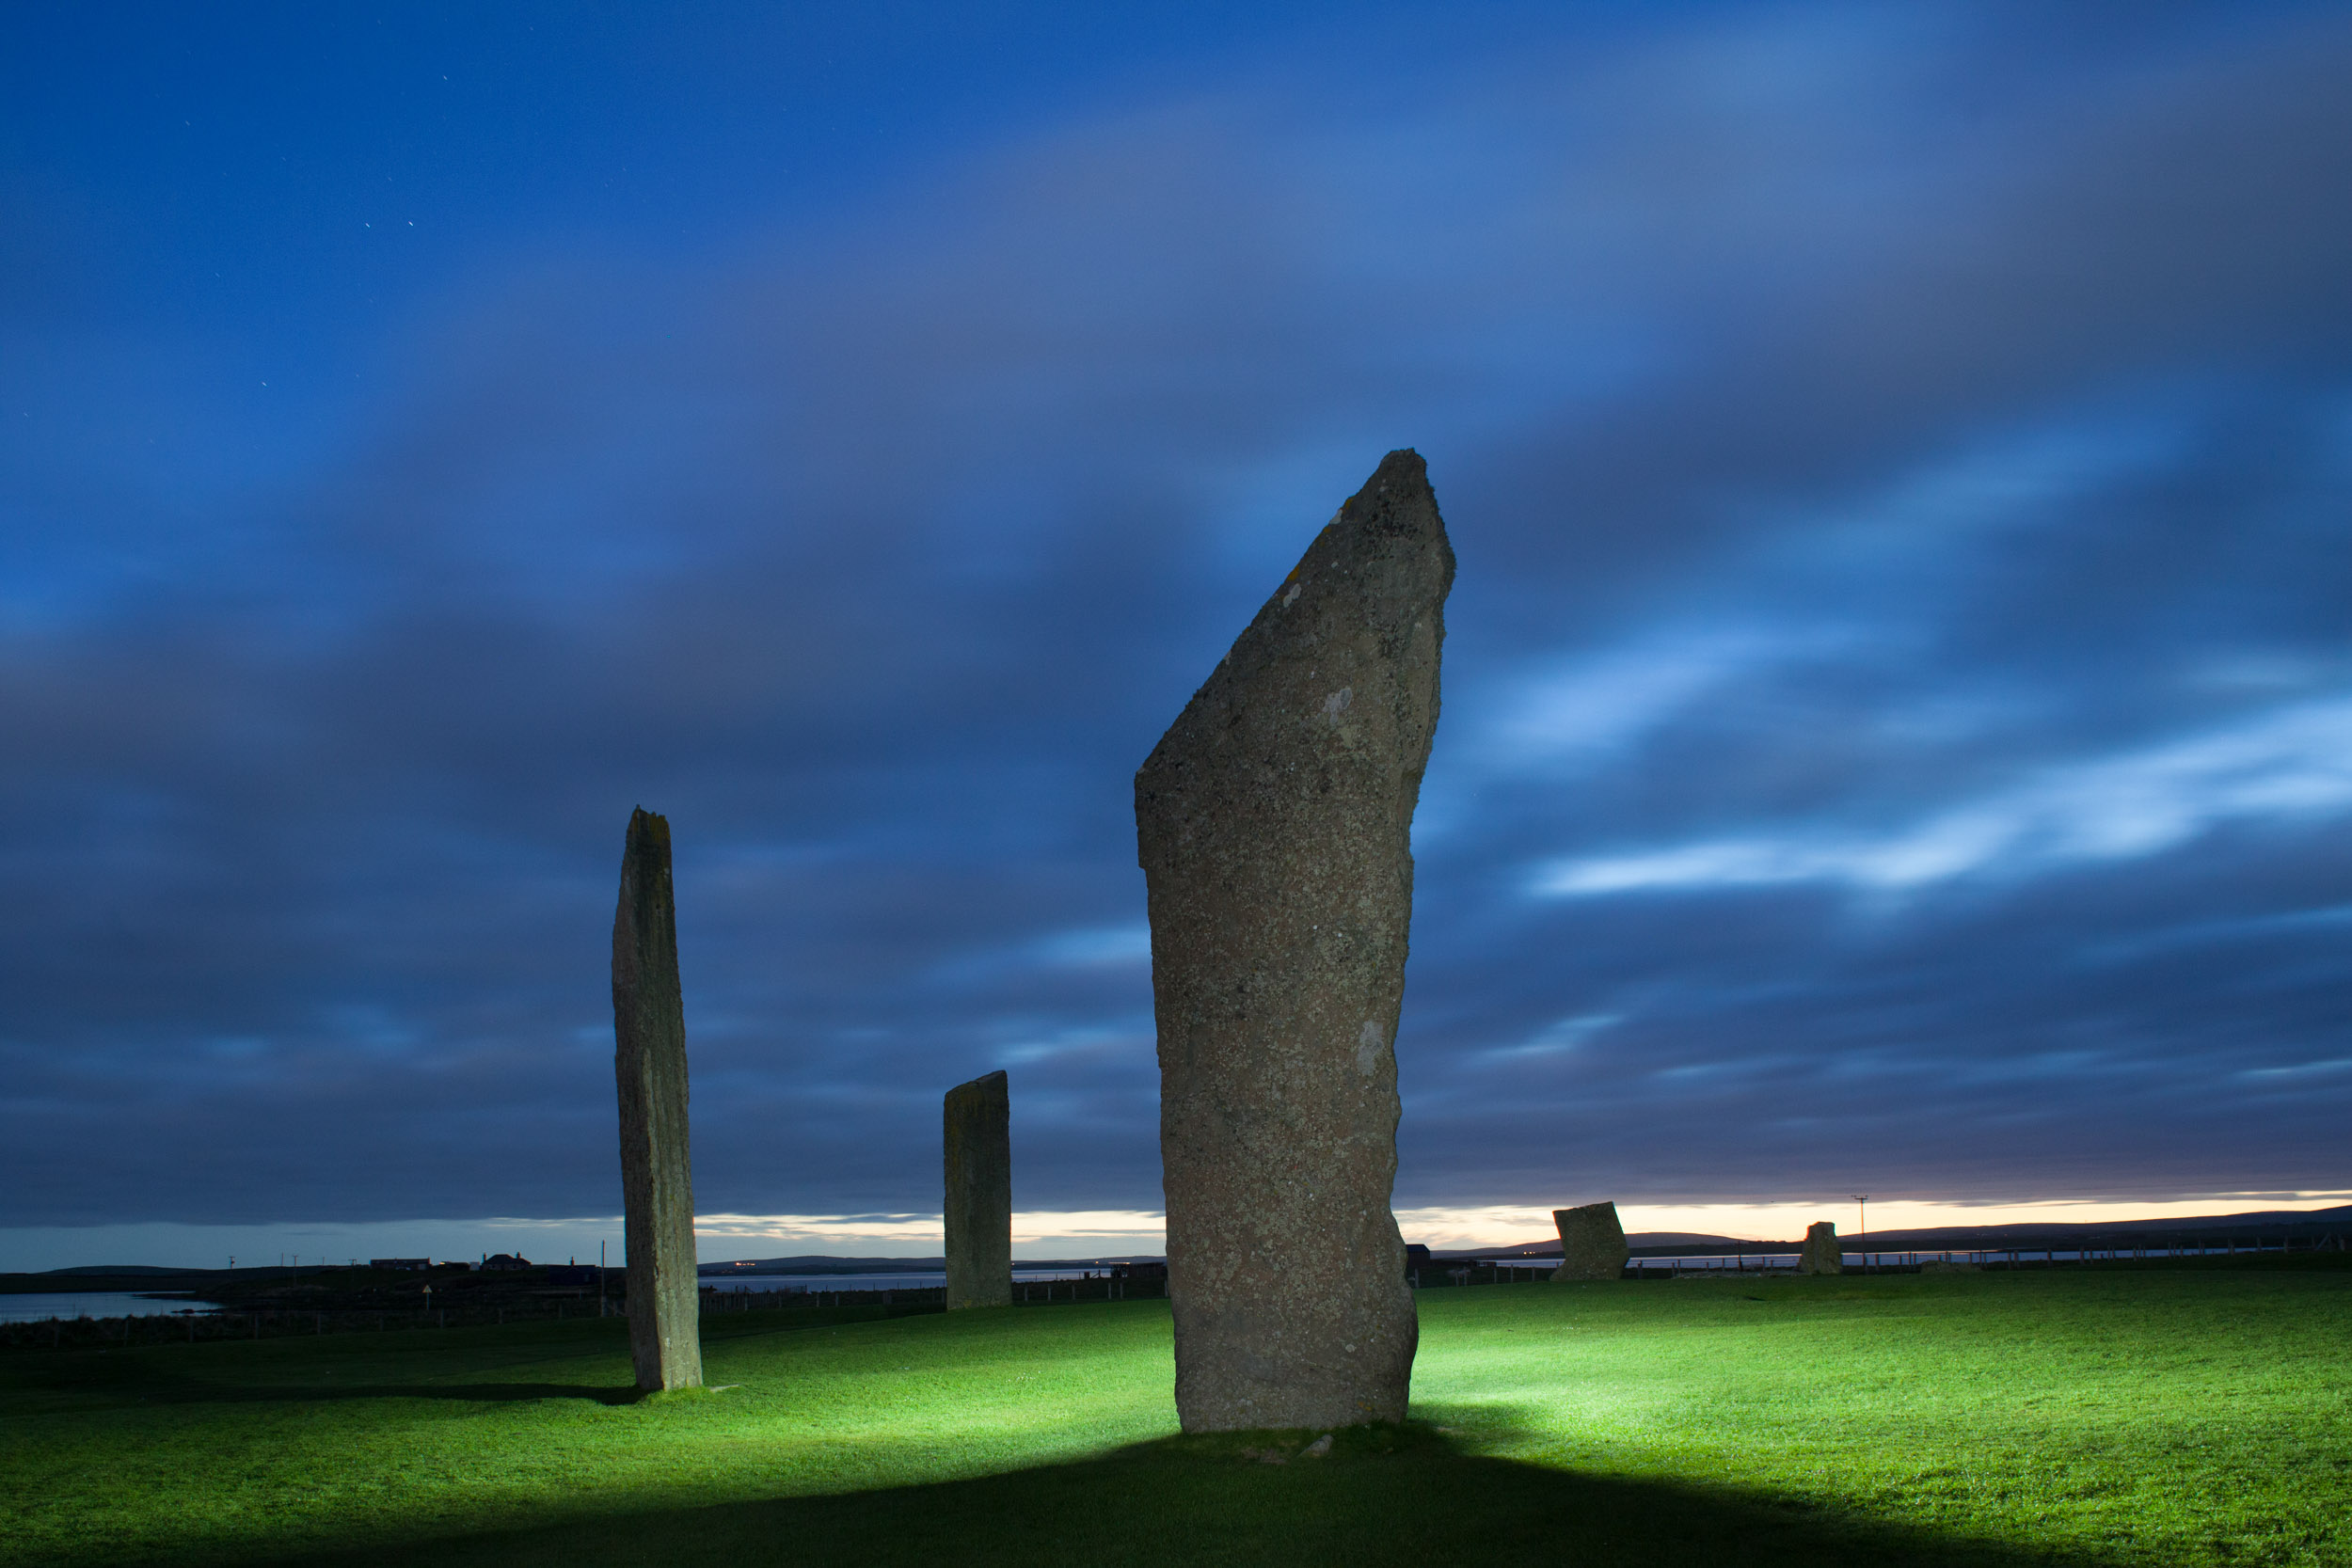
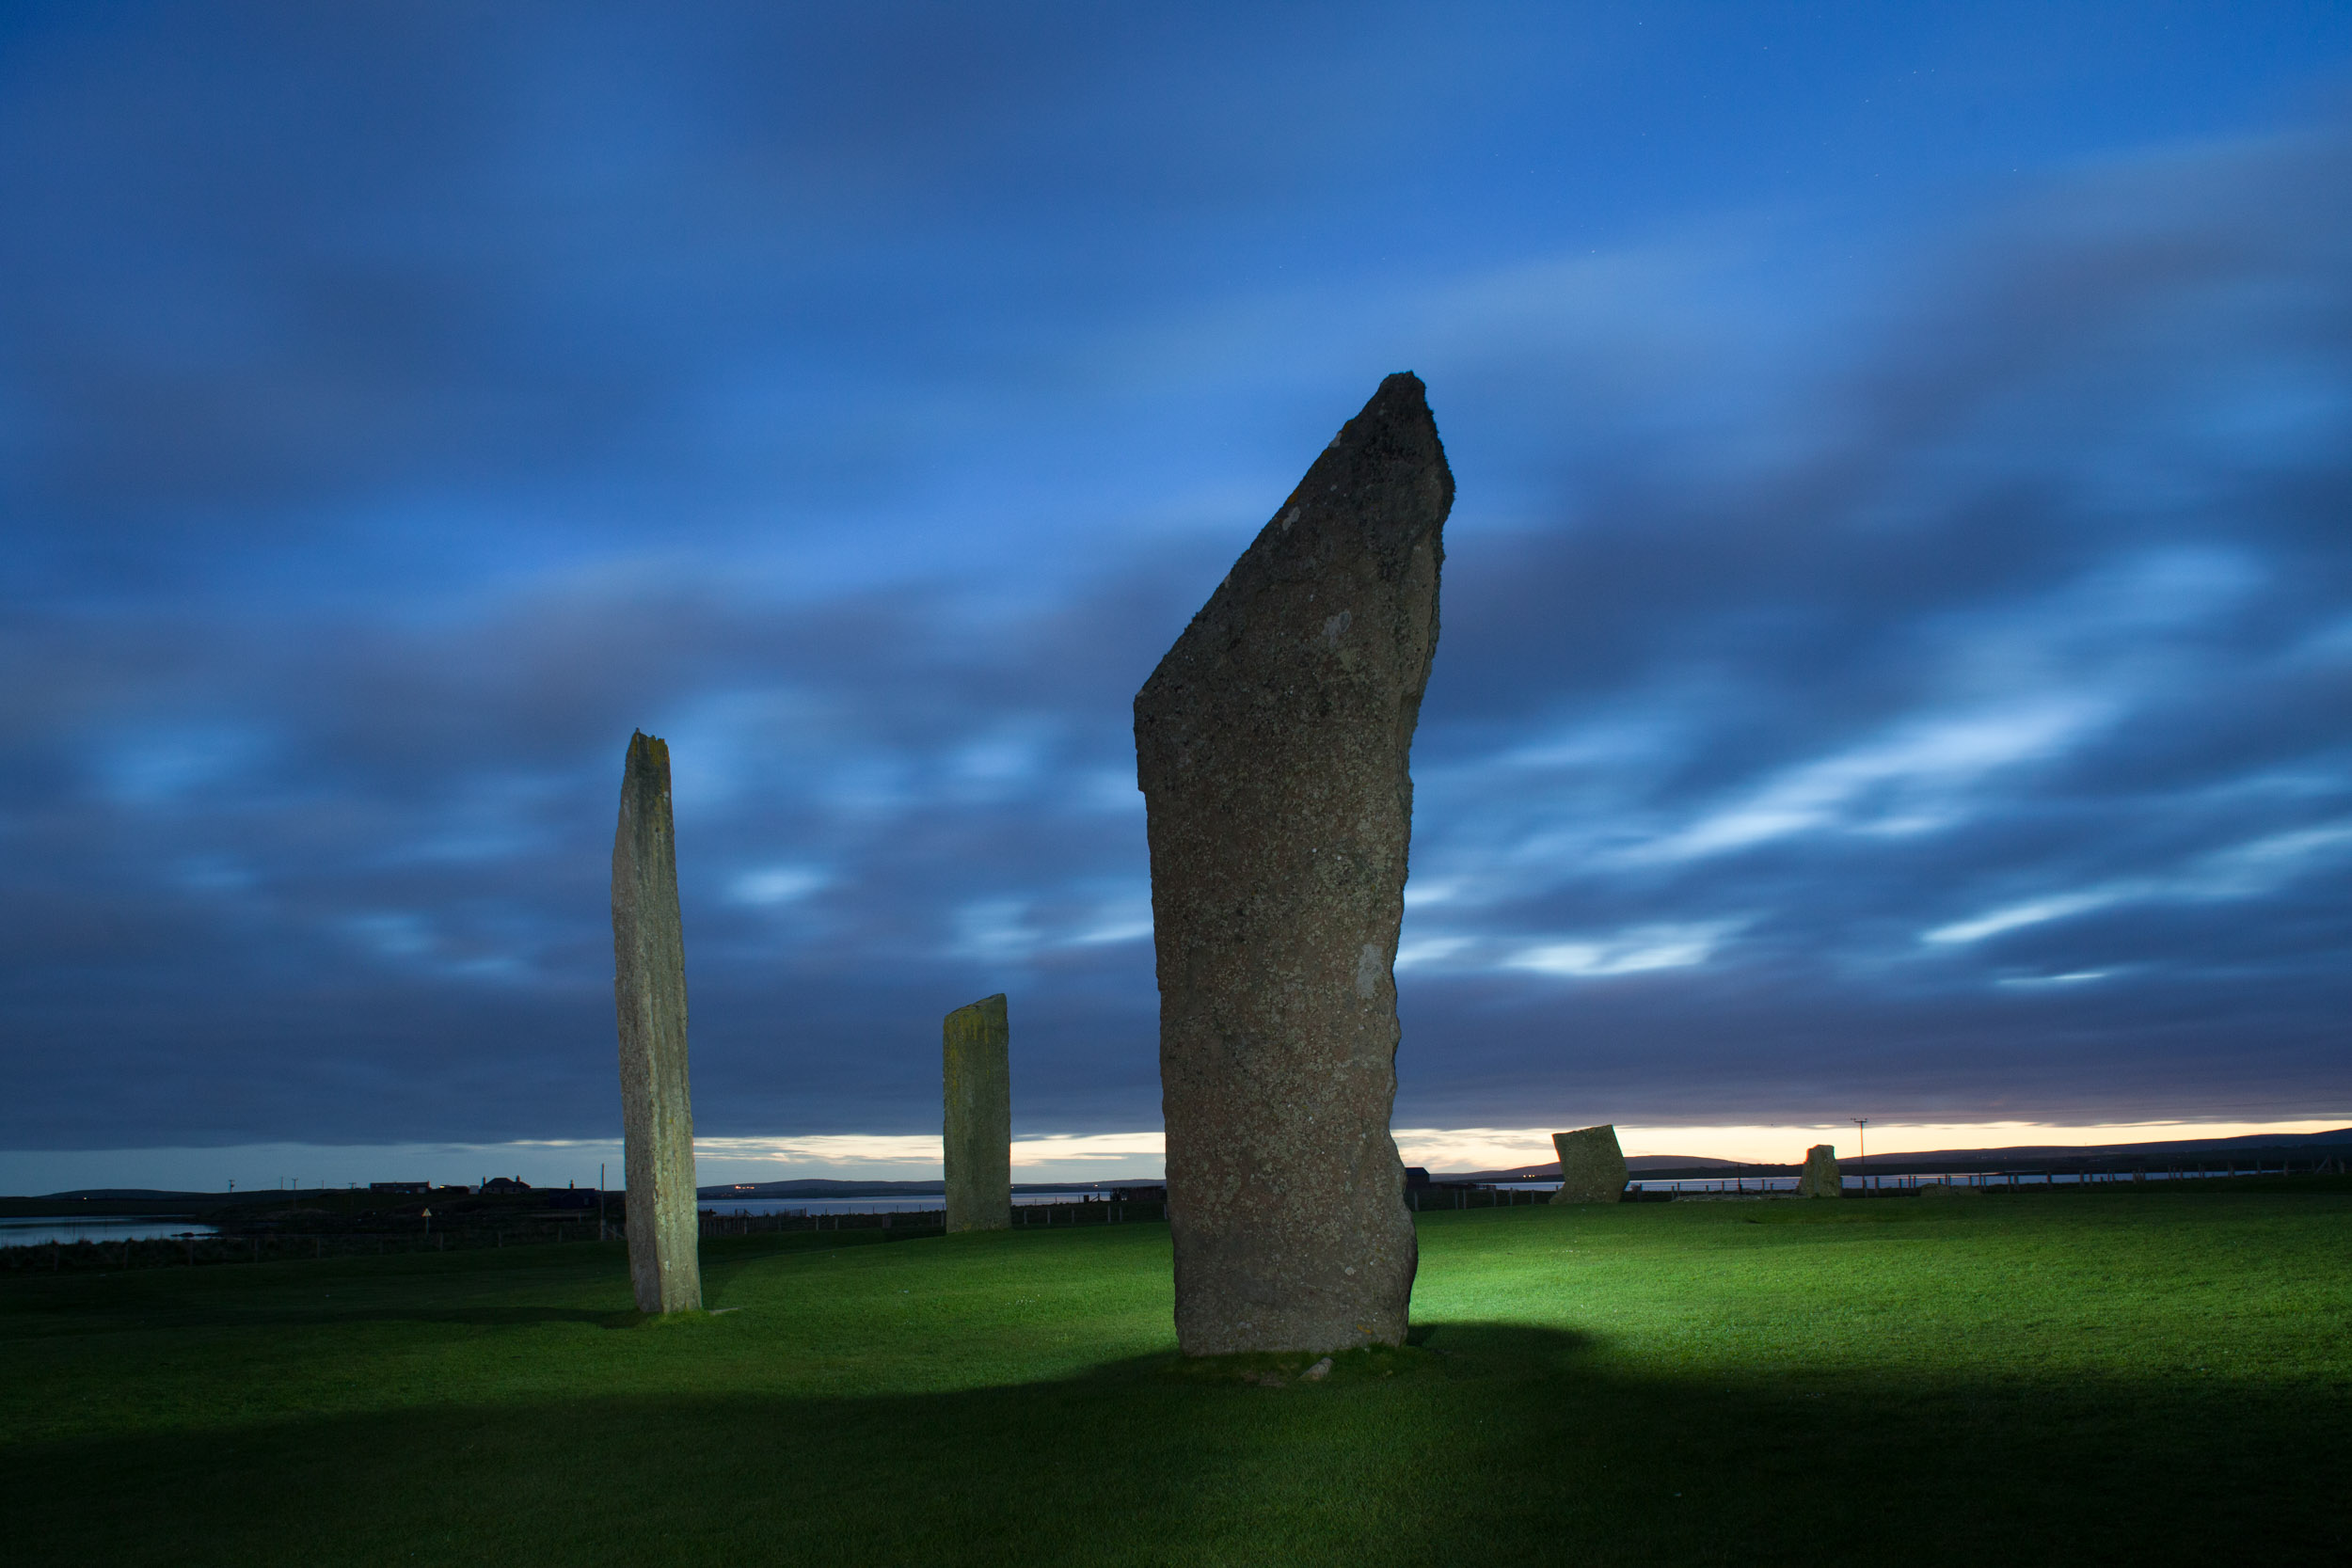
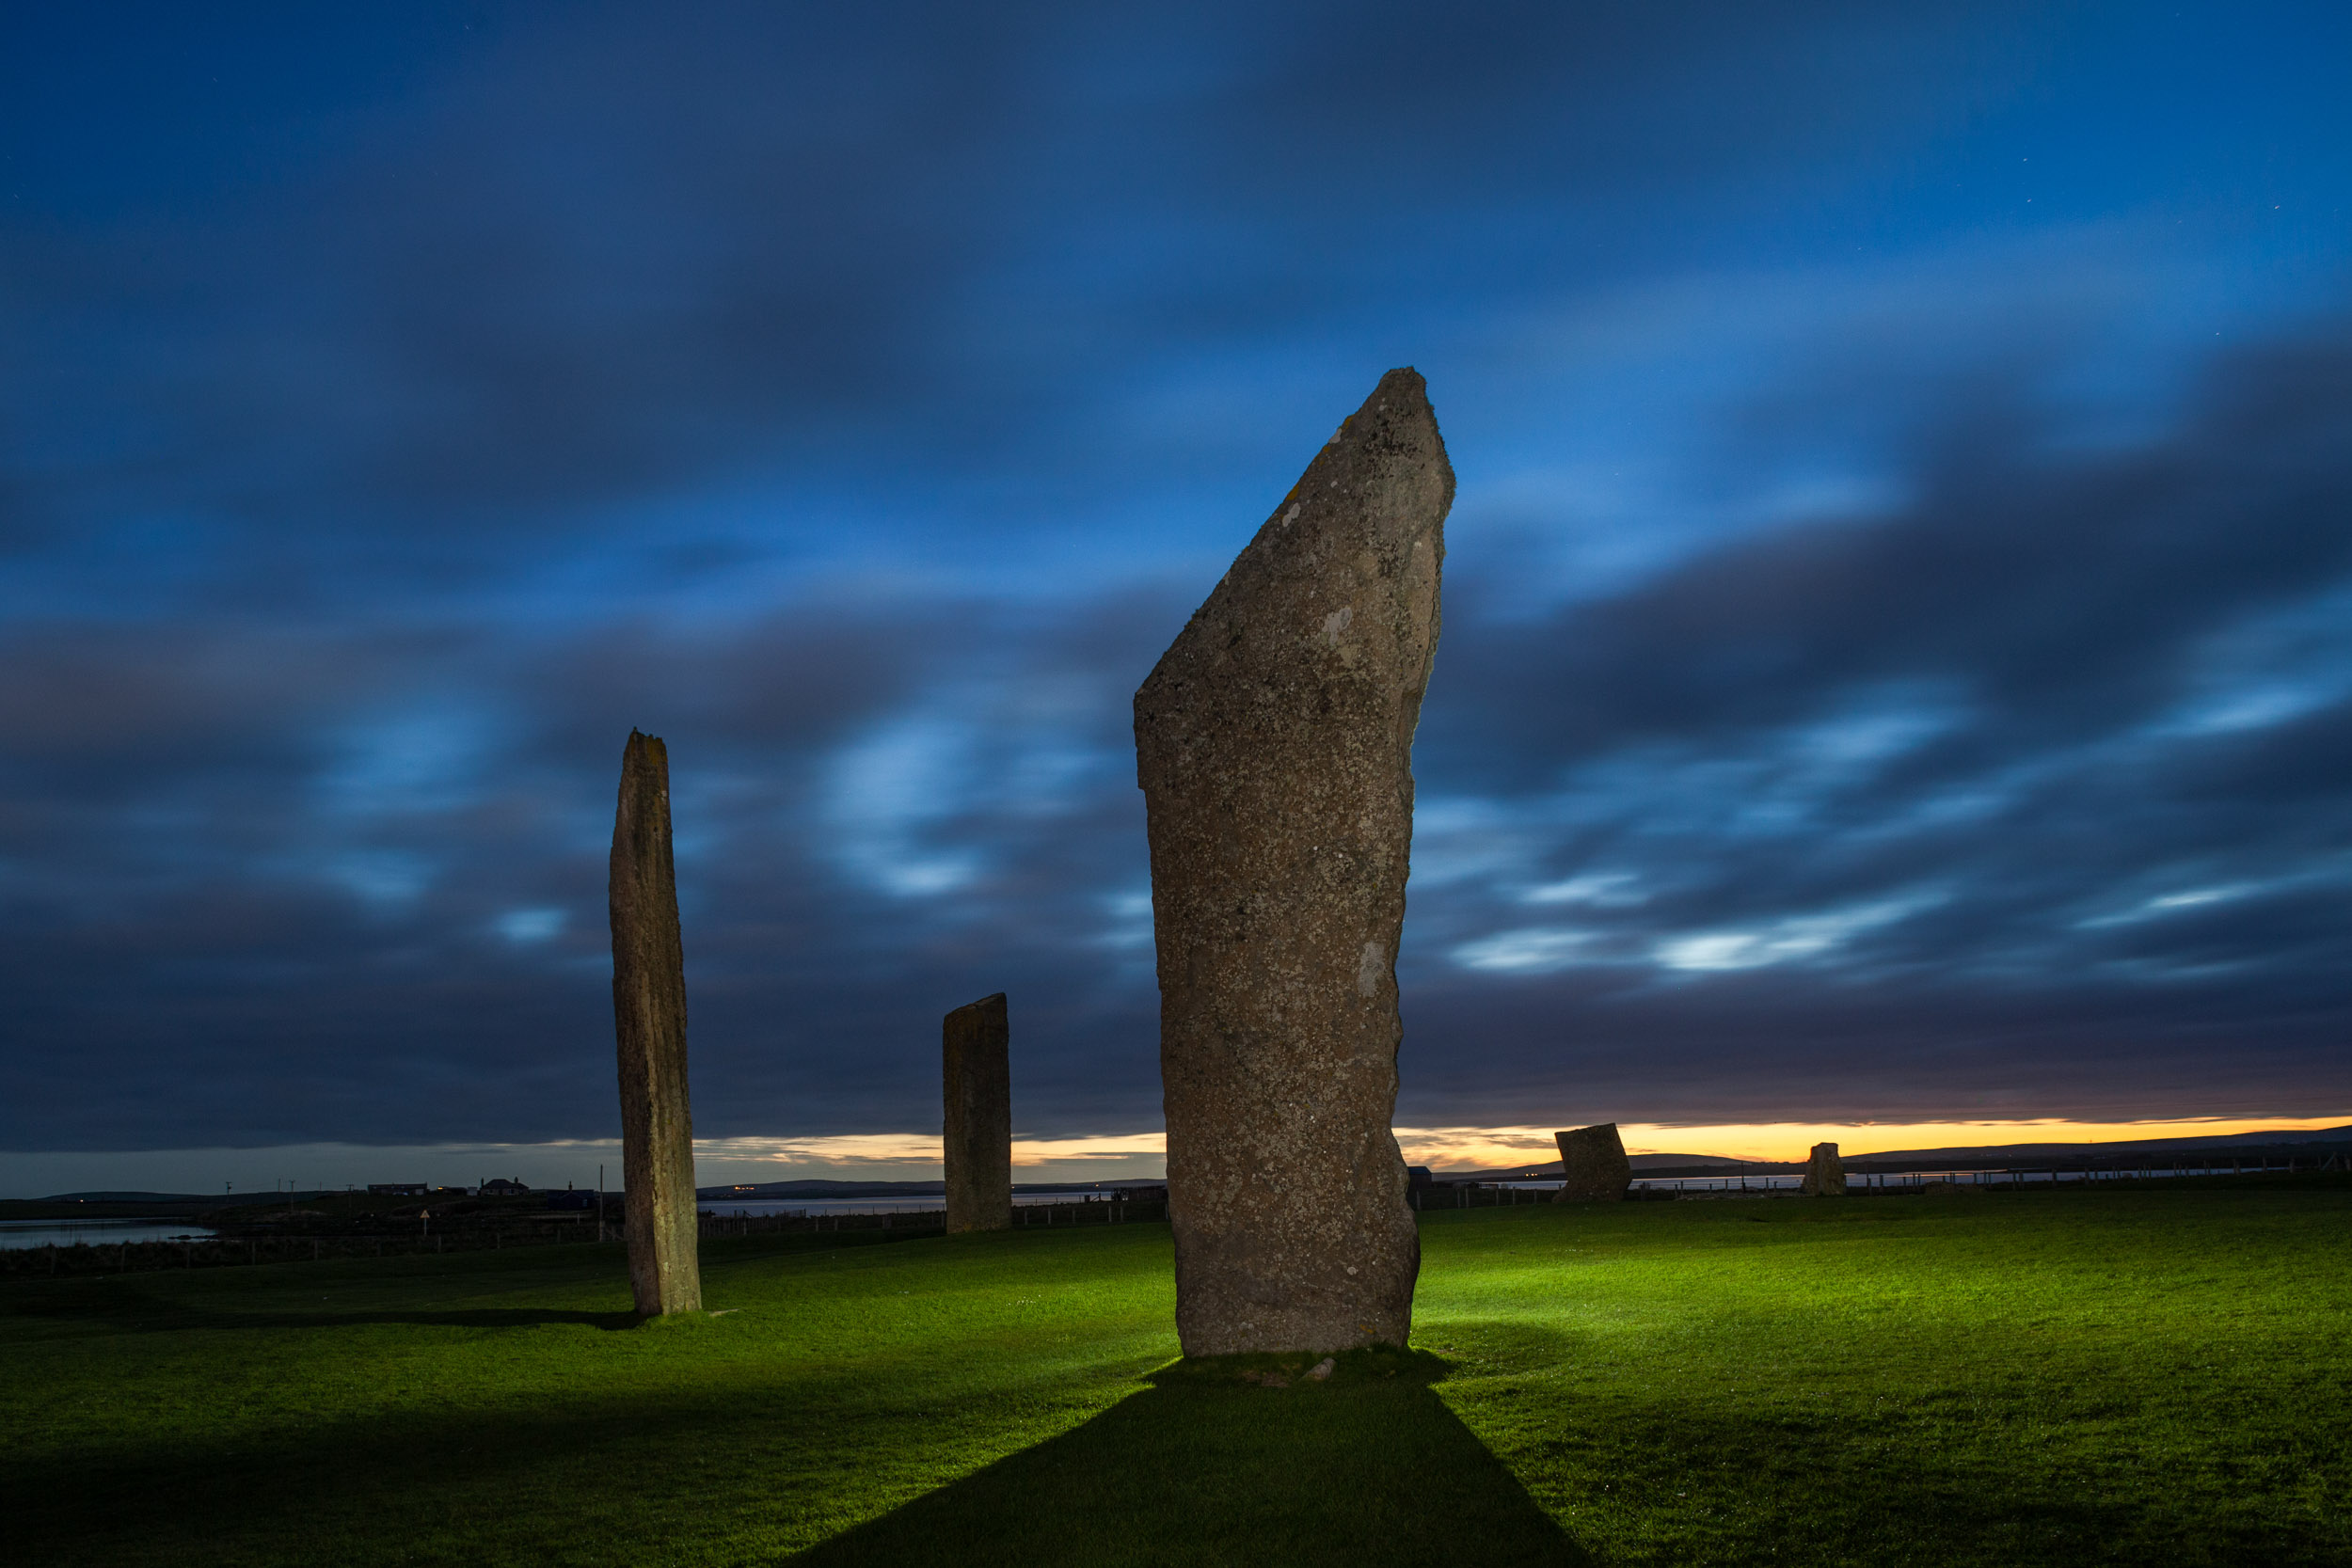
Field Workflow Example 2: Orkney, Scotland.

On Location

Step 3: On-Site Scouting

Arrive before dark if possible, explore the site and consider possible shots. How will the light change? What conditions are likely to impact photography? Are there likely to be other people, or other photographers? How about street lights or traffic? Are you under a busy flight path? Formulate a plan.

Step 4: Field Workflow

The order in which you do the following steps is up to you. I suggest experimenting with the sequence to see what feels right. The following is what I do––for every image.
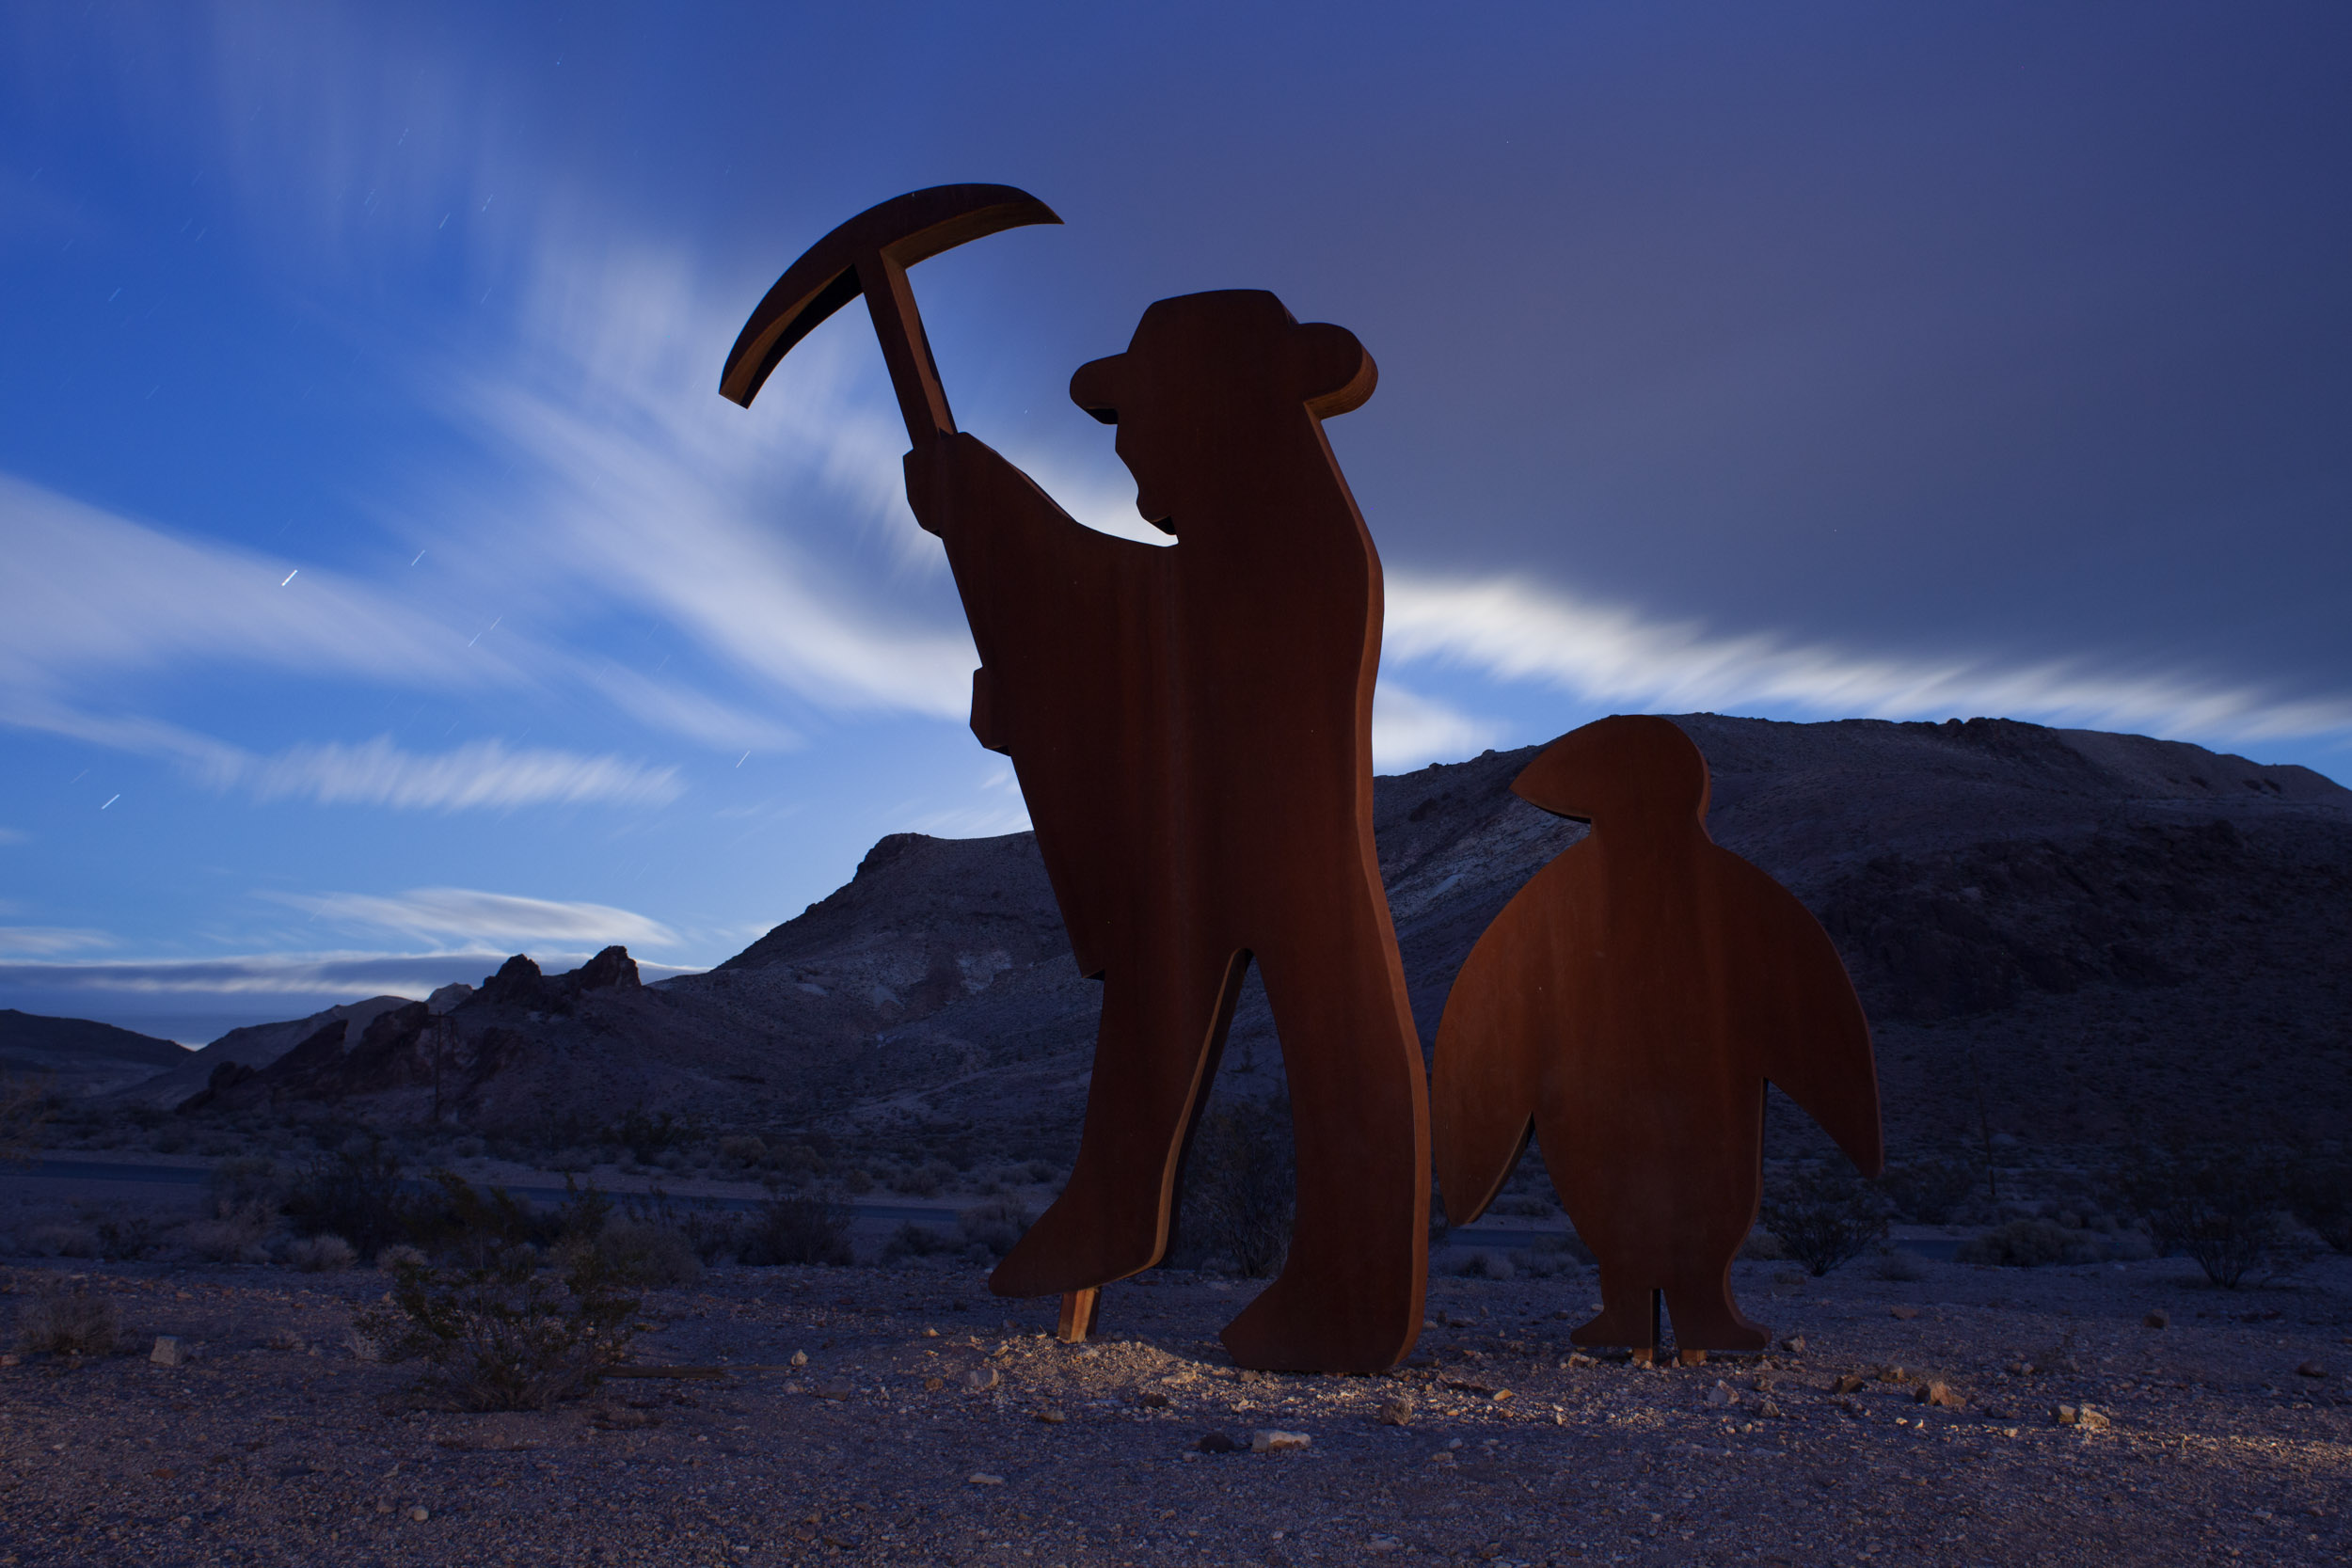
A. Compose the shot. Without any regard for exposure or focus at this point, I roughly work out the composition. If there is enough light, I’ll do some quick hand-held high ISO shots just to see if the idea is going to work. If I need more than 2 to 3 seconds to get an exposure, I’ll go right to the tripod. It doesn’t matter if the lens is focused—I’m concerned only with framing the image. How do the foreground, middleground and background relate to each other? How does the subject fit within the frame? I’ll make multiple exposures, making little adjustments until the composition is perfect. It might take two or threeframes, it might take a dozen. Once I get to this point, I lock the camera down on the tripod, and I don’t move it until the image is completed.
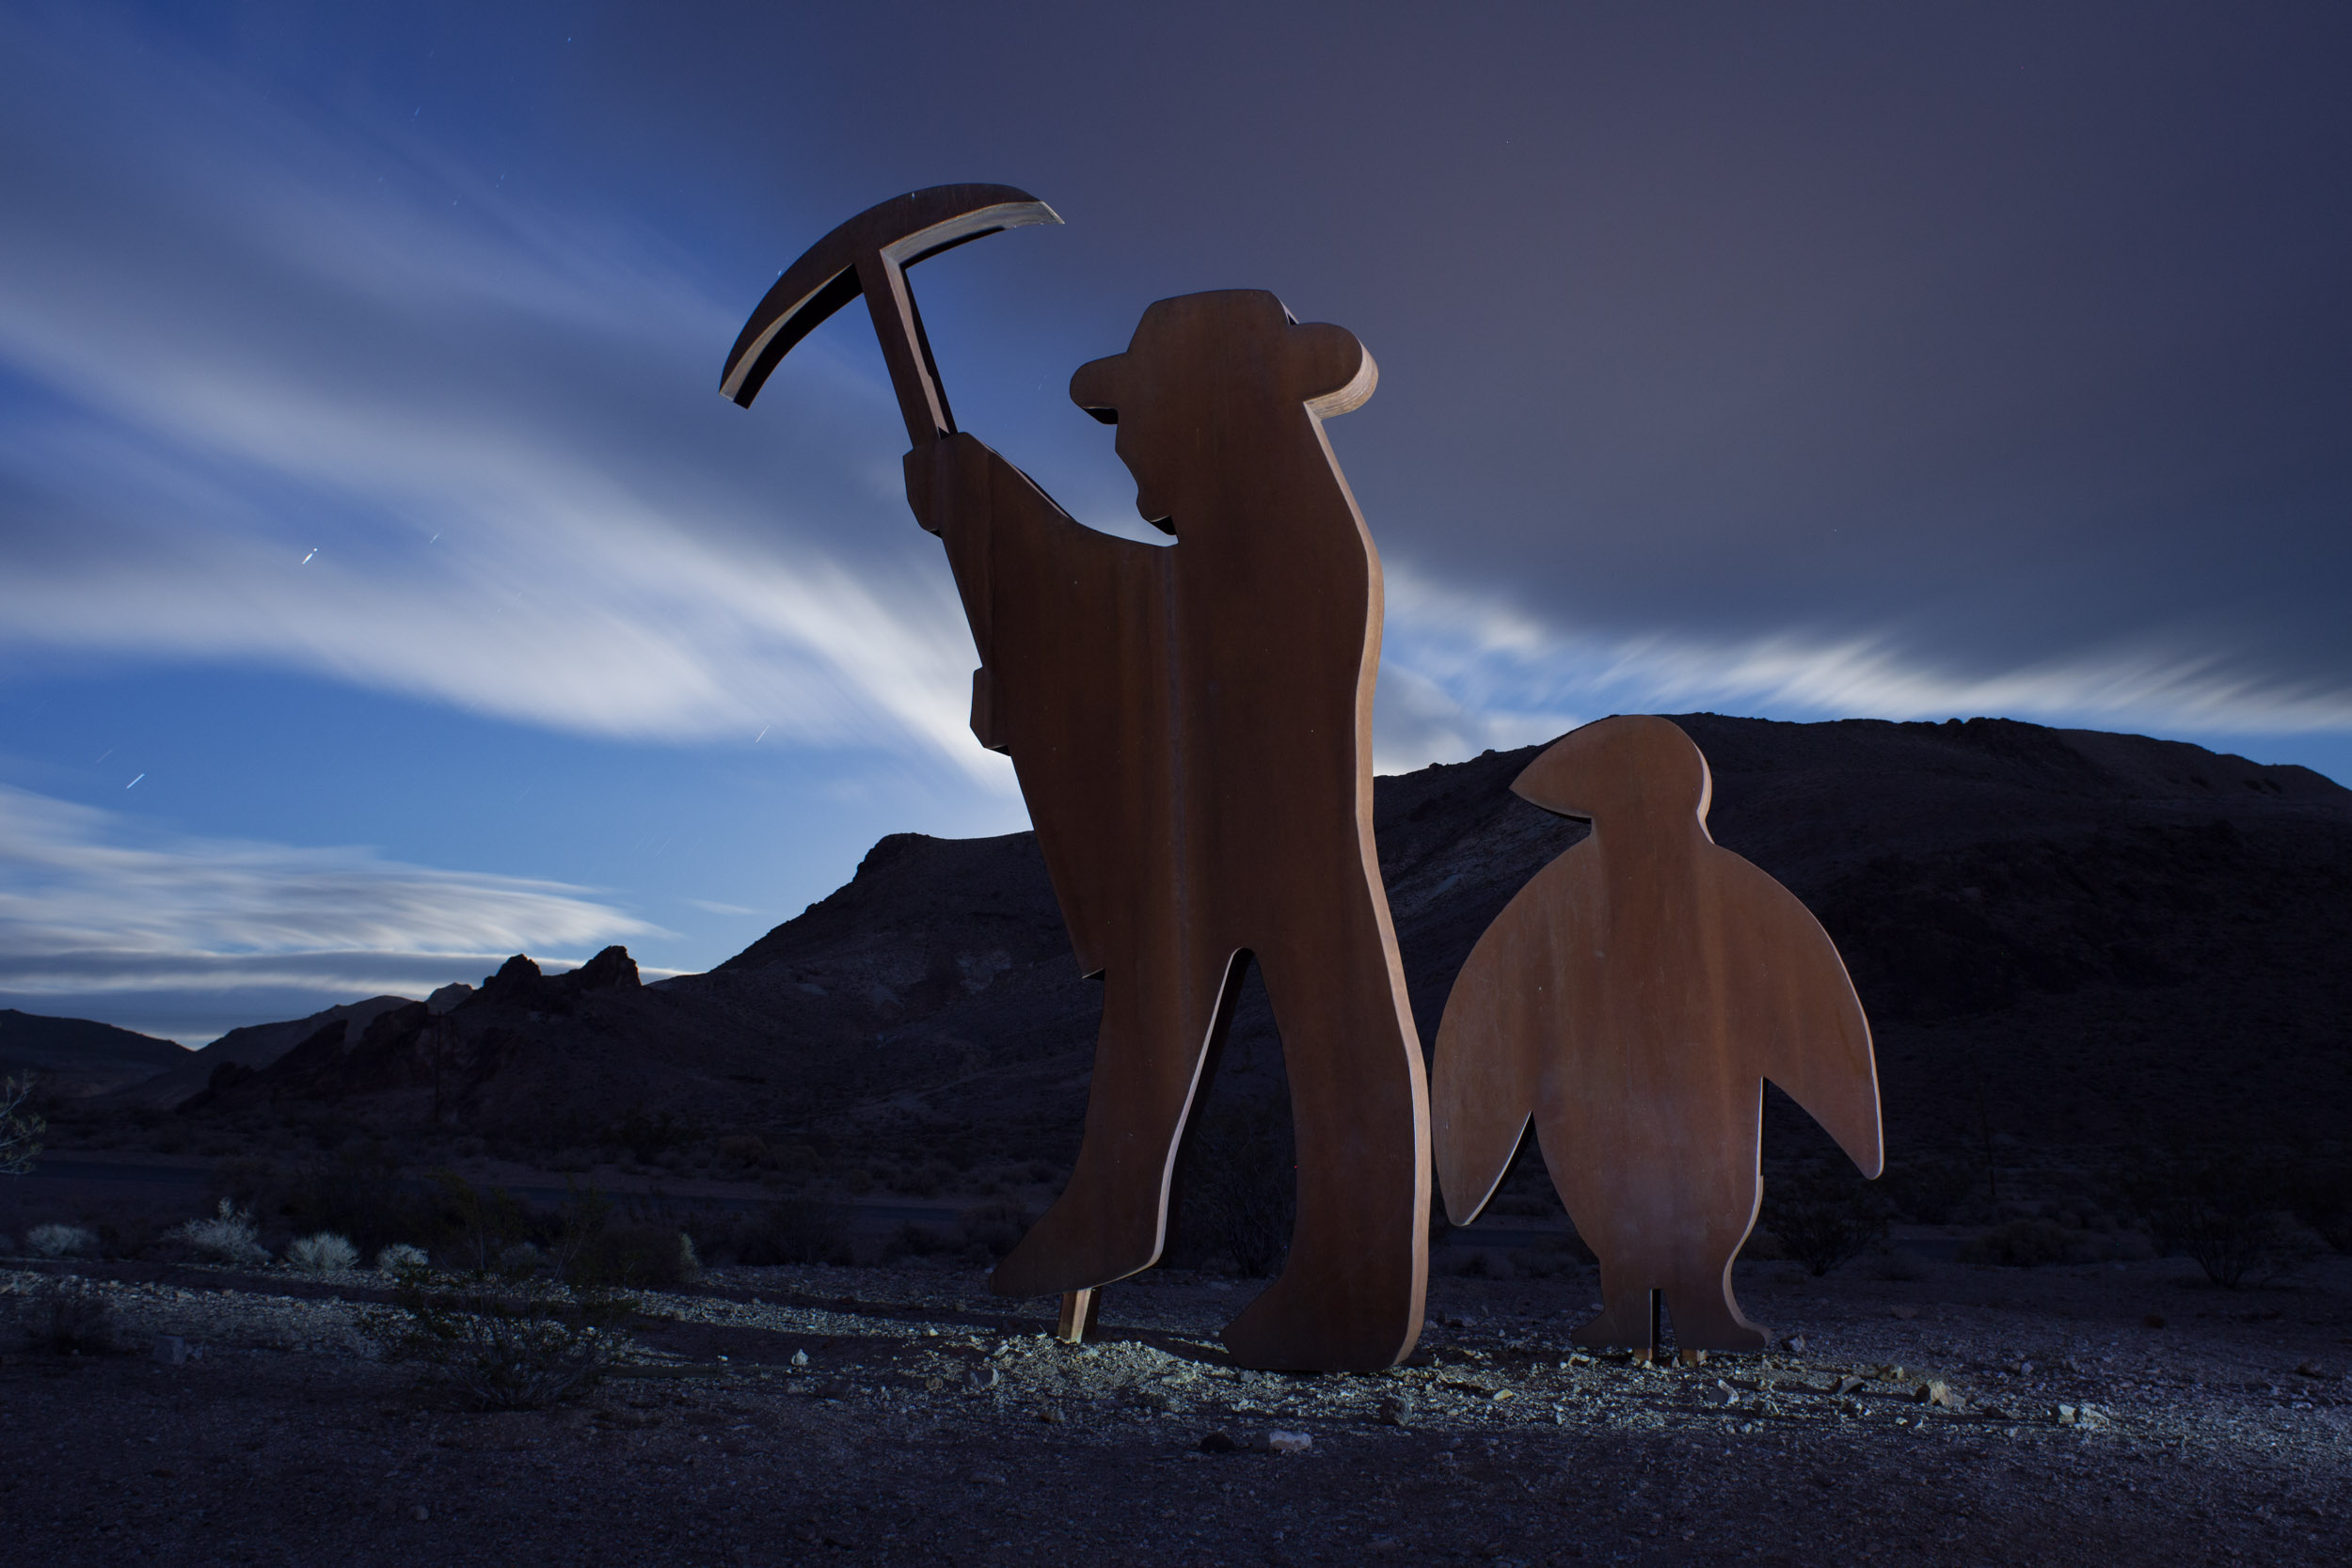
B. Focus. Depending on the situation, I might use one of several different focusing techniques. If it’s an astro-landscape image with nothing in the foreground, I’ll focus at infinity for maximum sharpness of the stars. If there is an important foreground element, I’ll determine the hyperfocal distance to maximize the depth of field. I almost always use magnified live view combined with a flashlight for accuracy. (You can read more about focusing techniques in Chris’ post “Staying Sharp: 8 Ways to Focus in the Dark.”)

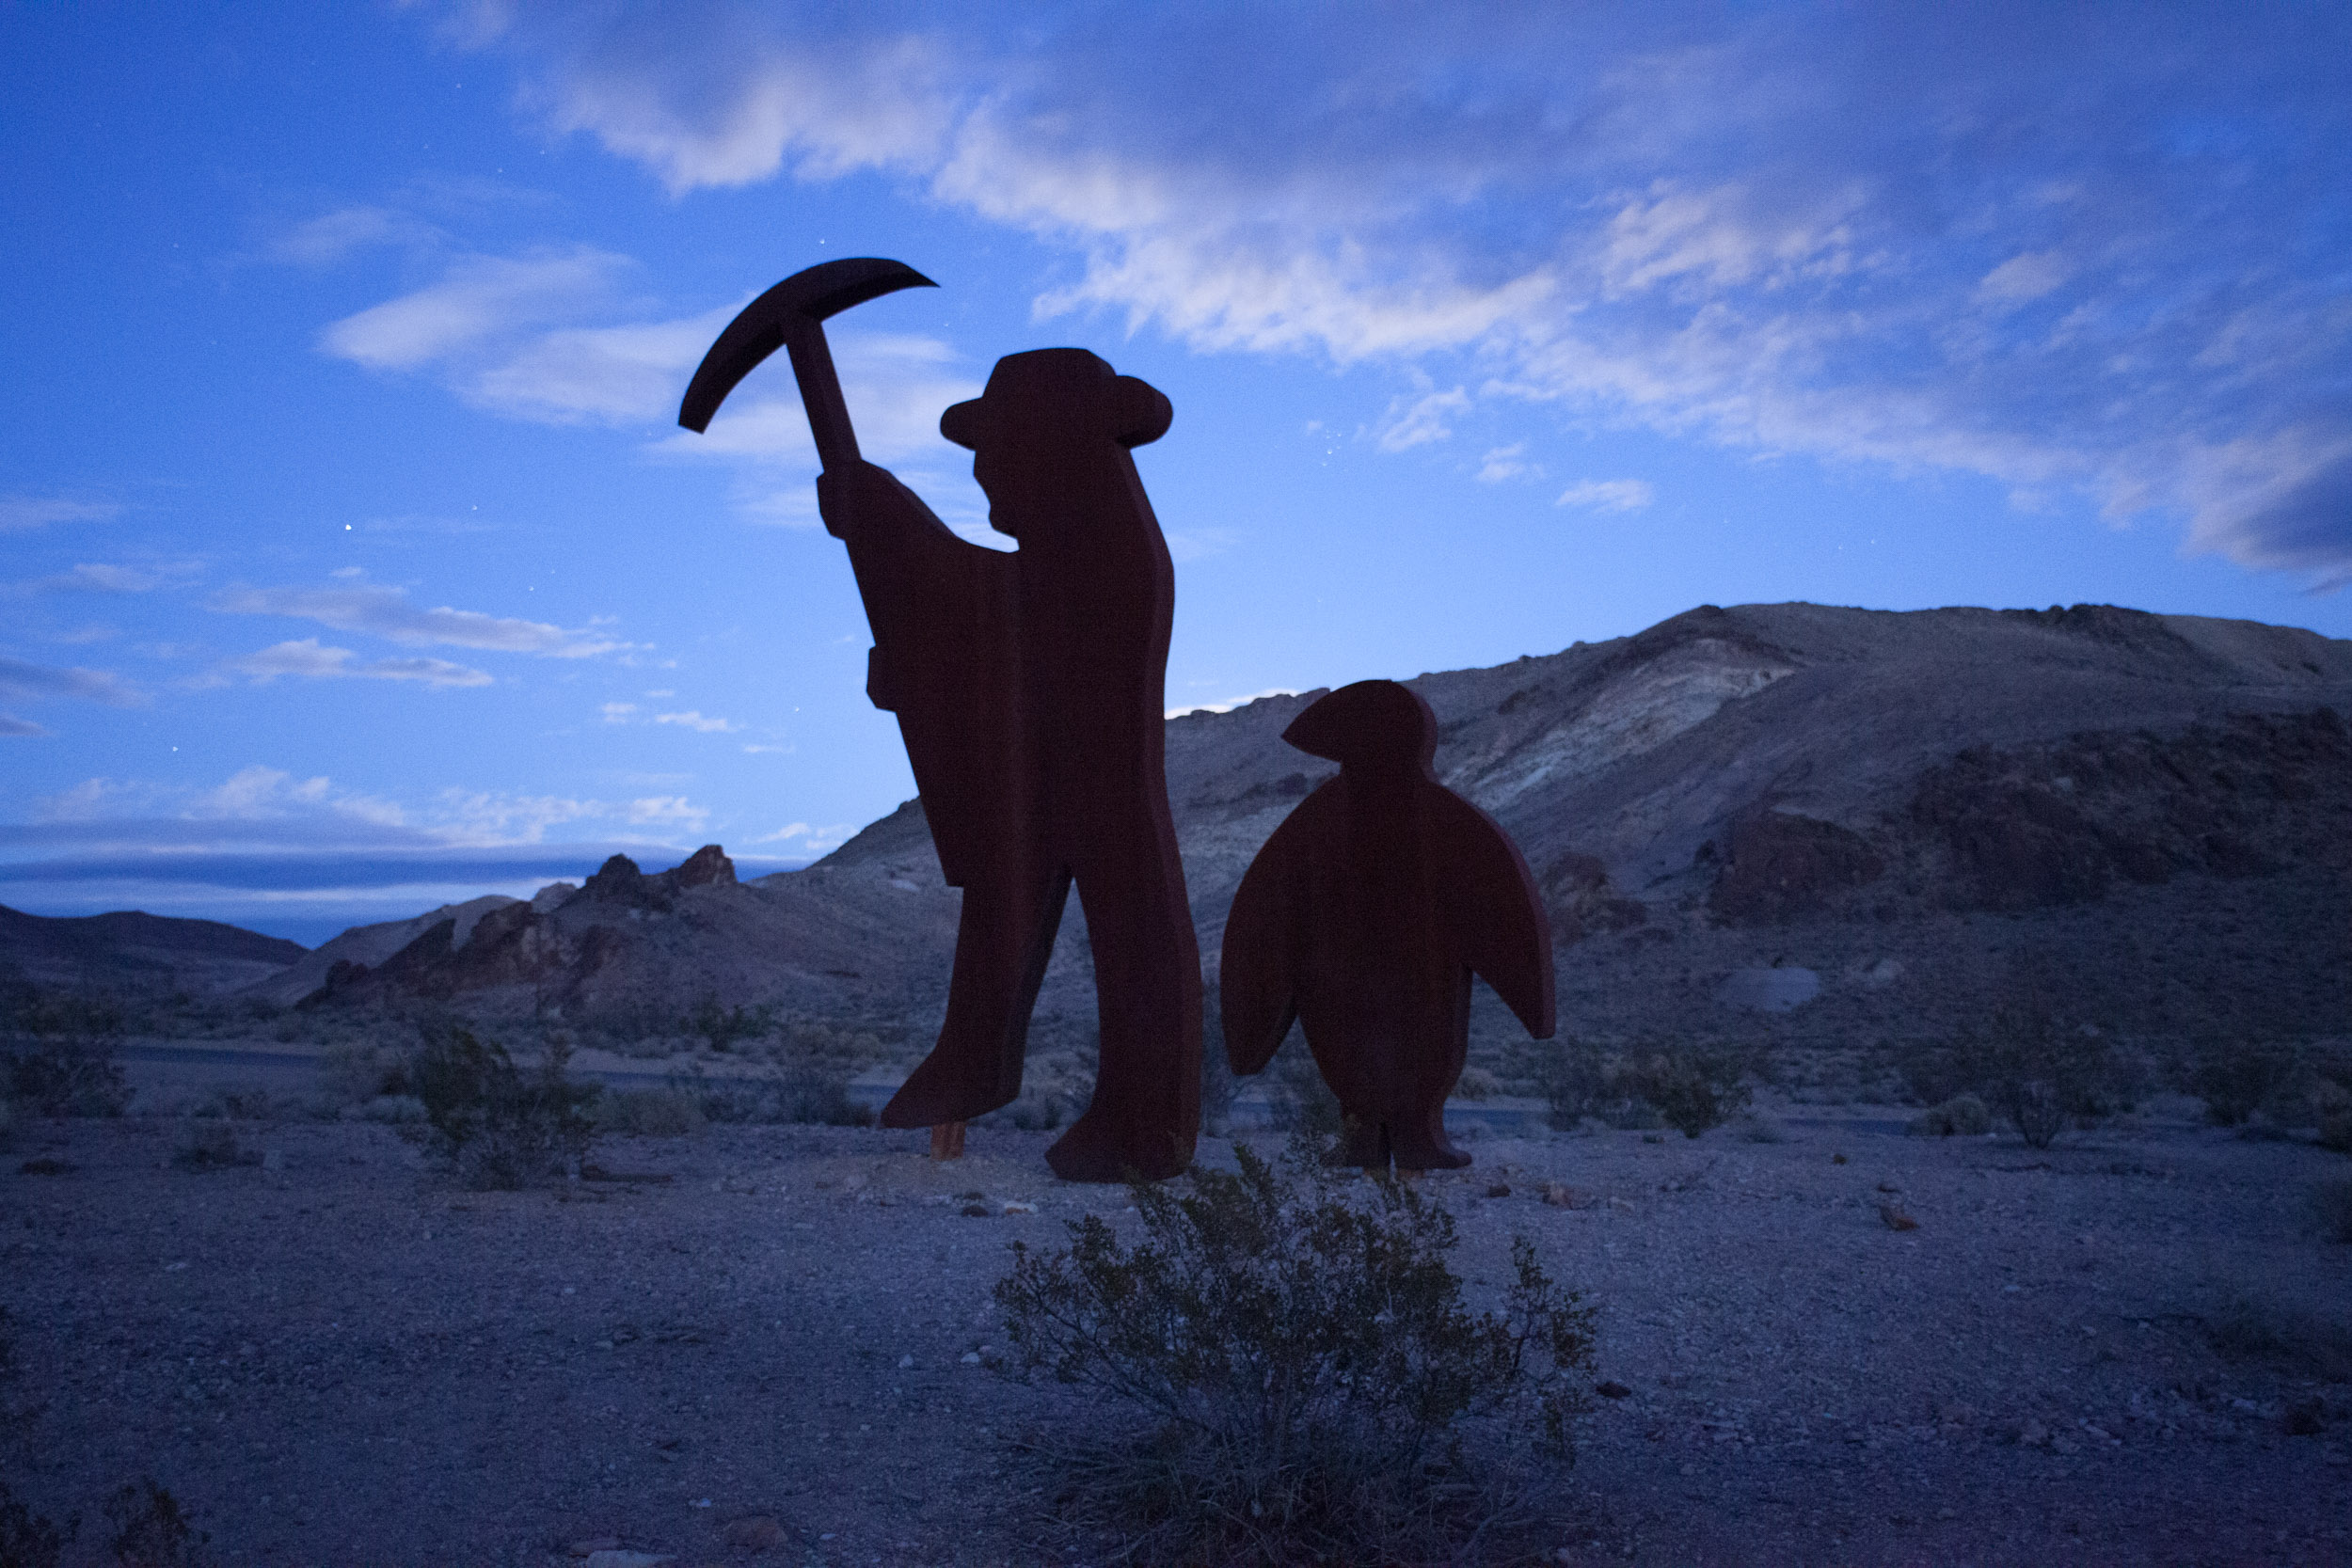
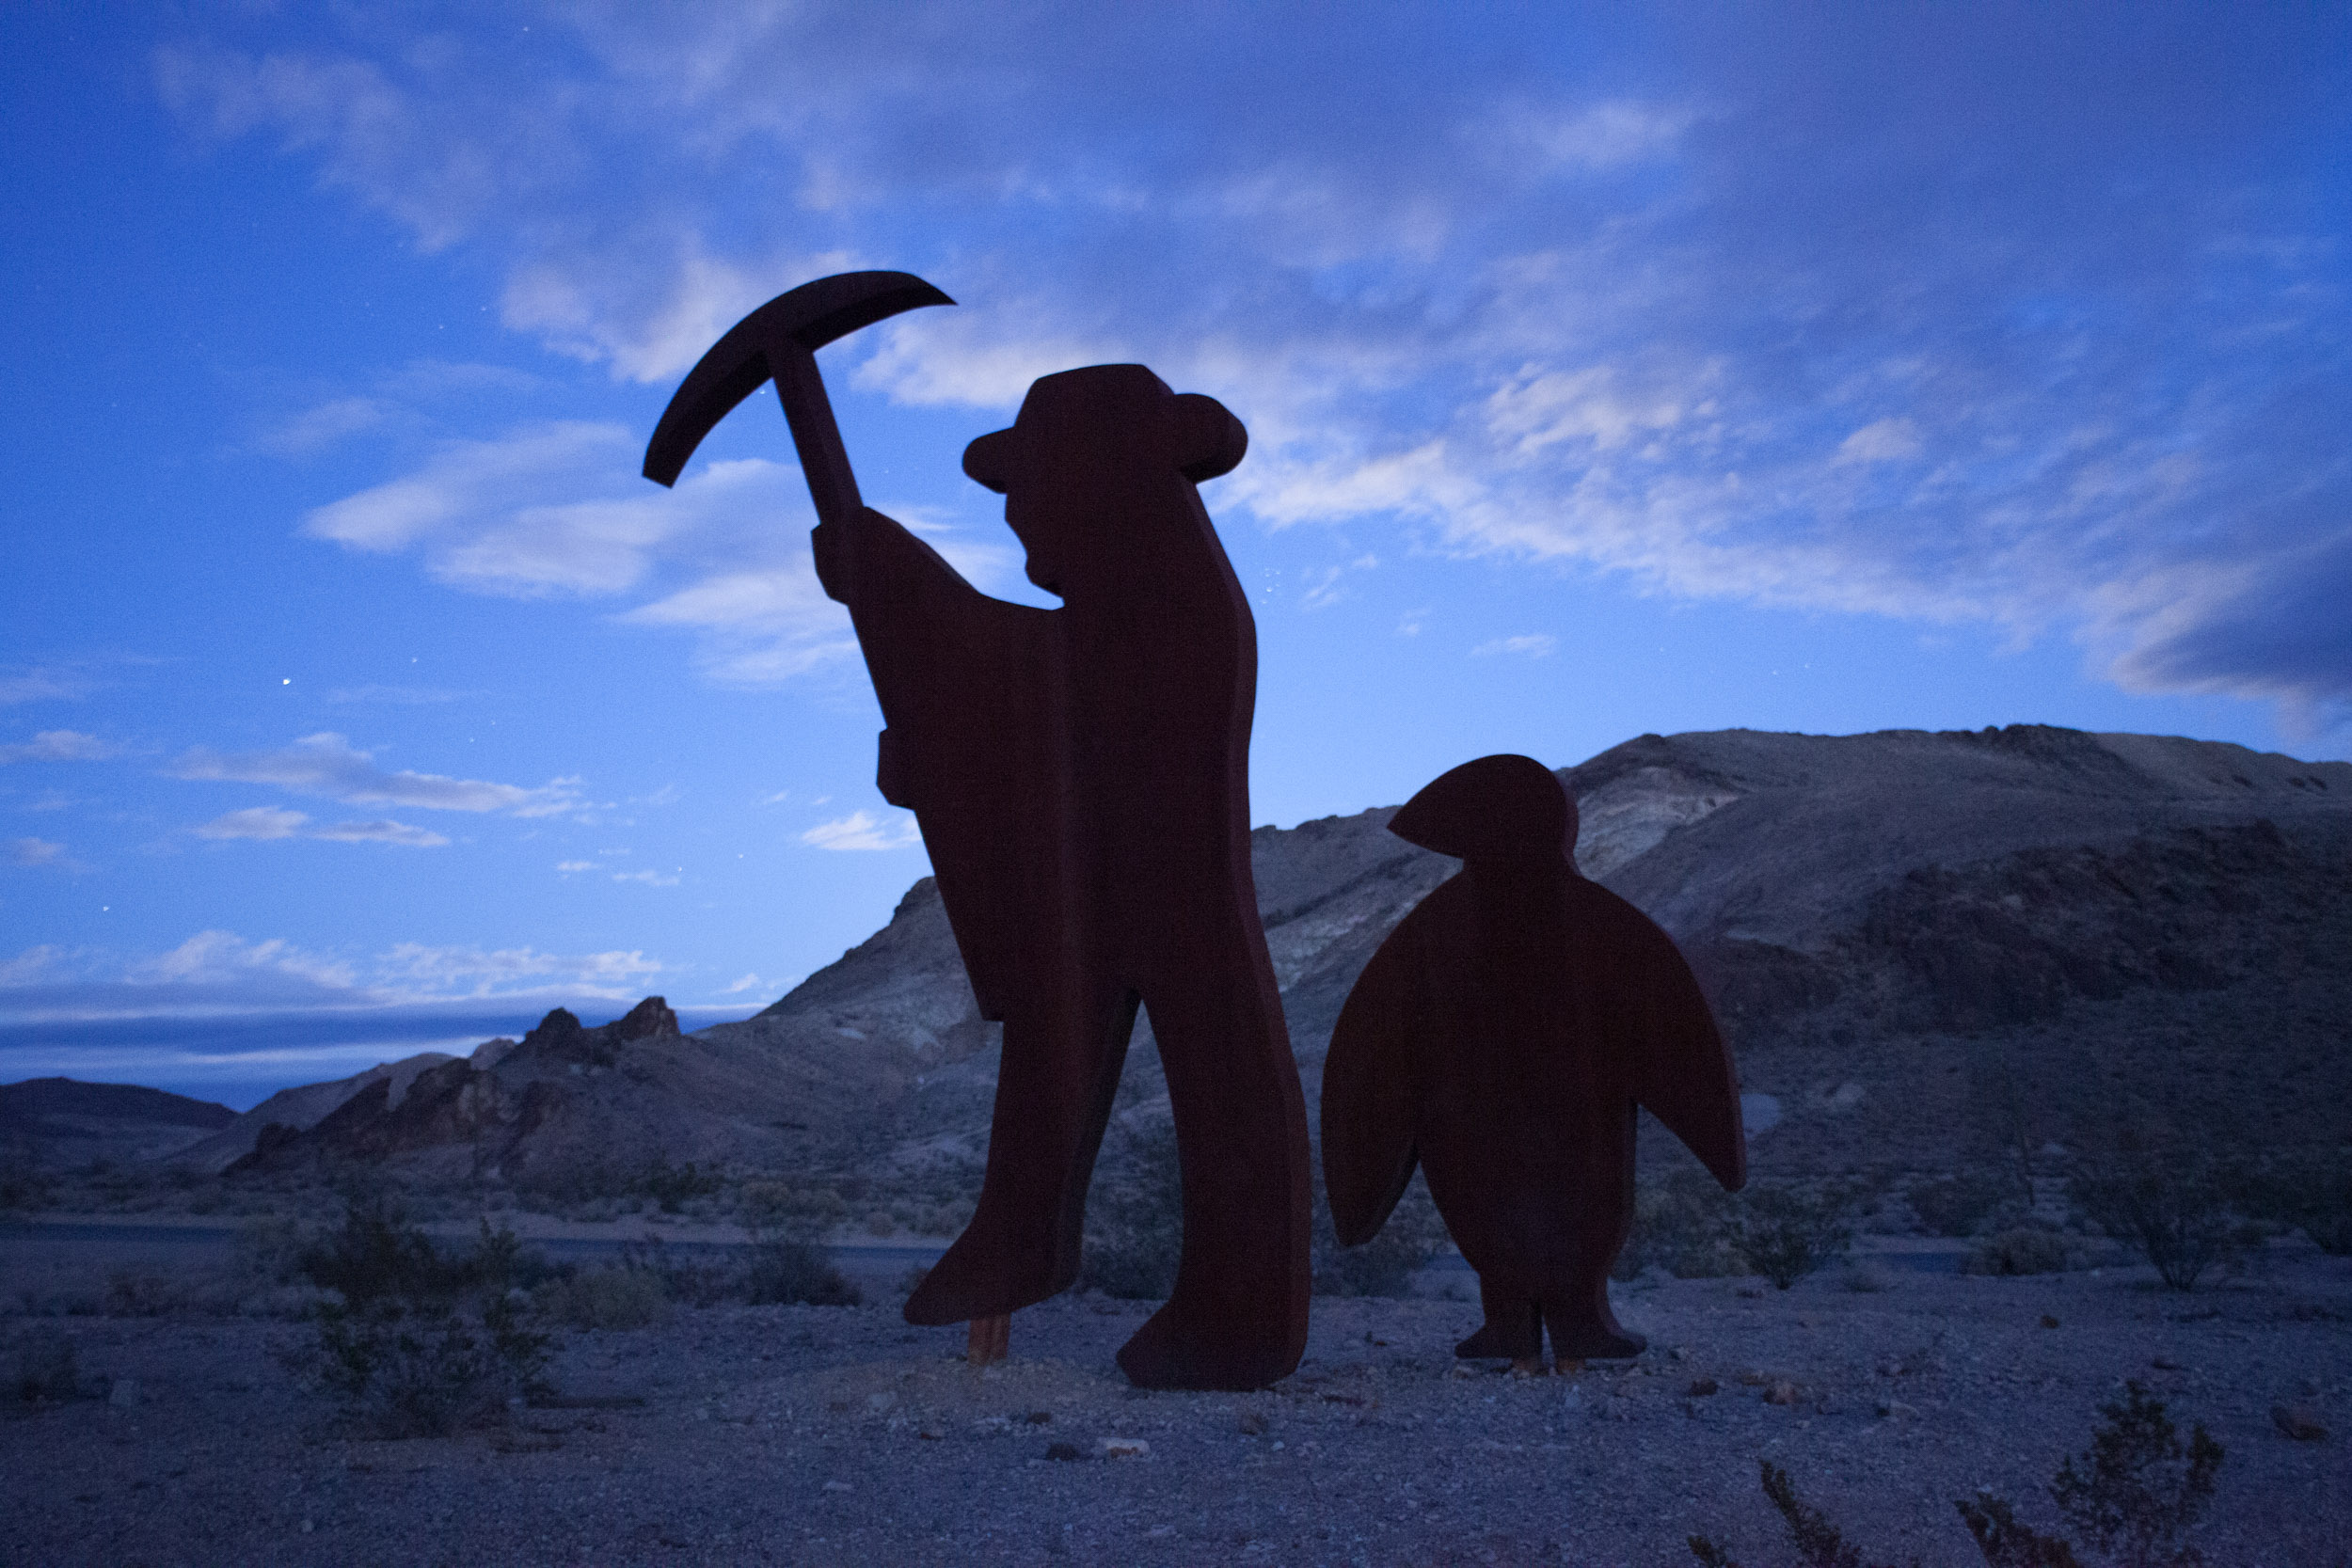
Field Workflow Example 3: Ryholite ghost town, Nevada.

C. Determine the exposure. Once the composition is set and focus is achieved, I turn to finding the ideal exposure. As before, the type of image will give me a clue as to the starting point. If I’m going for star points, then I’ll start with shutter speed, using the longest speed that will still render the stars as points of light rather than as trails. (I wrote two posts on this subject in 2017. Part one deals with subtleties of managing different variables to determine the best exposure for maintaining star points in astro-landscape photographs; part two explains the 250, 400 and 500 rules for calculating the best shutter speed for the conditions at hand.)
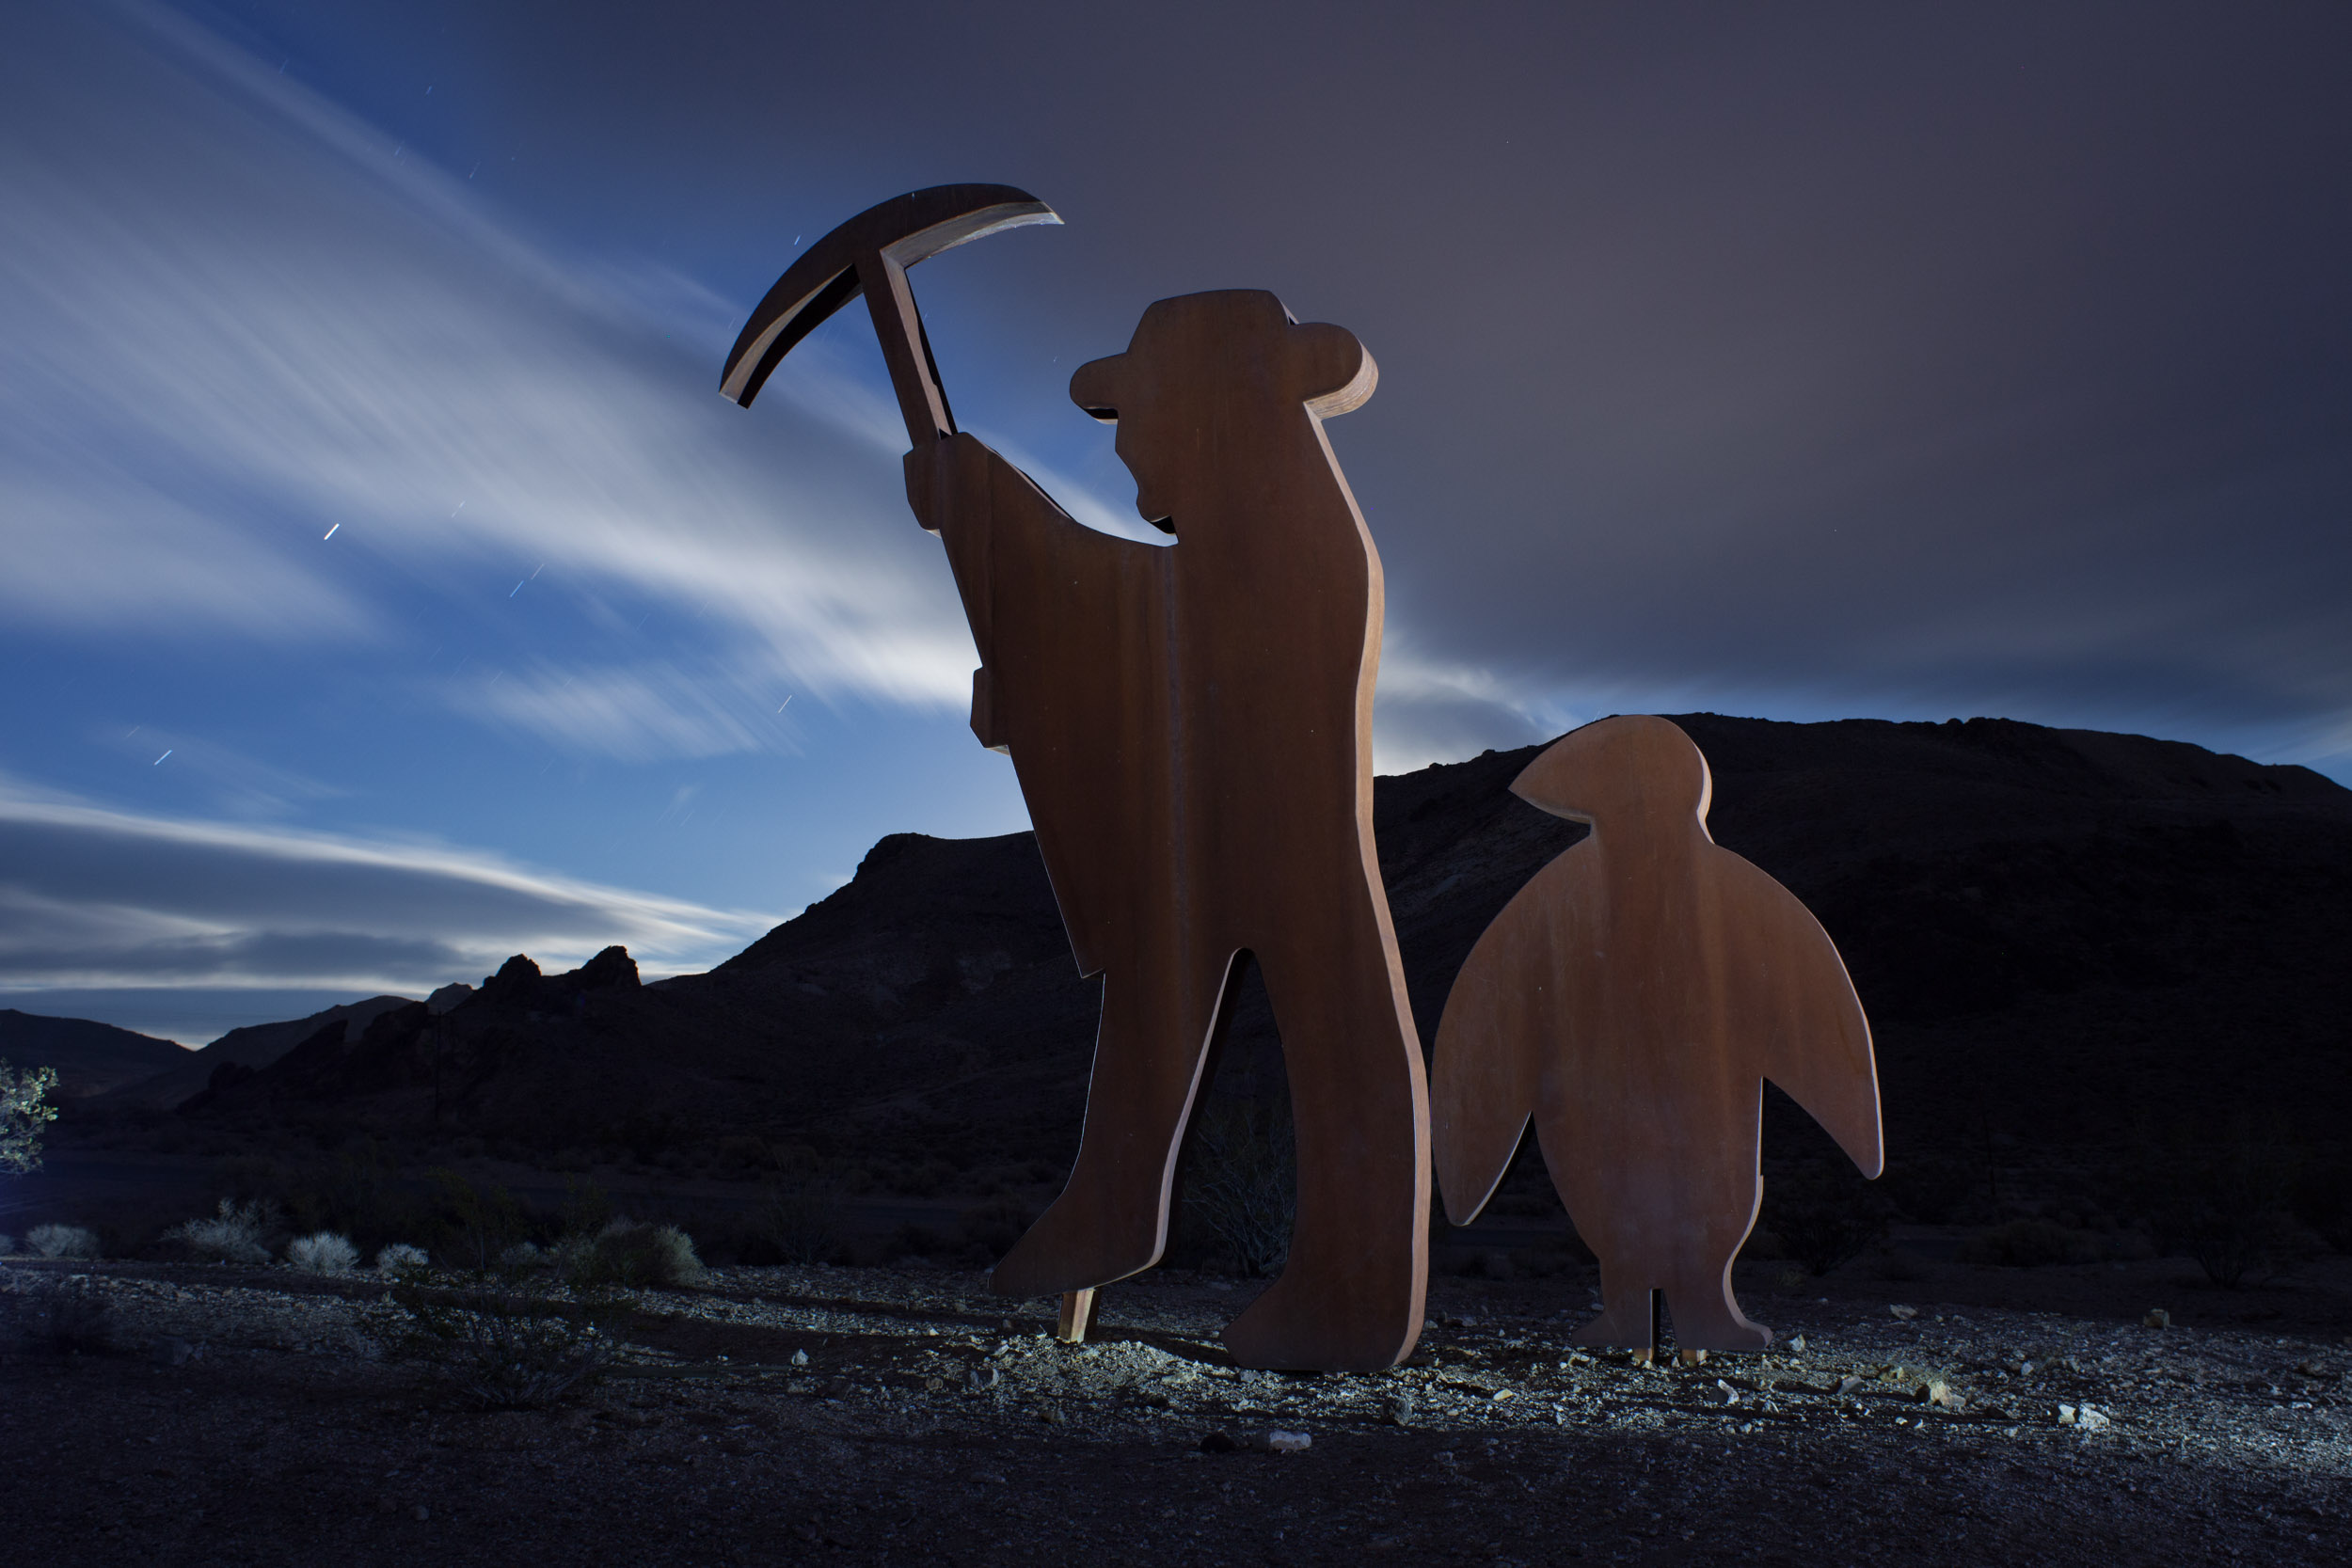
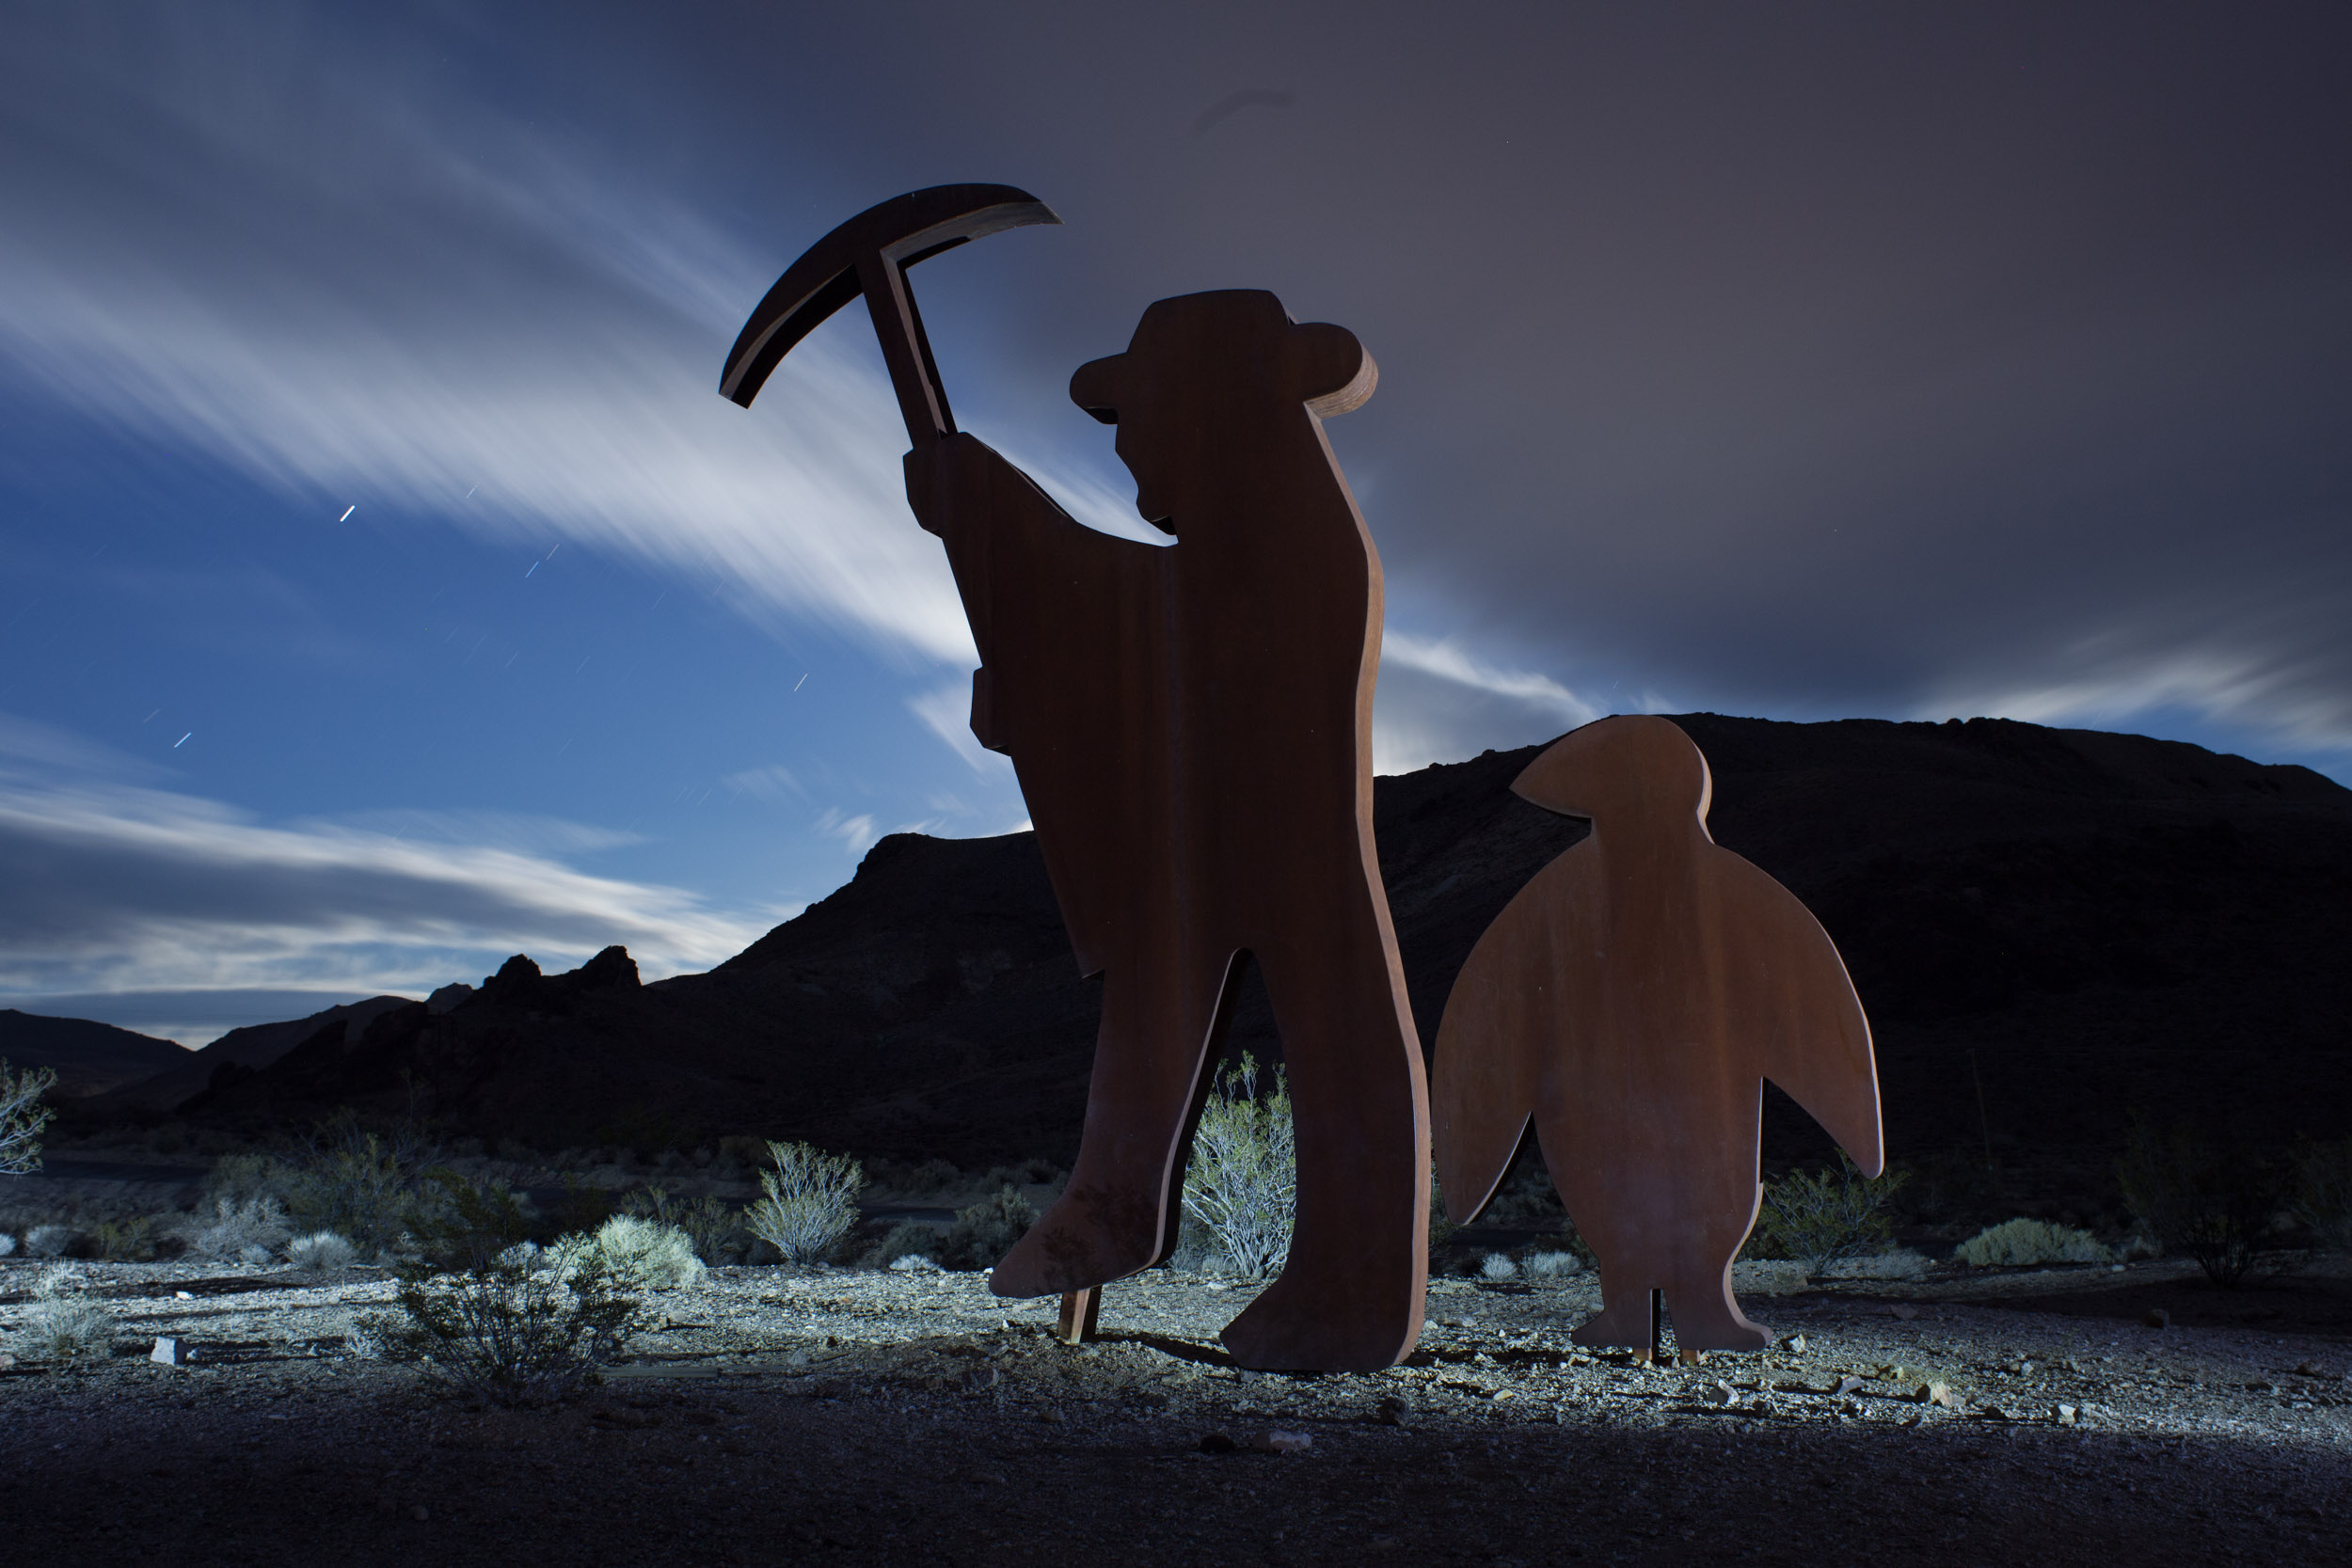
If I’m more concerned with depth of field than star points, I might start with aperture, and build the rest of the exposure around that. ISO is rarely the starting point of an exposure.

Regardless of my starting point, I’ll use the histogram as a guide to get the exposure where it needs to be. In natural light situations, the histogram is my primary exposure determinant. In dynamic, artificially lit environments, I’ll simply give the scene as much exposure as possible without clipping important highlight details. In most instances, I bracket exposures and decide which one(s) to use once I download the images. High ISO testing is a tool to help calculate the exposure quickly and easily.

D. Add light painting. By now, I have a pretty good idea of where, if not how to light the scene. The image is coming together, and I might want to emphasize a particular element of the scene with added light, or simply fill in the shadows to reduce the overall contrast. This last step can be the most challenging, but is also the most creative and rewarding aspect of night photography.

Years of experience guide me in making lighting decisions, but that simply means I might need only a couple of frames to work it out, while someone just getting started may need a few more attempts before they figure out what they are trying to achieve, and then how to achieve it. But the steps are the same: make an exposure, evaluate and adjust until as close to perfect as possible.

Once the quality and amount of added light are where I want them to be, the last step is to consider adjusting the ratio of ambient to added light. I will often reduce the overall exposure length to get a more dramatic effect, to make my lighting stand out. Again, it’s just trial and error until everything falls into place.

Wrapping Up

Hopefully, most of what I’ve written about here is fairly obvious and seems like common sense. Organize your gear, plan ahead, and work in an organized and methodical fashion. That’s the gist of it, with the goal being consistency and repeatability.

As I said before, I’m not trying to get you to work the same way that I do. It’s more important to have a plan that works and stick with it than to do what I or anyone else says you should do. This is what works for me. I encourage you to develop your own field workflow so that you’ll be able to #SeizeTheNight more effectively when you go out to photograph.

Lance Keimig is a partner and workshop leader with National Parks at Night. He has been photographing at night for 30 years, and is the author of Night Photography and Light Painting: Finding Your Way in the Dark (Focal Press, 2015). Learn more about his images and workshops at www.thenightskye.com.

UPCOMING WORKSHOPS FROM NATIONAL PARKS AT NIGHT

Keep the Noise Down (Part II): Examining Your High ISO Test Photographs

In Part I of this article, we learned:

  • What is high ISO noise?

  • How to prepare for a high ISO test

  • How to shoot a high ISO test

Now we're going to learn how to spot disadvantageous noise in our high ISO night photography images. And then I'll show you how to use these boundaries to your advantage.

Pixel-Peeping: Looking at your High ISO Images

Figure 1. 1 second, ISO 51,200, ambient temperature 50 F.

I'll start by using the images referenced in our last post. Figure 1 above is an image that clearly demonstrates a lot of high ISO noise. You can see it clearly as a pattern of dots in the highlight and shadow areas. Boom. Easy to spot, right?

Figure 2. 8 seconds, ISO 6,400, ambient temperature 50 F.

At ISO 6,400 (Figure 2), it's much smoother, and the noise is not as apparent. But it's still there.

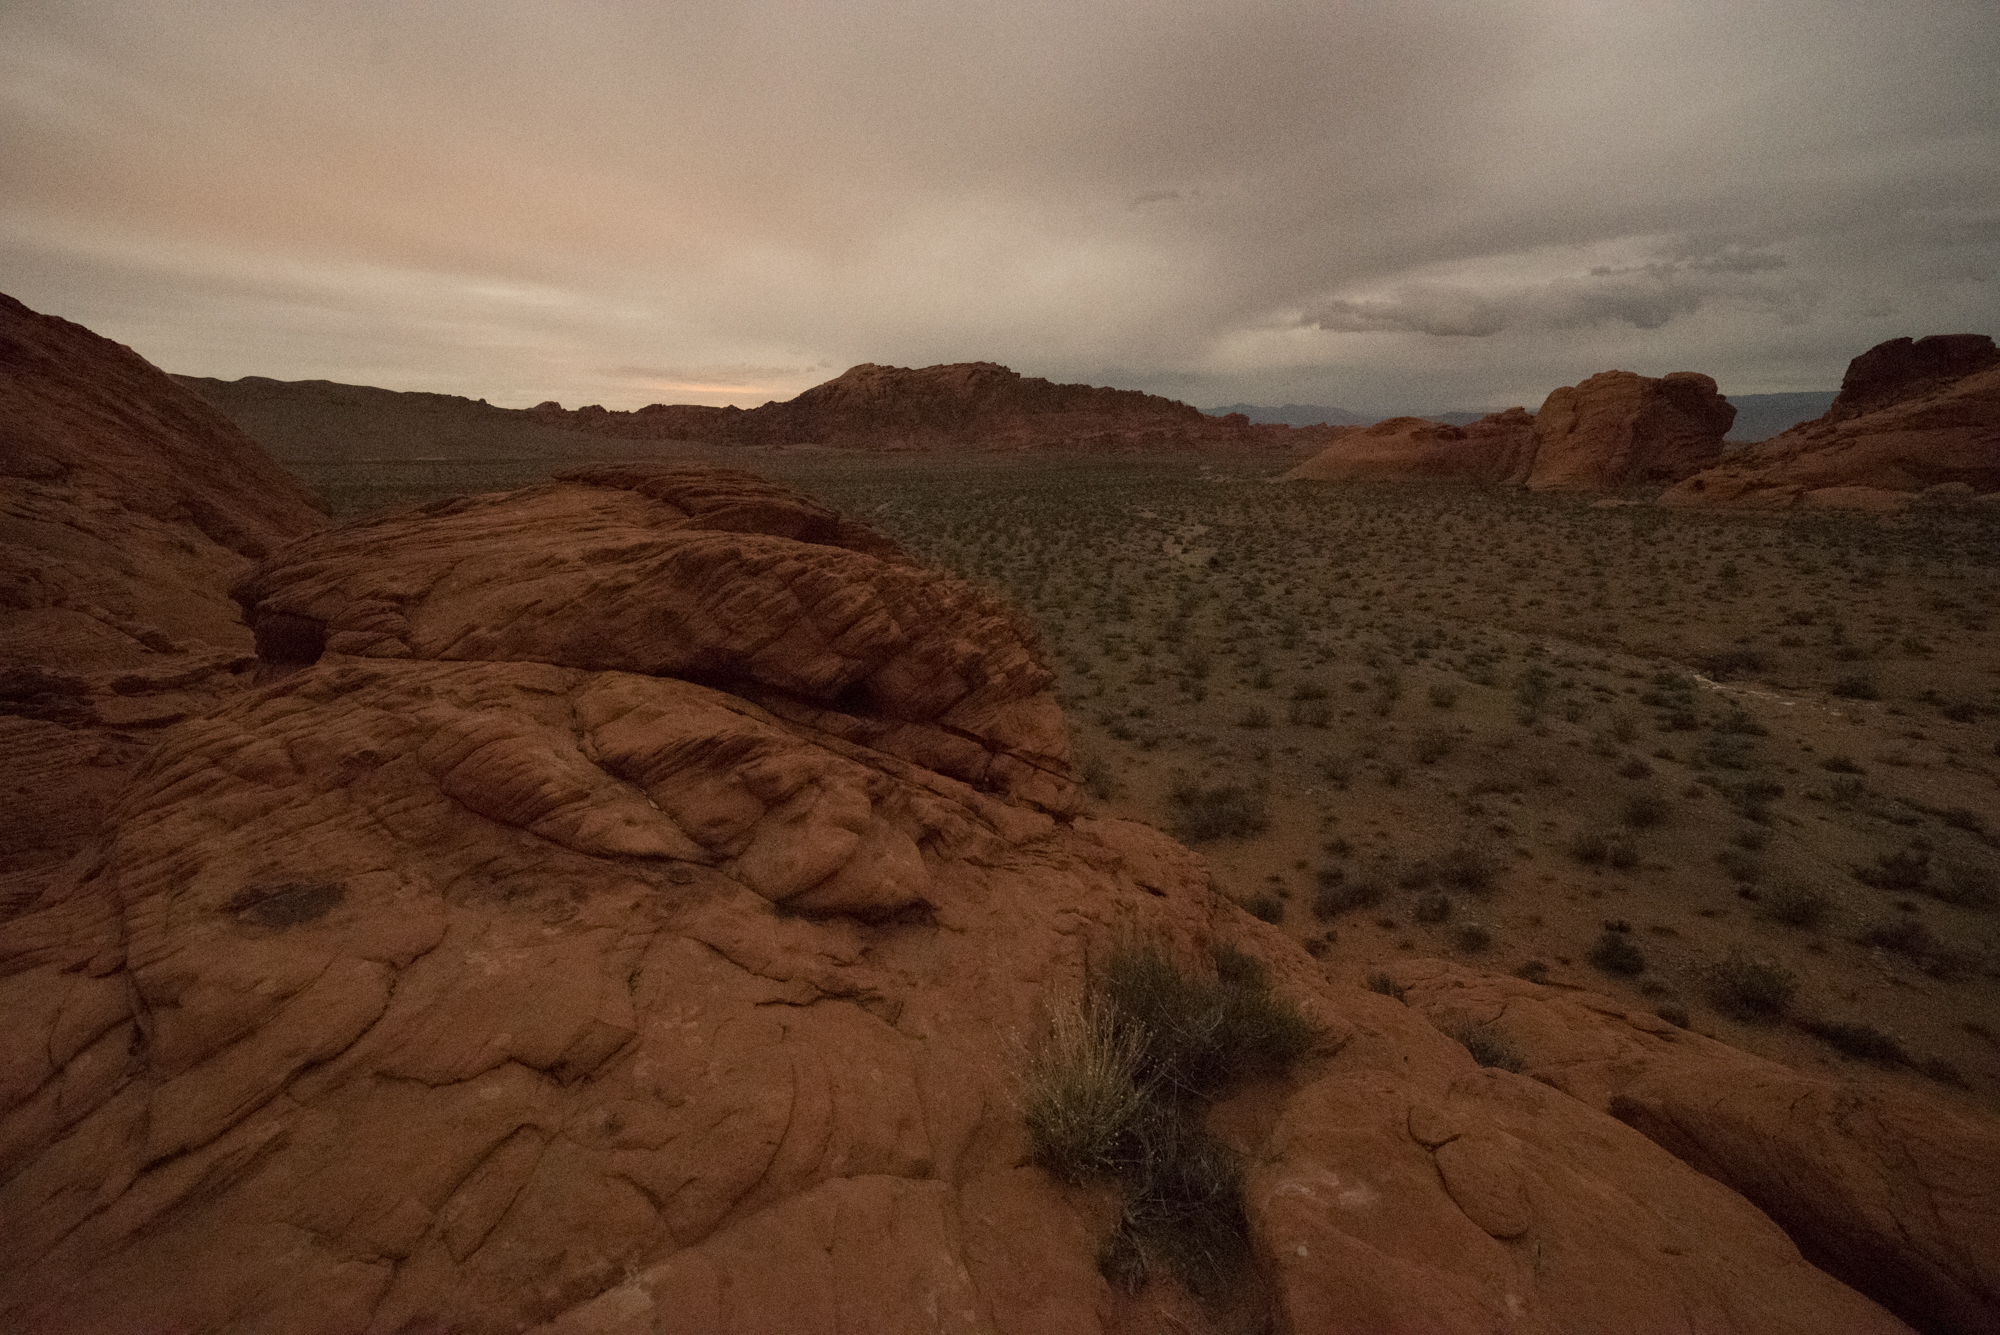
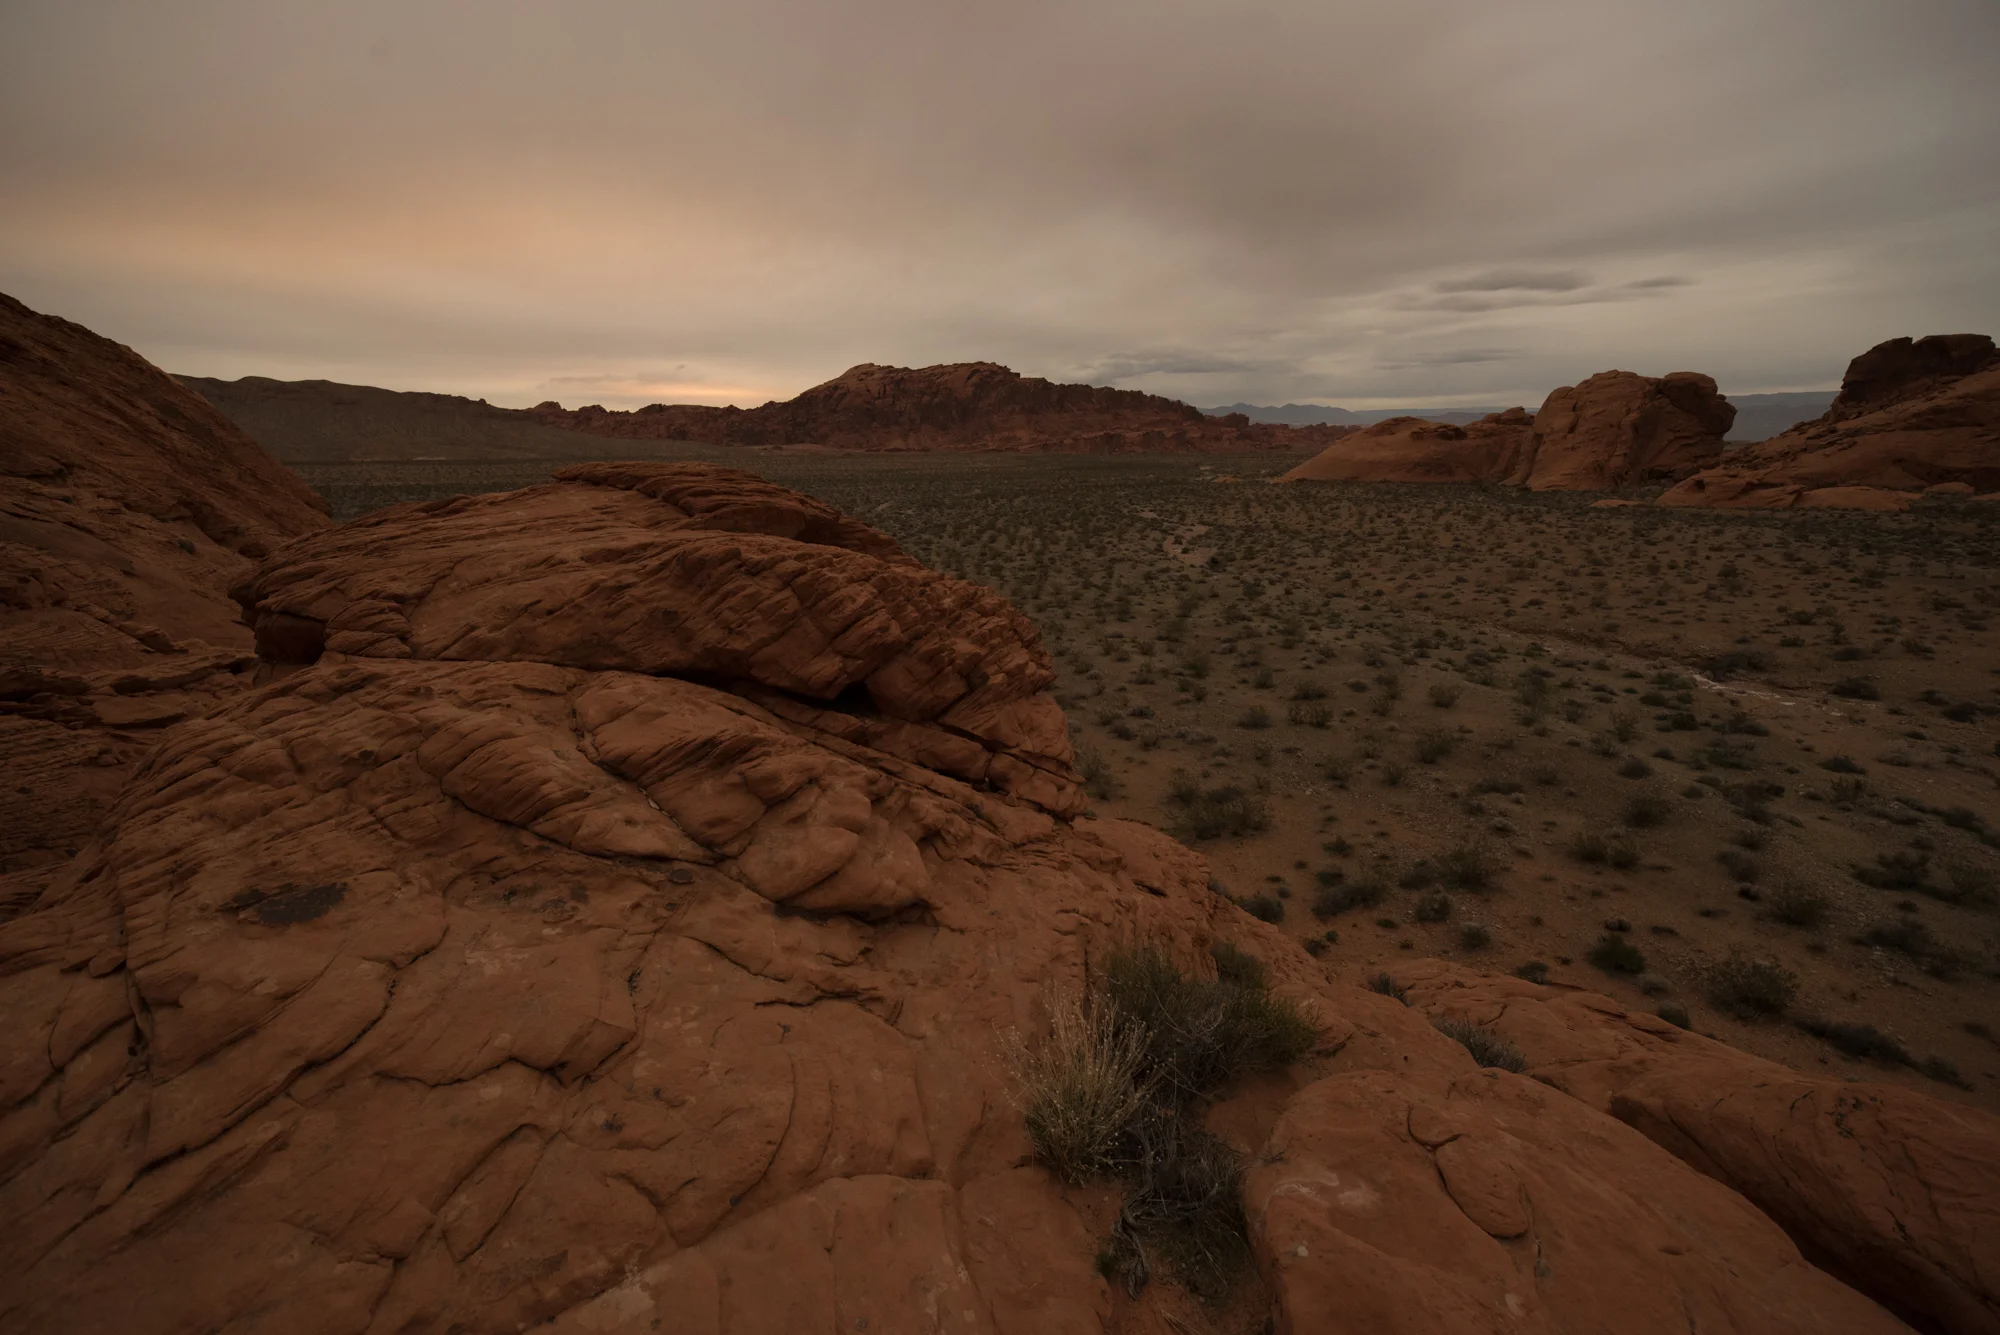
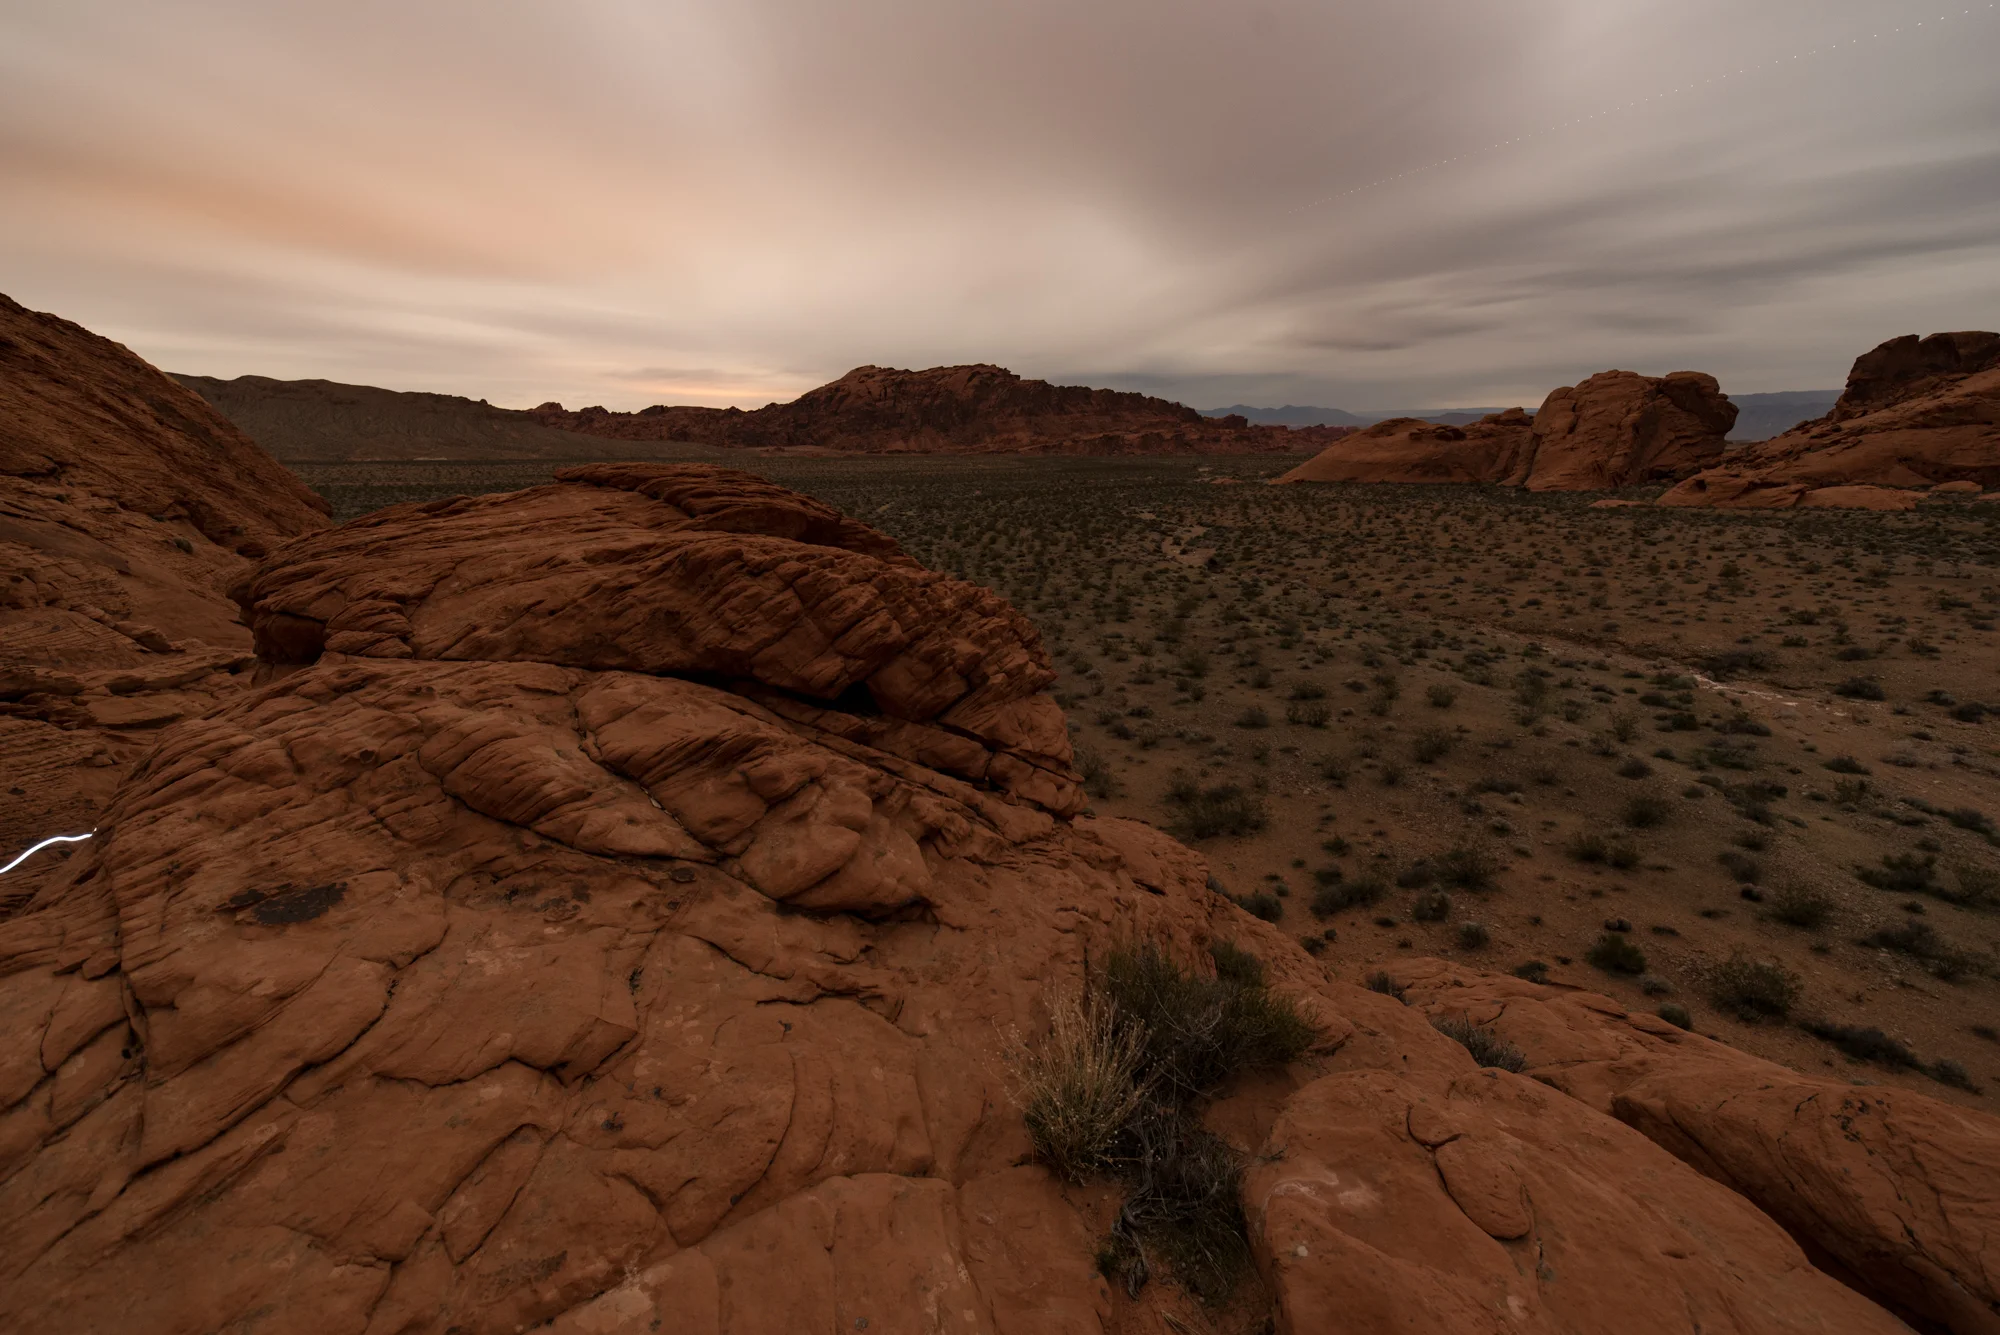
Figure 3. 8 minutes, ISO 100, ambient temperature 50 F.

And at ISO 100 (Figure 3), the noise is gone. No surprise here. That's where the highest possible quality is with my camera. Native ISO.

What did I Choose for this Scene?

I am a big fan of dilating time. So I like the ISO 100 shot the best. And that is an aesthetic choice. I'm not concerned about the length of the shutter speed, because there are no stars, so I don't have to choose between star points or trails. And at 8 minutes, the clouds are not totally smeared, yet show enough motion to depict a sense of time passage that I am attracted to. And no noise.

If I had to choose one of the shorter exposure times (because, for example, there were stars in the frame, or the clouds were blurring too much), then I would choose the ISO 800 photo. At ISO 1600, I start to see the noise affect the clouds in a way I don't like. It appears as blotchy areas.

Figure 4. Left: ISO 800 with acceptable noise. Right: ISO 1,600 with unacceptable noise. (Click/tap for larger view.)

Screen Shot 2017-03-12 at 1.07.54 PM.png

Tip:

Use the Compare View ( looks like "X | Y") in Lightroom to zoom in on two photos at the same time and same position in both photos at once.

Juxtaposition for the Win

I made a PSD from my test set by selecting all the frames in Lightroom, right-clicking and choosing "Open as Layers in Photoshop."

Figure 5. You may be familiar with this action from Star Stacking!

Then, so I can show you, I used layer masks to reveal a vertical slice of each layer. This way we can see the changes between each of the exposures side by side (see Figure 6 below). (Power tip: I divided the width by the number of images and added rulers to create evenly spaced slices.)

Figure 6. Finished PSD with layer masks.

So let's look at the highlight transitions:

Figure 7. Highlights crop from left to right: ISO 51,200, 25,600, 12,800, 6400, 3200, 1600, 800, 400, 200 and 100. (Click/tap for larger view.)

As I demonstrated with the X/Y view of ISO 800 and 1,600 in Figure 4, I found a breaking point for quality in the highlights. I do like seeing the whole spectrum of exposures in this crop too (Figure 7). I learned a lot from it.

Figure 8. Midtones crop from left to right: ISO 51,200, 25,600, 12,800, 6400, 3200, 1600, 800, 400, 200 and 100. (Click/tap for larger view.)

In the midtones (Figure 8), you'll notice it's harder to see the noise because the sandy desert floor of Valley of Fire State Park in Nevada has similar natural patterns. If the composition had no sky in the frame, I could choose a shorter exposure. ISO 12,800 looks great in the midtones. 

Figure 9. Left: ISO 12,800 with acceptable noise. Right: ISO 25,600 with unacceptable noise. (Click/tap for larger view.)

If you have an interesting sky that requires a short exposure and a foreground that begs for light painting or a longer exposure for car trails, moving water, etc., you can layer the two images together in post. Just shoot them separately and (duh ...) don't move the tripod a single millimeter between frames. It's a common use of imaging technology these days. Purists reject it, but if this is how you make your art, use it to your benefit.

Want to see my original PSD? Download it here. (Careful, it's 2.5 GB!)

When Does High ISO Noise Work?

You'll find that you can tolerate high ISO noise in your night photography when there are patterns that complement the noise pattern. Times when it works are:

  • Milky Way star points

  • scenes without gradients of color

  • black and white post-processing

Figure 10. Devil's Tower, Wyoming. 30 seconds, f/2.8, ISO 400. Ambient temperature approximately 65 F. (Click/tap for larger view.)

In Figure 10, the desert floor has that quality of patterns that complement the noise pattern. It was a warm night in Wyoming, and even at ISO 400 and 30 seconds, there was high ISO noise. But the sky glow and star points mask it pretty well. The noise comes from the ambient summer heat. It's also worth mentioning that it was very dry with lots of dust in the air.

Figure 11. 100 percent view of above photo. Screenshot from Lightroom.

The month doesn't always have to be the determining factor—it could also be the temperature. The image below (Figure 12) was also shot in August, but at Crater Lake National Park in Oregon at a much higher altitude, and lower temperature (closer to 40 F). Comparing ISO 400 at 65 degrees and ISO 6,400 at 43 degrees, you'll see a dramatic difference: much less noise.

Figure 12. Crater Lake National Park, Oregon. 30 seconds, f/2.8, ISO 6400. Ambient temperature approximately 43 F. (Click/tap for larger view.)

And below (Figure 13) is a 100 percent crop to see the magic.

Figure 13. 100 percent view of photo in Figure 12. Screenshot from Lightroom.

Figure 14. Left: ISO 400 at 65 F. Right: ISO 6,400 at 43 F. Both at 100 percent crop in Lightroom. (Click/tap for larger view.)

In Figure 14 the areas of solid color between the star points are much cleaner in the example on the right. Thus (to me) it is more pleasing. For pixel-peeping! Which leads me to my final point:

How are you Finishing your Work?

Intent is everything. If you intend to finish your work by printing it, you should evaluate your tests that same way. Print them at the size you intend to show (or sell!) them. Stand at the appropriate distance for viewing and ask, "Does this look right?"

Remember that getting 3 inches away from a print isn't normal consumption of the product. Normal viewing distance is usually twice the diagonal measure of the print.

If you are going to display your images only on Facebook, Instagram or another social outlet, then your quality standards can frankly be much less. But consider the future of your craft: If you want to sell your work for others to enjoy or invest in someday, why not practice the pursuit of the best quality in the present?

If the answer is a solid, "nope," then don't sweat it. You made an image that makes you happy. Enjoy, and move on to making more images.

Homework

If you're up to it, export one or two images where you pushed the high ISO limit and share them in the comments section. Tell us what you do and don't like about it. And tell us what you learned—namely, where does your camera start to fail? At what temperature? Let's see you stretching your camera to the limits.

See more about Matt's photography, art, workshops and writing at MattHillArt.com. Follow Matt on Twitter Instagram Facebook.

UPCOMING WORKSHOPS FROM NATIONAL PARKS AT NIGHT

Keep the Noise Down (Part I): How to Take an ISO Test with your Camera

One aspect of night photography that is particular to the camera you own is its tolerance for or its ability to repress, avoid or use high ISO noise to your advantage.

In this blog post, I teach you how to run your own High ISO Noise Test, resulting in a series of images that reveal when your camera has undesirable high ISO noise.

But first, let's identify High ISO Noise. (For those of you who already know, feel free to jump to "Preparing for the Test," below.)

What is High ISO Noise?

But what about quality?

Your digital camera provides the best-quality image at its native ISO, or the lowest number on your camera's ISO scale. On my current camera, the Nikon D750, this is ISO 100. On my previous camera, the Nikon D700, it was ISO 200.

But we can't always use the highest-quality ISO to capture star points and the Milky Way, because the amount of time required to get a proper exposure exceeds the 400 Rule.

How about saving time?

The Six-Stop Rule, or High ISO Test, also saves you valuable time in determining a correct exposure. More about that in our blog post "Save Time by Using High ISO Testing to Set Up Your Night Shots," by Lance Keimig.

Even more about High ISO Noise

In another of our previous blog posts, "Testing Your Camera’s Tolerance For Long-Exposure Noise," Tim Cooper points out, "Long-exposure noise is virtually impossible to fix via post-processing." That's why it's essential for you to test your camera's high ISO capabilities at many temperatures, and to know when and at what temperature it creates undesirable results.

But what about LENR?

LENR (long exposure noise reduction) is necessary only when heat buildup causes hot pixels—the red, green or blue pixels scattered throughout a long exposure brought on by heat building up on the imaging sensor. You can combine LENR with an educated high ISO practice, but its purpose is different and separate from high ISO noise reduction or avoidance.

Preparing for the test

You'll need the following gear:

  • your camera + lens + battery with enough power

  • tripod

  • intervalometer

You will need your intervalometer to minimize camera shake when activating the shutter, and for those longer exposures at the lower ISOs.

Where to perform your test

I suggest testing in a few scenarios. Choose a scene with some deep shadow areas, some midtones and some highlights to gauge when and where high ISO fails or excels. Possibilities include:

  • at home, in a dim to dark room

  • outdoors

  • in a rural or wilderness area

  • with your lens cap on

When to perform the test

I suggest testing your camera at many temperatures, including the following ranges:

  • 90 degrees and above

  • 80 to 89 degrees

  • 65 to 79 degrees

  • below 65 degrees

Camera settings

Here are some vital settings to help you establish a consistent high ISO test:

  • RAW capture (not JPG)

  • manual color balance (match the main light source in front of your camera)

  • manual mode (or B mode for certain Canon models)

  • one focal length (no changes if you use a zoom lens)

  • one aperture (no changes)

  • if DSLR (not mirrorless), cover the back window of your eyepiece to prevent light from bouncing in from the rear (some cameras have this capability via a small switch near eyepiece)

  • long-exposure noise reduction (LENR) disabled

  • high ISO noise reduction OFF (or if off is not available, set to Normal)

What to photograph

Ideally, I'd include an X-Rite ColorChecker Passport or ColorChecker in your test scene, but if you don't have one, no sweat.

In your scene, don't stress composing for aesthetics. Frame your image to include sky and foreground, highlight and shadow, and those transitions from light to dark. It's in those gradient areas in bright and dark areas, and in flat areas of same color and brightness, that you'll see high ISO noise appear first (and worst!).

Shooting the test

Shoot a test exposure at ISO 6400. Ideally you'll try for an aperture that yields you somewhere around 1 to 4 seconds at ISO 6400. Why? Well, when you get to the longer, quality exposures, each second at 6400 will become minutes, so it's just a matter of budgeting your time and how much performing an ISO test is worth to you versus shooting something non-technical.

I like testing all available ISOs on my camera, even if some of them are ridiculous. It's good to know by seeing what the results are.

On my D750, the ISO I tested are: 51,200, 25,600, 12,800, 6400, 3200, 1600, 800, 400, 200 and 100.

That's ten exposures. Each of them (in this order) is double the previous one's time in shutter speed.

My first test exposure in this scene tested at 6400 at 8 seconds. So I ramped up to 51,200 and started there, and then proceeded in order from shortest exposure to longest exposure.

Here is the table of exposures I made at 50 degrees F:

ISO 51,200 25,600 12,800 6,400 3,200 1,600 800 400 200 100
Aperture f/5.6 f/5.6 f/5.6 f/5.6 f/5.6 f/5.6 f/5.6 f/5.6 f/5.6 f/5.6
Time (seconds) 1 2 4 8 15 30 60 120 240 480

Here's the RAW (unprocessed) image sequence:

And after doing some minor post-processing, here is the resulting series of ten images:

So what do I do with this?

Great question! Examine the images and learn from what you observe. I'll go into deeper detail in the next post, including:

  • How to spot high ISO noise

  • When to avoid high ISO noise

  • When high ISO noise is OK

Homework

  1. Go shoot at least two high ISO sequences at temperatures that differ by at least 10 degrees F.

  2. Import into your editor of choice. (Power tip: I add all my high ISO tests into a collection in Lightroom called "High ISO Tests" so I can review them quickly.)

  3. Start looking for when noise changes to a level you find acceptable.

After doing your homework, read Part II of this article: Examining Your High ISO Photographs.

See more about Matt's photography, art, workshops and writing at MattHillArt.com. Follow Matt on Twitter Instagram Facebook.

Upcoming workshops from National Parks at Night

Save Time by Using High ISO Testing to Set Up Your Night Shots

When photographing in very dark environments, the camera’s light meter is usually unable to suggest a starting exposure. It can be a tedious exercise of trial and error to determine the best exposure to use.

Waiting 15 or 20 minutes for an exposure to finish, and then an additional 15 or 20 minutes for Long Exposure Noise Reduction, can be very frustrating if the end result is an image that is considerably under- or over-exposed. Waiting that long for an image only to find out that the shot was not properly focused, or that the camera was not level, isn’t any better.

To take some of the guesswork out of calculating long exposures, and to save time in doing so, I developed a simple method for testing exposures at high ISOs.


High ISO testing

The aim of High ISO test exposures is two-fold. The first is to quickly determine the correct exposure in moonlight or other very dark situations. High ISO testing is not very useful in situations where the final exposure will be less than about 2 minutes.

The second purpose is to confirm focus, composition and camera alignment, and to make sure there are no unintended distractions in the frame. Using this procedure will save you a lot of time and will eliminate a lot of frustration in the field.

Testing is performed by raising the ISO 6 stops above your camera’s native ISO. This is because there are six stops of exposure between 1 second and 1 minute, and using this formula allows for a direct translation from testing exposure in seconds to final exposure in minutes. This greatly simplifies exposure calculation, and as a result:

The number of seconds in a High ISO test exposure equals the number of minutes at the native ISO at the same aperture.

For native 100 ISO cameras, the testing ISO is 6400
For native 200 ISO cameras, the testing ISO is 12,800

In moonlight or similar relatively low-contrast situations, using the histogram is the best way to determine exposure. A good starting point in full-moon conditions is 5 seconds, ISO 6400, f/8, or 3 seconds, ISO 12800, f/8. (Choose one depending on your ISO—see above.) This results in a quick exposure for testing composition, focus, etc. When you’re ready for the real shot, that exposure becomes 5 minutes, ISO 100, f/8, or 3 minutes, ISO 200, f/8.

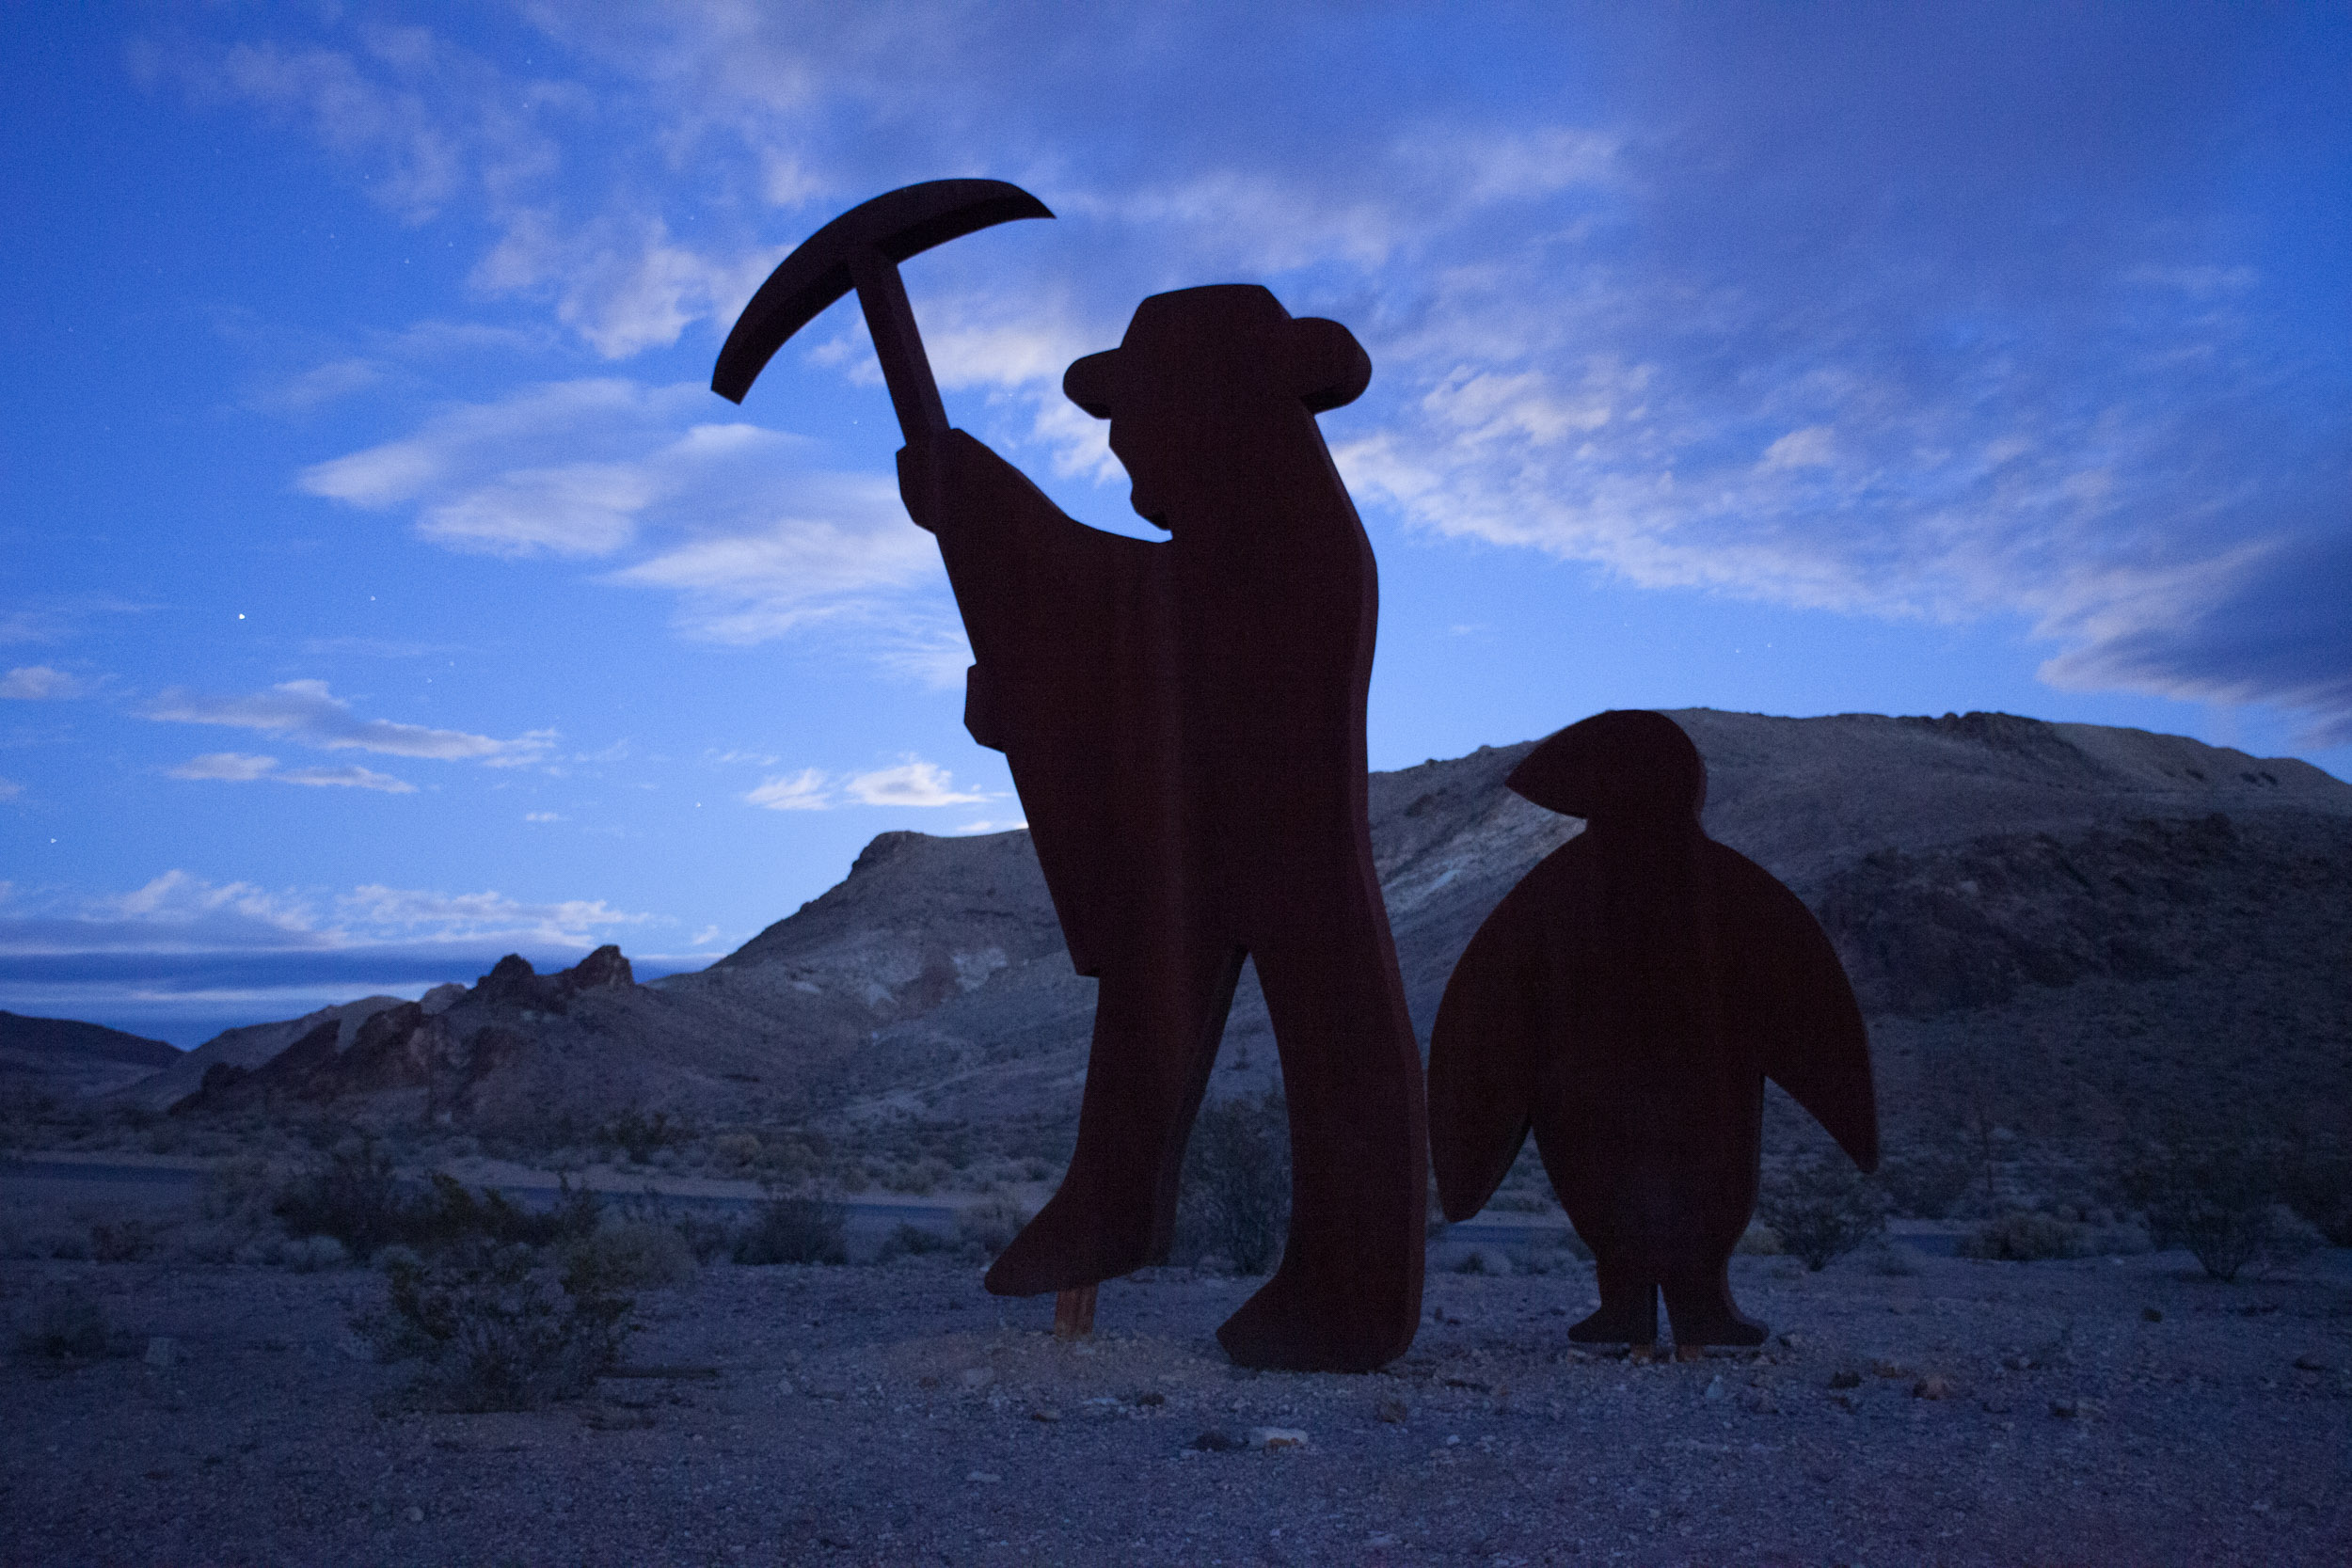
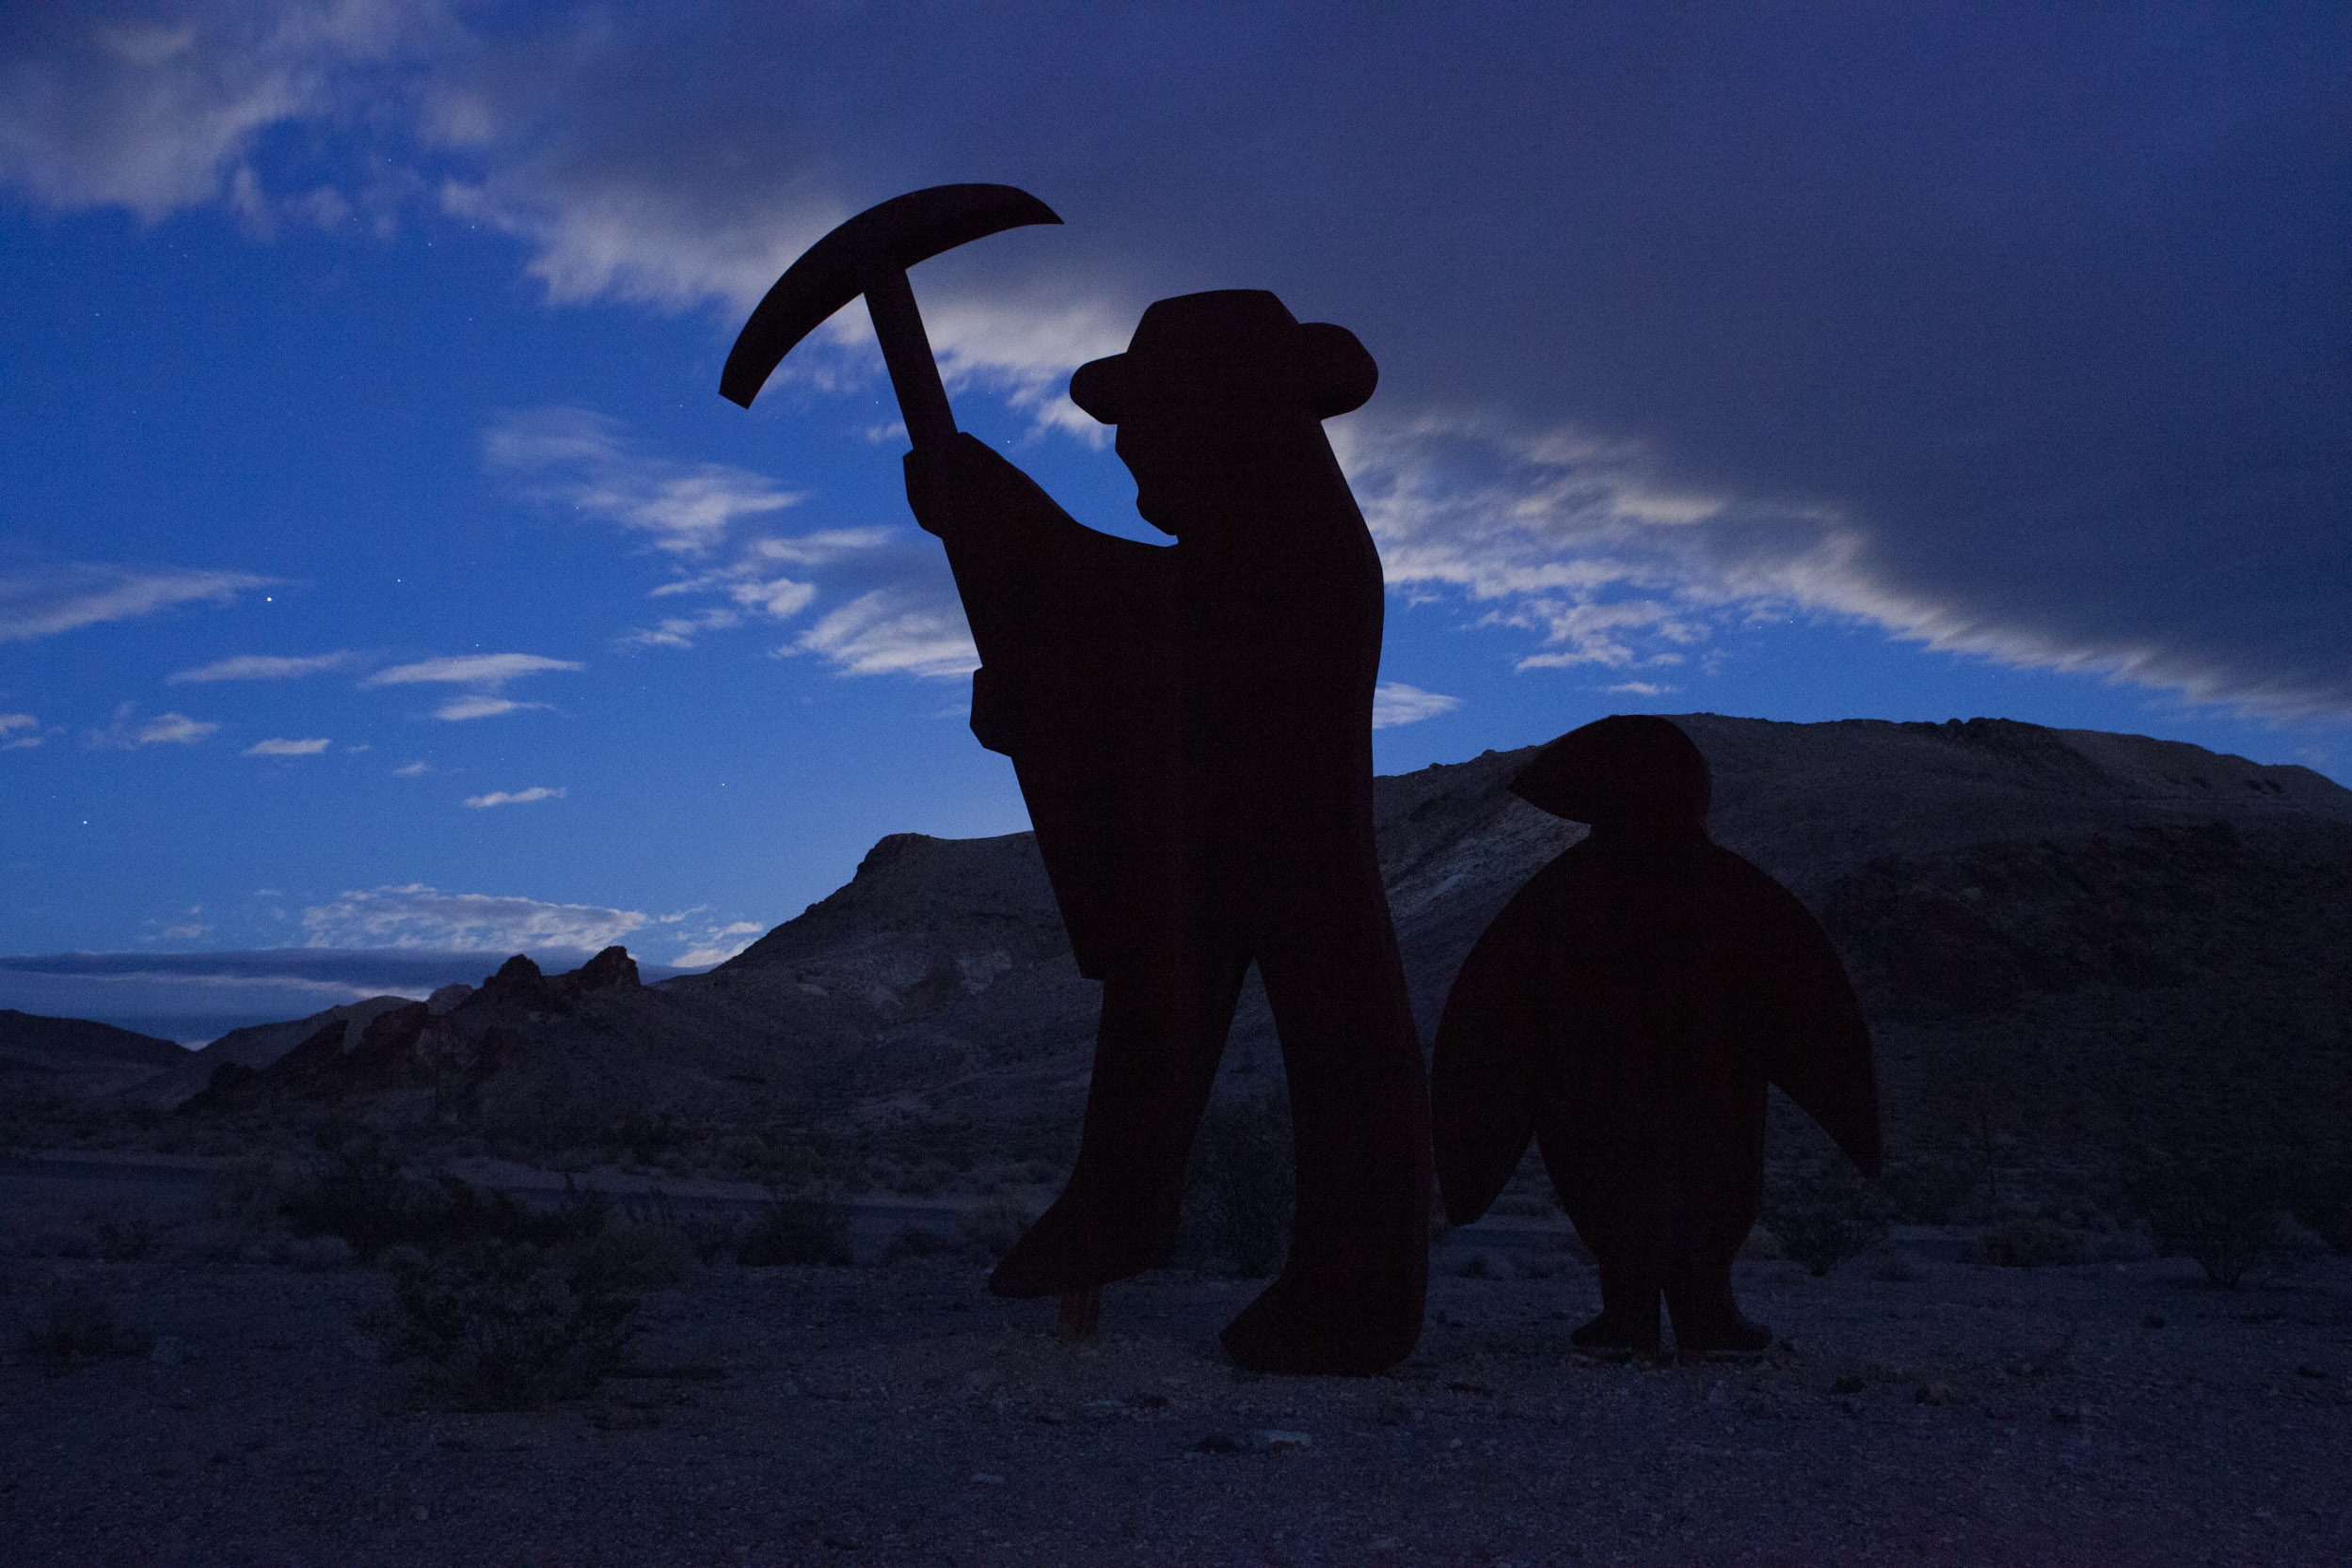
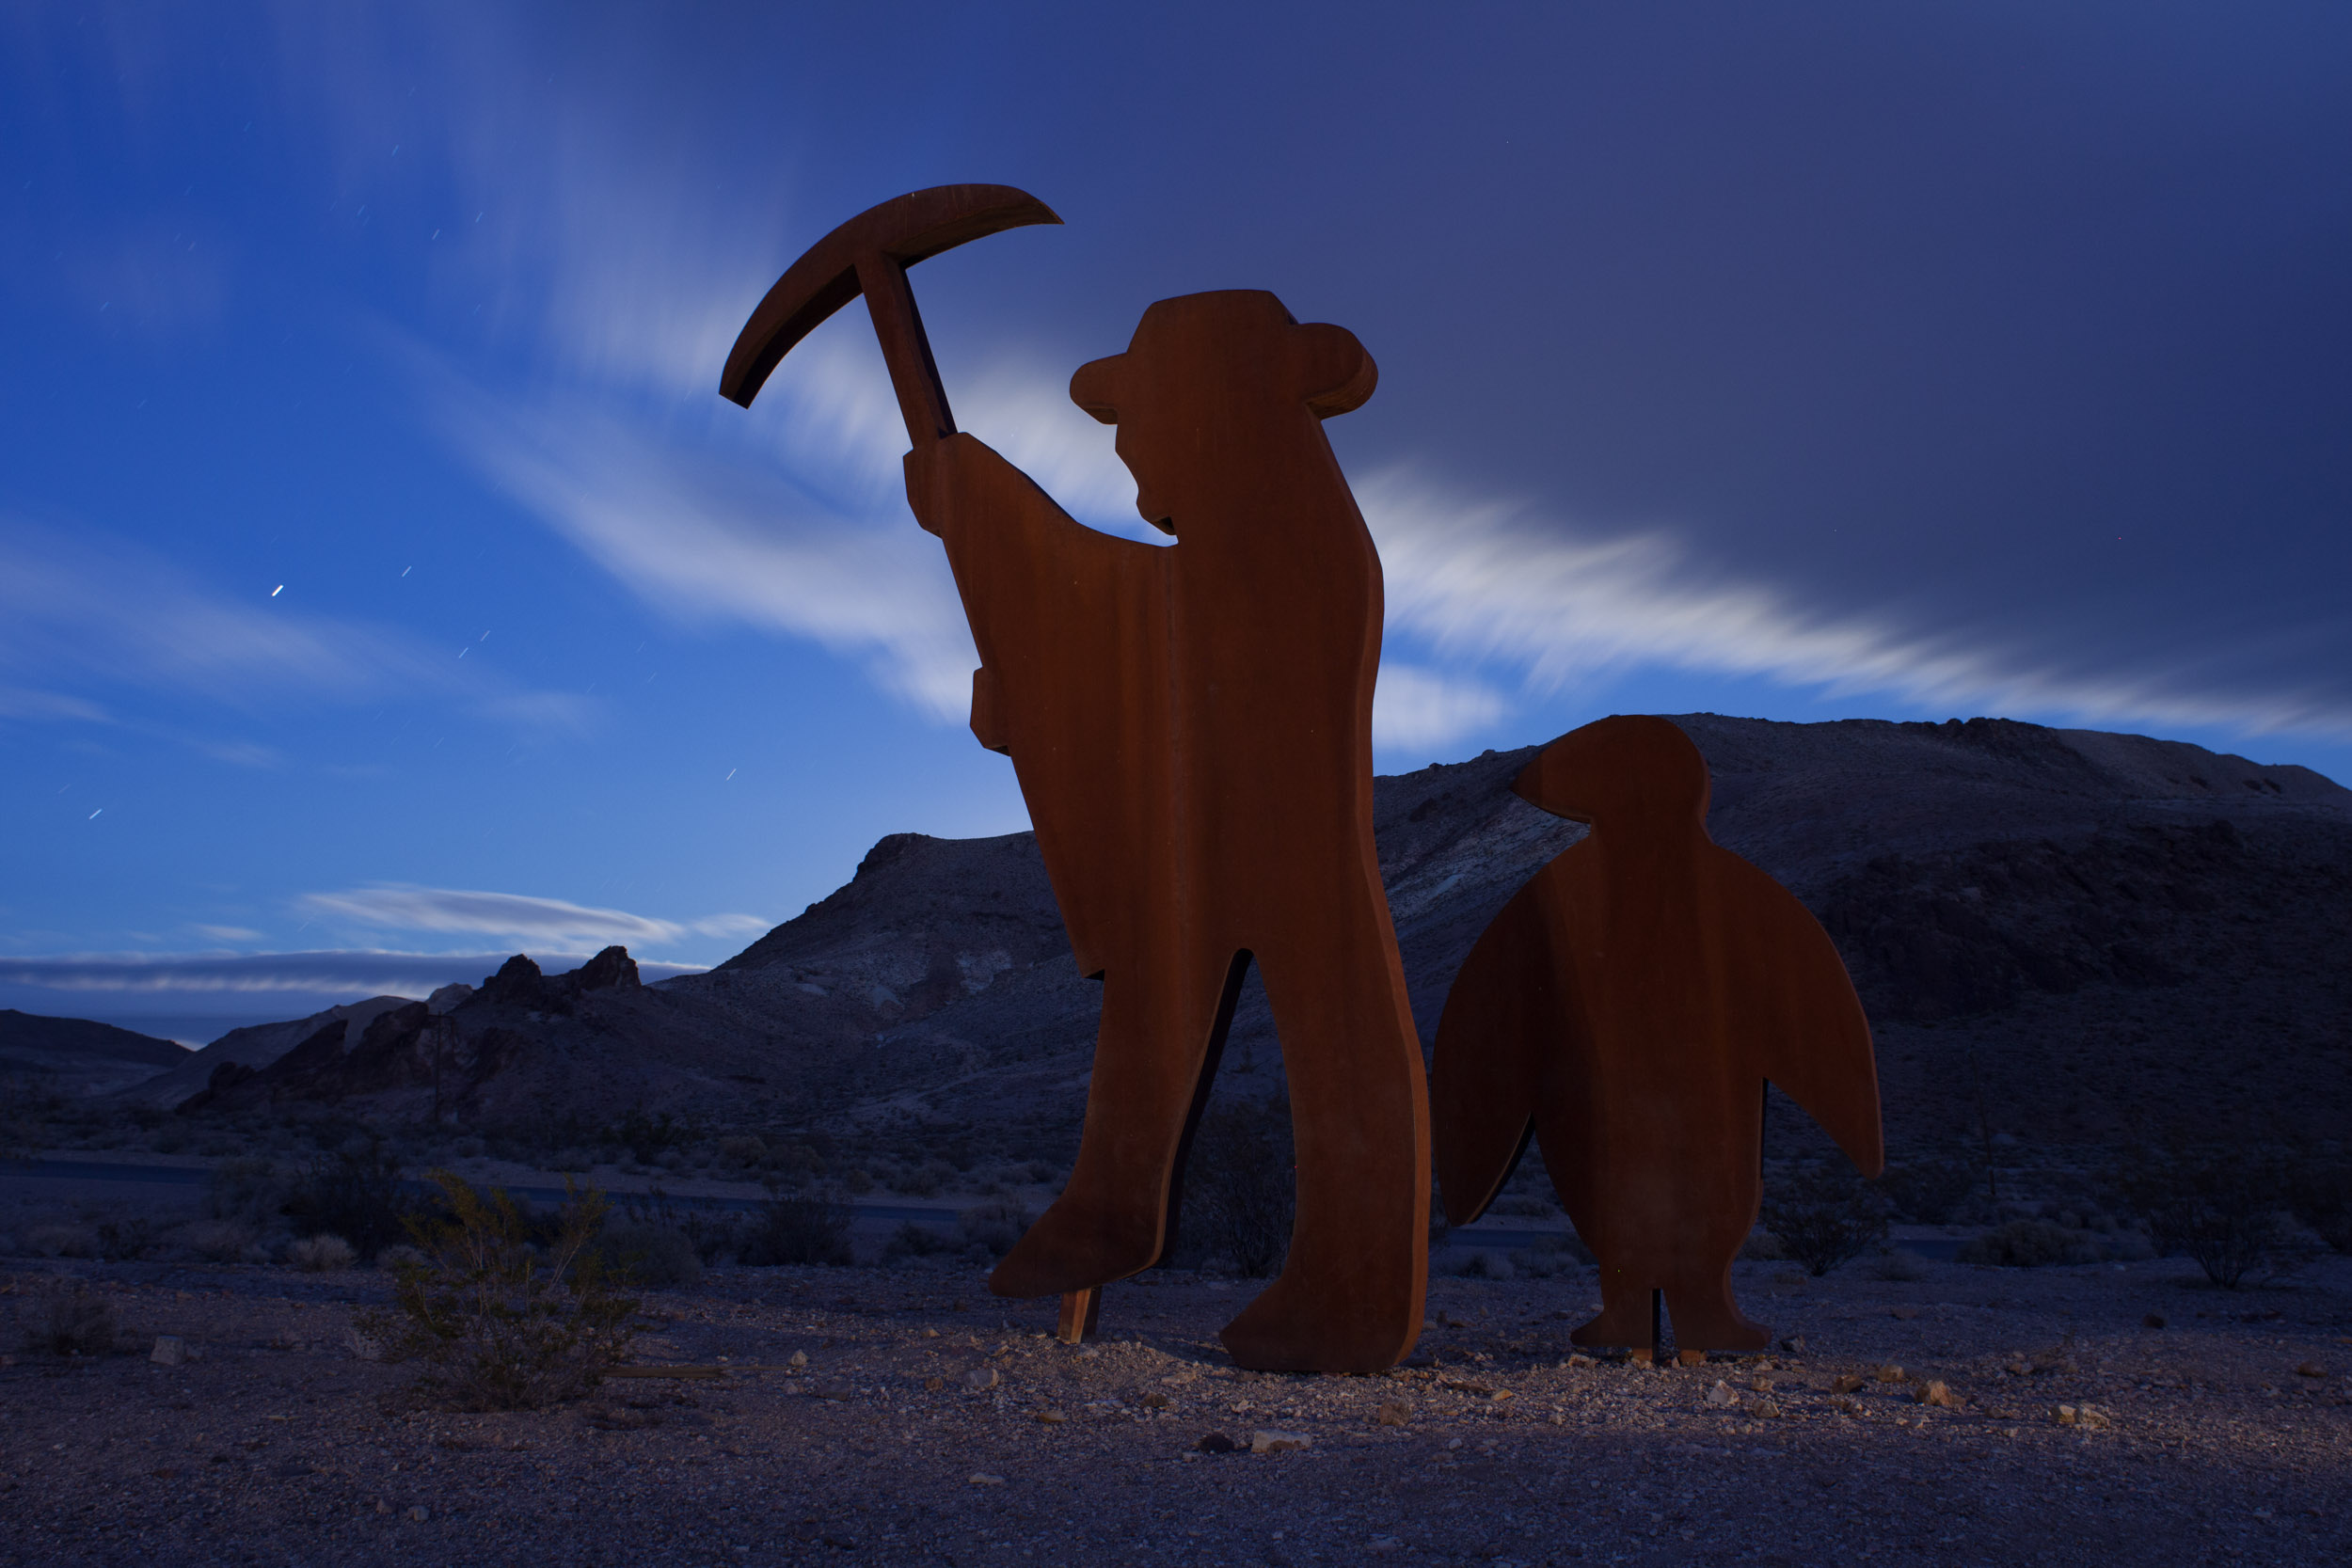
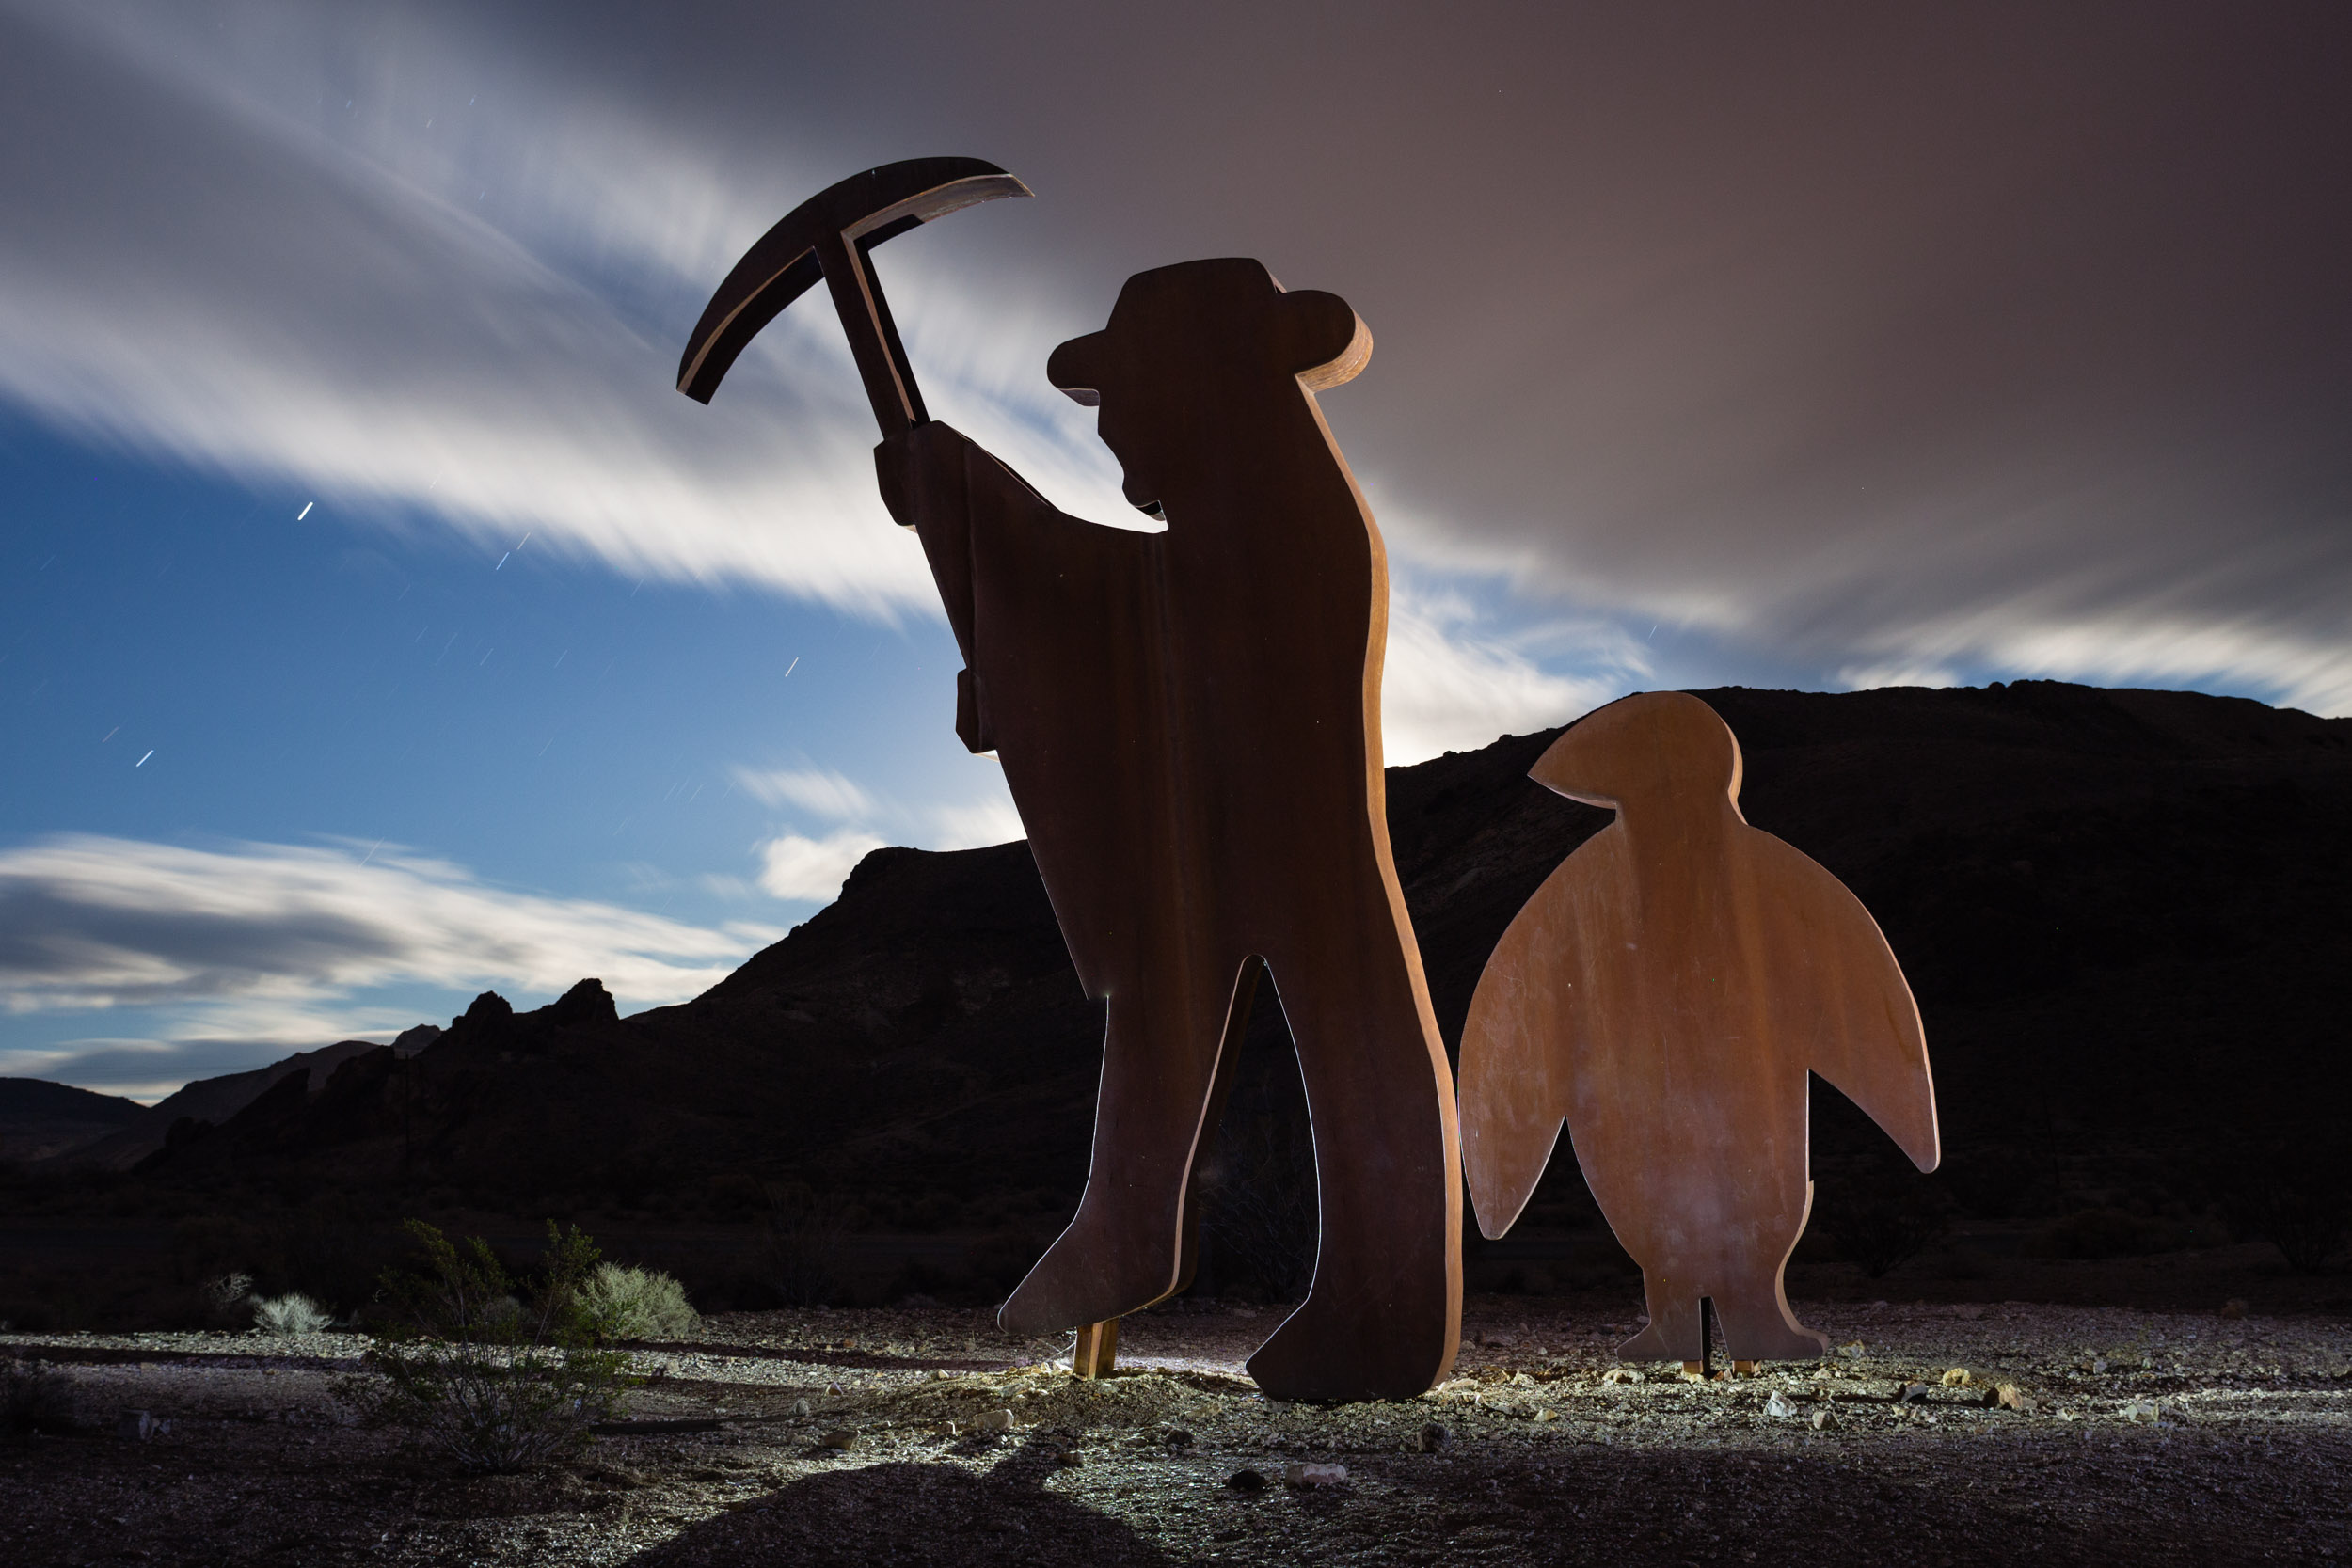
Just outside Big Bend National Park, I used a High ISO test (above) to get the image right with fast exposures, then reduced the ISO and lowered my shutter speed to get the final images (below).

Just outside Big Bend National Park, I used a High ISO test (above) to get the image right with fast exposures, then reduced the ISO and lowered my shutter speed to get the final images (below).

Keep in mind that there is no one correct exposure, but many possibilities that will all yield different results. Use the exposure that best meets your needs based on your intended appearance of the final shot. In a moonlight-only image, a full, right-biased histogram may be best for optimal image quality. If you will be adding light to the shot, a better ambient exposure might be one that is just enough to avoid shadow clipping. In that case, the highlights will be provided by the added light, which will also push the histogram to the right. Simply increase or decrease the exposure until the desired histogram is achieved.

Photographing by the light of the moon and light painting is a lot of fun, and can be a tremendously rewarding endeavor with almost limitless possibilities. Getting the technical aspects of exposure and lighting out of the way quickly and efficiently leaves you with more time and energy to use your creativity to make truly outstanding images.

With practice, these techniques will become second-nature. If you incorporate them into your working methods, you’ll be rewarded with increased productivity, and with a higher success rate with your night photography.

Lance Keimig has been photographing at night for 30 years, and is the author of Night Photography and Light Painting: Finding Your Way in the Dark (Focal Press, 2015). Learn more about his images and workshops at www.thenightskye.com.

Upcoming workshops from National Parks at Night