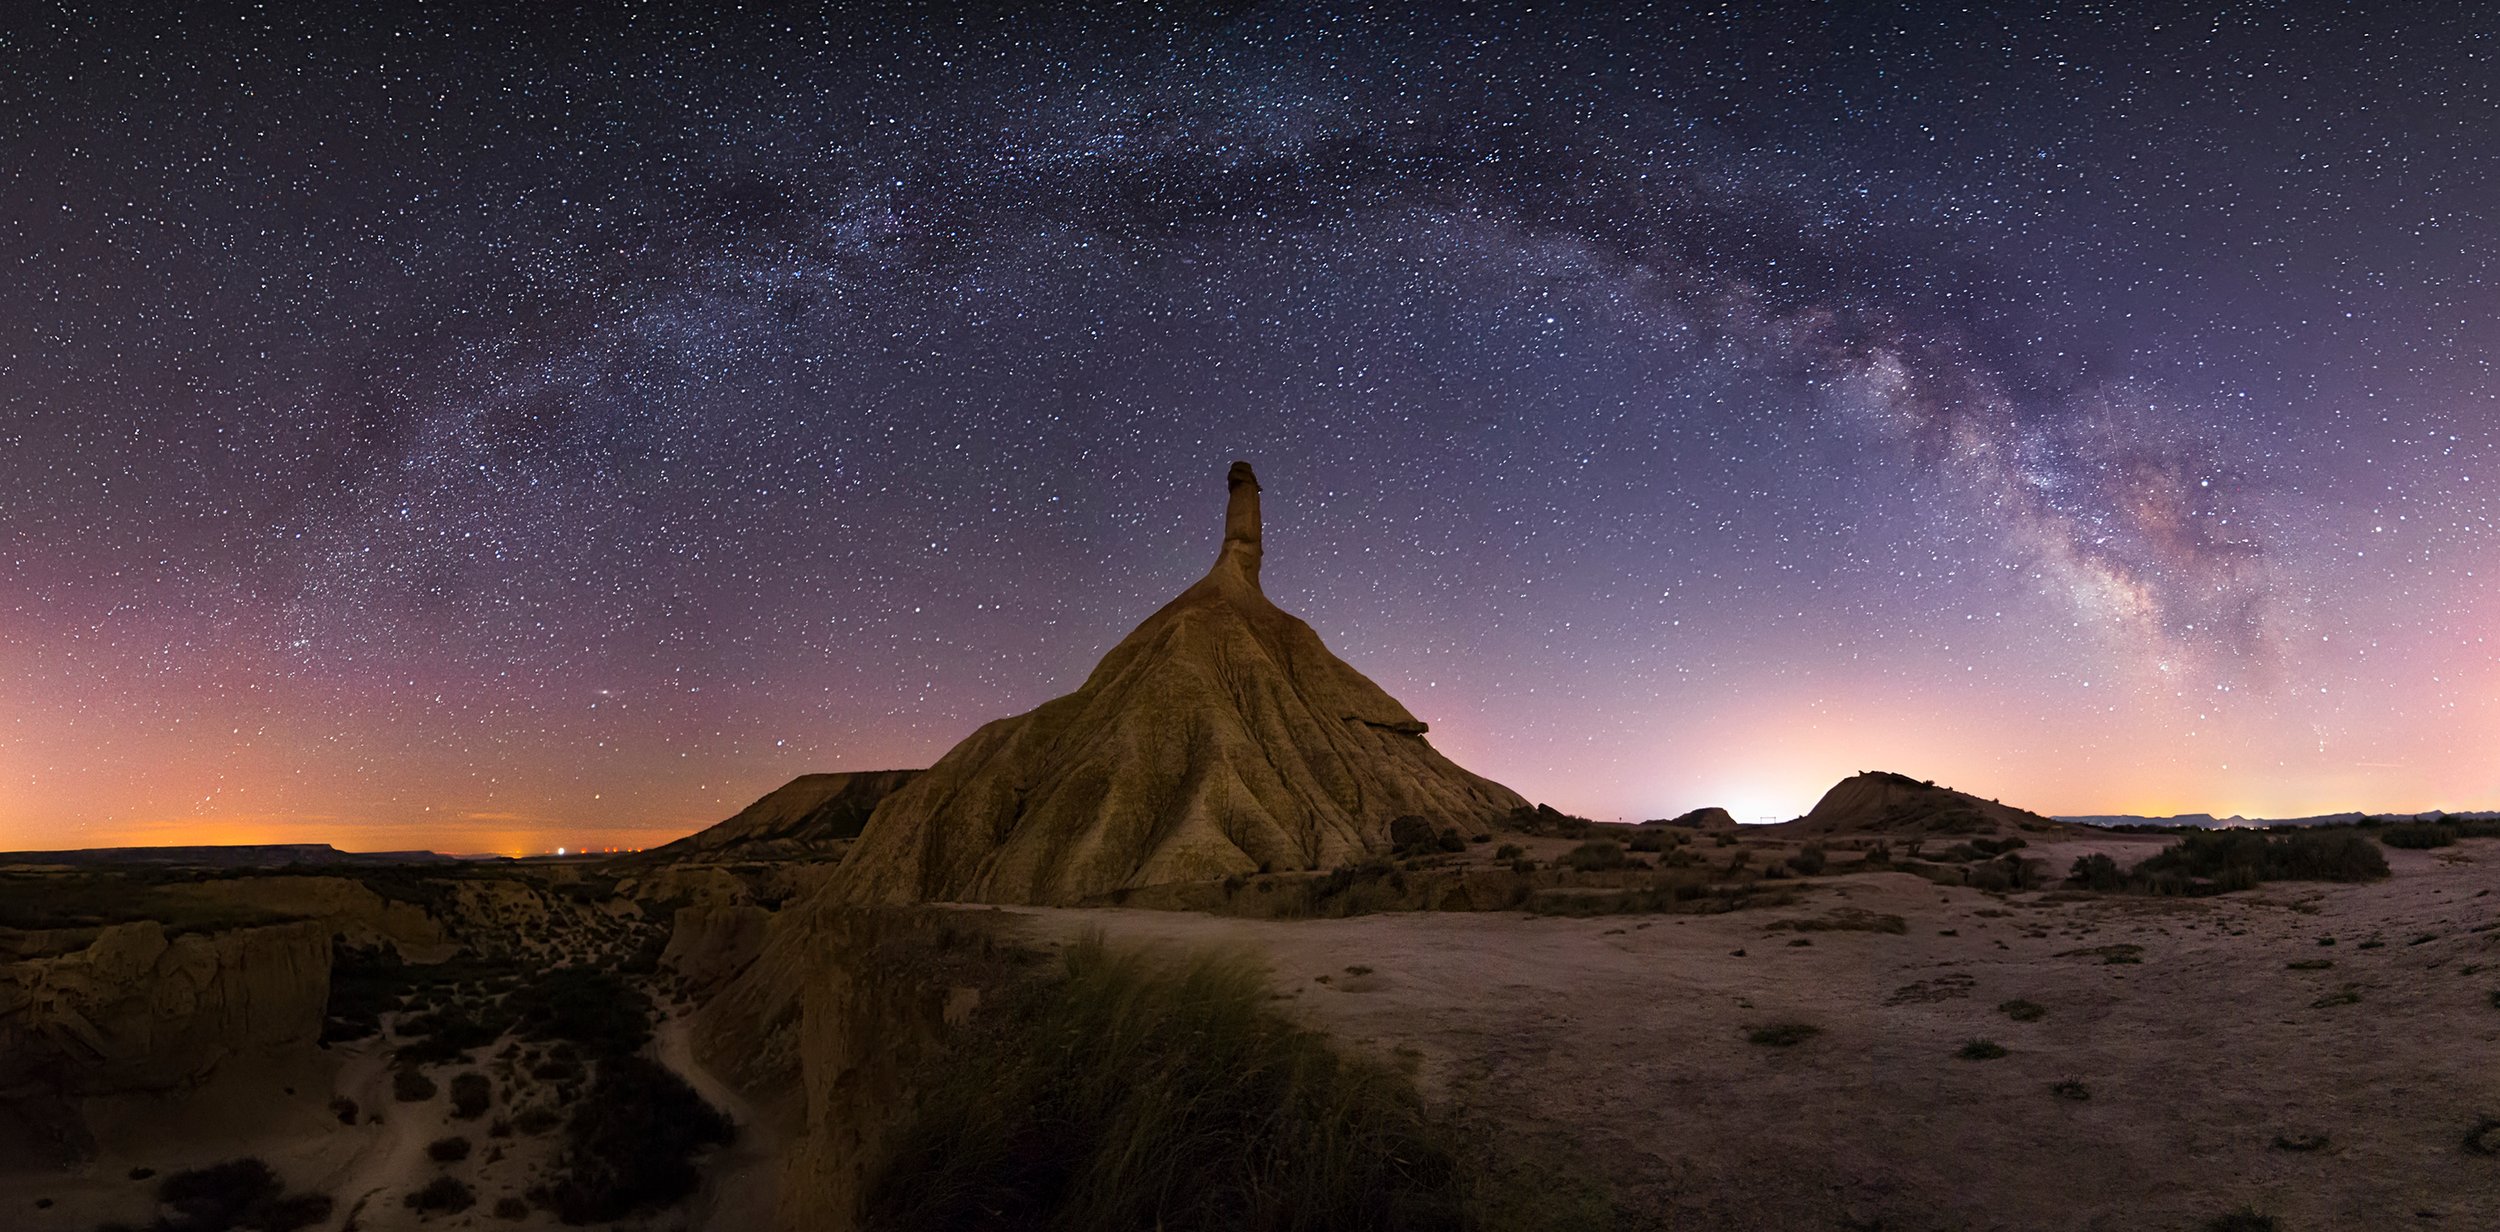
Adobe Lightroom, the industry’s standard image editing program, is at the heart of the post-production process for most photographers. And some of the most dynamic tools in the Lightroom toolbox are the three that allow you to make local adjustments.
In my recent blog post “Lightroom for the Night Photographer: Learning to Master Local Adjustments (Part I),” I demonstrated how to use two of those tools: the Radial Filter and the Graduated Filter.
This time, in Part II, I take a deeper dive and show you how to locally edit any part of an image by wielding the Adjustment Brush. From using the brush feather and flow to employing erase, I’ll show you how get the most out of Lightroom’s most precise adjustment tool. Using multiple masks, adjustments and auto-mask, I’ll demonstrate exactly how to create natural-looking edits with precision.


