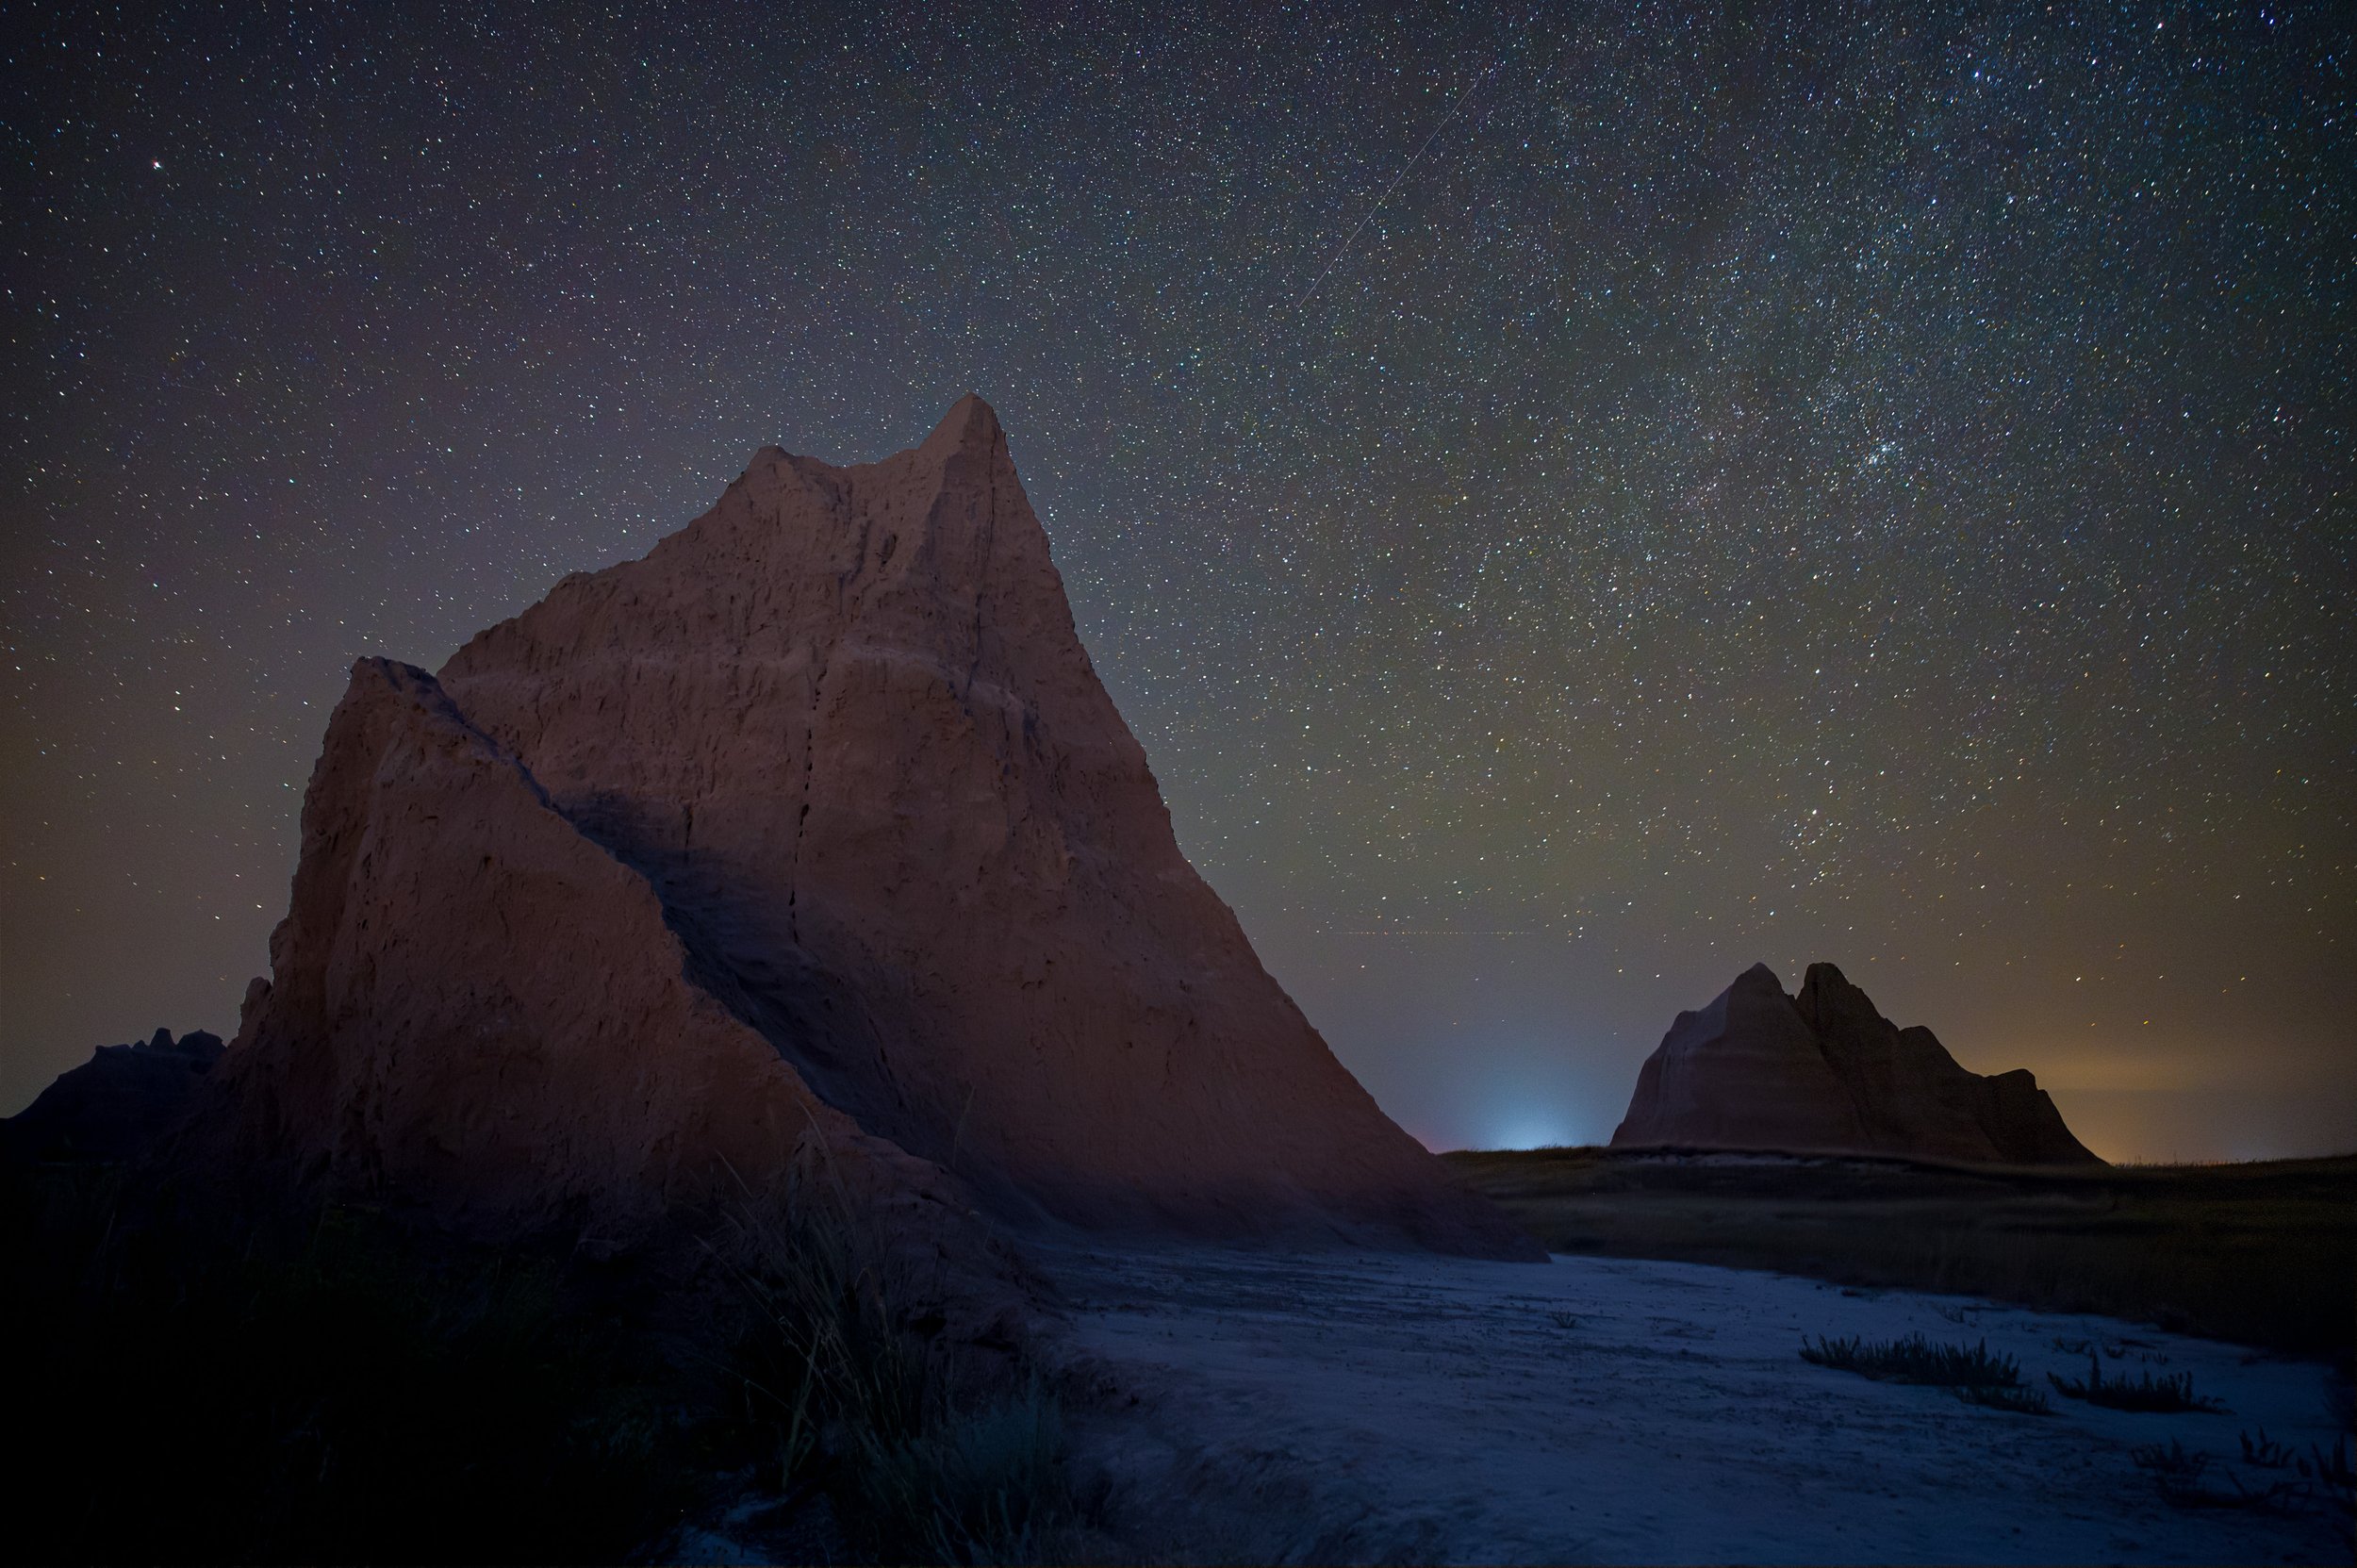
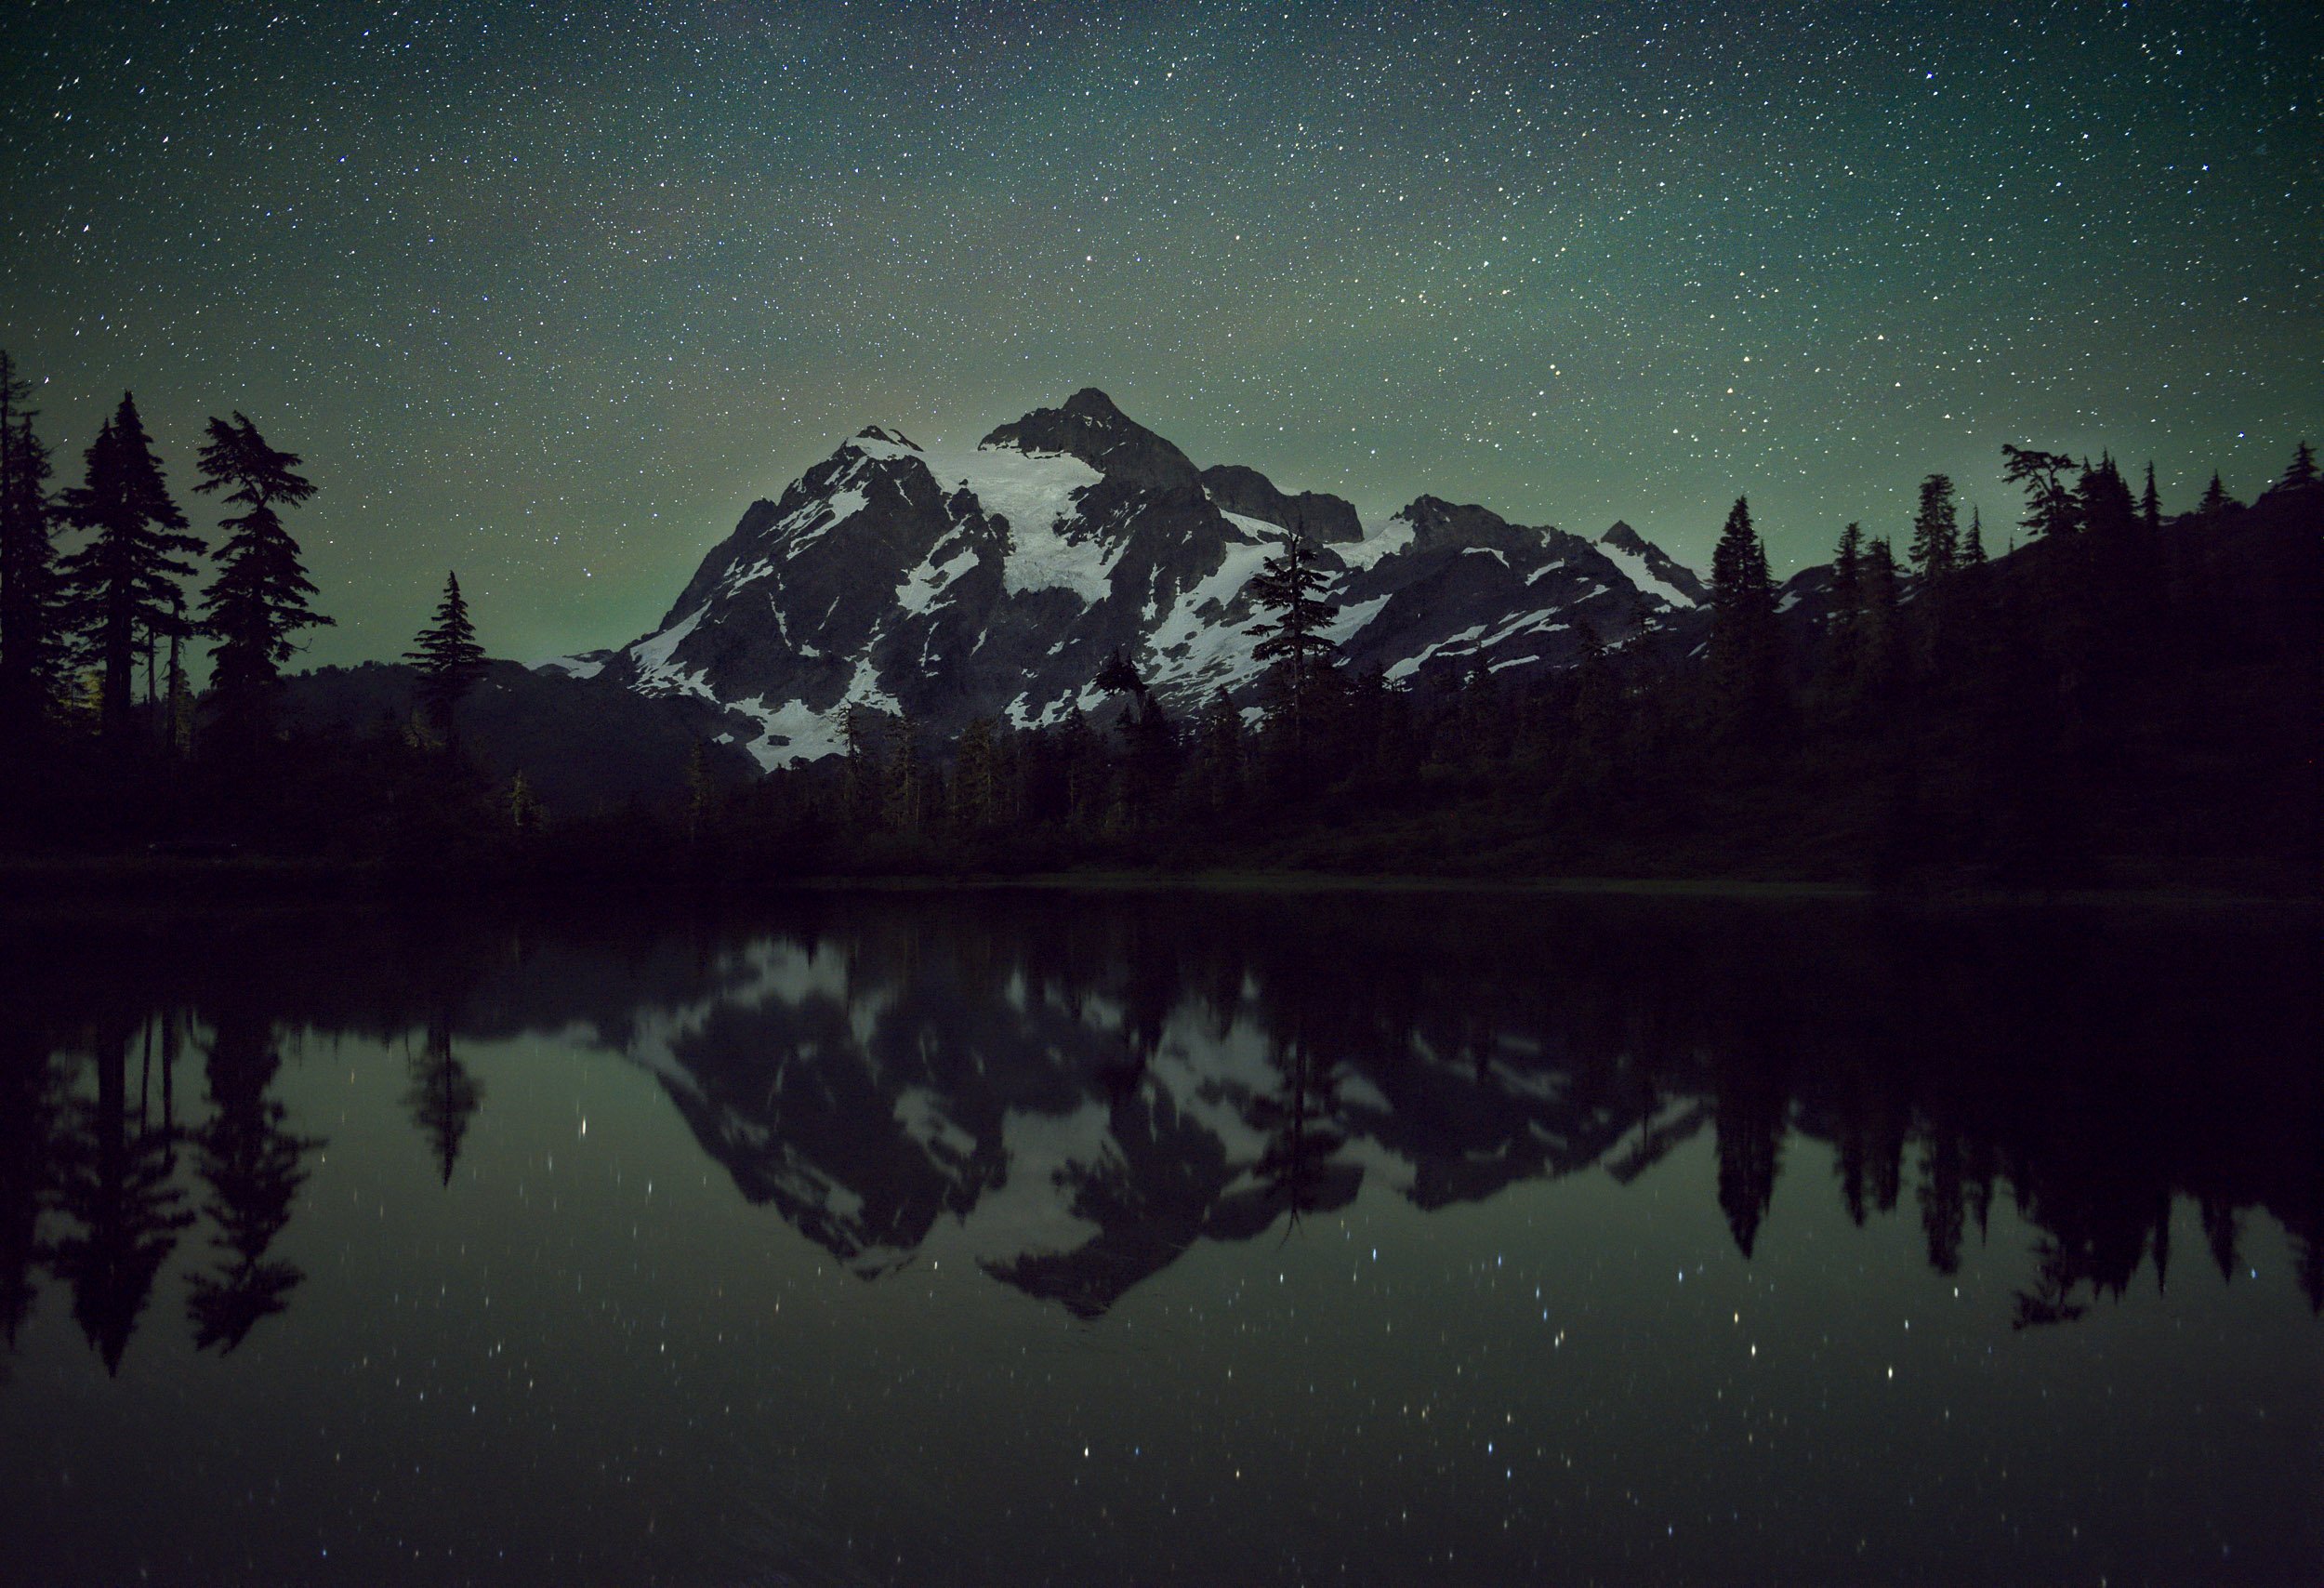
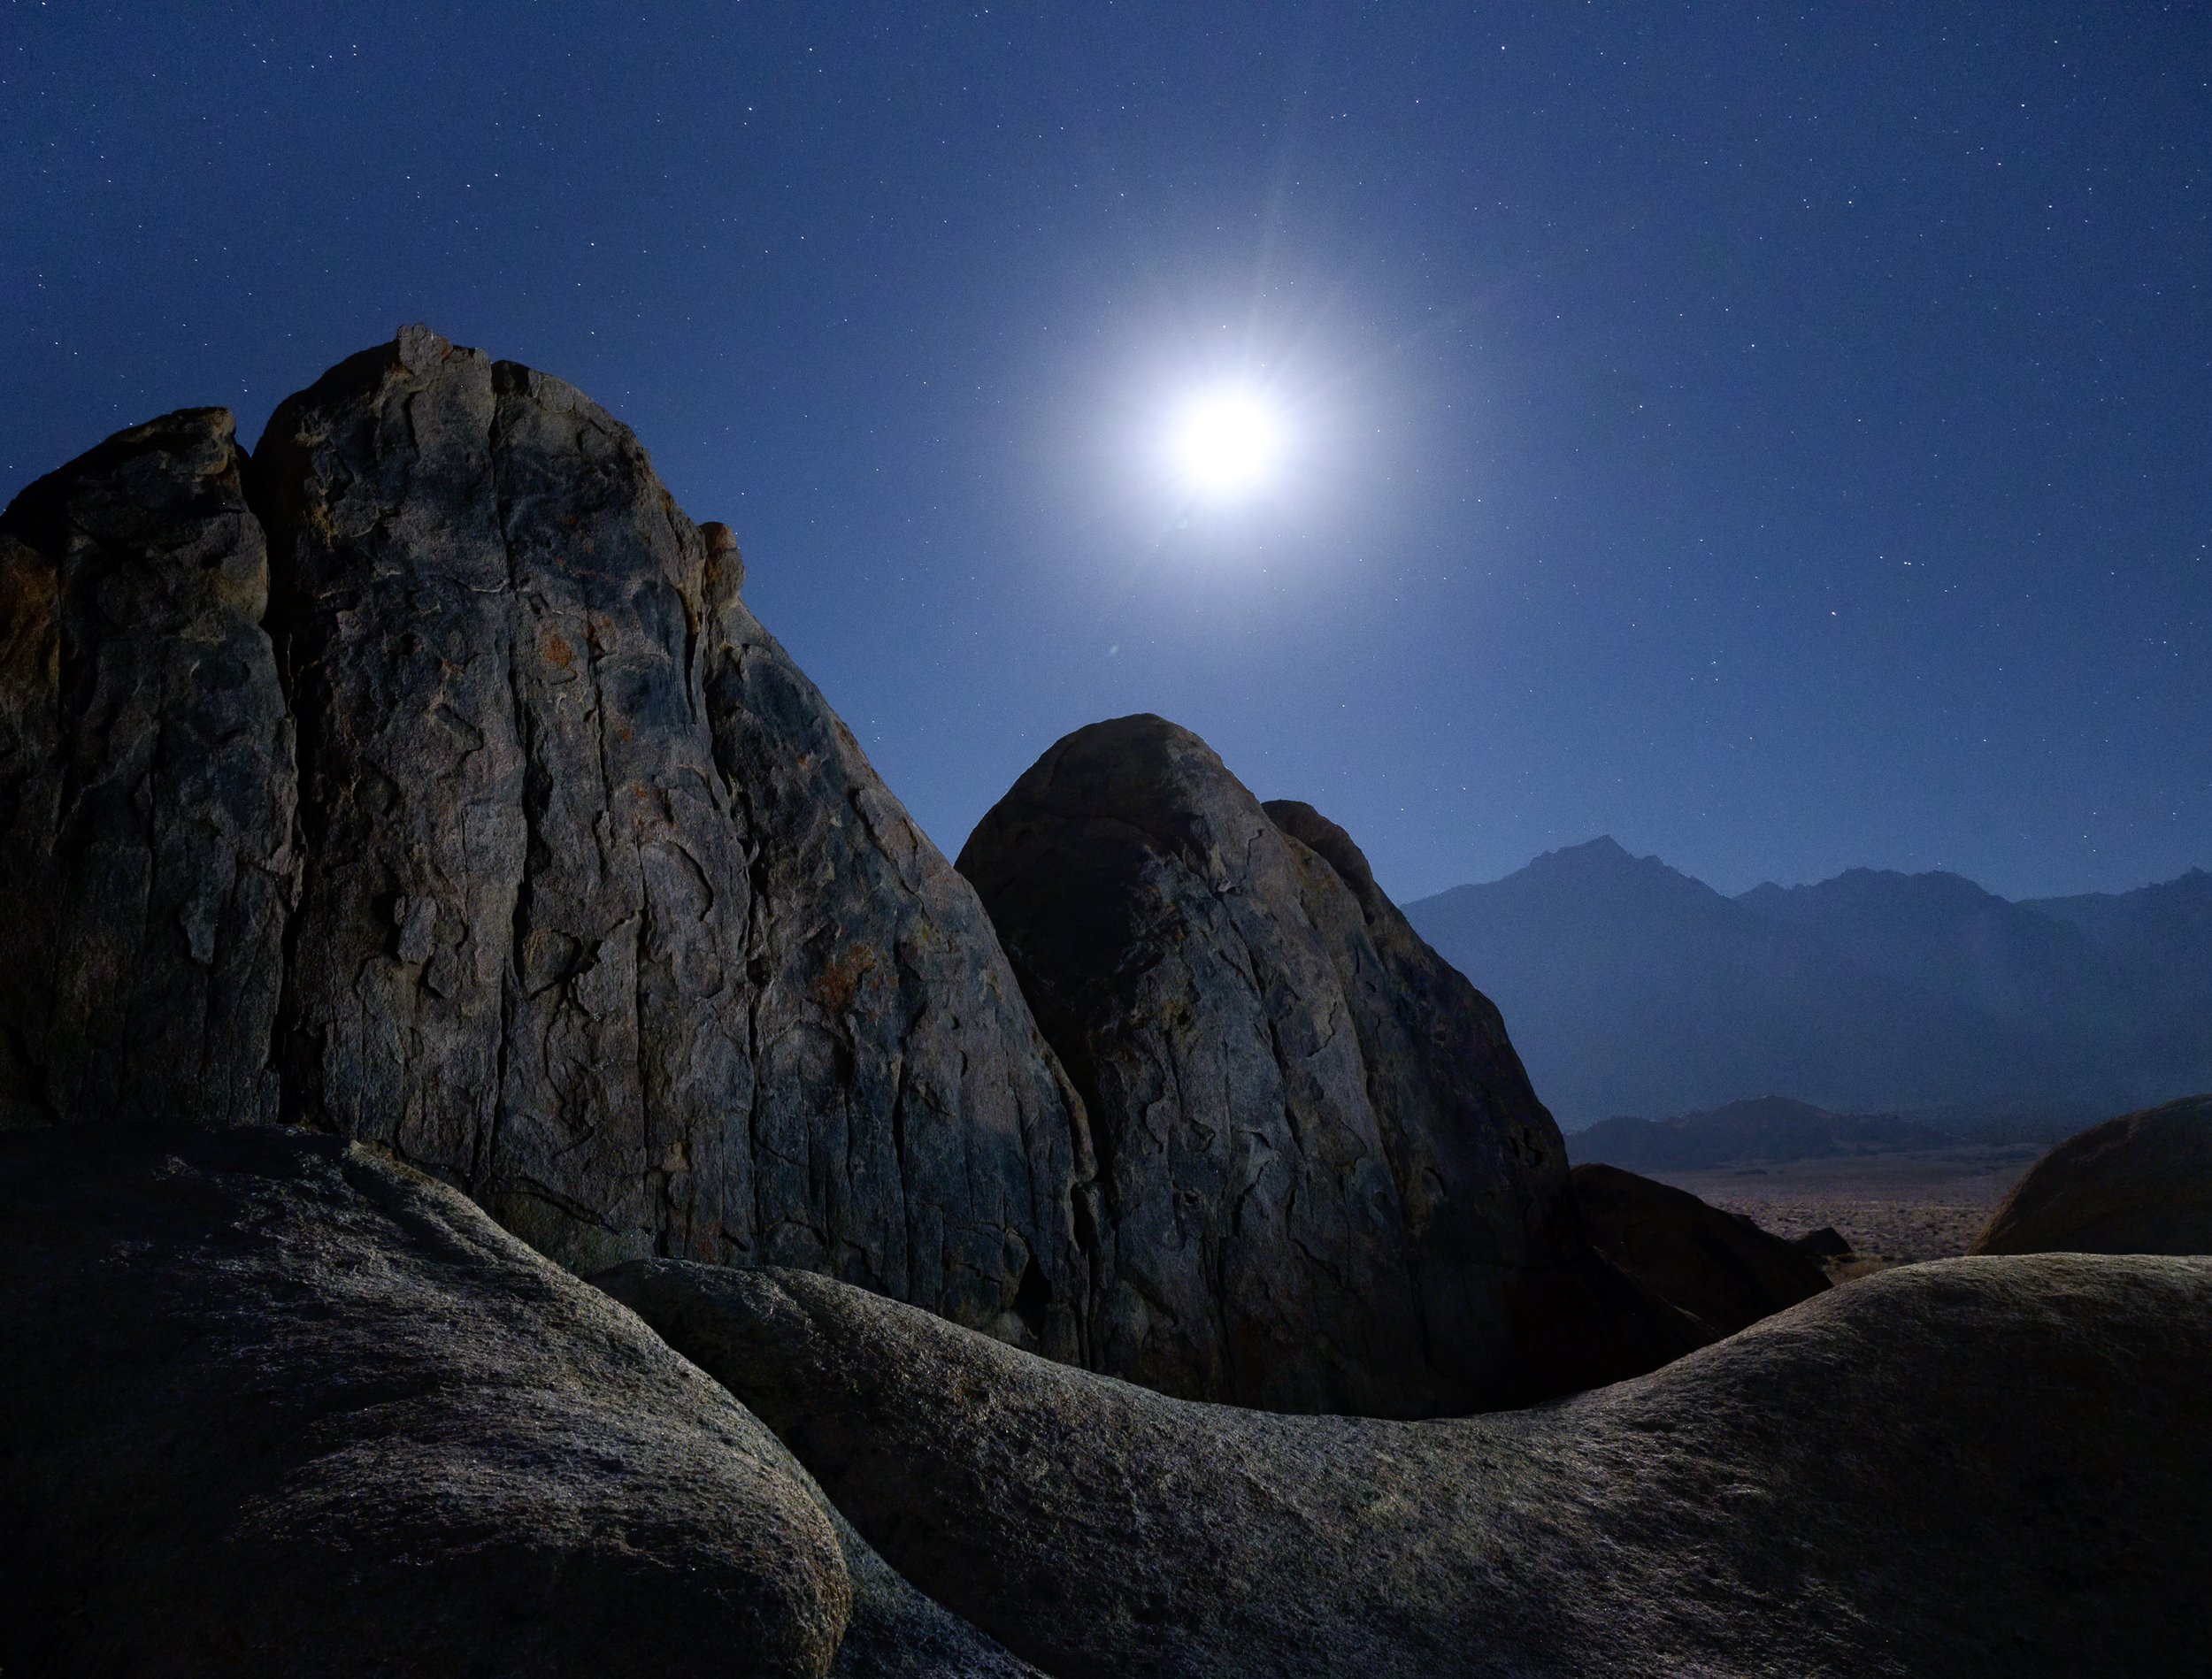
Star Trails Over the Amphitheater, Bryce Canyon National Park. Fujifilm X-T2, 10-24mm f/4 lens at 10mm. Light-painted with a Coast HP7. Two blended exposures of 1 second, f/8, ISO 200 and 15 minutes, f/5.6, ISO 100.
The Location
Bryce Canyon National Park is truly one of the wonders of our park system. It’s not as big or varied as some other parks, but what is has to offer is nothing short of astonishing.
Despite its name, Bryce Canyon is actually not a canyon at all. A canyon is the technical term for a gorge formed by a river. Bryce is instead a series of natural amphitheaters, or bowls, that line the eastern side of Utah’s Paunsaugunt Plateau. These bowls are filled with red, orange and white rock spires that were eroded into existence by water freezing into ice. These spires are called hoodoos. It’s the endless variety of these hoodoos that make Bryce so magical.
The Light
Standing on the rim of the canyon at one of the many overlooks affords the visitor with an awe-inspiring view. The sprawling amphitheater spreads out below you with the orange-red colors of the towering spires contrasting with the deep blue sky. This view is especially popular at sunrise as many of the viewpoints face directly east. How then, does one capture this incredible canyon at night?
As with any location, the first step is to decide which phase of the moon you would prefer to shoot in. Moonless nights (new moon) are great for photographing the Milky Way, but they leave the foreground completely black. On the other hand, moonlight (full, quarter or crescent) helps illuminate the foreground, but the brightness of the sky masks many of the dimmer stars. All phases of the moon are great to shoot under, so you just have to consider how much moonlight you actually want. My choice for Bryce would have been to shoot under some moonlight. Unfortunately for me, I was there during a new moon. Complete darkness.
Under these conditions, it made sense to concentrate on shooting the Milky Way, which I did on the first night. While I like some of those images, the lack of moonlight means I didn’t include the canyon because it was completely black. And the canyon is the hero of this location.
Figure 1. Milky Way over Bryce Canyon. Fuji X-T2, 10-24mm f/4 lens at 17mm. Twelve stitched frames shot at 30 seconds, f/4, ISO 6400.
Being in Bryce, I really wanted to include the canyon with the night sky. But how do we do that with no moon? I could have done a little painting on the foreground, which I did for the photo in Figure 2. This worked out well for some of the details, but it still did not show the entire canyon.
Figure 2. Light painting in a small area of the canyon. Fuji X-T2, 10-24mm f/4 lens at 10mm, Coast HP7.
To illuminate the entire canyon I needed something stronger than a flashlight. It needed to be the sun or the moon. Since I didn’t have the moon, I had to use the sun.
The Shoot
The next day I headed out in late afternoon to scout a location to shoot. Once I decided on the spot, I set up my camera and tripod and began fine-tuning my composition.
The goal here was to take one shot in the waning light of dusk and then another once the sky became completely dark. Back at home I would combine them together in Photoshop.
The trick was to get the right light on the canyon. Sunset would look fake if combined with the night sky, so I needed the illumination to look somewhat like moonlight. That time came around half an hour after sunset. This time of the day is called civil twilight and is great in its own right for making landscape images. (For more on this, see one of my previous posts, “Out of the Blue: The Importance of Twilight to the Night Photographer.”) I experimented with several exposures to find one that sort of looked like night. Figure 3 shows the exposure I ended up using for the final composite.
Figure 3. The canyon during civil twilight. 1 second, f/8, ISO 200.
Keeping my camera set up—not moving it one centimeter—I waited until complete darkness.
The kind of darkness I wanted begins at the time of evening called “astronomical twilight.” Depending on your latitude, this is somewhere between 1 to 1.5 hours after sunset. (Click here for a great description of the different types of twilights.)
Once the sky became completely dark, it was time to start experimenting with light painting. I changed my ISO to 100 and opened up my aperture to f/5.6 so I would capture more stars.
With these new settings I experimented with walking up and down the trail, painting as I went along. I determined that painting at an angle back toward the camera—while returning back up the trail toward my setup—created better texture in the lit areas. It also kept my silhouette from blocking the light on the trail. Had I painted while walking away from the camera, my body would have blocked some of the light from the camera’s view, thereby creating a blotchy effect.
Once I felt confident that my light painting approach was effective, it was time for the long shot. Figure 4 shows the 15-minute exposure that captured the star trails while I lit the trail.
Figure 4. Light painting during the long exposure. 15 minutes, f/5.6, ISO 100.
The Post-Production
Once I was back at the computer, it was time to put the images together in post-processing. I began in Lightroom by fine-tuning the exposure and white balance. Then with both images selected, I chose Photo > Edit In > Open as Layers in Photoshop. This command brings both of the images into Photoshop and combines them into one file, with each image as a separate layer.
Figure 5. The two images combined into one file in Photoshop.
Next I highlighted the upper layer by clicking on it. From the Blending Mode dropdown (the box that defaults to saying Normal), I chose Lighten. This blending mode automatically shows the brightest parts of all the layers it’s applied to (in this case, two layers). Voila! Now I could see the brighter canyon (lower layer) as well as the stars and the light painting (upper layer).
Figure 6. The Lighten blending mode revealing the brightest parts of each layer.
At this point I could have been done with the image. This technique works well for so many situations found in night photography, but in this case it needed a little tweaking. Because the sky was brighter at dusk during my first shot, that part of the scene also showed through when I applied the Lighten blending mode. To solve this problem, I clicked on the lower layer, made a selection of the sky with the Quick Selection Tool, and then created a Curves adjustment layer to darken the sky.
Figure 7. The Curves Adjustment over the bottom layer.
Figure 8. The Curves adjustment darkening the sky.
Because the Curves adjustment layer is below the stars layer, the adjustment does not affect the night sky. It darkens the sky only in the dusk layer. And now that the sky was darker in the dusk layer, only the stars layer would show through.
Then I needed to apply a little cleanup. The hard edge of the mask near the horizon looked a little odd, so I blurred the edge of the mask to smooth out the gradient of the curves adjustment. To do this, I clicked on the mask and increased the feather in the Properties dialog, as seen in Figure 9.
Figure 9. Feathering the mask to smooth out the transition of the curves adjustment.
At this point the bulk of the compositing was complete. Figure 10 shows the finished composite of the stars layer and the dusk layer.
Figure 10. The completed composite.
Once the images were put together I was able to judge the overall look of the picture. I felt it was still a bit dark and the color somewhat off, so using more adjustment layers in Photoshop, I fine-tuned the exposure and color.
Figure 11. The final image after fine-tuning white balance and exposure.
Wrapping Up
The moral of the story is that you can’t always get what you want, but if you try sometimes … well, you get the picture. Matching the locations, moon phase, time of year and our creative vision can be a daunting task—and sometimes an impossible task. But with creative thinking, and a full grasp of all of your available tools, you might just find you can get what you need.


