How I Got the Shot: Star Trails and Tufa Spires at Trona Pinnacles

Star Trails and Tufa Spires, Trona Pinnacles, California. Nikon D5 with a Nikon 24-70mm f/2.8 lens, light painted with a Coast HP7R flashlight with 1/2 CTO and -1/8 green gels. 20 minutes, f/2.8, ISO 100.

I’ll admit—Trona Pinnacles National Natural Landmark was not in my crosshairs. I was not aiming to photograph it, nor even to visit. I really had never even thought about the place. But while planning a Death Valley workshop with my friend Susan Magnano last year, she asked if afterward I’d be interested in shooting at Trona with her for a couple of nights. I’m always happy to spend time with Susan (if you knew her, you would be too), so I said yes.

And gosh am I glad I did.

The Place

Trona Pinnacles is a 3,800-acre piece of BLM land that’s accessed via a 5-mile dirt road in the Southern California region of the Mojave Desert. Not far from Death Valley National Park, not far from Alabama Hills, Trona features one of the most surreal landscapes of the whole Owens Valley.

The primary photography targets are the 500-plus tufa spires that rise as much as 140 feet from a dry bed in the Searles Lake basin. Standing amid them, you could be forgiven for thinking you’re on another planet—the area looks so much like a foreign world that it’s been used on numerous occasions to depict exactly that. If you’ve watched sci-fi films and TV shows such as Battlestar Gallactica, Lost in Space and Planet of the Apes, then you’ve seen Trona Pinnacles.

It’s a great place for photography. The formations can be mixed and matched and juxtaposed to create endless possibilities for compositions. The groups of pinnacles are far enough apart to make for a relatively expansive park, yet close enough to make walking around relatively easy, and the landscape is open enough to provide plenty of space to move around and create angles for light painting.

Star Circles over Trona Pinnacles, California. Nikon D5 with a Nikon 24-70mm f/2.8 lens. 31 minutes, f/4, ISO 100.

The Scout

On our first night of shooting, I mostly focused on the grand landscape—the pinnacles as a foreground for big-sky compositions. On our second night, I honed in on the rock formations as primary elements of more intimate compositions. The image at hand is one of those, and was the second-to-last that I made on the trip.

During our daytime scouting, this was exactly the kind of composition I’d been looking for: a group of three pinnacles that juxtaposed nicely to form a triangle effect. My first preference was to find a triad in front of where the Milky Way or North Star would be, but this was the group I liked the best in terms of the shape they combined to create.

With the afternoon sun shining on the landscape, I walked around the pinnacles to find the best spot for the tripod, and made a rock note about where that spot was so I could find it hours later at night. (What’s a rock note? I placed three golf ball-size rocks next to the tripod feet, kind of like I was marking my ball on the green. They were pretty easy to find later, and I knew exactly where to set up.)

Then I strolled around the scene again, envisioning the angles I could light paint from—not only where the light would look the best, but also where I could safely walk in the dark.

The Shoot

After first shooting night scenes in other places we’d scouted, Susan and I returned to this spot at about 12:45 a.m. The moon had set a few hours earlier, so aside from a little of light pollution from the community of Trona to the north and the city of Ridgecrest to the west, we were working in pretty dark conditions.

Figure 1. The base exposure before light painting: 15 seconds, f/2.8, ISO 8000.

Figure 1. The base exposure before light painting: 15 seconds, f/2.8, ISO 8000.

I set up my tripod, mounted my Nikon D5 and 24-70mm f/2.8 lens, and quickly found the composition I’d visualized earlier. I shined a Coast HP7R flashlight on the front spire, which was plenty of light for the D5’s autofocus to lock onto. We’d been shooting for a while, so I already knew what the base exposure would be: 15 seconds, f/2.8, ISO 8000. I fired a test shot (Figure 1) to make sure everything looked right.

I knew the spot I wanted to light paint from, but the one thing I hadn’t been able to test in daytime was the light itself. Now that it was dark, I could start doing that.

When light painting by myself (Susan was a few hundred yards away working on her own photograph), I like to use a wireless shutter trigger—specifically, the Vello FreeWave Micro. This allows me to get into position before firing the camera, rather than pressing the shutter button and running into the landscape to start lighting. (Another option is to use a timer, but I sometimes find that from a distance I don’t hear the shutter open. I also might not be in position when the camera fires, or conversely might be standing around waiting for it to fire. The wireless release solves all those issues for me.)

I made a few test exposures, adjusting the lighting strategy with each (Figure 2). I’d fire, light the pinnacles, return to the camera to see the results, then get into position and start again. (This is a great way to stay in shape.)

My concern in this particular composition was lighting each spire about equally, but with the front-and-center one just a little brighter. They look close to together in the image, but they were actually far enough apart, and at different enough distances from the light source, that each required a different amount of light. For each formation, I just counted how long I was lighting it—perhaps 2 seconds for the first, 3 seconds for the second, 4 seconds for the third. (I don’t recall the exact amount of light I used for each—the concept is more important than the specific number.)

Figure 2. Different light painting trials (all of them failures—albeit positive failures, because they led to something that worked).

Once I got the timing down, I tried changing the color temperature of the light. For the initial test shots I was using my HP7R with a gel combination of 1/2 CTO and -1/8 green (see Tim’s post “Level Up With Light Painting: Correcting the Color of Your Flashlight”). Just to be sure that’s what I liked best, I also tried a few without the color correction, opting for the naturally cool temperature of the LED flashlight (Figure 3).

Figure 3. Testing a cooler color temperature.

I decided I liked the warm look better (Figure 4), as it nicely complemented the warm tones of the clouds reflecting the street lights of Ridgecrest.

Figure 4. The light painting approach I settled on—or so I thought.

Going Long

The next step was to adapt the lighting strategy for a long exposure. I wanted to shoot for 8 minutes, which with a focal length of 31mm and facing west I thought would give me star trails long enough to be compositionally relevant. To get my exposure from 15 seconds to 8 minutes, I dropped the ISO from 8000 to 200. (The 1/3 stop less of exposure was to compensate for the light reflecting off the clouds, which had grown a little denser.)

Figure 5. To test the light painting for the long exposure, I kept the shutter open just long enough to test what I was adding with my flashlight. The idea was to keep the test short by evaluating only that one piece—I didn’t care if the background went to black.

At the new, less sensitive exposure, clearly a few seconds of light would not have been enough to illuminate the foreground. But how much light was right? I obviously didn’t want to use an 8-minute exposure to find out, especially if I needed two or three tries, which would have resulted in 16 or 24 minutes of testing. That’s not time spent well.

The good news is that for a test shot, I don’t need to care about the background—just the light painting. So I opened my shutter, tried the light, then closed the shutter. The background was nearly black, but I could see if the light painting was correct. Lucky me, it was! (Figure 5. I hardly ever get this right on the first try.)

At this point I felt ready to fire the long exposure. I turned on Long Exposure Noise Reduction, opened the shutter, applied my tested light painting, and waited out the rest of the 16 minutes (8 minutes of shutter time plus 8 minutes of LENR).

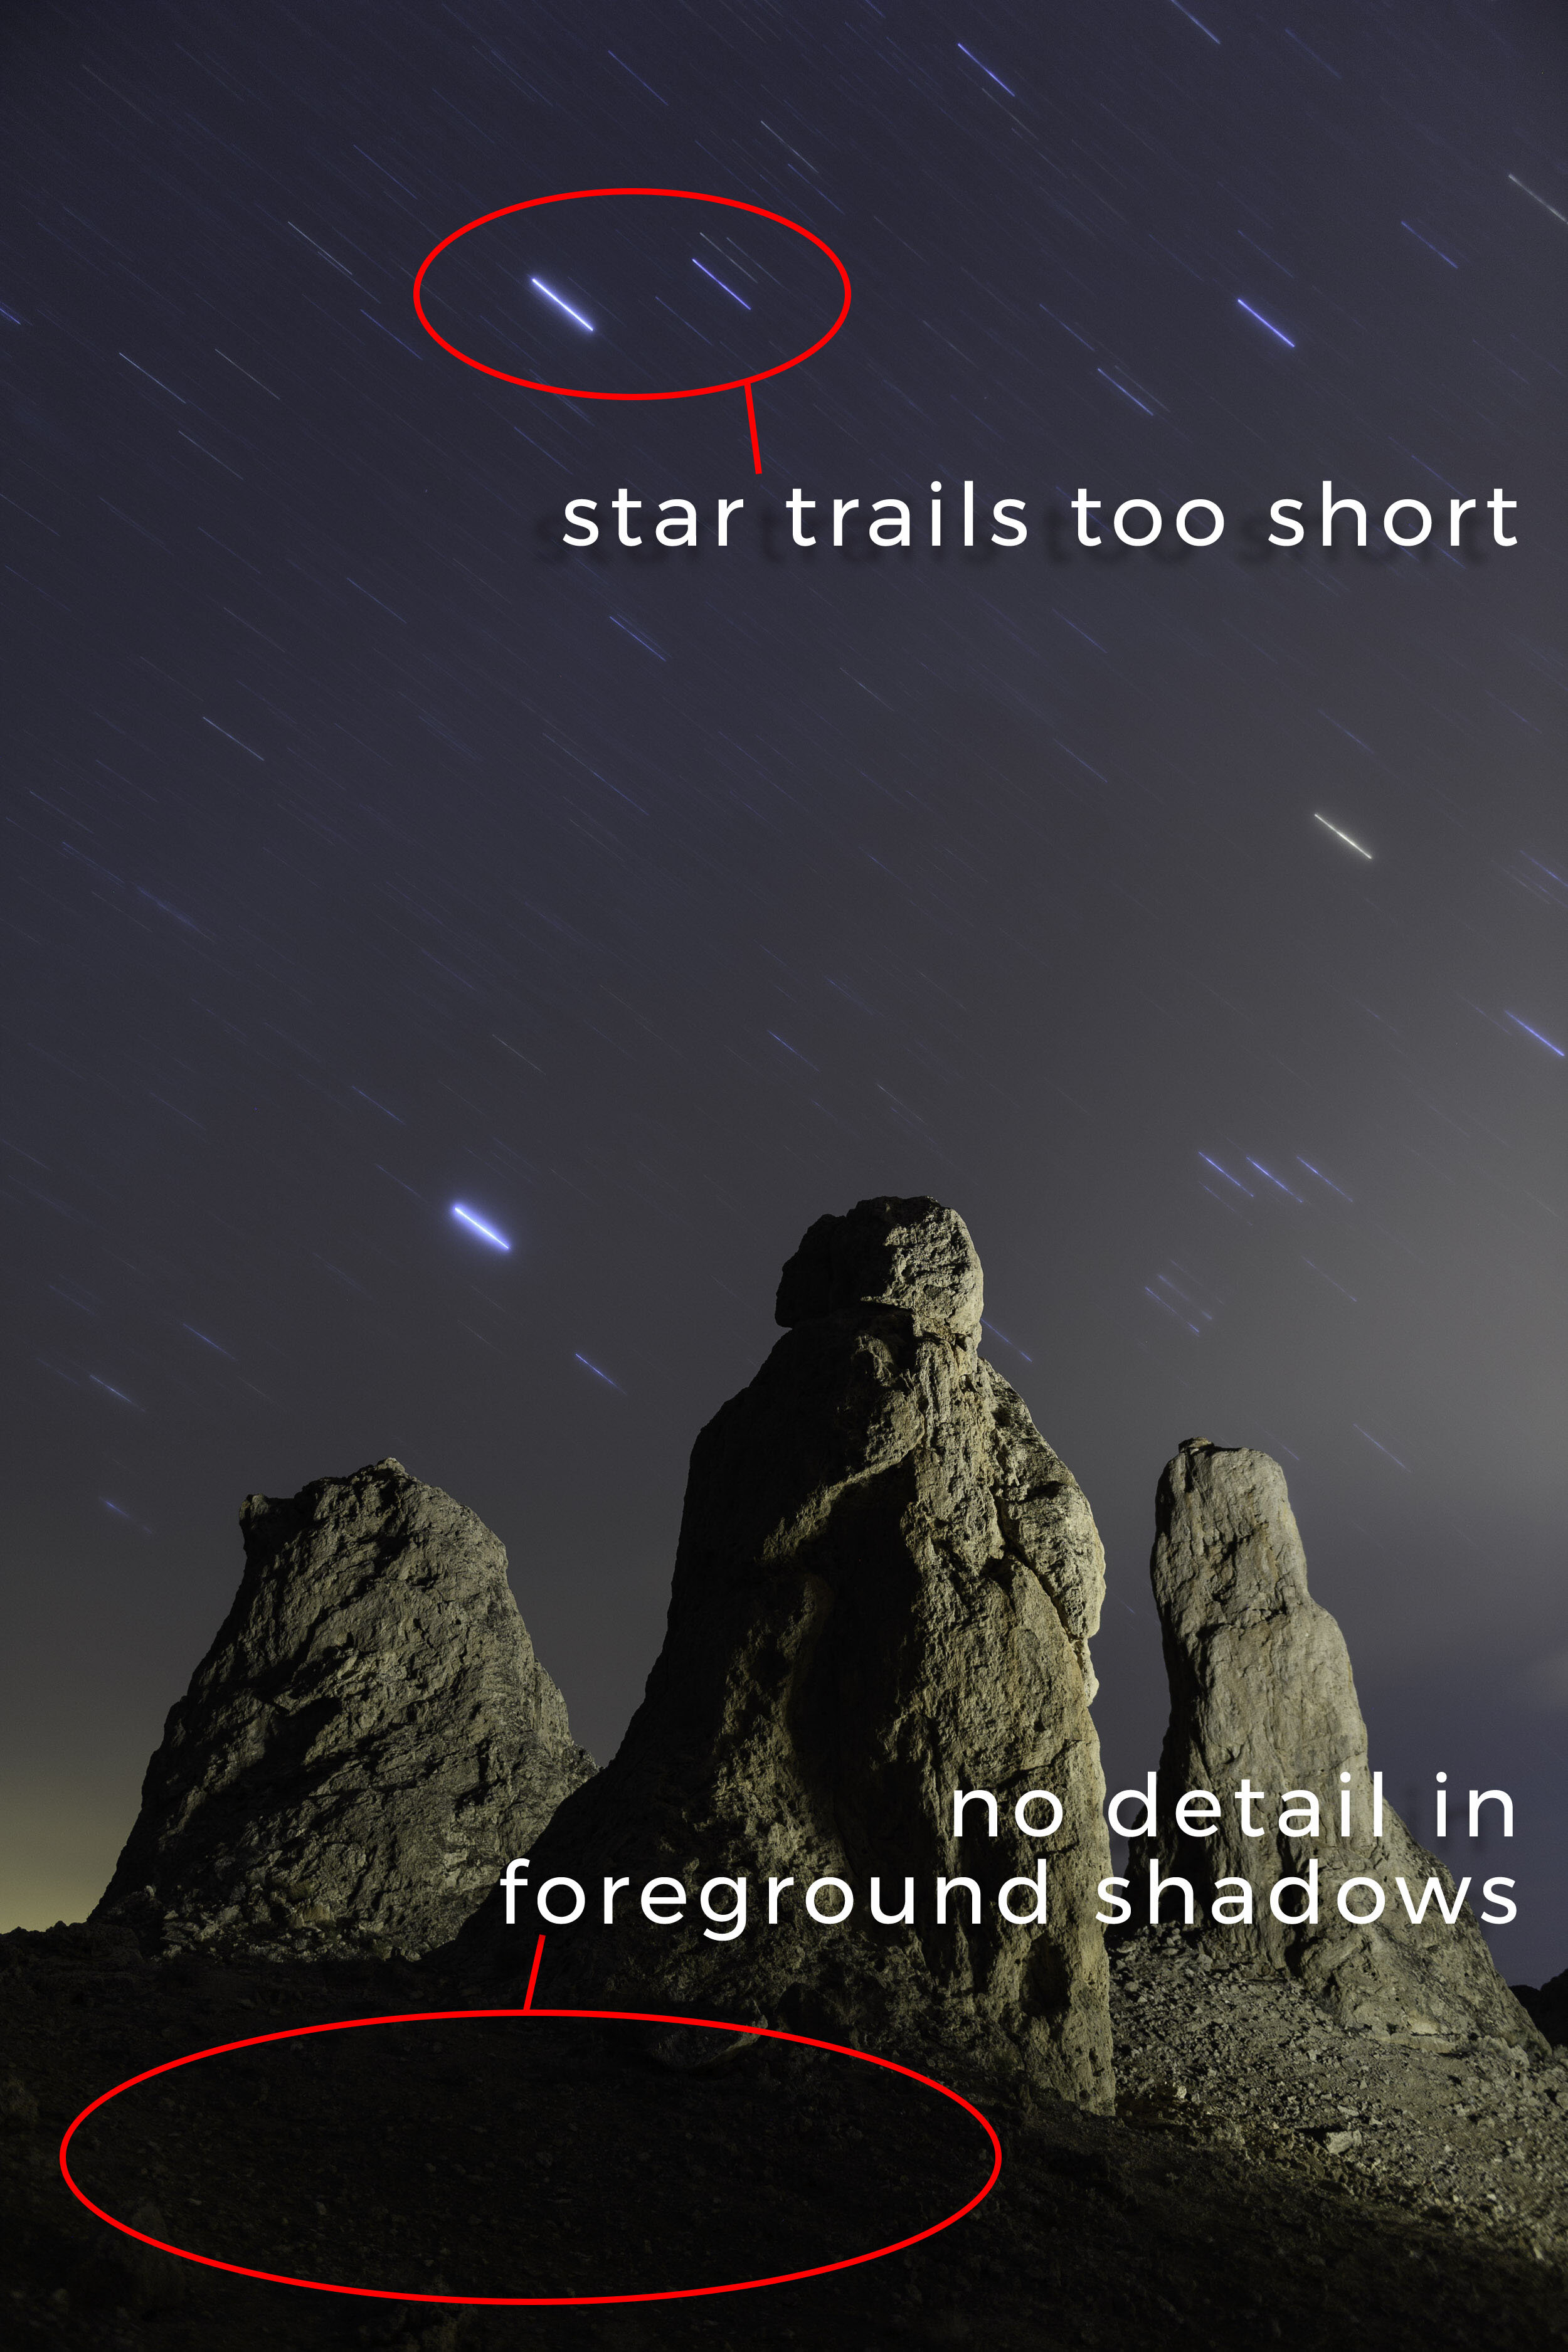
Once the camera was finished cooking, I looked at the result on the LCD (Figure 6). The exposure was right, as was the light painting. Alas, the stars were too short. Another issue I noticed is that the ground in front of the pinnacles was completely black, which I didn't like.

Figure 6. Problems to solve for the final exposure. 8 minutes, f/2.8, ISO 200.

Figure 6. Problems to solve for the final exposure. 8 minutes, f/2.8, ISO 200.

I didn’t want to spend another half hour on a photo I'd thought was almost done, but I preferred that idea to investing all that time and not getting the image right. So I went at it again.

I turned off LENR (so as not to unnecessarily double the test-exposure time), dropped the ISO to 100 and started re-testing the light painting. First I shined some light on the ground, adding just enough to reveal a bit of detail—which took me three tries to get right. Then I re-tested the light on the formations (compensating for the lower ISO), combining it with the foreground light to make sure everything would look good in the final, even longer long exposure (Figure 7).

Figure 7. Testing some light to draw out detail in the foreground shadows. The first take was too much light, the second just about right, and the third combined the new foreground light painting with the light on the spires.

Once I was (relatively) confident the painting approach was sound, I turned on LENR again, opened the shutter, set a timer for 16 minutes, light painted, strolled around gazing at amazing night skies for 12 minutes, then closed the shutter. When the LENR finished, I finally had my shot (Figure 8).

The Final Image

Taking the time in the field to work out the kinks meant that the final image required very little post-processing—just some basic tweaks in Lightroom’s Basic panel to optimize contrast and color.

Figure 8. The final image with 20-minute star trails and all the light painting.

Want to shoot this great space with us in 2020? We have one ticket left for our Trona Pinnacles & Alabama Hills workshop. Sign up today!

Chris Nicholson is a partner and workshop leader with National Parks at Night, and author of Photographing National Parks (Sidelight Books, 2015). Learn more about national parks as photography destinations, subscribe to Chris' free e-newsletter, and more at www.PhotographingNationalParks.com.

UPCOMING WORKSHOPS FROM NATIONAL PARKS AT NIGHT

The Simmer Dim: Photographing in Twilight that Lasts Till Morning

What if I were to tell you that one of the best experiences a night photographer can have is to travel to a time and a place when the surrounds hardly get dark at all? The idea is not one of fantasy, but rather one of fancy. I much enjoy shooting in twilight, and with time to plan the travel properly, one can shoot in it all night long.

That time? Within a few weeks of summer solstice. That place? The further toward the north or south pole, the better.

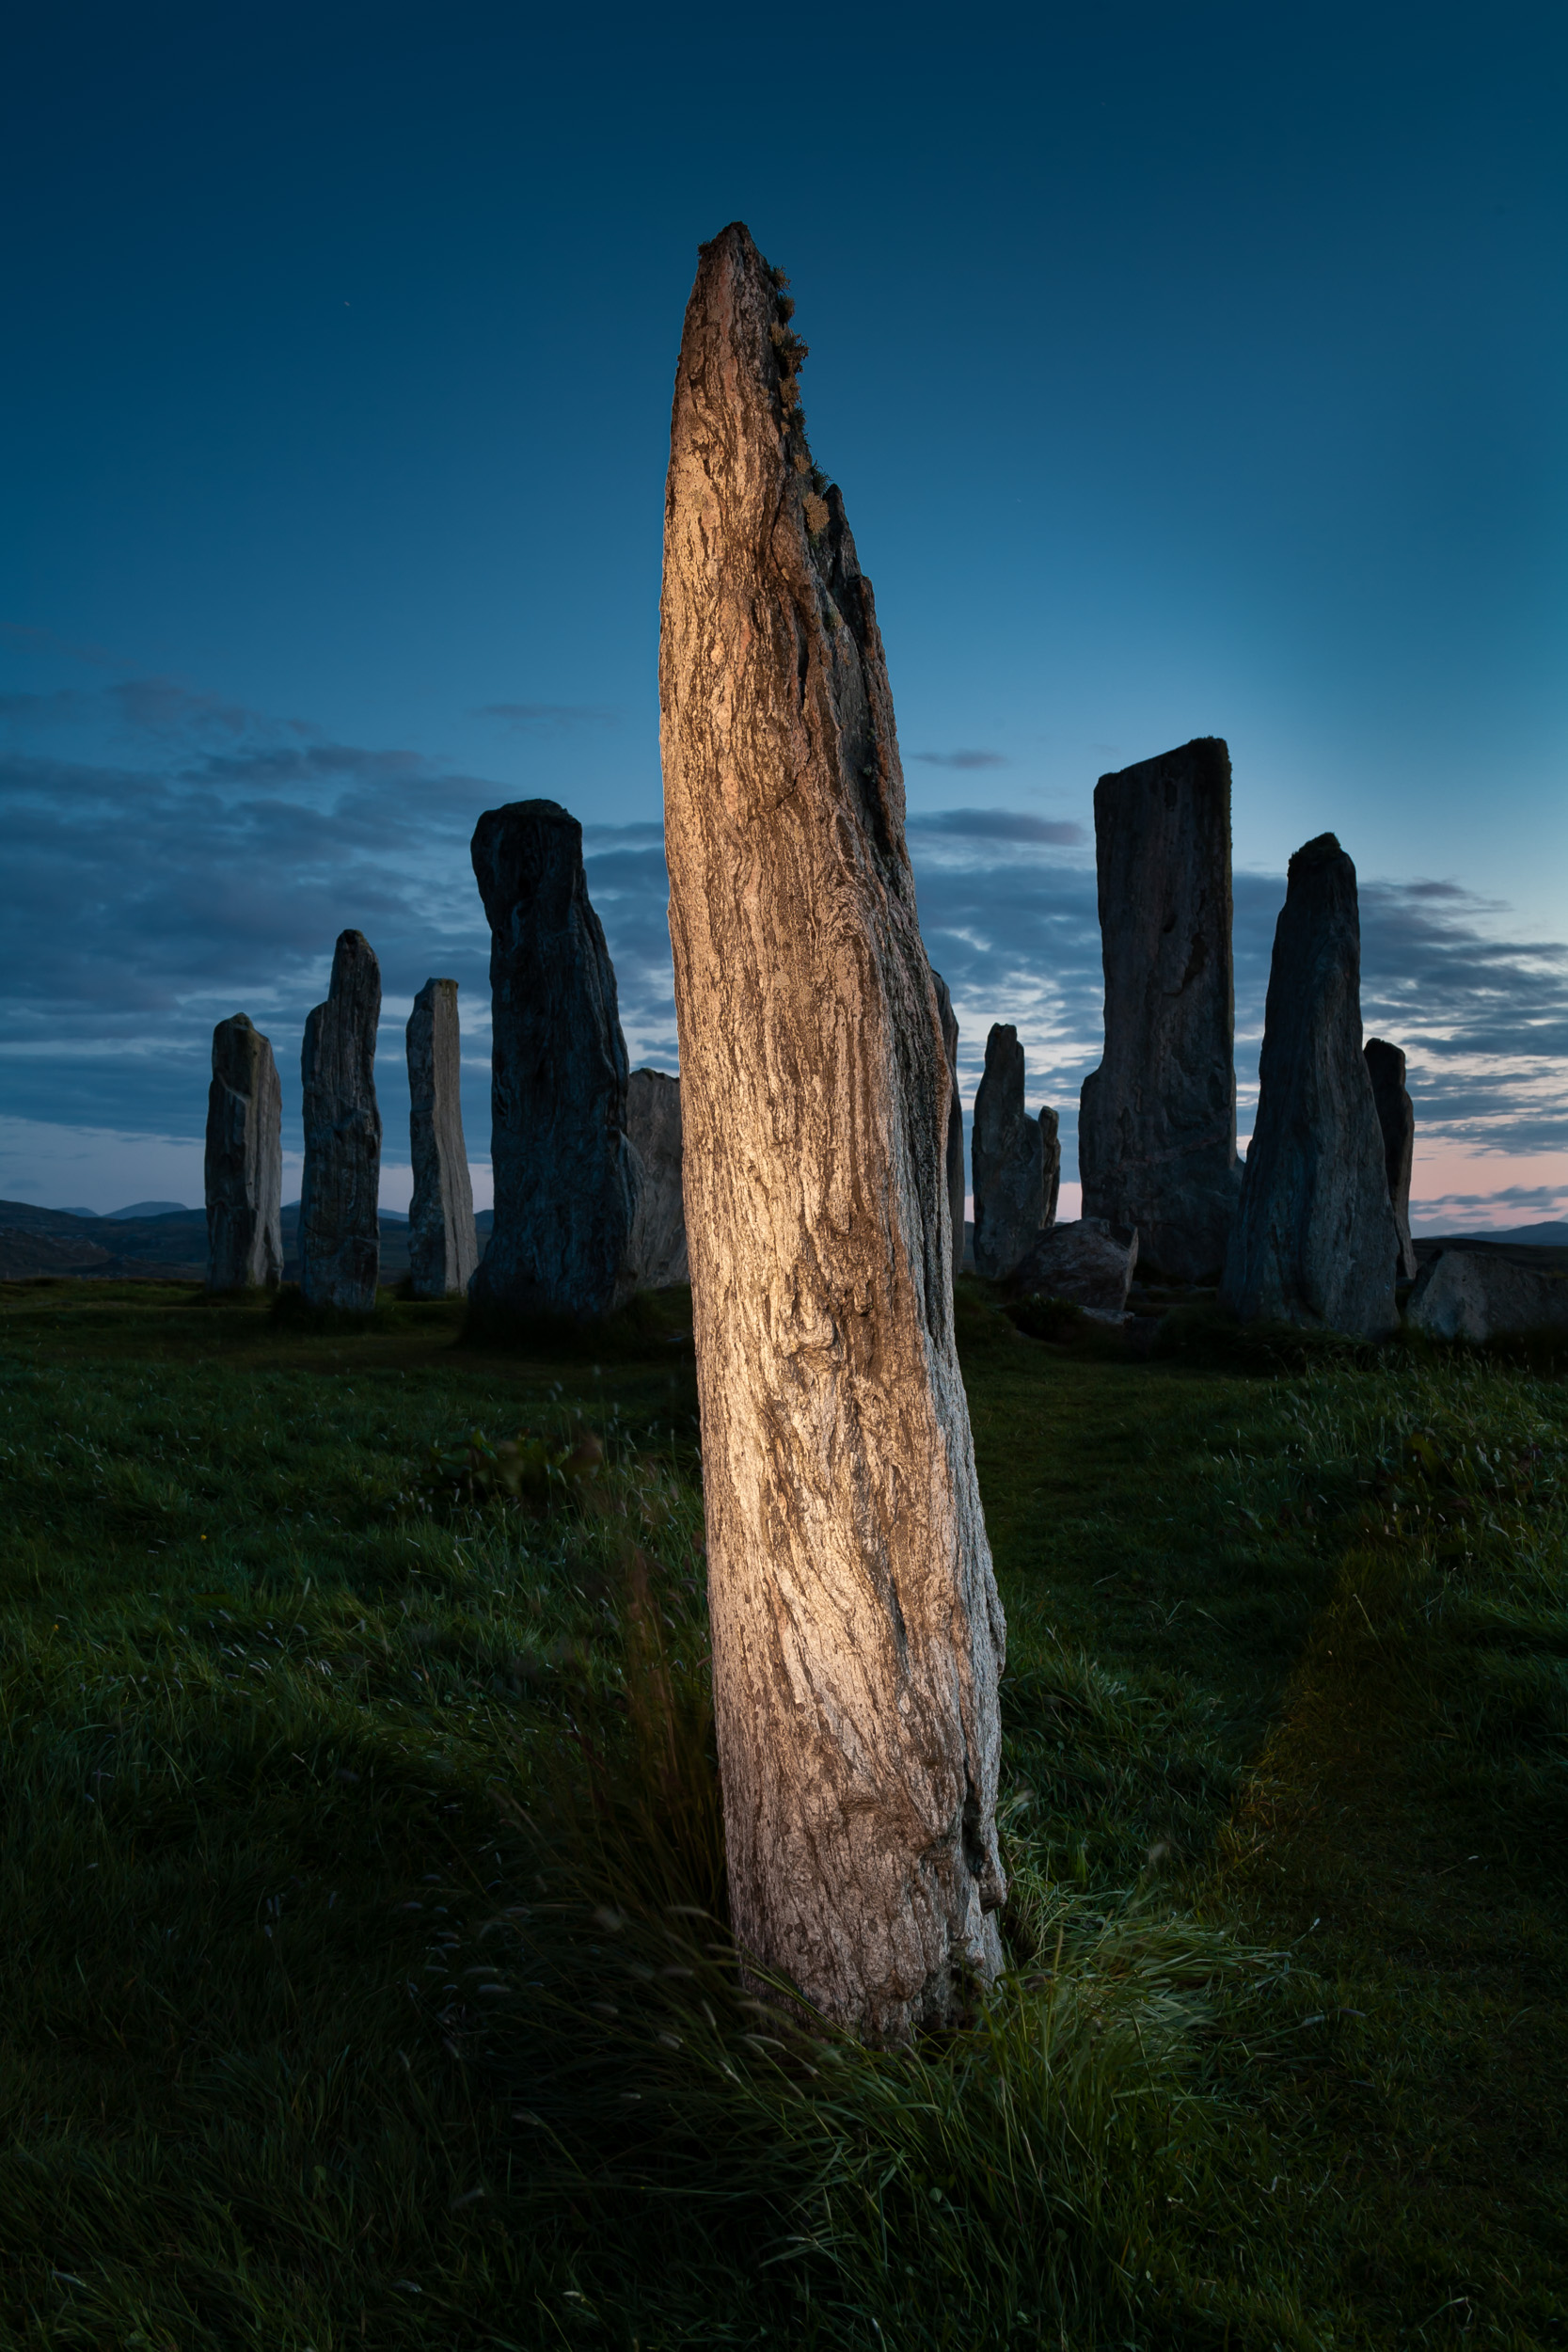
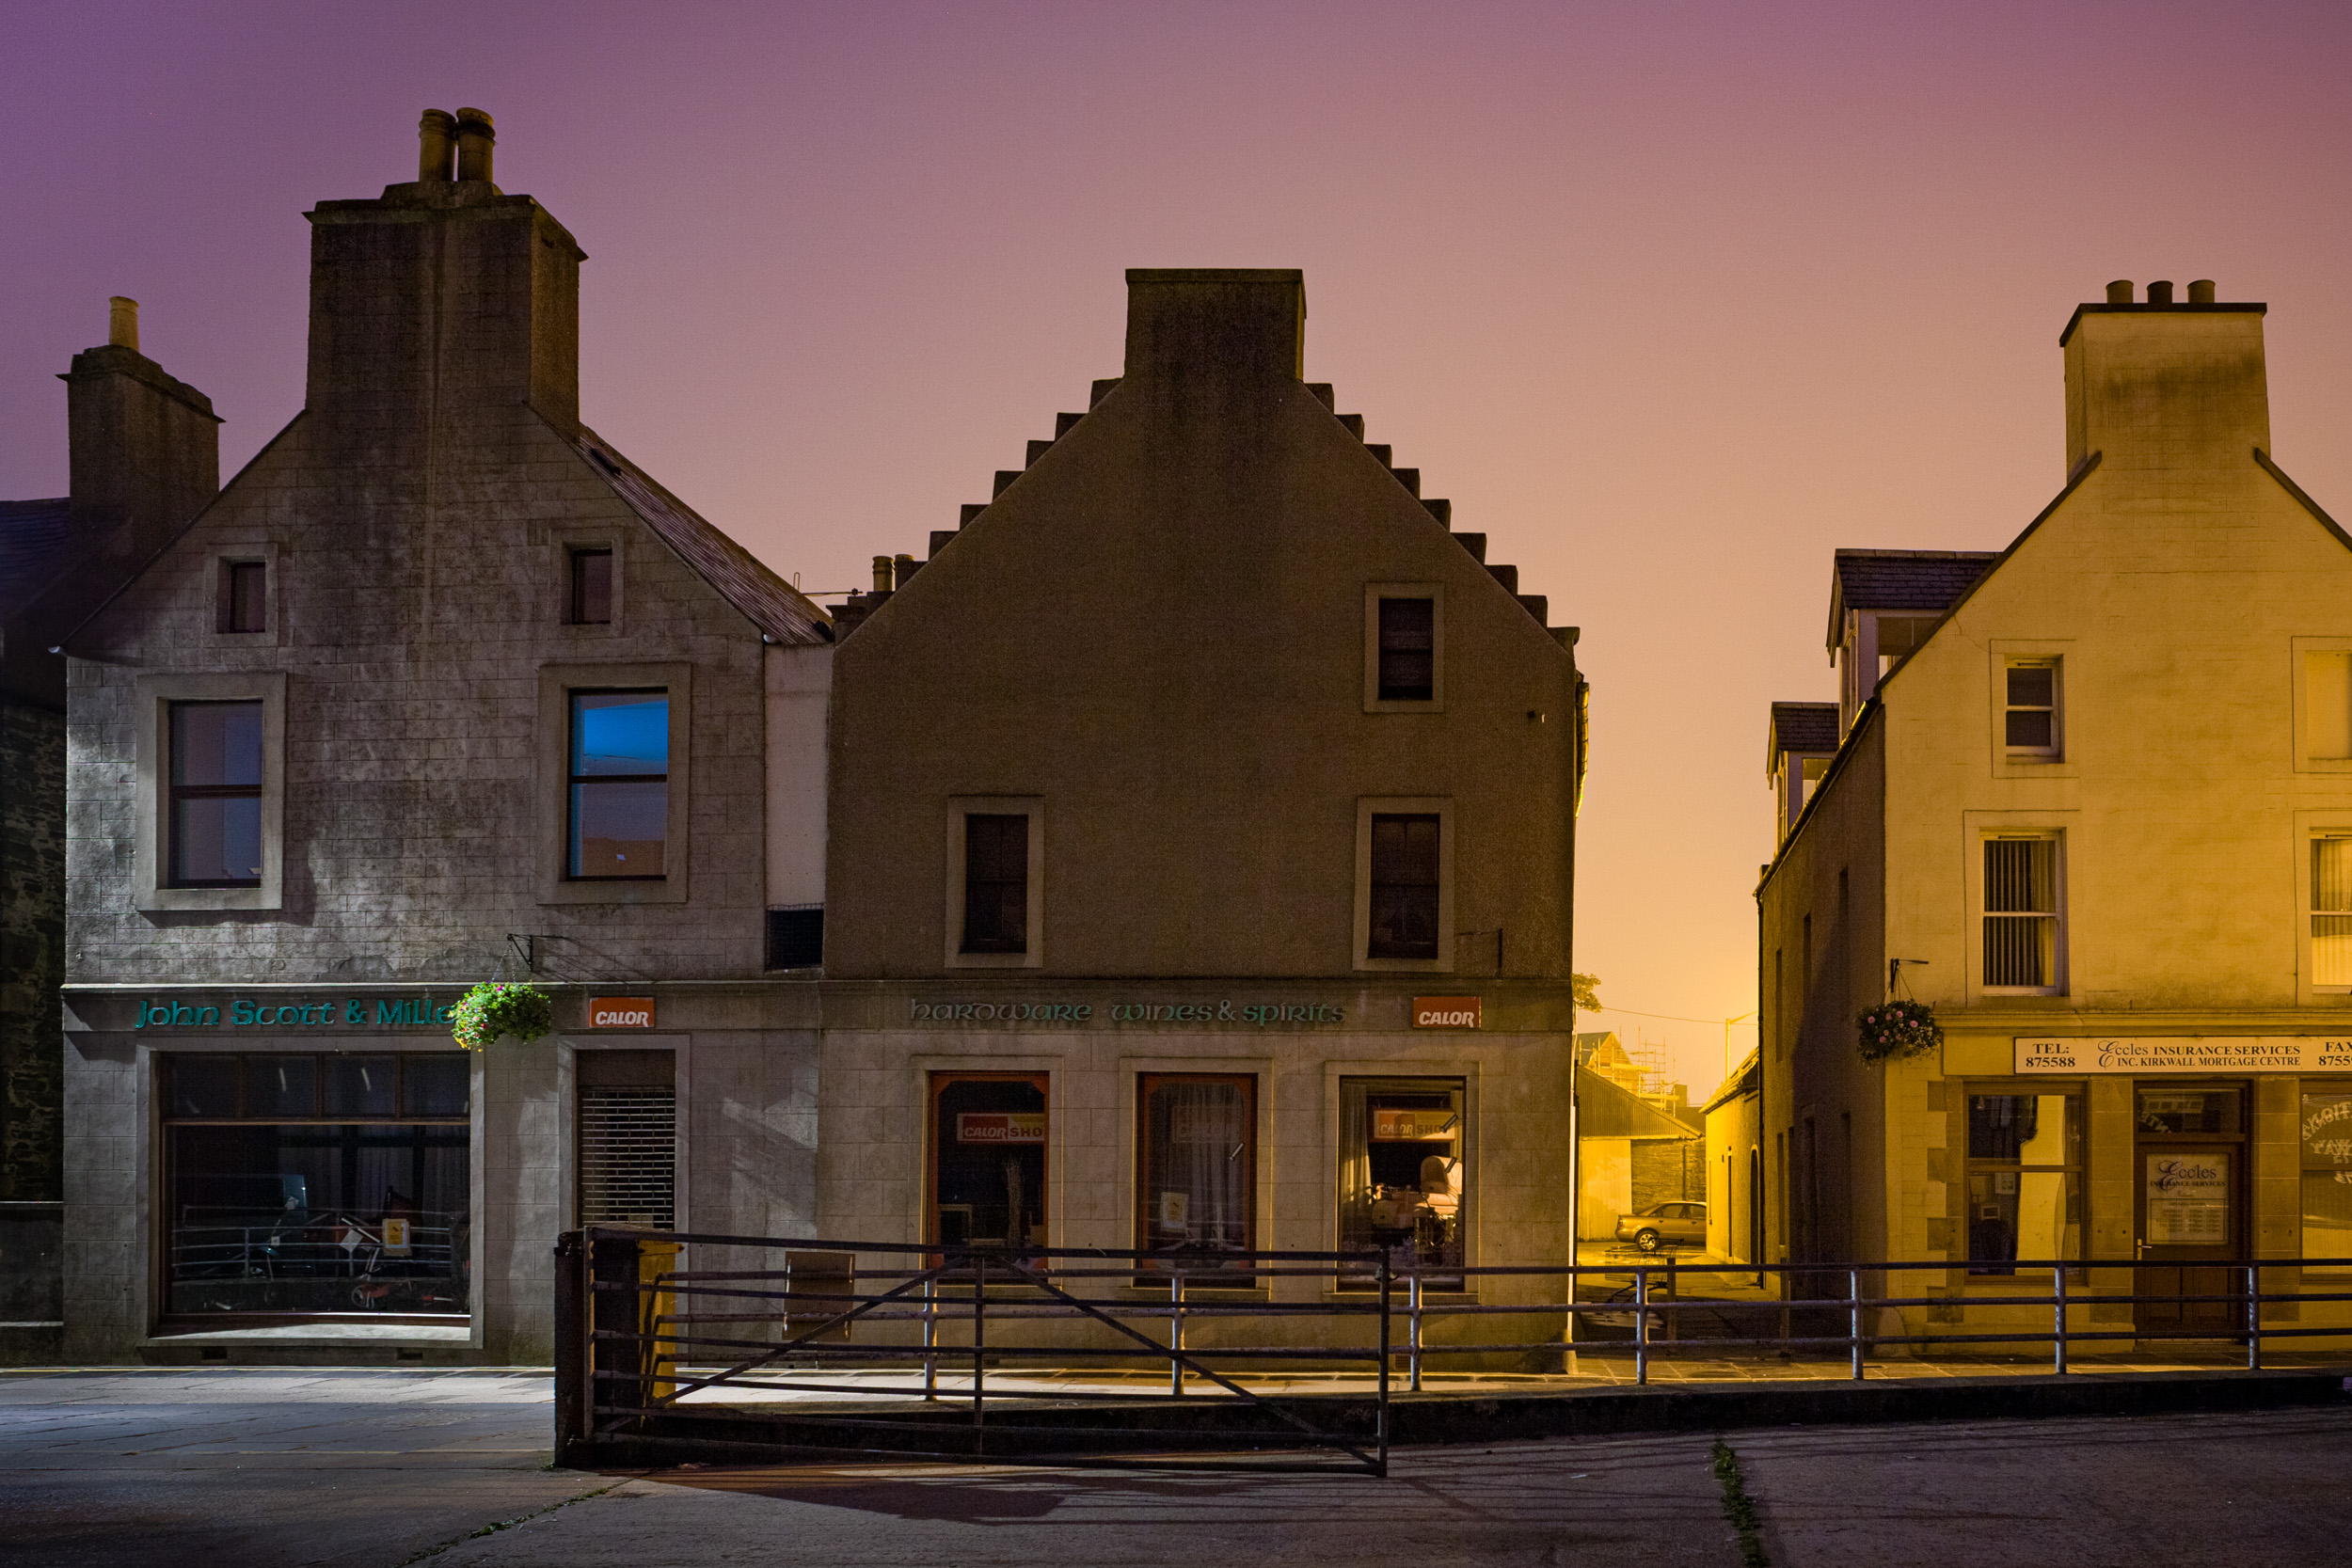
Stones of Stenness, Orkney, Scotland. Canon 5D with a Nikkor 28mm f/3.5 PC lens. 30 seconds, f/8, ISO 800.

Chasing Twilight

Traveling to a far-northern destination in May or June (or to a southern one in November or December) may seem like an odd choice for a night photographer. It doesn’t get fully dark north of 47 north latitude for several weeks a year. To note:

  • Above the Arctic Circle, at about 66 degrees north, the sun never sets at all around the summer solstice.

  • Between 61 north and the Arctic Circle, (which includes Scandinavia, parts of Alaska, and Canada, Iceland and Greenland) the sun sets, but never gets more than 6 degrees below the horizon in high summer, which means the sky never grows darker than civil twilight.

  • Between 53 and 61 north (the United Kingdom, parts of Alaska and Canada), summer nights in June are spent in nautical twilight.

  • Between 47 and 53 north (much of Europe, China, Ukraine and the northern U.S.), it doesn’t get darker than astronomical twilight.

Yet all of these are great locations for night photographers. Just why is that?

Dornee, Kyle of Loch Alsh, Scotland. Canon 5D, Canon EF 50mm f/2.5 macro lens. 4 minutes, f/22, ISO 100.

To many contemporary photographers, night photography is all about the Milky Way, which we need dark skies to photograph. But there’s much more to night photography than that, which I’ve written about previously (see “Beyond the Milky Way” and “The Night Photography Mindset.”)

To that end, this article is about making the most of nautical and astronomical twilight, especially when it lasts through the night—which is exactly what it can do in many of those places mentioned above. (You can read a rundown of the different stages of twilight on EarthSky, or in Tim’s blog post “Out of the Blue: The Importance of Twilight to the Night Photographer.”)

Dusk That Never Quite Ends

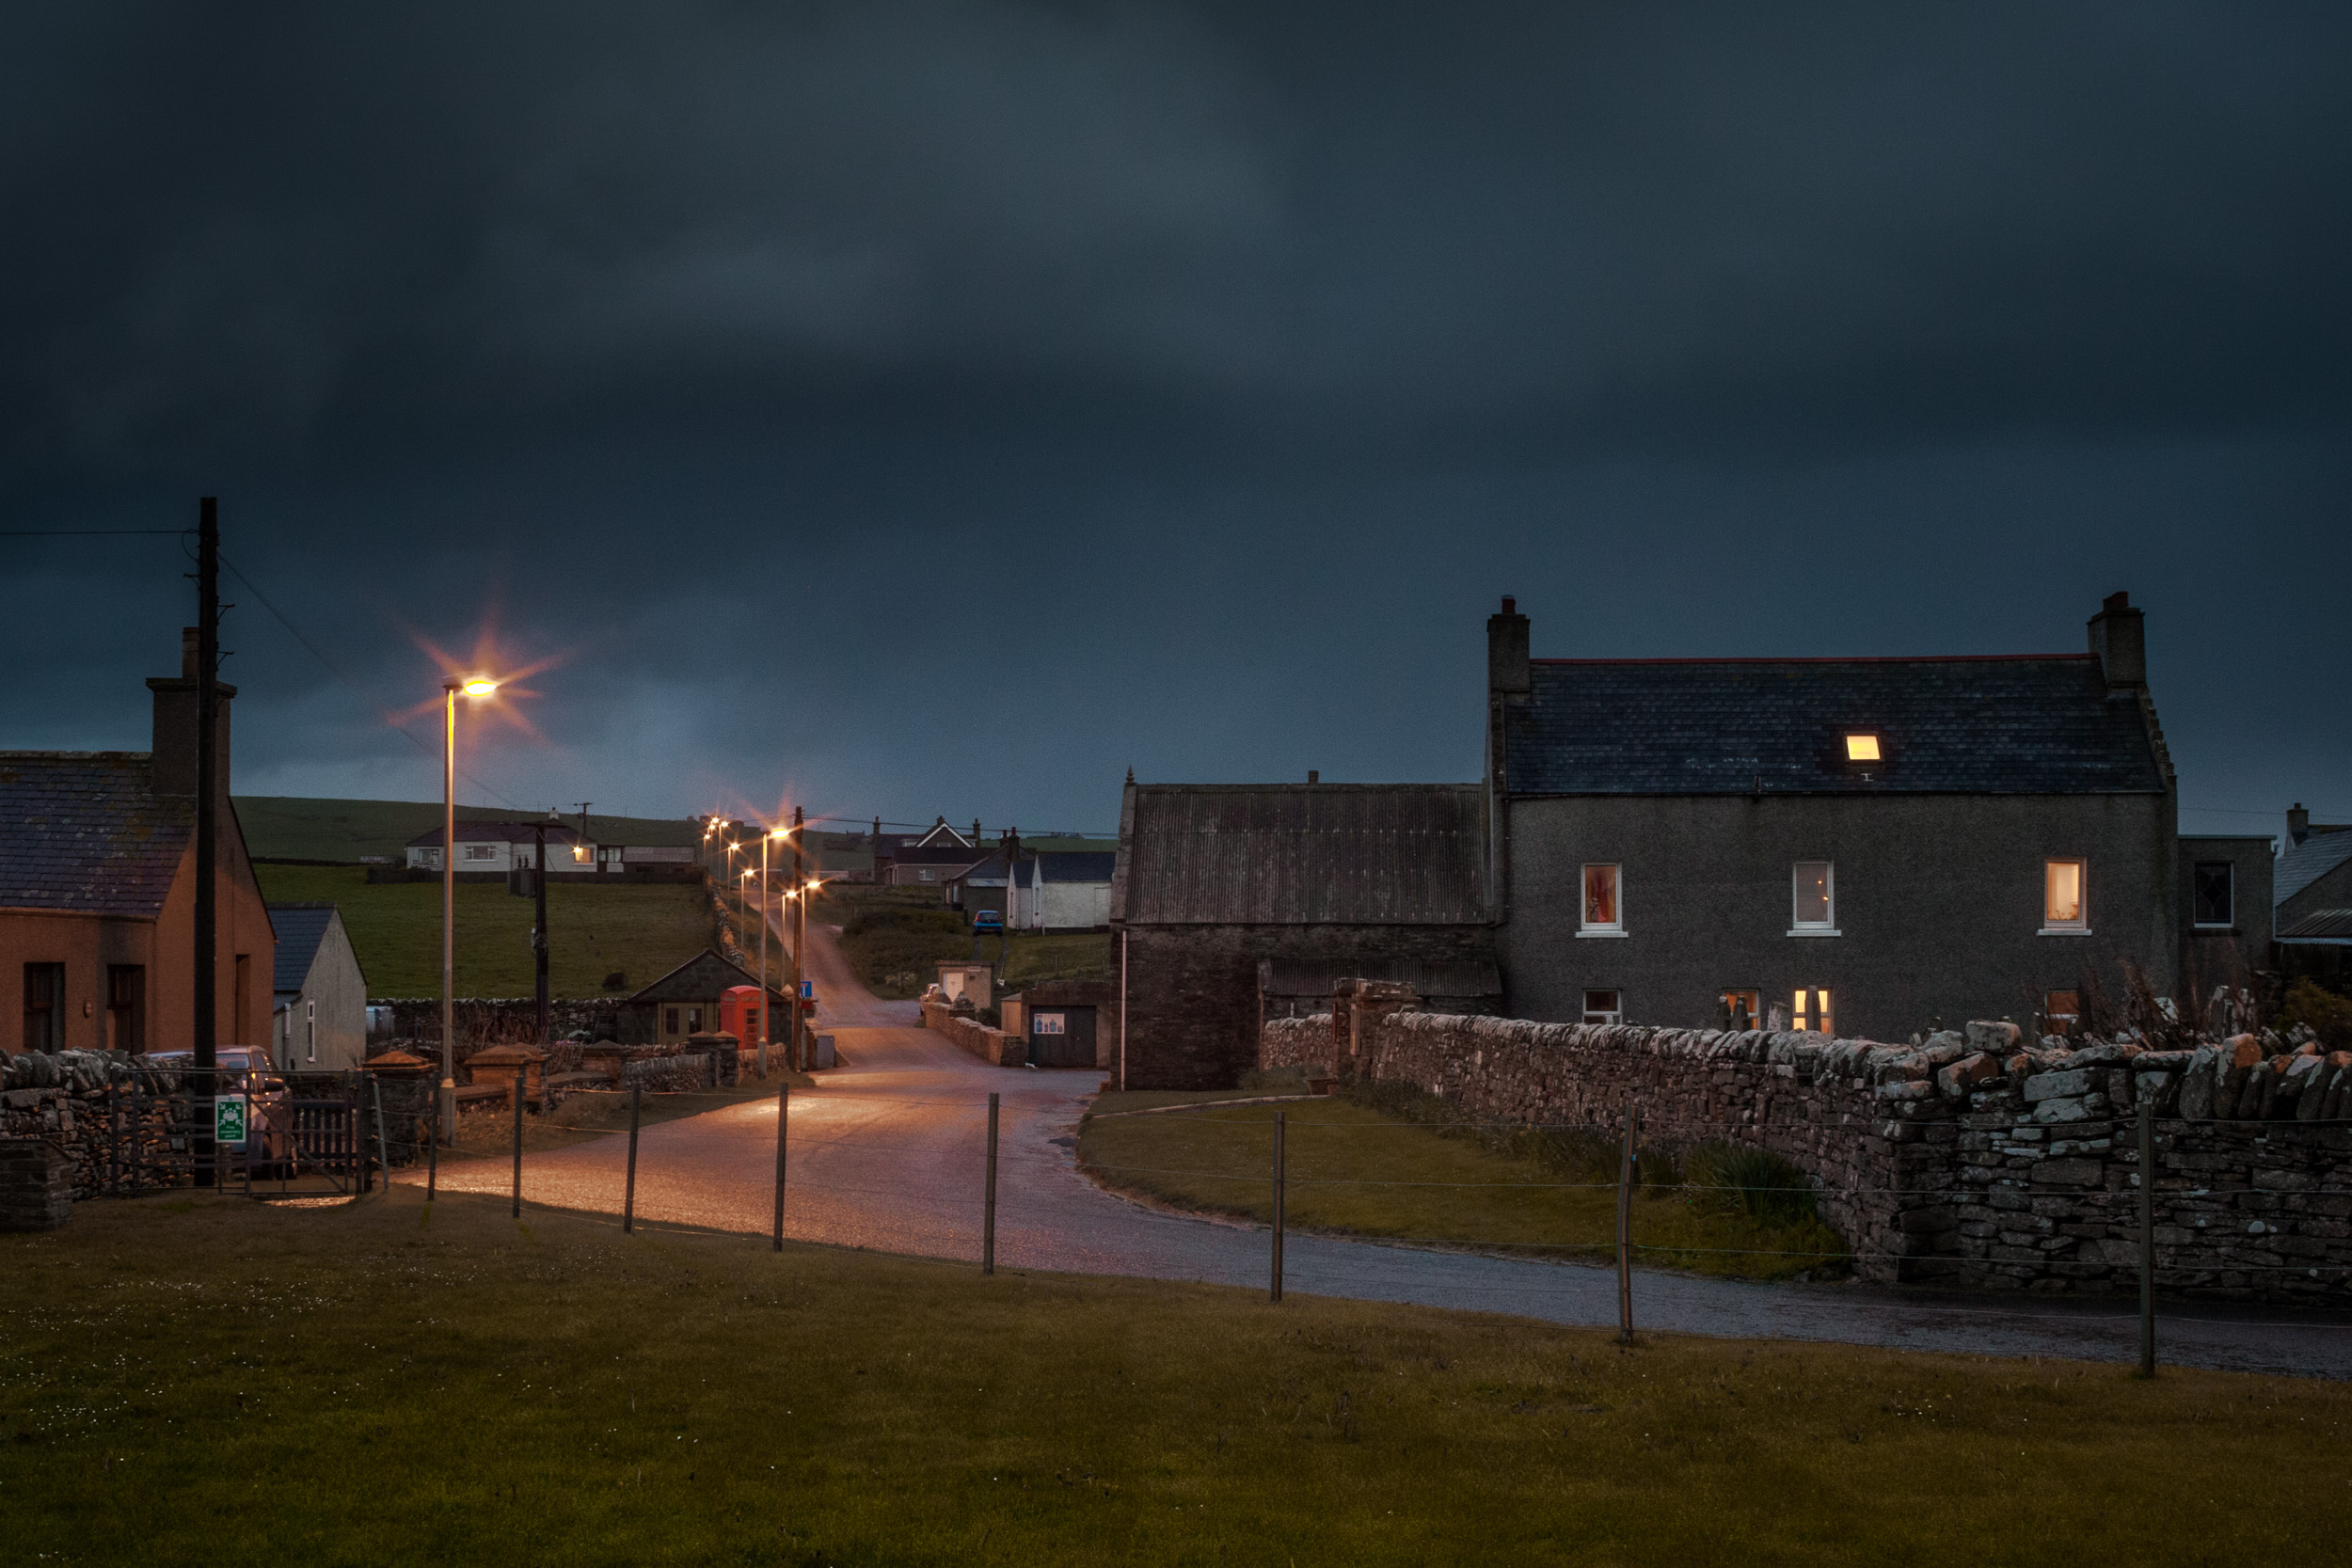
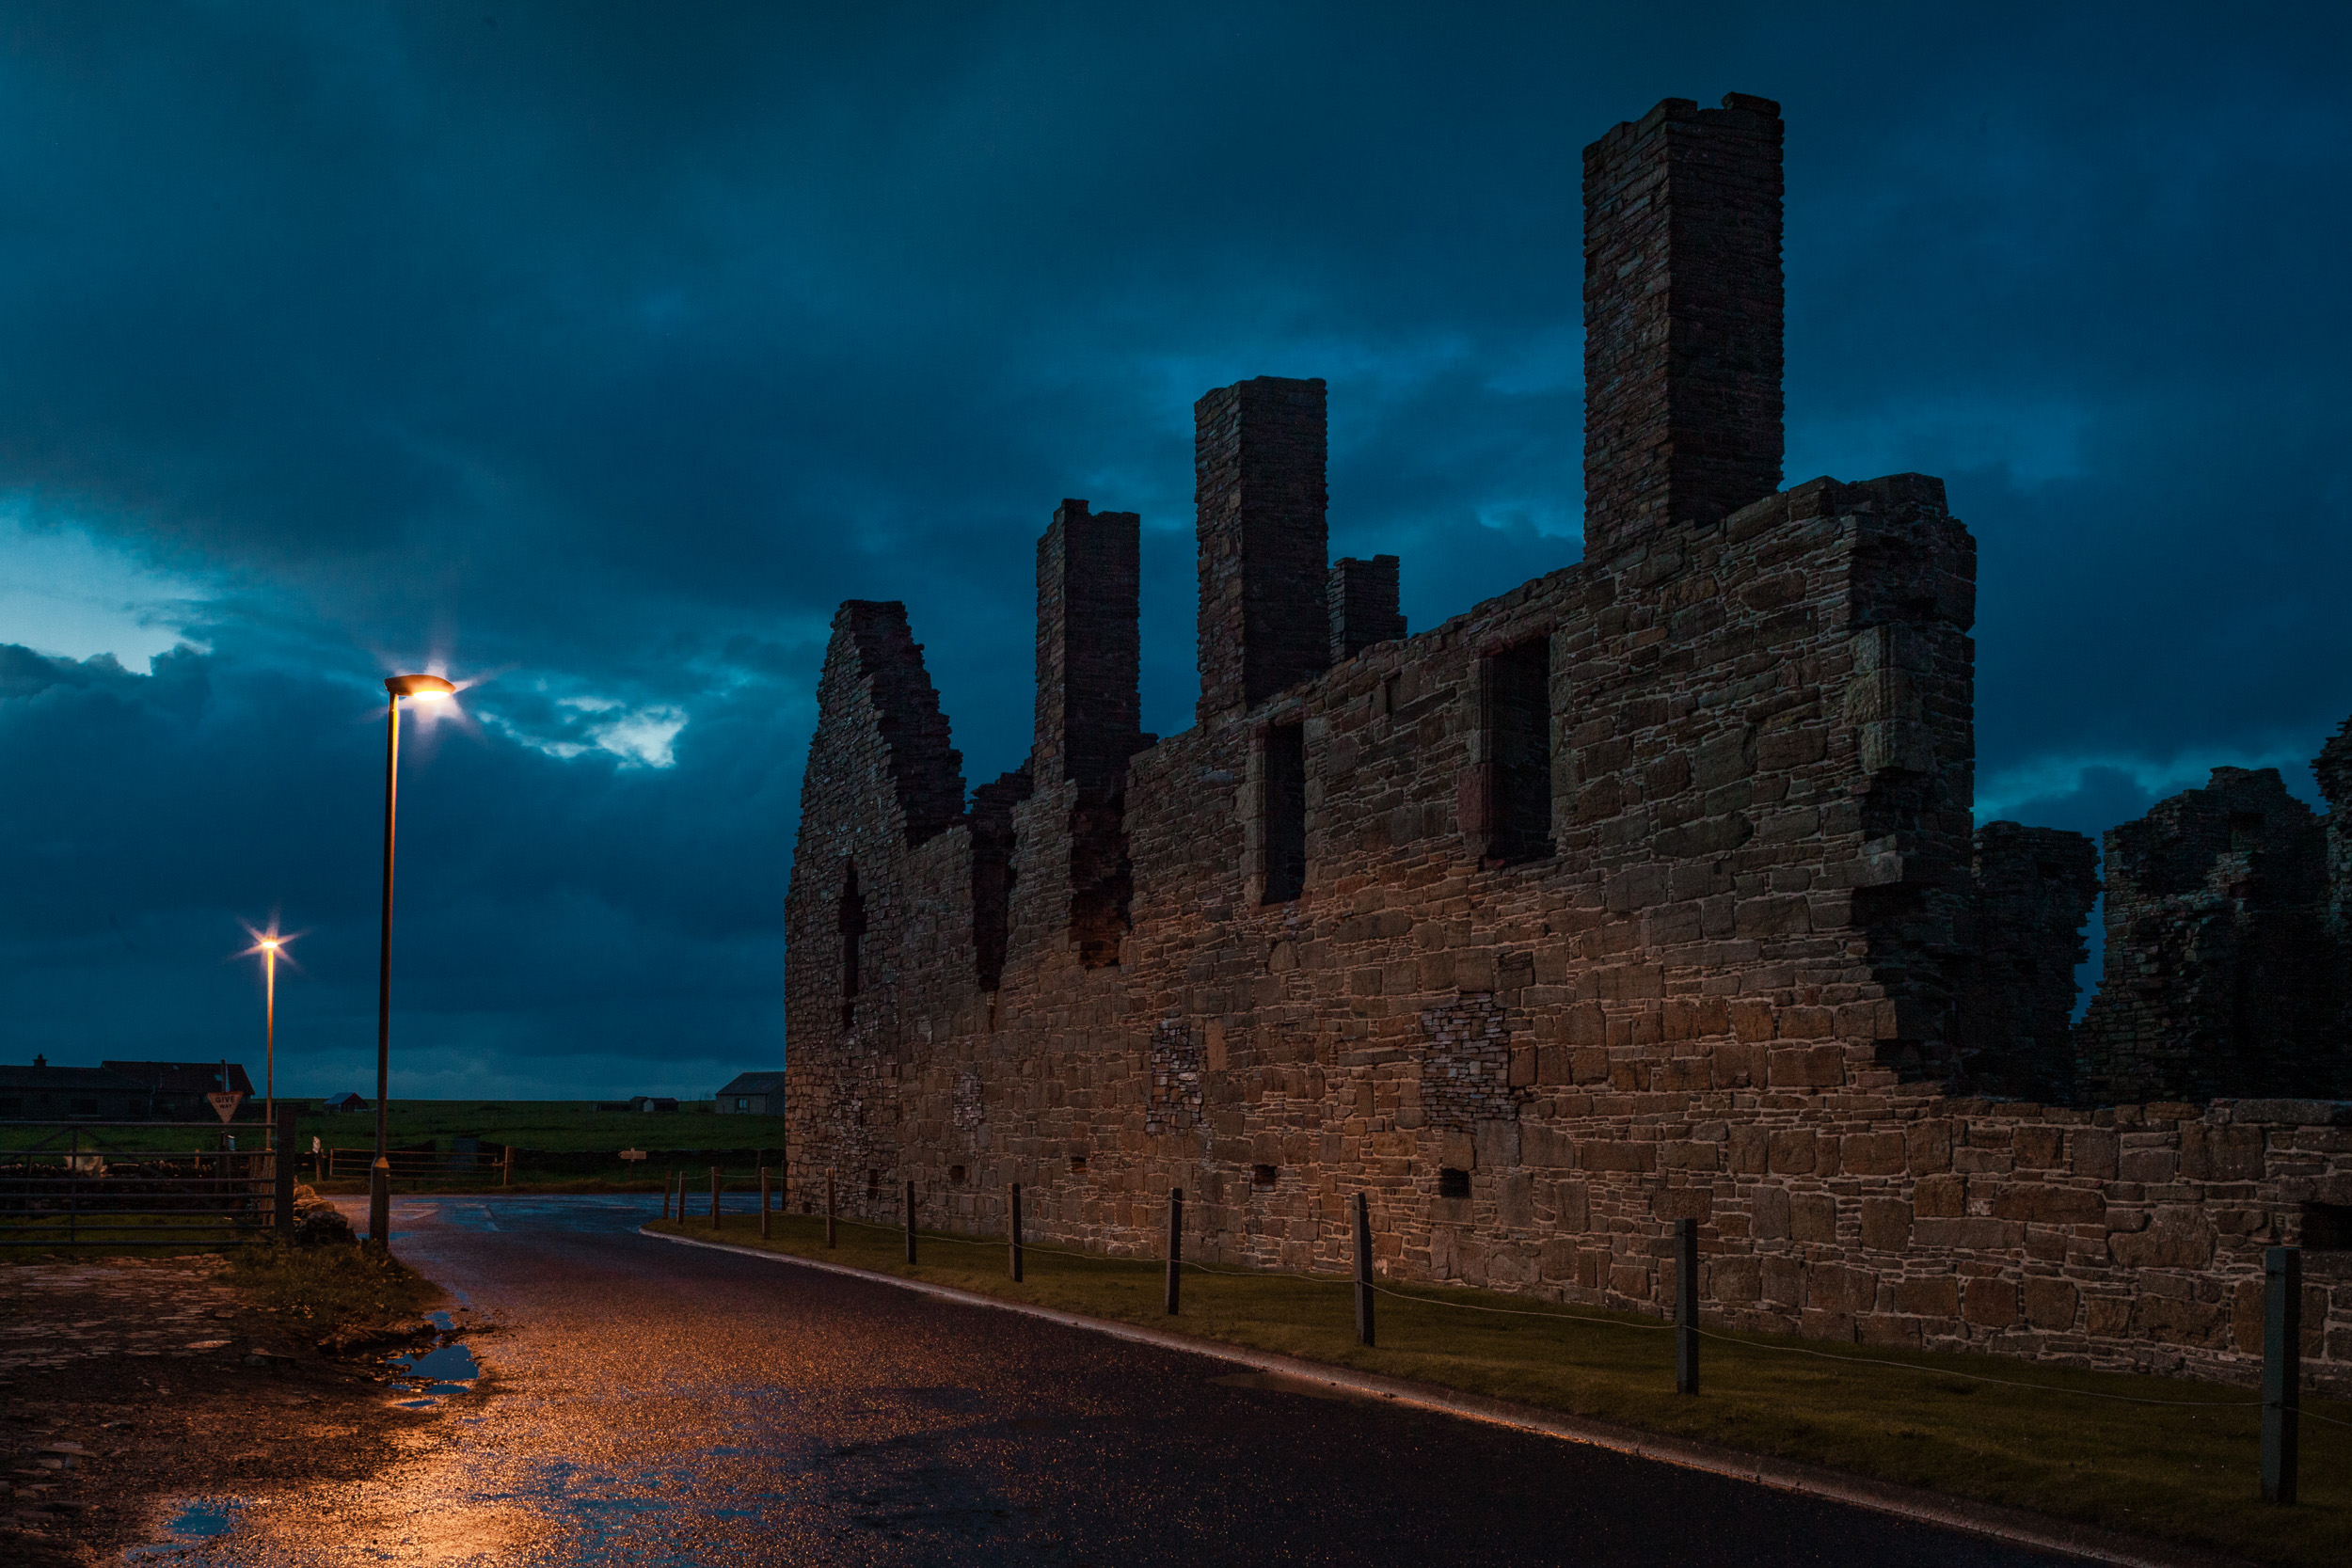
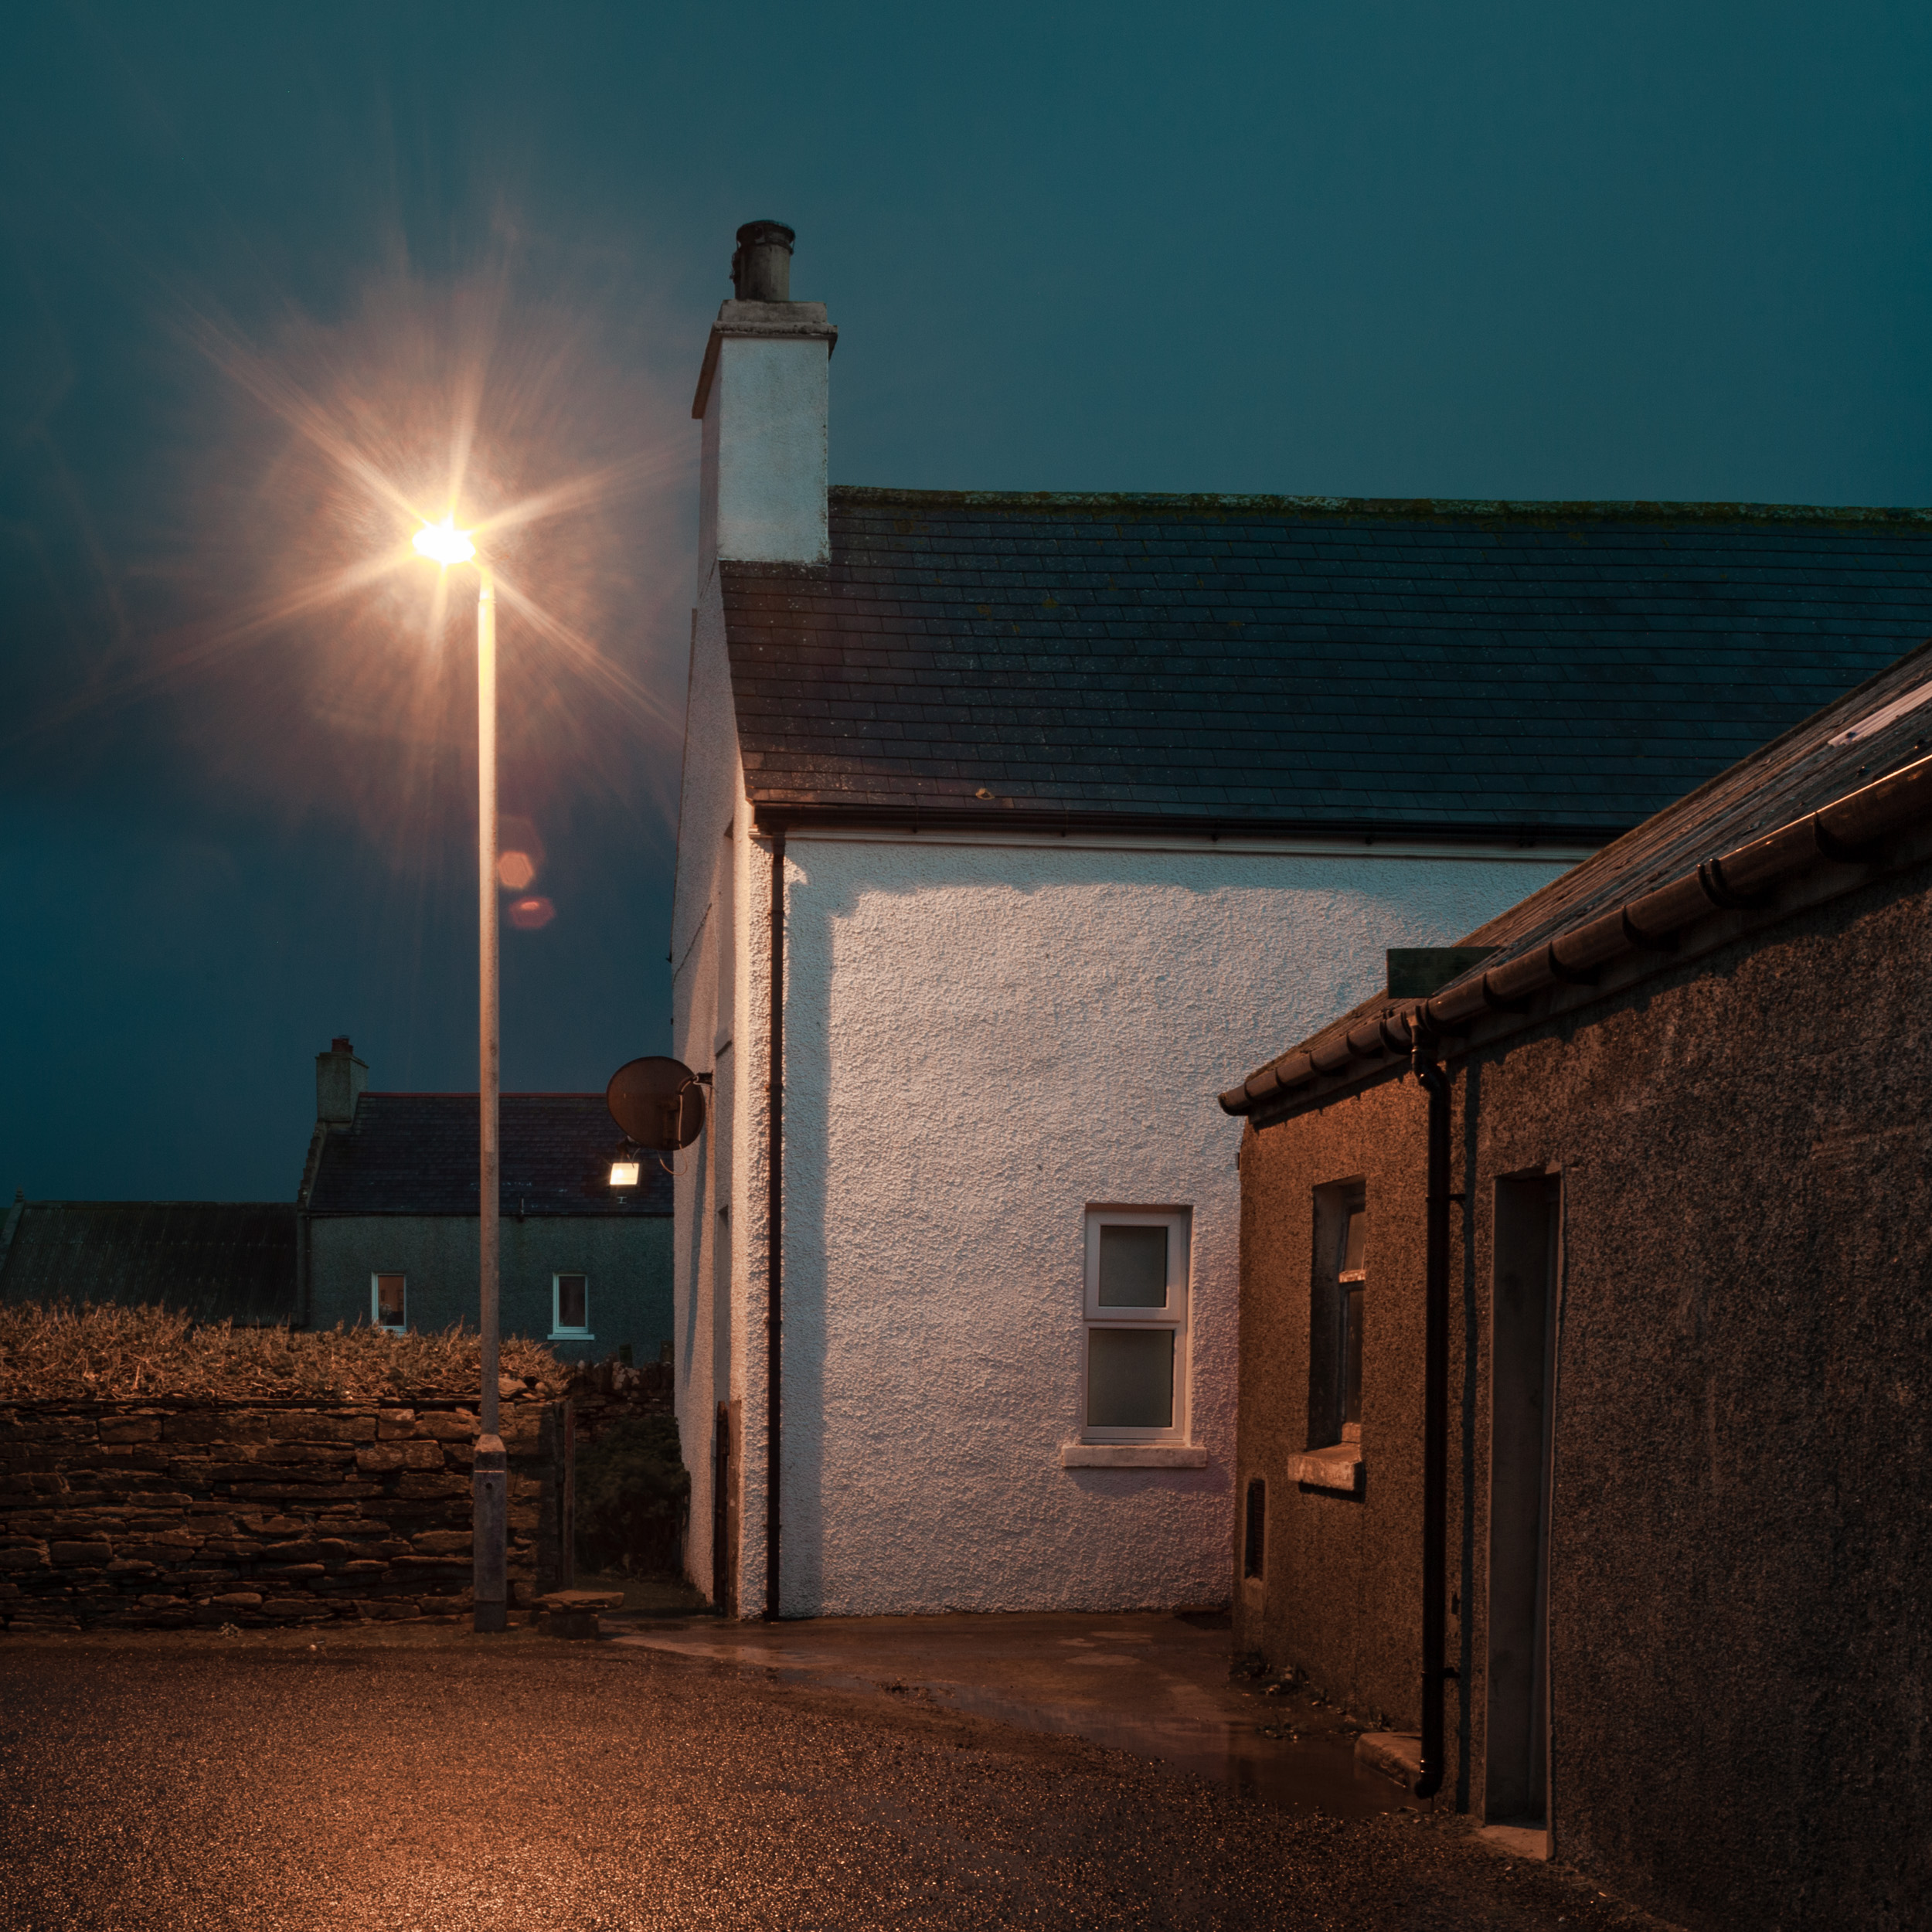
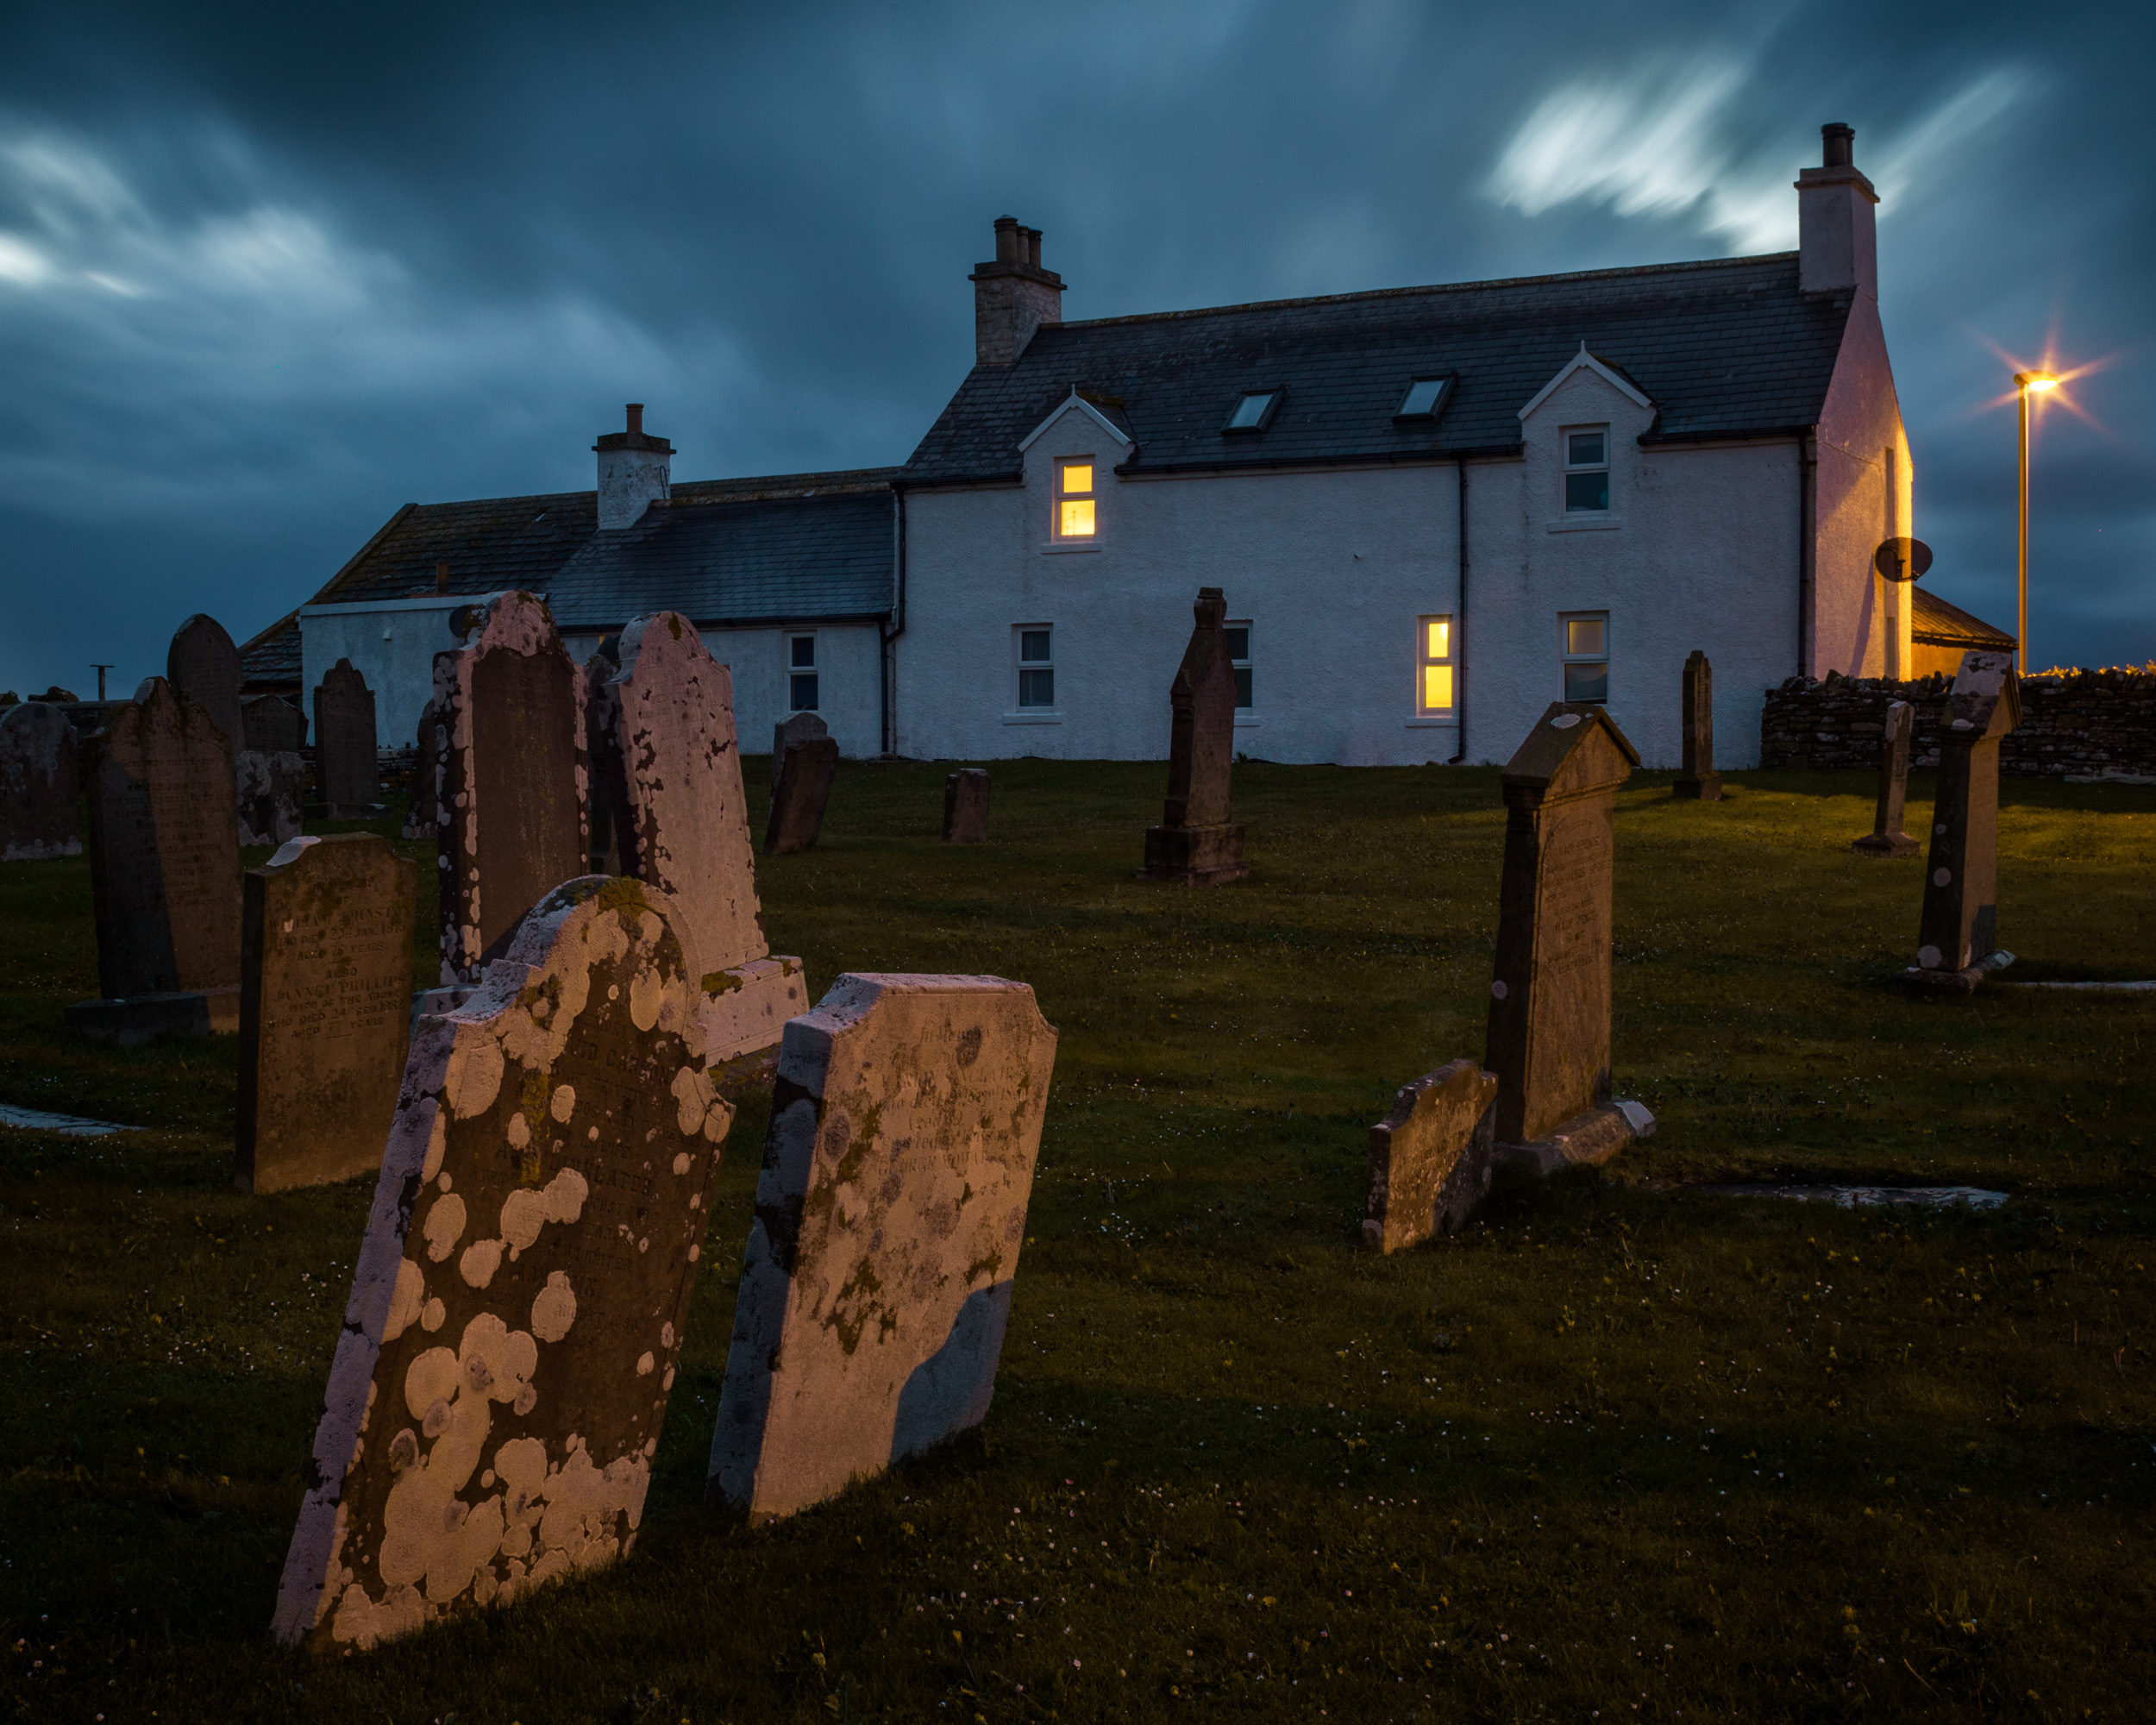
One of the places that enjoys this phenomenon is Scotland, and it’s the Scots—especially those from Orkney and Shetland—who call this phenomenon “Simmer Dim.” This is one of my favorite times to photograph, especially when I’m lucky enough to shoot in those northern Scottish isles. (Which is exactly why we’re running a night photography tour in Orkney next May!)

Lerwick, Shetland, Scotland. Canon 5D Mark II, Zuiko Shift 24mm f/3.5 lens. 10 seconds, f/8, ISO 100.

Why do I love Simmer Dim? Imagine spending an entire night in twilight—that enchanting time between daylight and darkness when the earth’s atmosphere scatters the last rays of the sun’s light to create deeply saturated colors in the sky. It’s nothing short of magical. Under normal twilight conditions, there’s only a brief window of opportunity when the light is perfectly balanced for both sky and ground—but during Simmer Dim, that balance may last for hours.

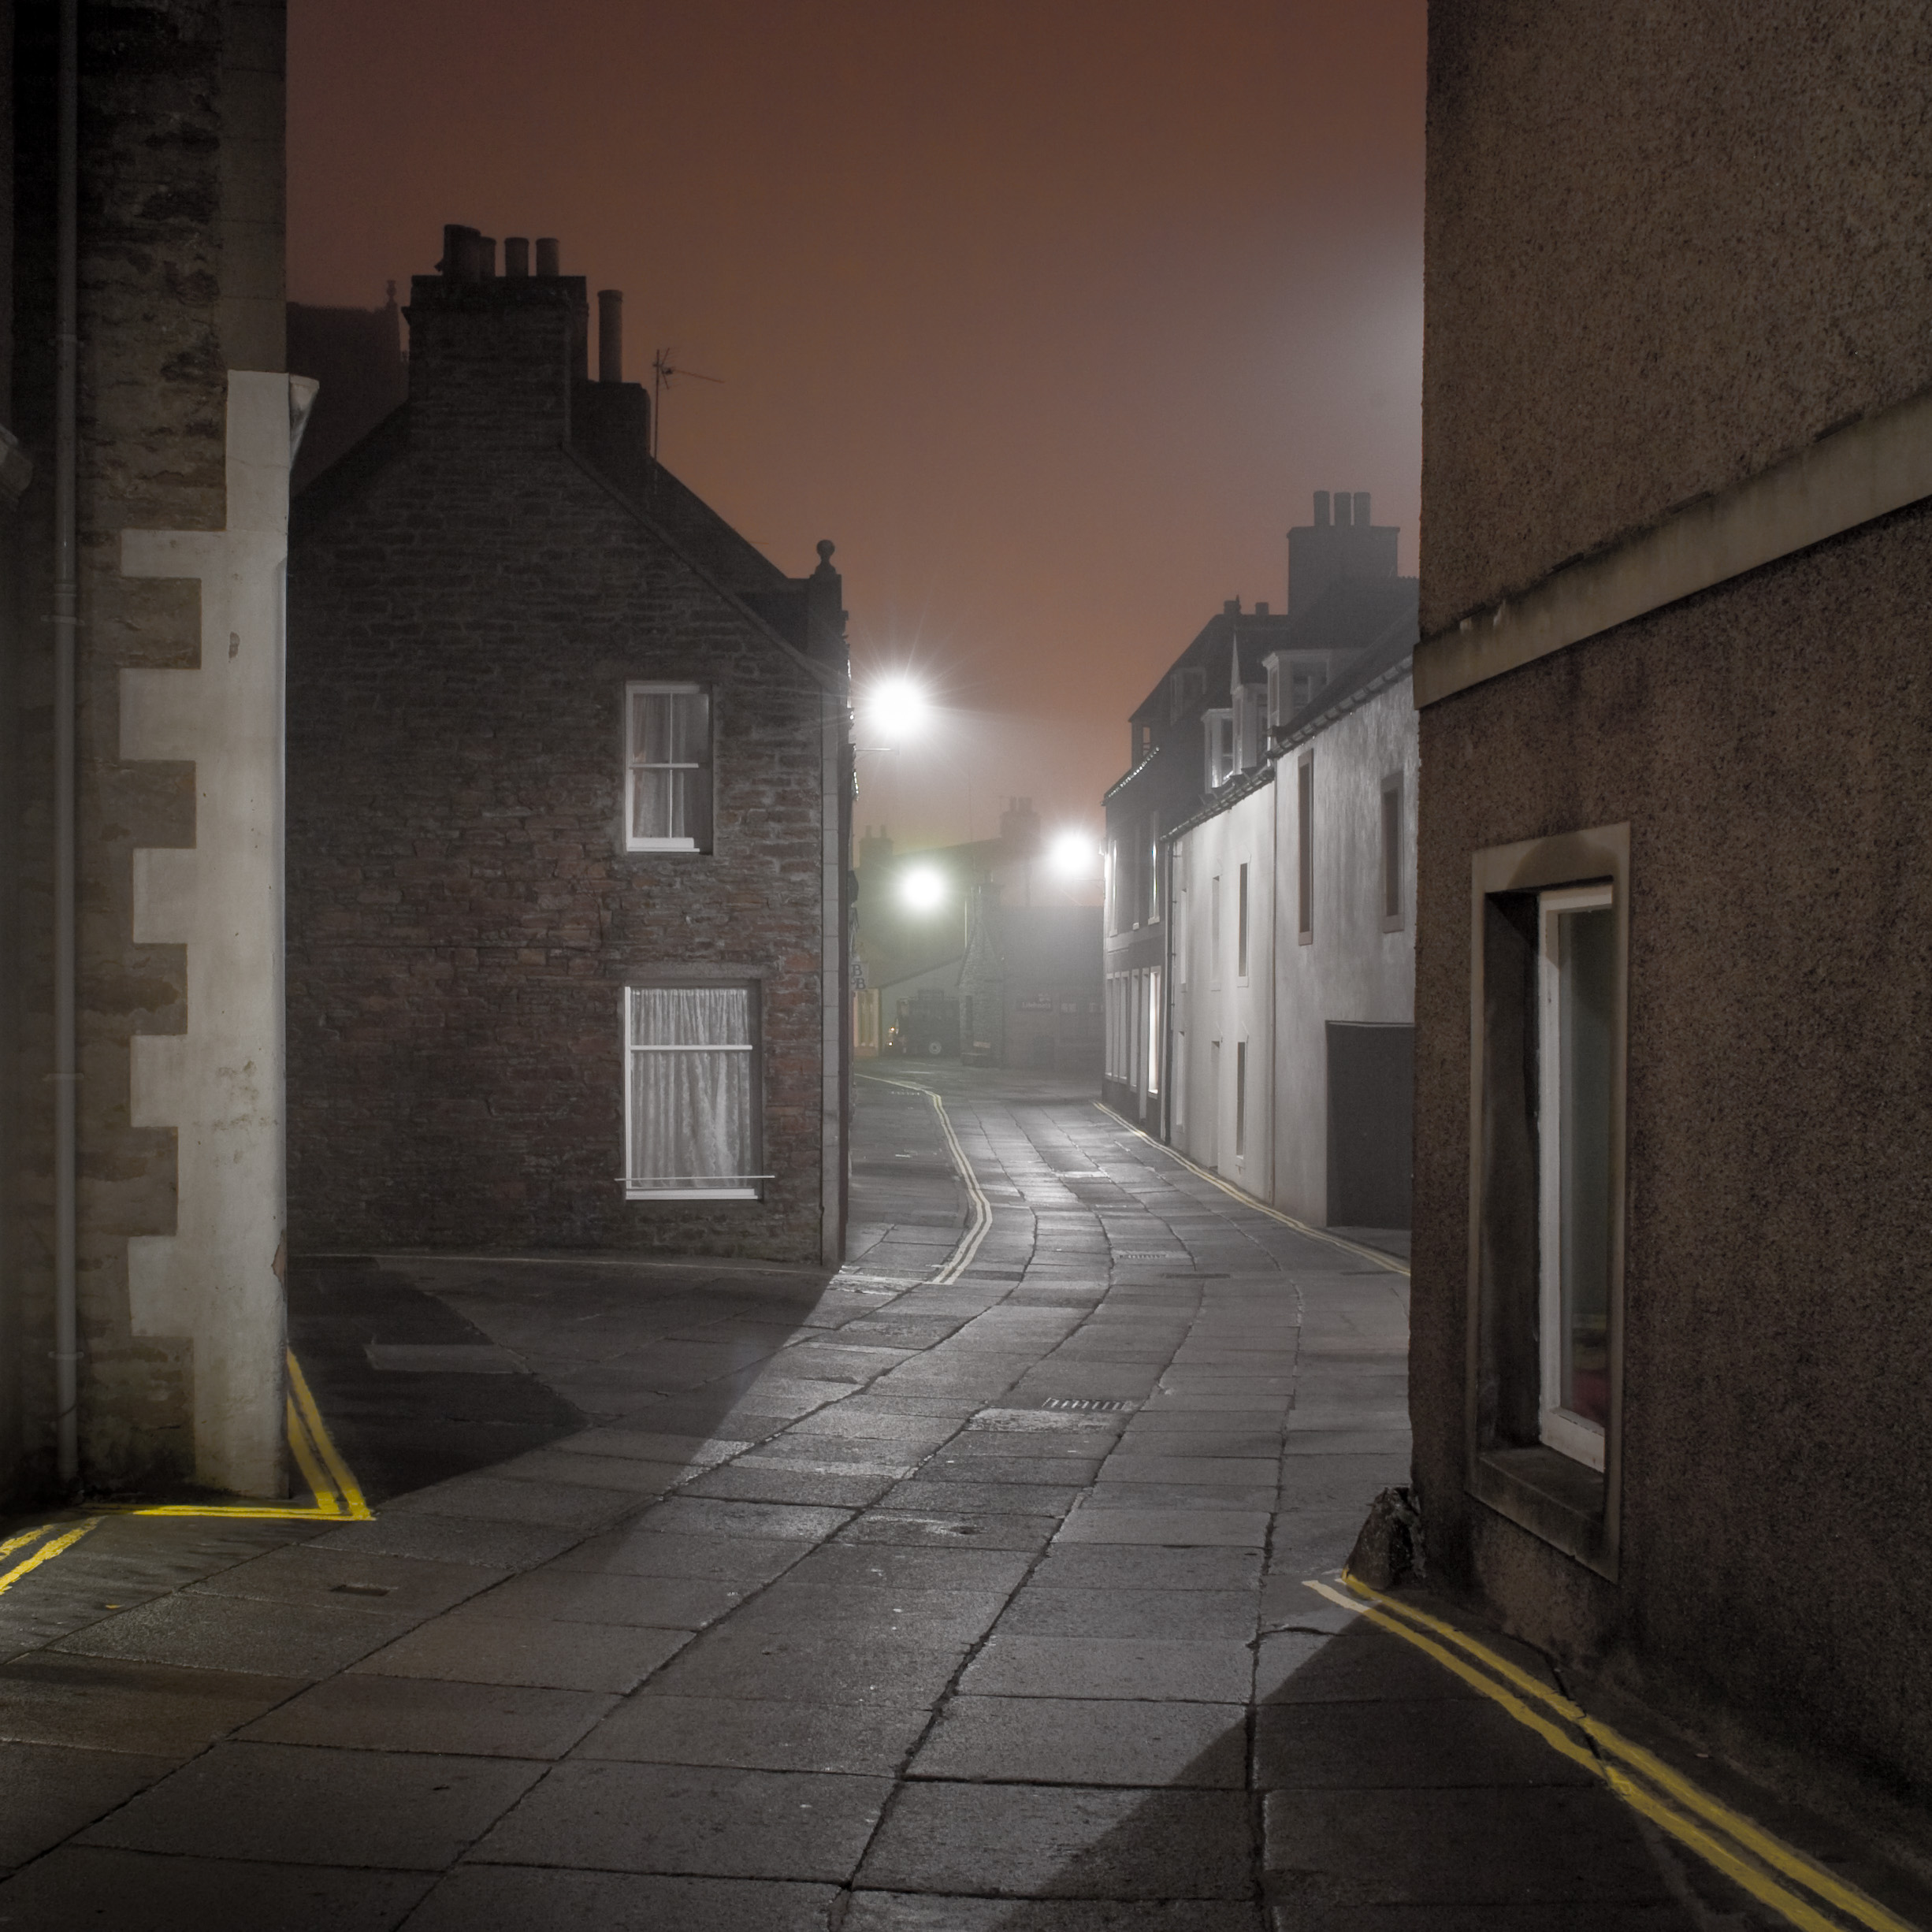
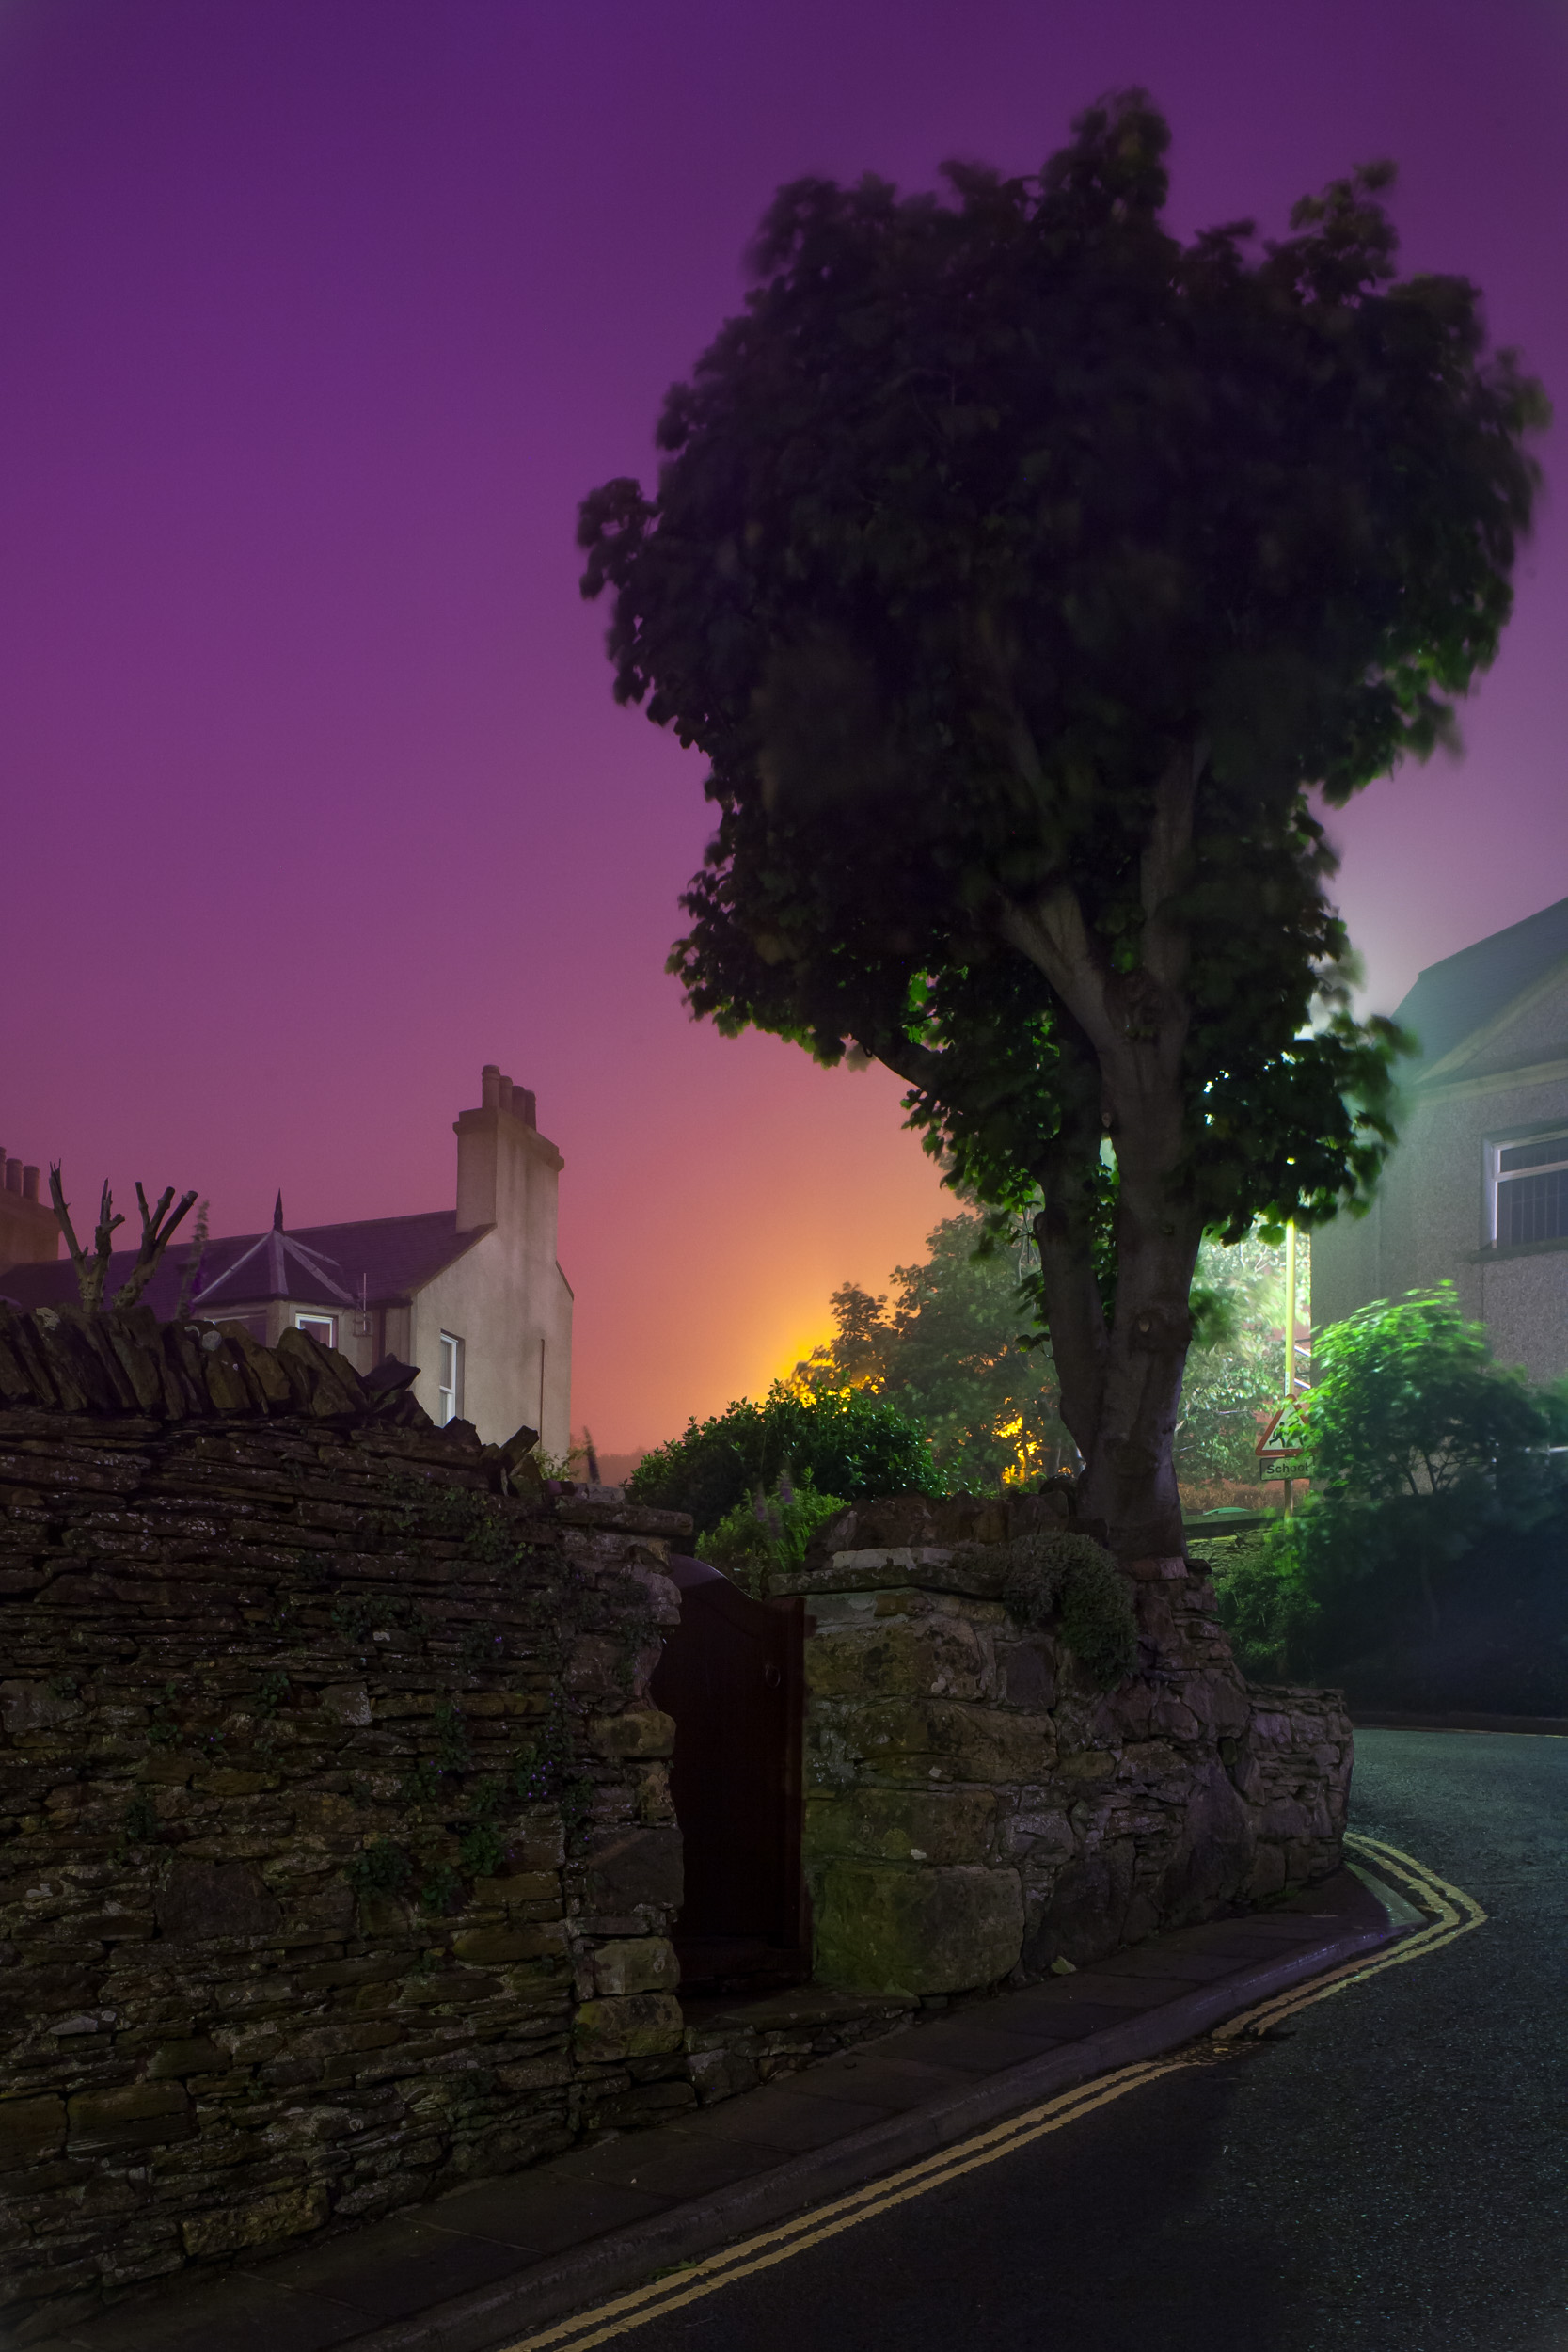
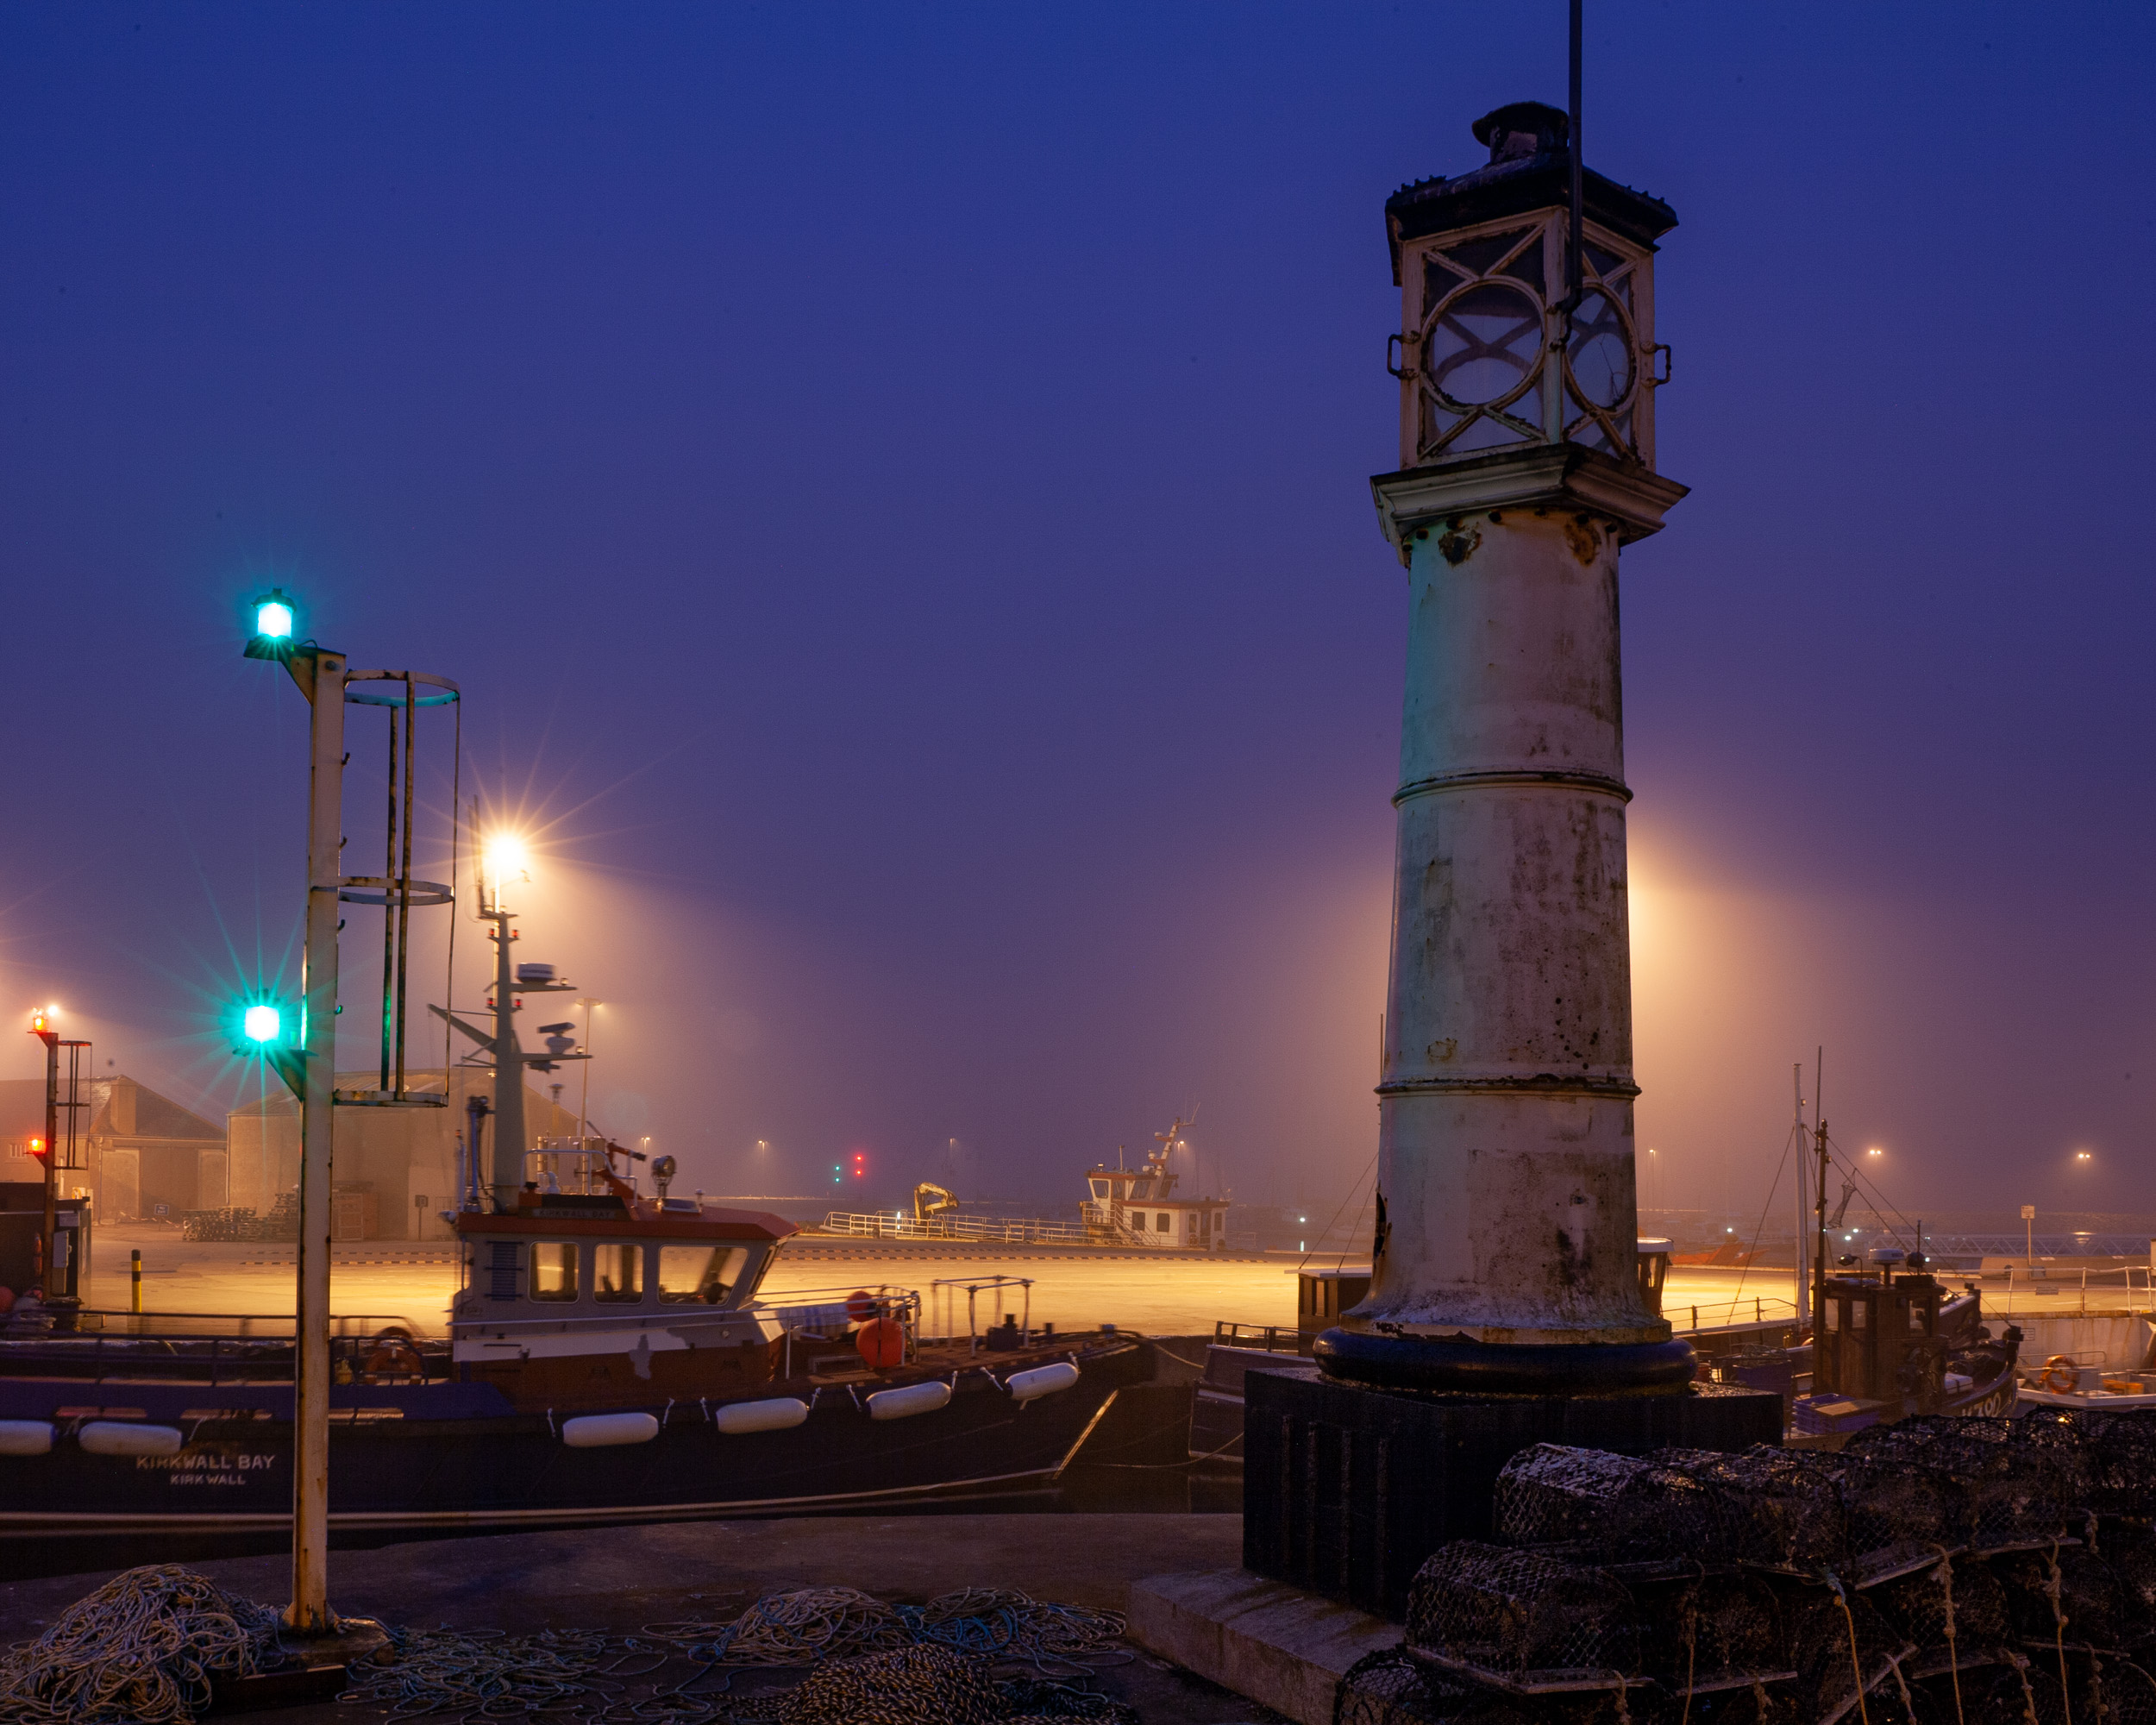
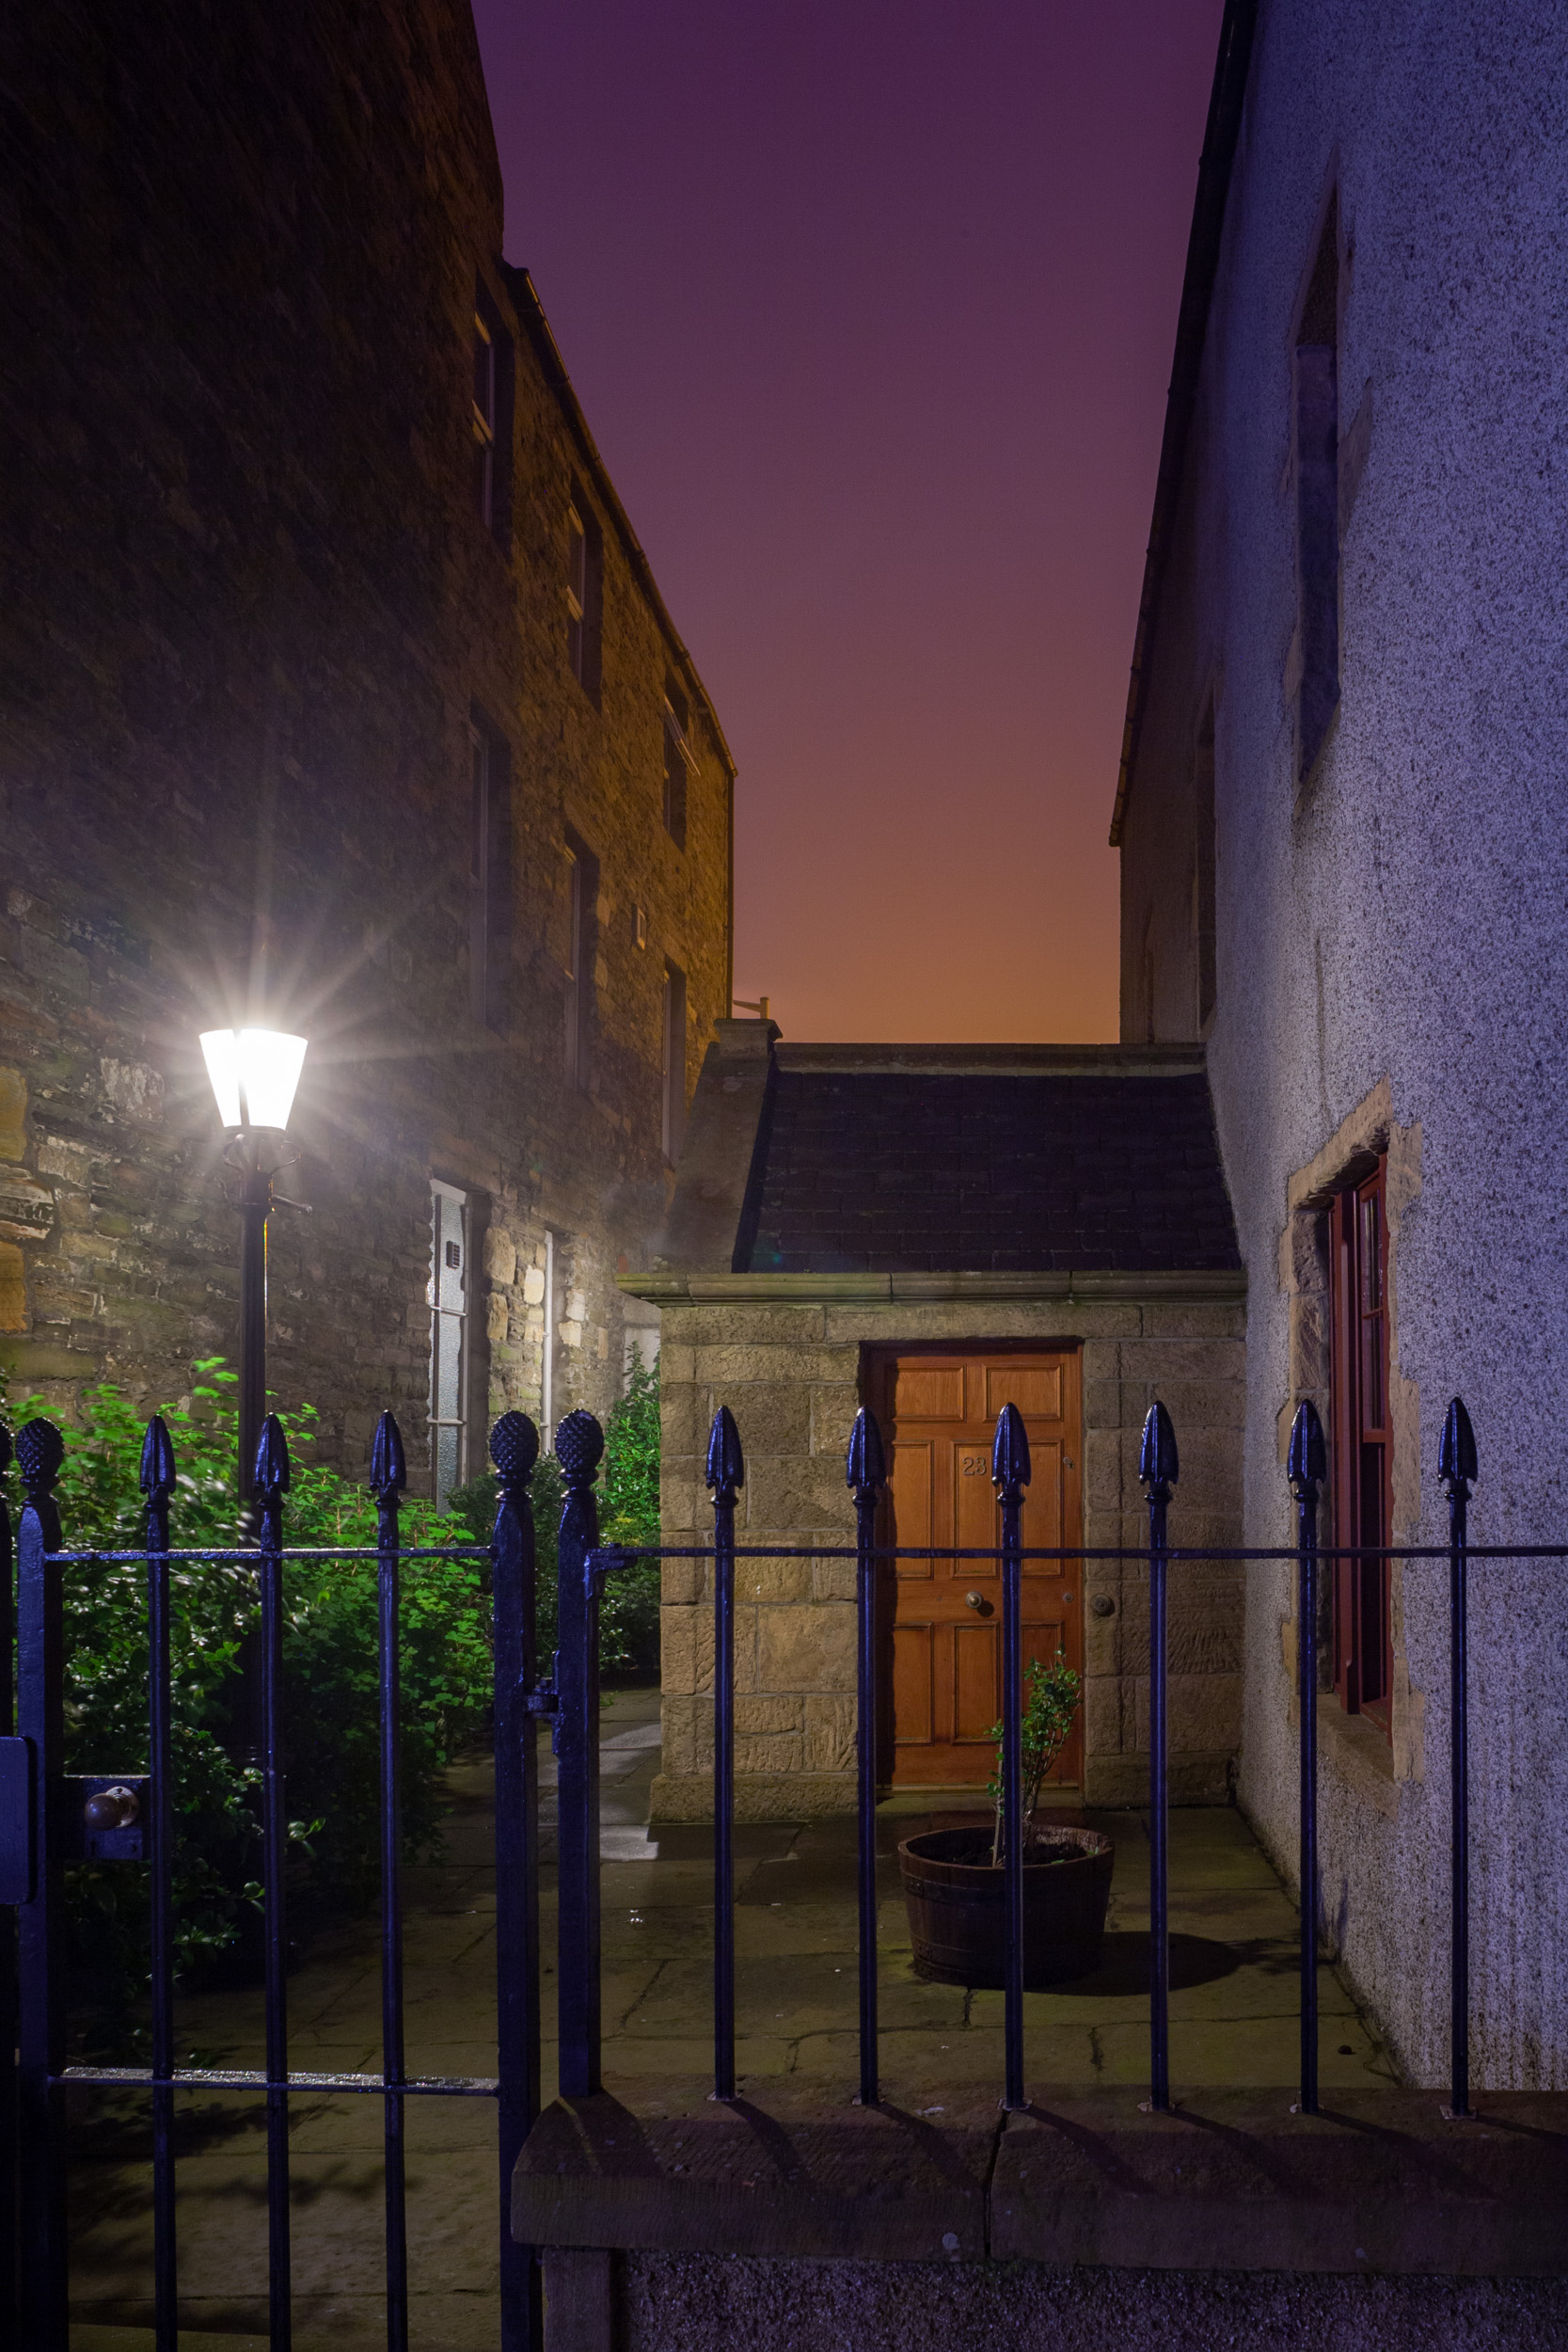
I’ve been fortunate to photograph during Simmer Dim on many occasions, but there was one night in particular in early July 2007 that I’ll never forget. I was leading a photo tour of Orkney, and the weather had been rather gloomy for days with a dense fog that just wouldn’t break. The fog was so thick that it had begun to dampen our spirits, but we decided to go into Stromness—Orkney’s second largest town—to see if we could find a picture for the making. It was amazing!

The fog held the glow and the colors of the streetlights low in the sky, and they were perfectly balanced with the natural luminance of the twilight. We photographed all night until the sky began to lighten further around 3 a.m. We suddenly found ourselves hoping that the fog would last or come back the following evening. It did, and we spent the next night in Kirkwall—the largest town on Orkney—photographing through the night and into the morning again.

Tips for Twilight Photography

Photographing in twilight can be a little different depending on whether your environment is natural or settled—or, more precisely, whether it contains artificial lighting. In nature, twilight often calls for the use of light painting or graduated neutral density filters, as the light level at the ground is usually several stops darker than the sky. In urban areas, especially small towns and villages, the streetlights and sky require similar exposures during twilight, which means you can usually keep your filters in the bag.

In nature, such as one of our Beautiful National Parks:

  • Use a 2- or 3-stop graduated neutral density filter to even out the exposure between the foreground and sky.

  • Or, make multiple exposures for foreground and sky and combine them in Photoshop.

  • The color of light changes quickly at dusk, so consider using auto white balance. Or, do what Tim and Matt do, which is to use Daylight white balance to render colors “as they are” even if they’re not “what we expect.” These are both valid approaches to the same problem, albeit with different results.

  • Use an incandescent flashlight or other warm color temperature light source to contrast with the cool blue of twilight.

  • Keep an eye out for vampires.

In an artificially lit environment:

  • Look for a balanced exposure between the ground-level illumination and the sky.

  • Manually set your white balance. Choose a setting that makes your foreground look the way you want it.

  • Utilize the blinking-highlights feature to help maintain important highlight details in your exposure.

  • Make multiple exposures of the same scene at different stages of twilight.

  • Keep an eye out for hipsters.

Finding Simmer Dim

In the Northern Hemisphere, we’re past the Simmer Dim for 2019. Our Southern Hemisphere friends can look forward to it at the end of the year, but aside from Antarctica and the southern tip of South America, there’s not a lot of land that sees the effect.

Either way, it’s never too early to plan a trip for Simmer Dim 2020, and regardless, twilight in general is great for low-light photography year-round. Twilight is often dark enough for light painting, and is a great time to get better color saturation into your images. So get out there early and give it a go!

A Simmer Dim Gallery

Below is a selection of ten images from Simmer Dim shoots I’ve done, including the all-nighters mentioned above. For notes on the gear used and the exposures, download the accompanying PDF.

If you’ve shot in the Simmer Dim, please share your stories and images in the Comments section below or on our Facebook page. (And if you haven’t, come join us in Orkney next May!)

Lance Keimig is a partner and workshop leader with National Parks at Night. He has been photographing at night for 30 years, and is the author of Night Photography and Light Painting: Finding Your Way in the Dark (Focal Press, 2015). Learn more about his images and workshops at www.thenightskye.com.

UPCOMING WORKSHOPS FROM NATIONAL PARKS AT NIGHT

How to Plan, Shoot and Edit a Milky Way Arch Panorama (Part II)

Note: This is the second in a two-part series about creating a Milky Way panorama. Part I covered planning and shooting. Below we go over how to put it all together in post.


In last week’s blog post, Matt demonstrated how to create the raw materials for a Milky Way panorama arch. I really enjoyed the post and was glad that he asked me to follow up with a tutorial on processing the frames he captured to stitch the final image.

Computer Software

To create a panorama from multiple images, you’ll need some type of software for your computer. When it comes to software, I like to keep it simple—until I can’t. For me, keeping it simple means working with software I already own and understand. In this case, that means working with Adobe Lightroom Classic and Photoshop. While there are other stitching programs out there, I have always been satisfied with the Adobe products. I already own them, so again, I keep it simple.

In general, both Lightroom and Photoshop are seriously robust and each have their own advantages and disadvantages. When it comes to processing panoramas, both programs work well. Lightroom is the more convenient of the two, and Photoshop offers more options and tends to create more realistic results when you have less-than-perfect captures.

What are less-than-perfect captures? In short, images that the software finds difficult to stitch together. This could be frames taken without a nodal rail or frames that don’t overlap enough, etc. In last week’s article, Matt showed how to create perfect captures that will be easy enough for either program to stitch.

Pre-Stitch Processing

Once you download your images, it’s time to start processing them. If you are planning to stitch (or “merge”) the images together using Lightroom, there’s very little processing that’s necessary beforehand. The reason is that the result of Lightroom’s Merge function is a panorama that is still a RAW file. This means you can do all your processing to the final pano after it’s created, rather than to each individual file before stiching.

Figure 1.

However, there is one exception to that, and that exception is Lens Correction. Why? Because correcting lens quirks will help the rest of the process go better, particularly in regard to vignetting. Removing vignettes will help the exposure look consistent across the whole panorama.

The Lens Correction panel (Figure 1) lives in the Develop module, and it’s the one place you must visit before merging your images into a panorama. Here you can see I’ve checked the Remove Chromatic Aberration box as well as the Enable Profile Corrections box.

Checking both of these boxes tells Lightroom to correct any aberrations associated with that particular lens. At this point Lightroom will typically recognize which lens you’re using and apply the correct profile corrections automatically. However, if you are using a very old lens, or if you’re using a lens brand that’s different than your camera brand, you may need to manually input the type of lens you used. In the example in Figure 1, I had to choose Zeiss from the Make drop-down menu for before Lightroom recognized the lens as the Zeiss Milvus 2.8/15 ZE.

Once you have set the Lens Correction panel on one image, it’s time to sync that change across all the images of that set. From the thumbnails at the bottom of the page, first click on the image with the Lens Corrections. Next, hold down the shift key and click on the last image in that set. This will highlight (select) all of the images in the series. Notice in Figure 2, the cell for the first image I clicked on (the one with the changes) is white, while the remainder of the selected cells are light gray. This means that all the images are selected, but the white image is the “active” image. When we sync, the active image is the one that shares all of its settings with the others.

(If the image with the Lens Corrections is not white, simply click on the correct image. All images will remain selected—you will have just changed the active image.)

Figure 2.

With all of the images selected, click the Sync button (circled in red in Figure 3). (If the Sync button is not available, that means you have only one image selected. Return to the Filmstrip at the bottom and reselect the images.)

Figure 3.

Now, click the Sync button to open the Synchronize Settings dialog (Figure 4).

Figure 4.

Click the Check All button and then finish by clicking the Synchronize button. This will close the box and copy all of the settings from the active image to the selected images.

Figure 5.

Merging Using Lightroom

With all of your images selected and synchronized, it’s time to merge them into a panorama. From the Lightroom menu, choose Photo > Photo Merge > Panorama (Figure 5).

The next thing you’ll see is the Panorama Merge Preview box (Figure 6). The choices here are quite minimal. Projection (Spherical, Cylindrical and Perspective) is what determines the overall shape and look of your image. Simply choose the one that best represents your original vision. Because Matt used a nodal rail when shooting, the difference between Spherical and Cylindrical is nearly impossible to discern. This may not always be the case. Again, just choose the setting that produces a result you like.

Figure 6.

With this image, when I choose Perspective, I get the error “Unable to merge the photos(Figure 7). If you get this error, simply choose another projection. It may or may not work. As I mentioned earlier, while Lightroom’s Merge to Panorama is convenient, it may not work in all circumstances.

Figure 7.

The remaining options are really just that—options. My preferred settings (which appear in Figure 6) are:

  • I keep the Boundary Warp at 0 and I check the Auto Crop box. This keeps Lightroom from stretching the image to fill in blank spaces around the edges, and instead crops out those stray spaces.

  • I keep the Auto Settings box unchecked. This keeps Lightroom from auto-tuning the basic adjustments in the final pano. I prefer to make my own adjustments.

  • I check Create Stack so that the panorama file is stacked with all of its source images in the Library module. This just helps keep things organized.

Click the Merge button at the bottom right of the Panorama Merge Preview dialog to create your panorama. Lightroom will begin merging your images, and you can track its progress in the taskbar in the upper left portion of your screen (Figure 8).

Figure 8.

Once finished, your image will appear back in Lightroom (as a RAW file), all ready for you to apply your favorite Milky Way edits!

Comparing Lenses

As you may remember from last week, Matt shot the raw materials with three lenses—the Zeiss 15mm Distagon f/2.8, Viltrox 20mm f/1.8 and Sigma 35mm f/1.4 Art. Here are those three panos created with Projection set to Spherical.

Figure 9. Nikon Z 6 with a Sigma 35mm f/1.4 Art lens. Multiple stitched frames shot at 8 seconds, f/2.8, ISO 6400.

Figure 10. Nikon Z 6 with a Viltrox 20mm f/1.8 lens. Multiple stitched frames shot at 14 seconds, f/2.8, ISO 6400.

Figure 11. Nikon Z 6 with a Zeiss 15mm Distagon f/2.8 lens. Multiple stitched frames shot at 16 seconds, f/2.8, ISO 6400.

The first thing you might notice is that the panos shot with longer lenses are darker, with fewer stars appearing in the sky. That’s because Matt needed shorter exposure times for the longer lenses, in order keep the stars sharp.

The next thing you’ll notice is that the images from the widest-angle lens—the 15mm (Figure 11)—do not merge well. The sky on the left side of the image appears uneven. Lightroom may sometimes have problems merging panoramas made with superwide-angle lenses.

Merging Using Photoshop

When using a very wide lens, or if you didn’t use a nodal rail—or if Lightroom is having trouble with the pano for any reason, discernible or not—you may have to take your images into Photoshop to do the stitch. The steps are very similar to merging in Lightroom. In fact, the first three steps are exactly the same:

  1. Select first image in the series and go to the Develop module.

  2. Go to the Lens Corrections panel and check Remove Chromatic Aberration and Enable Profile Corrections.

  3. From the thumbnails at the bottom of the page, click on the image with the Lens Corrections (this should already be selected if you were just working on it), hold the shift key and click on the last image in the pano series. With all of the images selected, click the Sync button.

Now we start to detour from the Lightroom pano workflow. Before exporting to Photoshop, you can edit your images before merging. Stick with the big overall changes in the Basic panel, such as White Balance, Color Profile and the fundamental tonal adjustments. Remember you’ll be syncing these changes across all of your images in the set, so don’t make a change that might adversely affect one of the other images.

Once that first frame is suitably adjusted, sync the settings across the whole set in the same way as described above. Then look at each image to ensure that the settings work well with each frame. If they don’t, return to the settings and adjust as needed. Then synchronize them again.

Once all the frames in the set look right, select the whole series by clicking the first and shift-clicking the last. Then, from Lightroom’s menu, choose Photo > Edit In > Merge to Panorama in Photoshop (Figure 12).

Figure 12.

Next you’ll see the Photomerge dialog in Photoshop. Choose Auto from the Layout panel on the left and check Blend Images Together (Figure 13). You don’t need to check Vignette Removal or Geometric Distortion Correction, because you already fixed those issues in Lightroom; you don’t need to check Content Aware Fill Transparent Areas because we’ll tackle that manually later.

Figure 13.

Click OK. Photoshop will now start to create the panorama. This could take a minute or so. For our example, Figure 14 shows the final image that Photoshop creates.

Figure 14.

Next, from the Photoshop menu, choose Layer > Flatten Image.

For the simplest way to wrap up, choose File > Save and then File > Close and your image will return to Lightroom ready for your magic touch in the Develop module. However, if you are even somewhat Photoshop literate, there are some advantages to keeping the file open and continuing to work on it before sending it back to Lightroom. Read on. …

More Photoshop Edits

One of Photoshop’s more powerful features is Content Aware Fill, which is perfect for filling in gaps at pano edges that you would otherwise need to chop off with the Crop tool. In this example I wanted to keep a bit of sky over the Milky Way arch, so I left the blank corners, as seen in Figure 15. Content Aware Fill will help us quickly and intelligently fill in those blanks.

Figure 15.

After I crop the image (as seen above), I choose Layer > Duplicate Layer from the Photoshop menu. This keeps all of my edits on a separate layer and protects my original pano as a background layer.

Next I select the Lasso tool and draw a circle around the area that I want to fill (Figure 16). I don’t want to include too much excess area, but I also don’t want to cut it too close.

Figure 16.

After making the selection, I select Edit > Content Aware Fill, which is where a lot of magic can happen. In the Content Aware Fill dialog, everything masked with green is where Photoshop will look to sample data to fill in the blank area (Figure 17).

Figure 17.

By default, the Subtract paint brush is selected. Simply paint away any areas of green that you feel don’t need to be included in the sample; likewise, you can add to the sample by holding Alt (Windows) or Option (Mac) and painting to add green. Figure 18 shows how I painted away areas not similar to the area I want to fill. For example, I don’t want Photoshop to sample a starry sky when trying to fill foreground rocks. The Preview box on the right foretells the final effect.

Figure 18.

When finished, click OK, which will apply the fill and close the dialog. Figure 19 shows the result. Photoshop has literally made up information (based on the green-masked sample) and filled the blank area.

To continue filling in the corners, I return to the pano copy layer by clicking on it (Figure 19). Again I make a selection and proceed as above until all of the corners are filled. (Remember to return to the Layer 0 Copy layer between edits.)

Figure 19.

Once you are finished, you can flatten the image (Layer > Flatten Image), choose File > Save and then File > Close, and your panorama will return to Lightroom ready for final edits.

In Summary

Both Lightroom and Photoshop can create seamless panoramas of the night sky. Lightroom excels at being simple and convenient when using source images that are easy to merge. Photoshop can be used when images are less than perfect. This includes images made from superwide-angle lenses or frames that don’t overlap as much.

Regardless of which tools you use, making the time investment to learn how to create Milky Way panoramas will open up a whole new area for creativity in night photography.

Whether you’ve been making Milky Way panos for years or will start after reading this post, we’d love to see your images! Please share in the Comments section below or on our Facebook page.

Tim Cooper is a partner and workshop leader with National Parks at Night. Learn more techniques from his book The Magic of Light Painting, available from Peachpit.

UPCOMING WORKSHOPS FROM NATIONAL PARKS AT NIGHT

How to Plan, Shoot and Edit a Milky Way Arch Panorama (Part I)

Note: This is the first in a two-part series about creating a Milky Way panorama. Part I, below, covers planning and shooting. Come back next weekend for Part II, in which Tim Cooper goes over how to put it all together in post.


We’re a little more than half way through “Milky Way Season”—the time of year when it’s easiest to see and photograph our galaxy. And there’s plenty of time left to shoot Milky Way panoramas—the technique that results in the iconic image of the galaxy arching from horizon to horizon (which I like to call “starbows”).

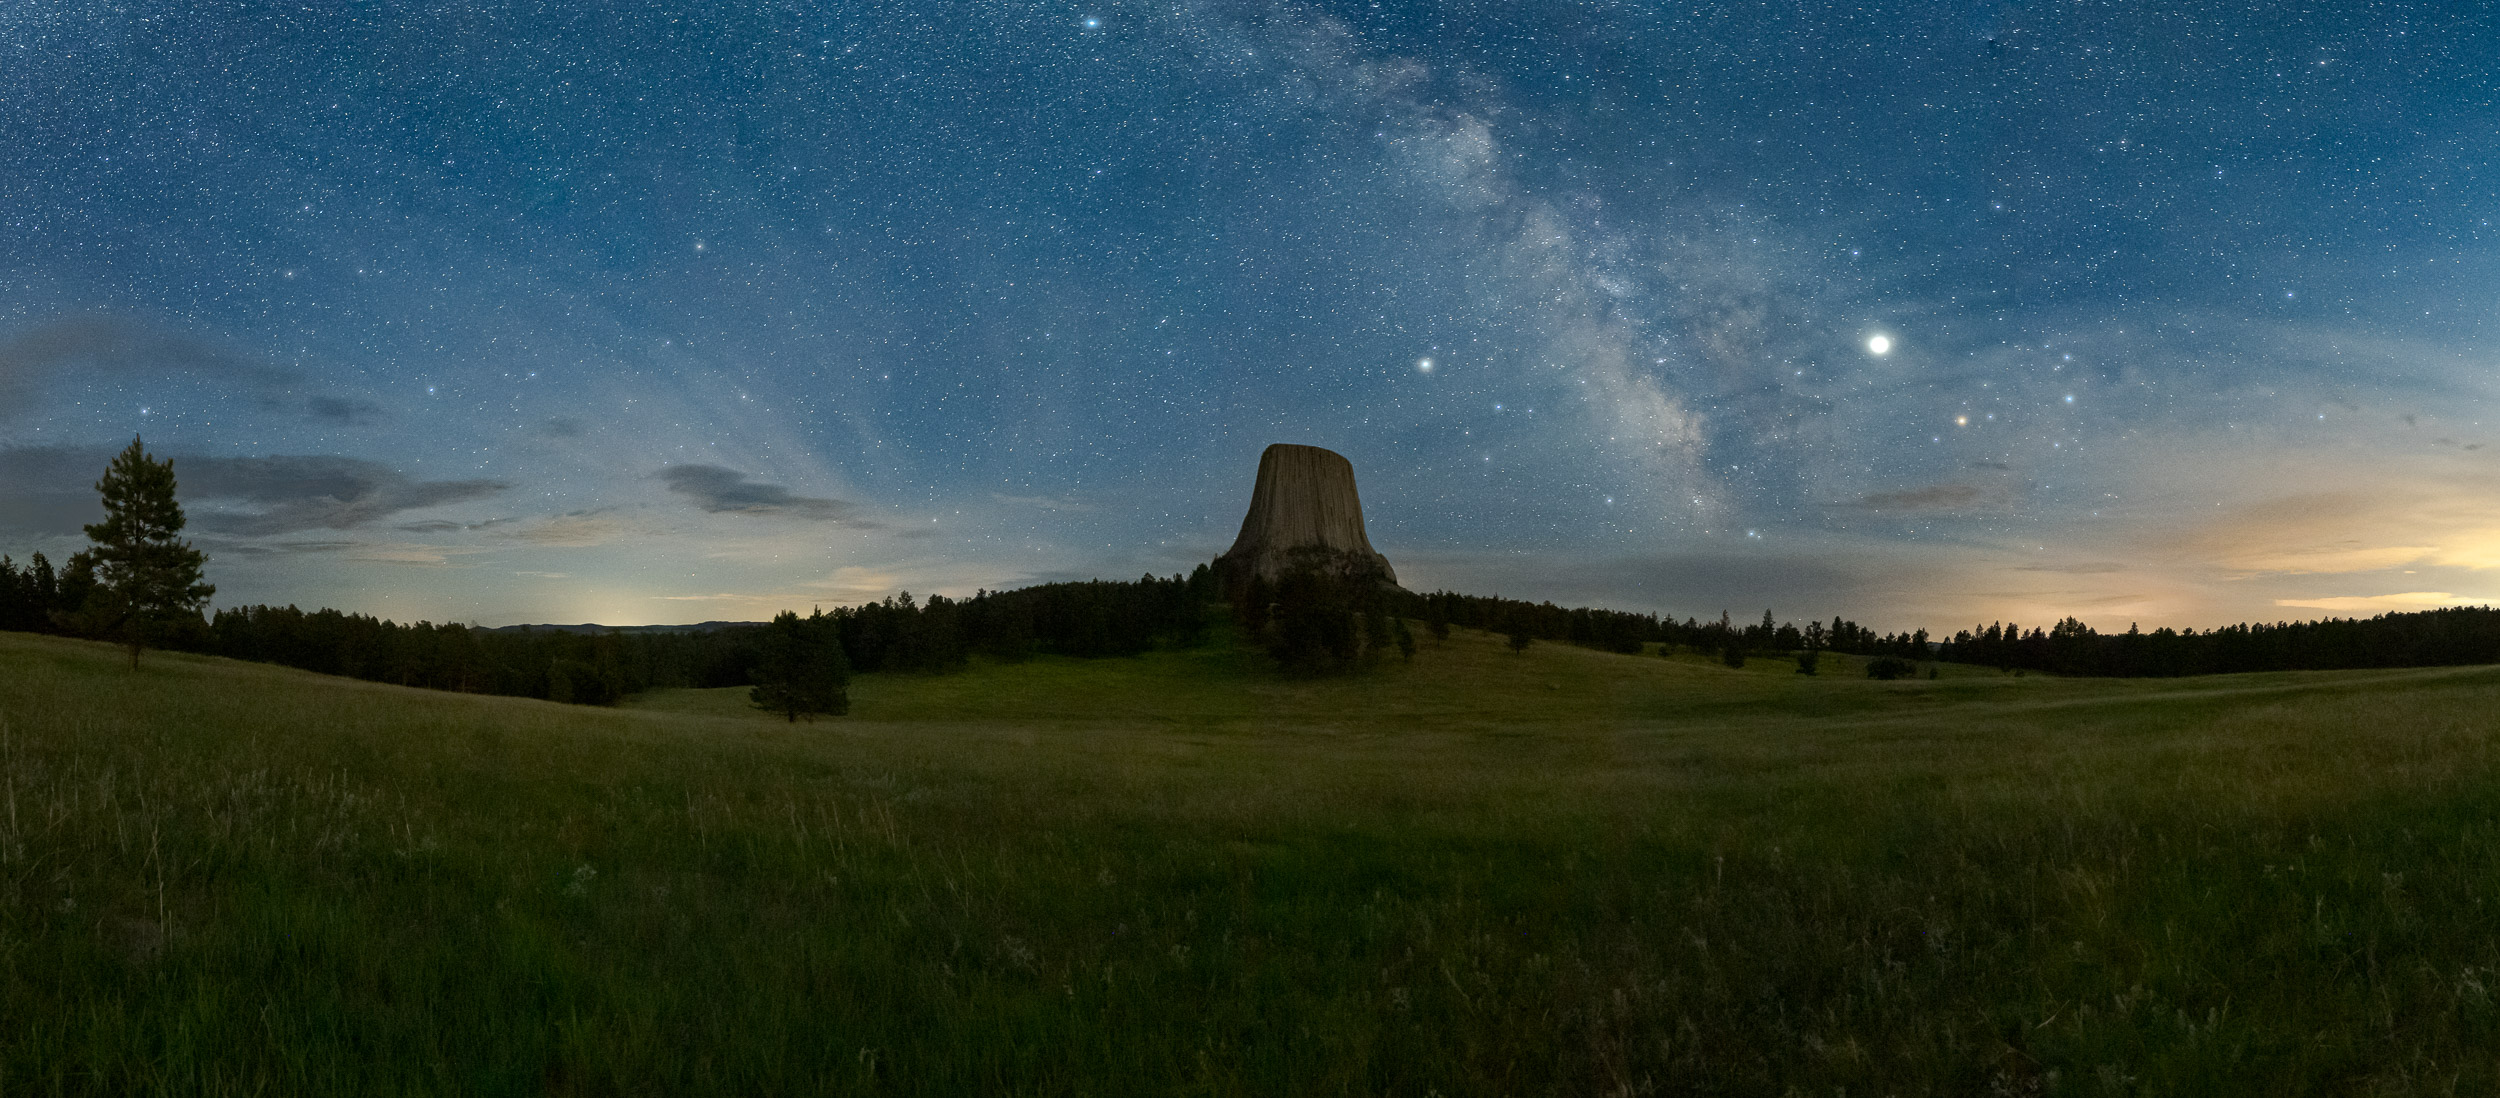
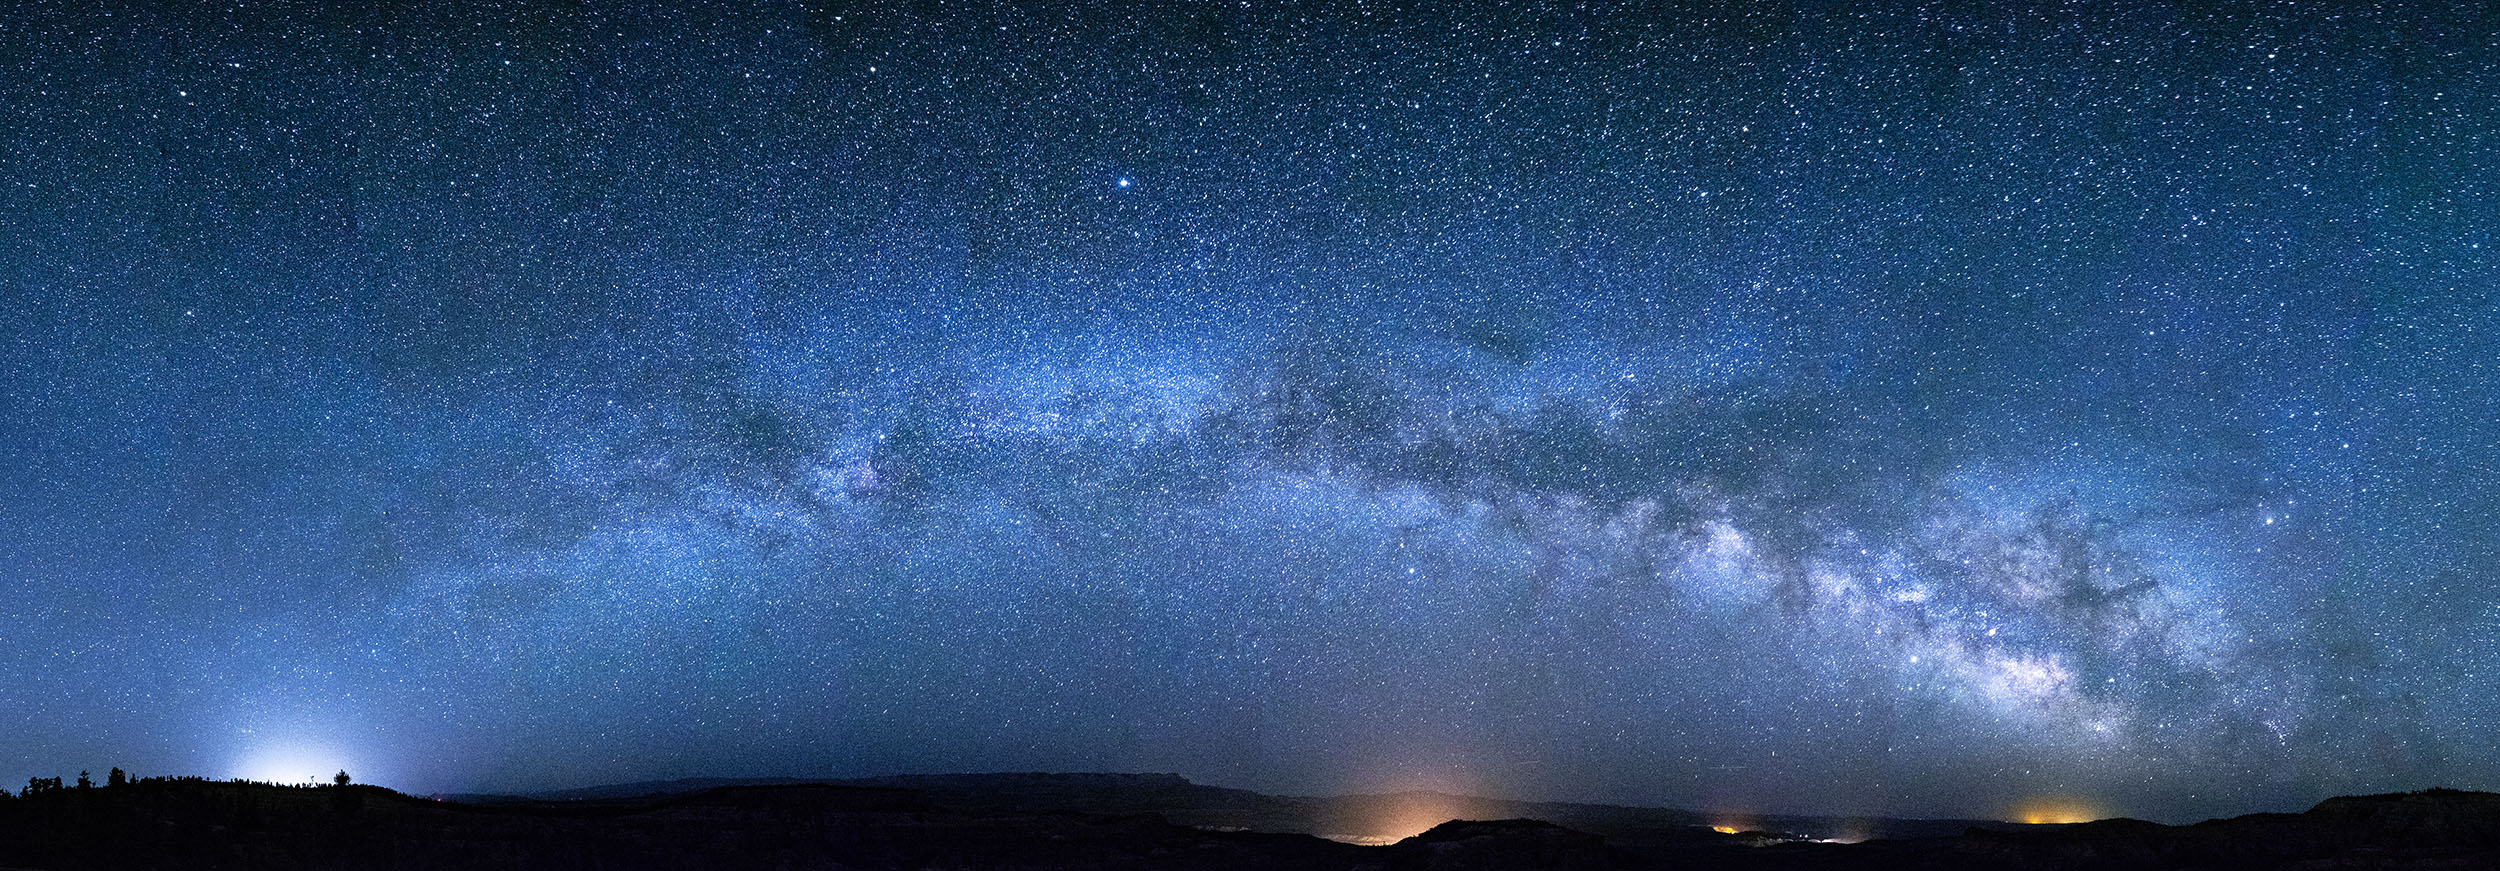
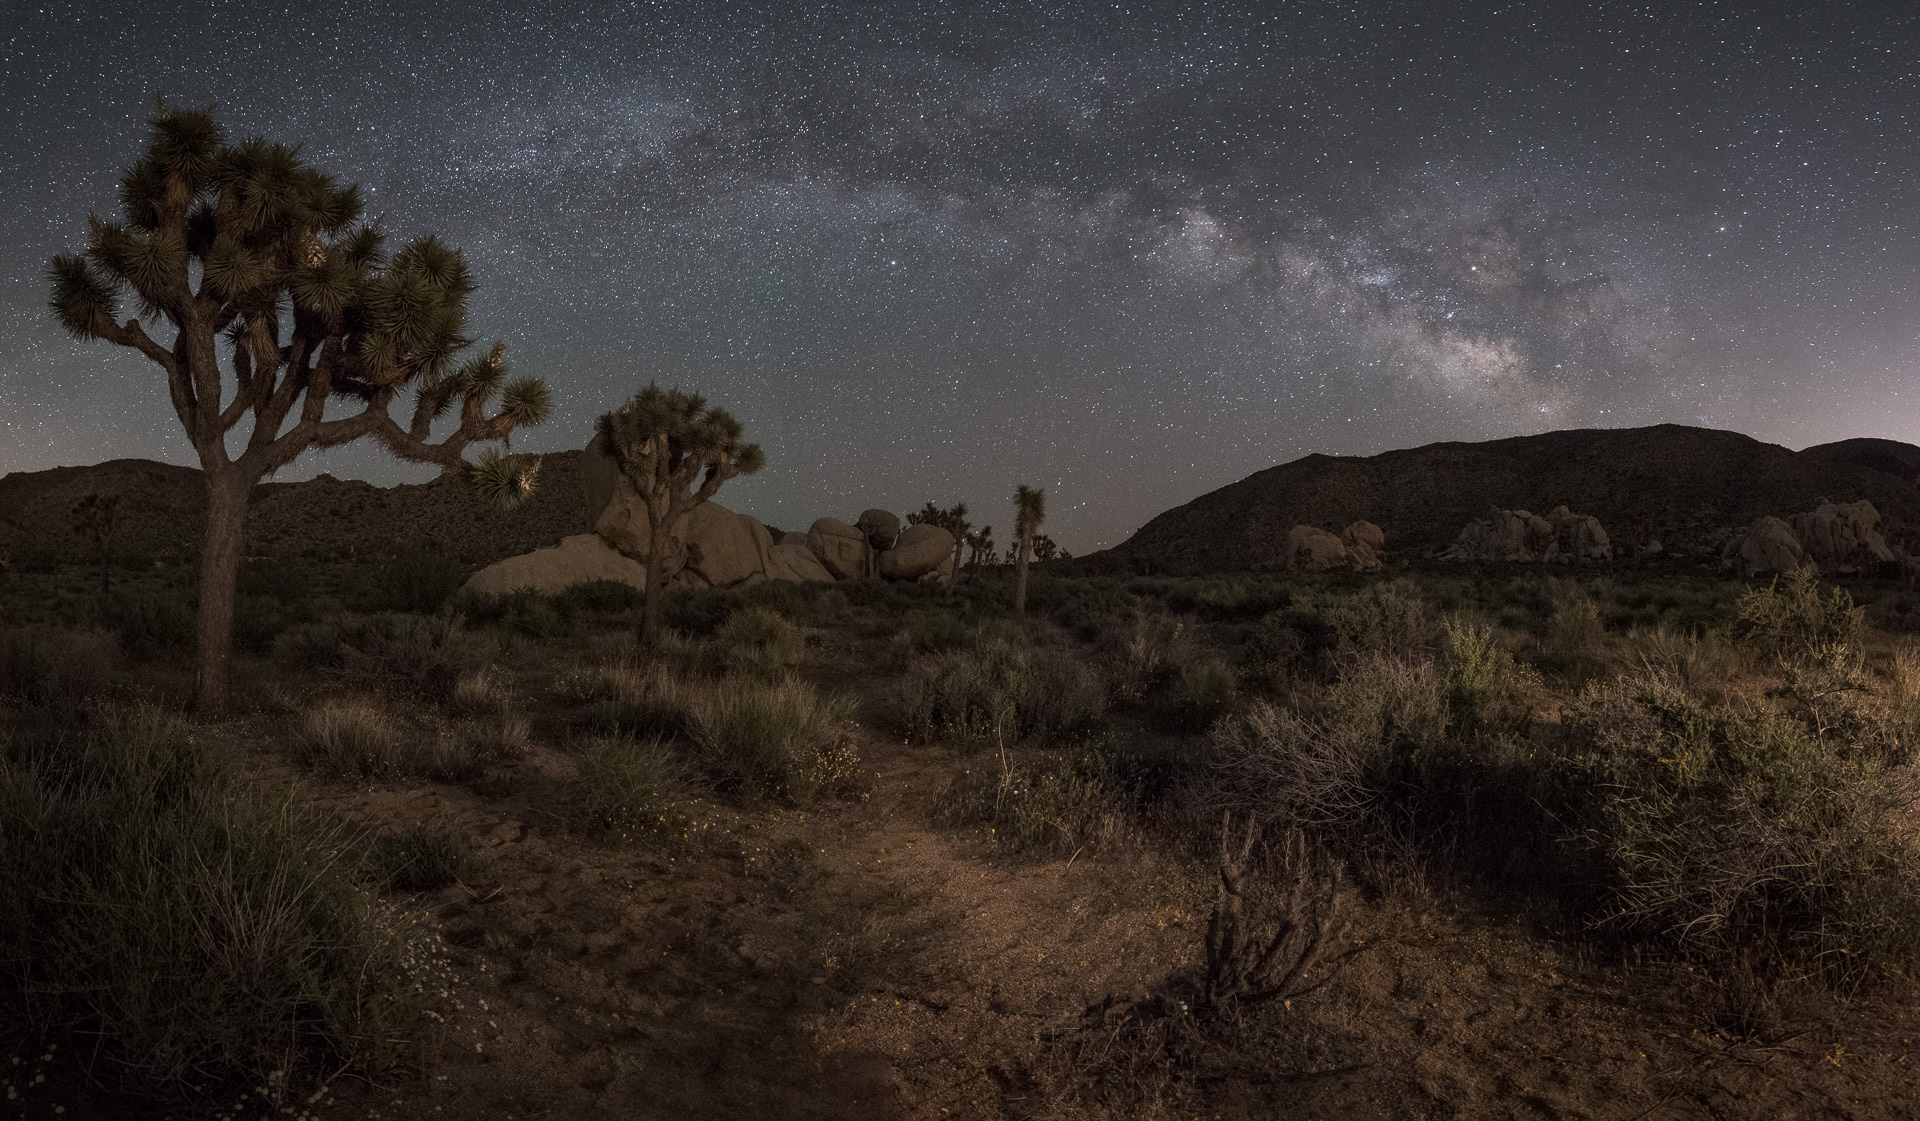
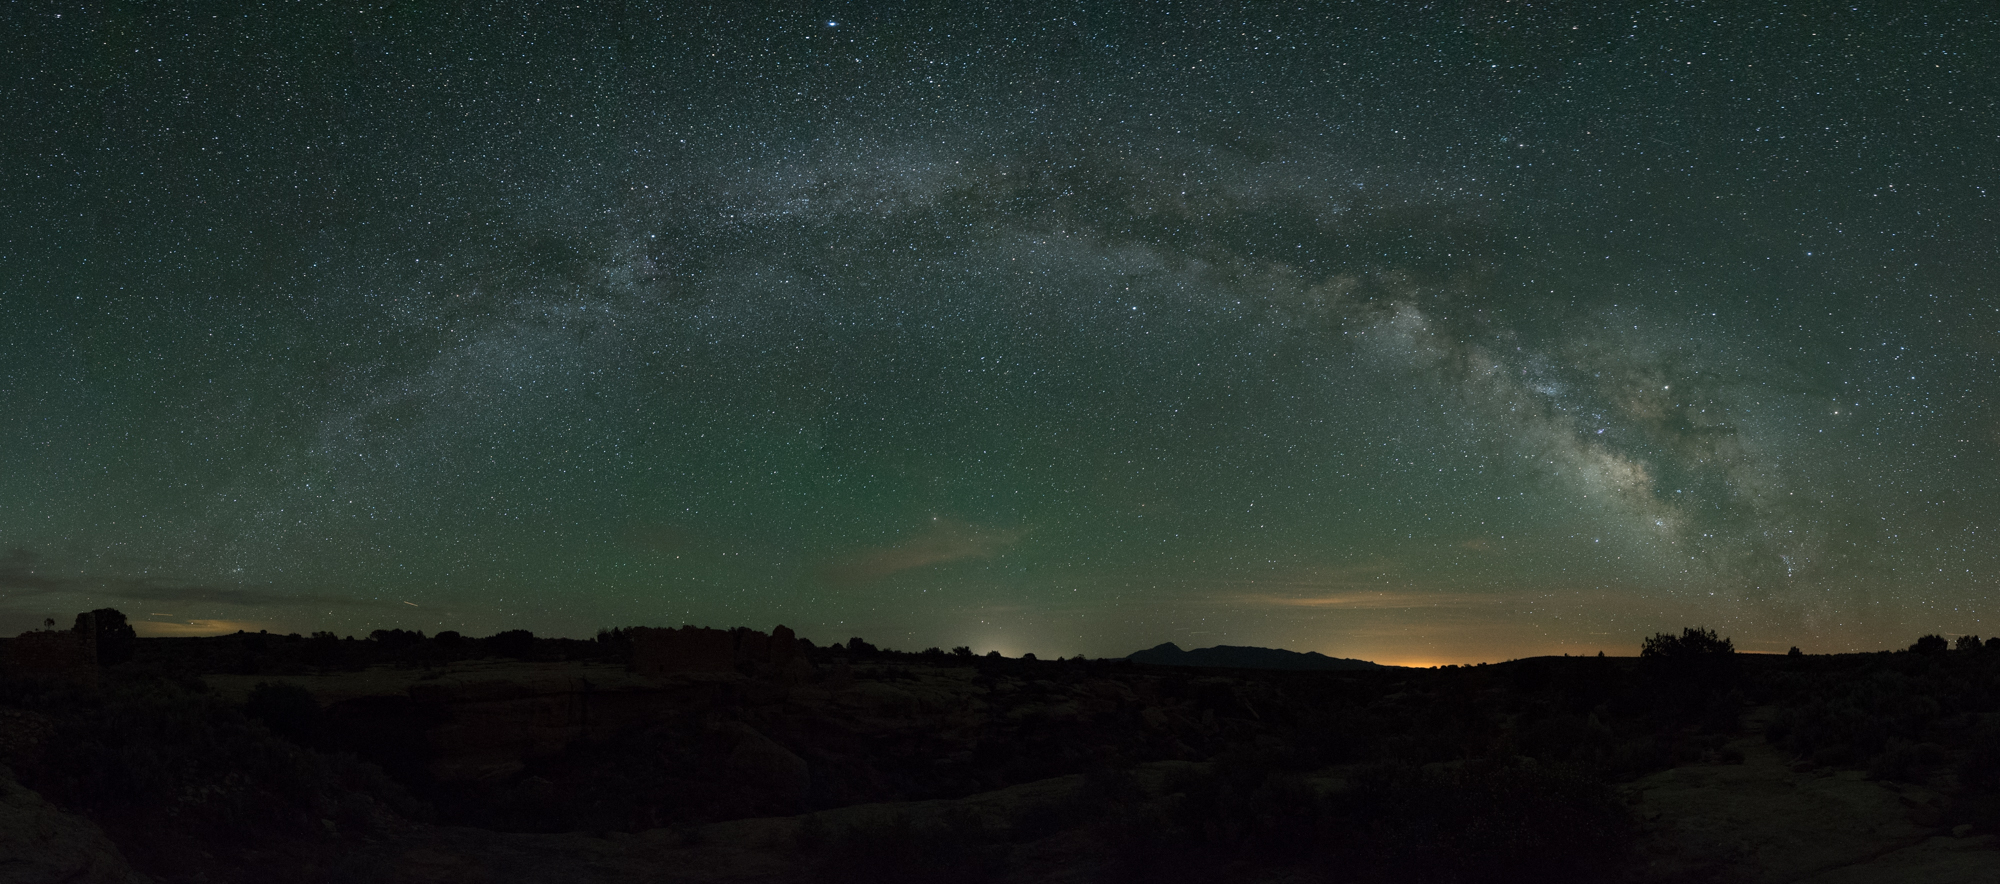
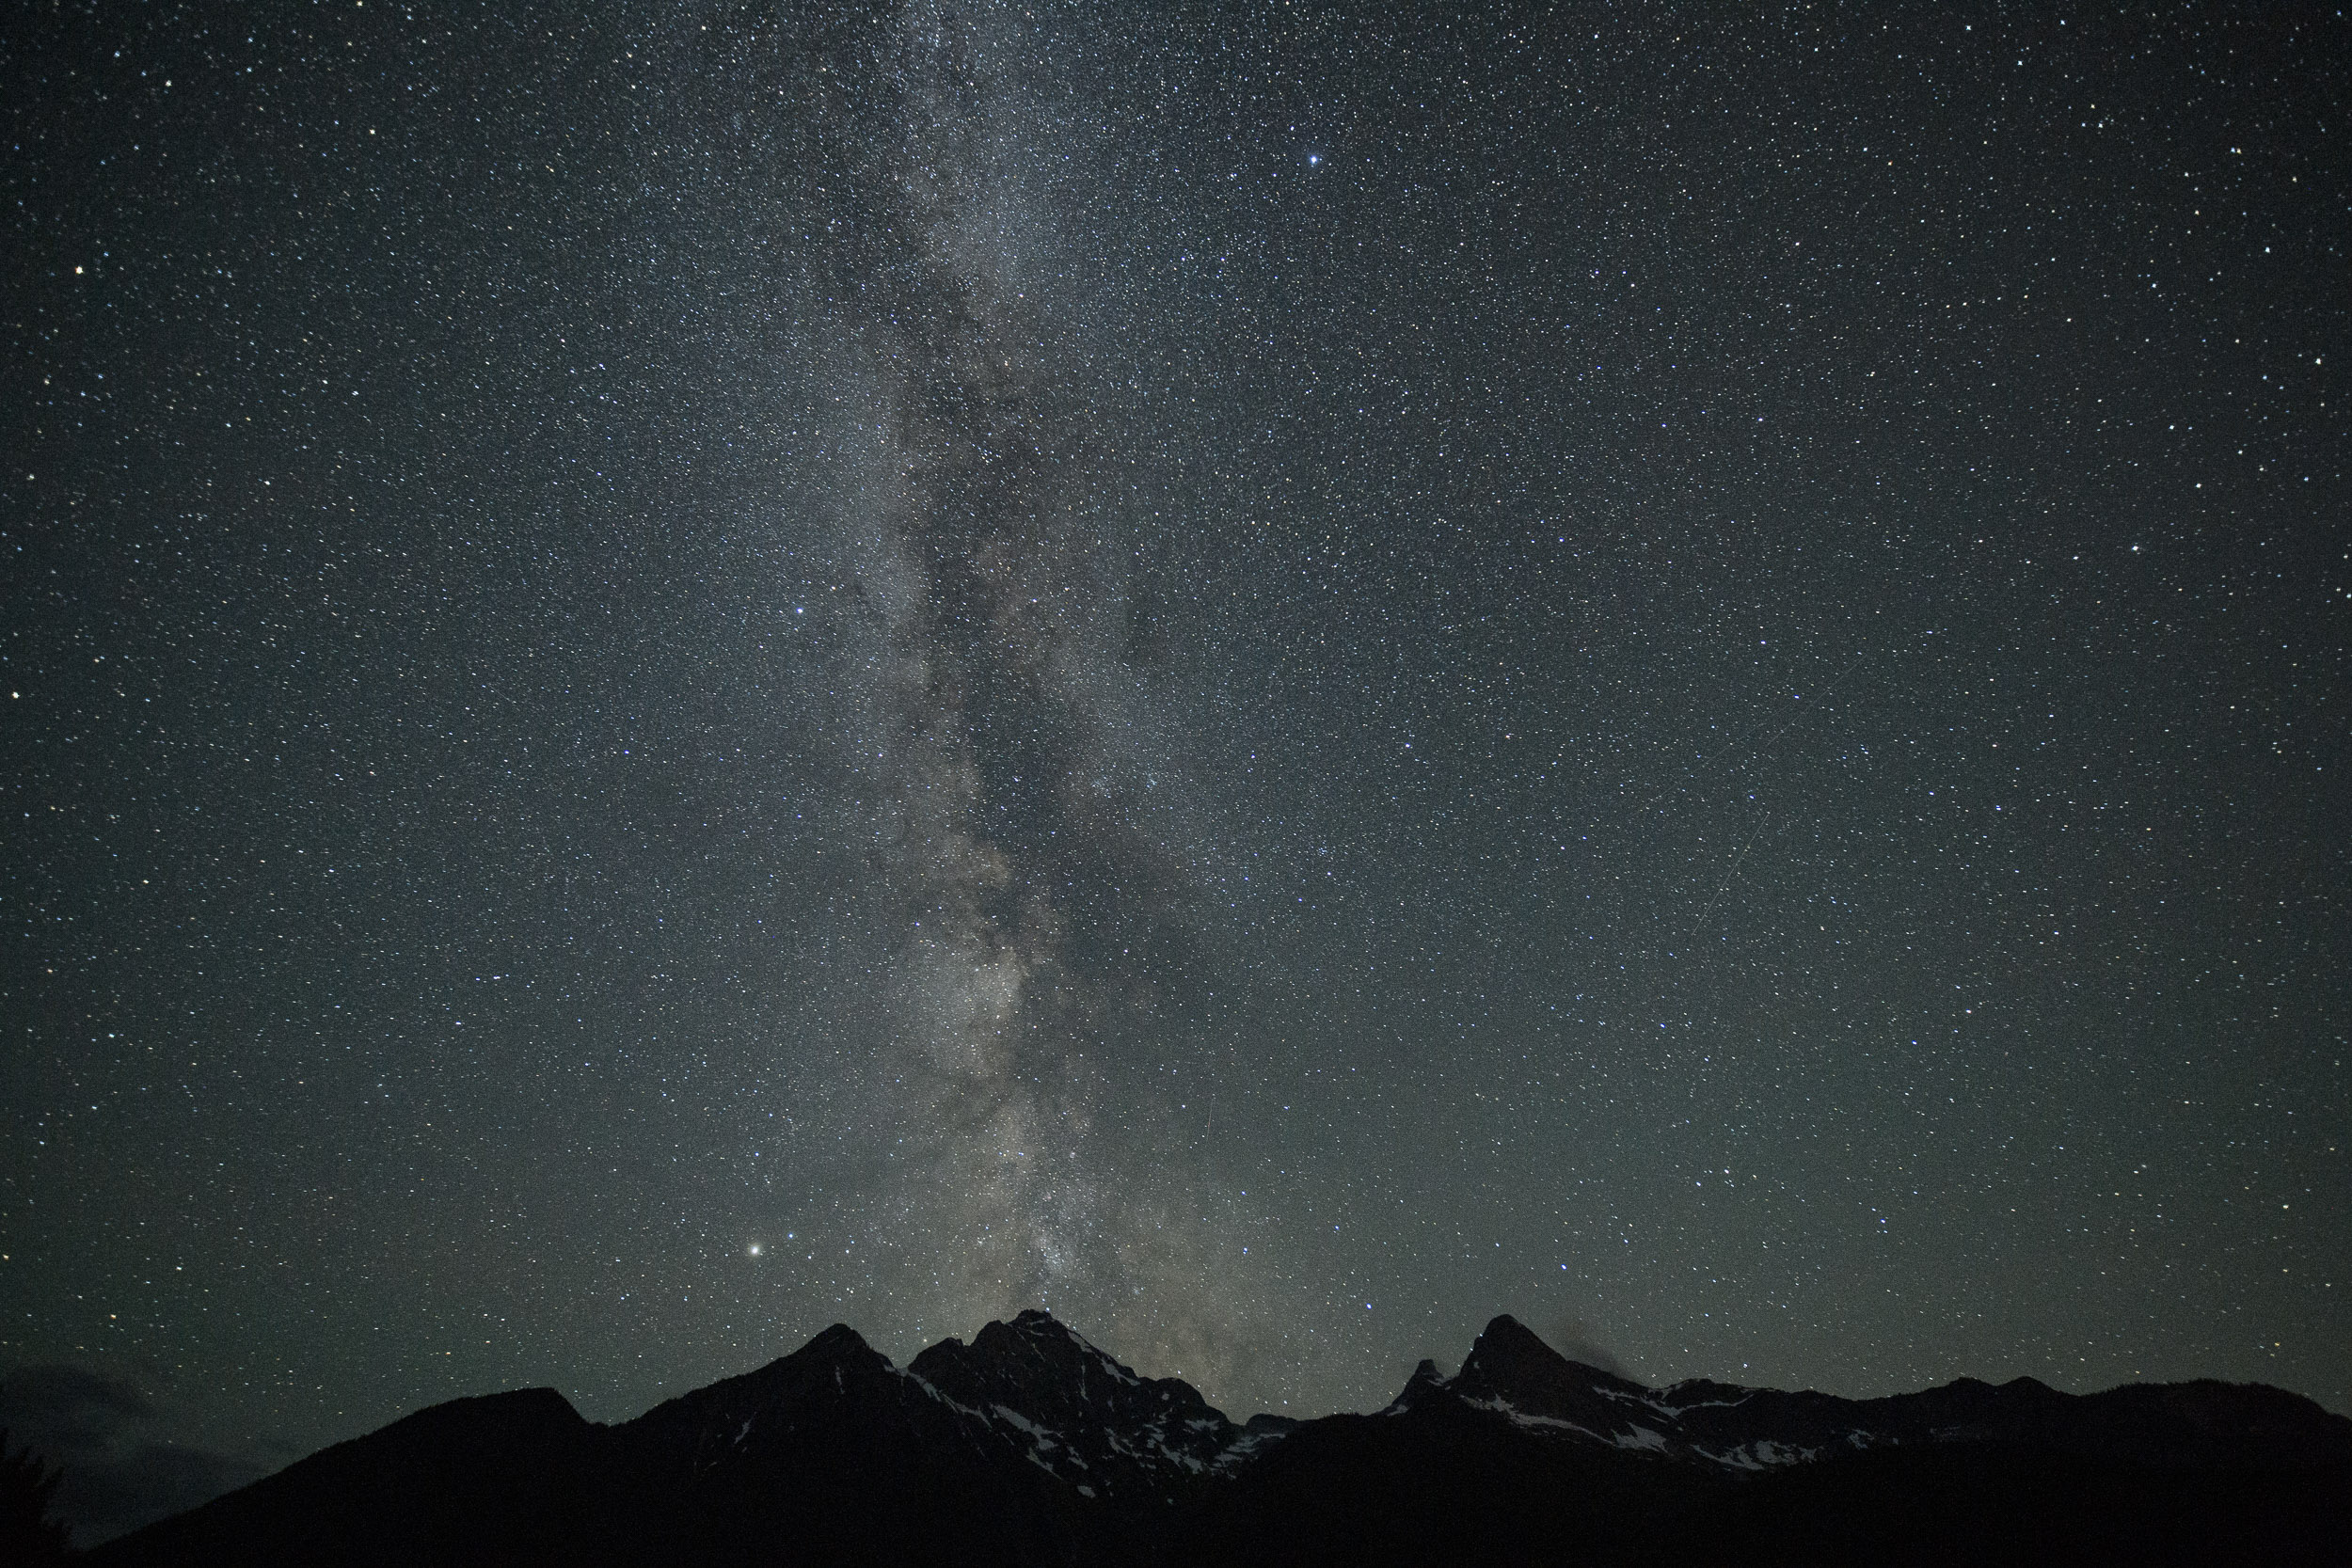
Here are a few examples from myself and my National Parks at Night partners:

This technique requires shooting multiple photographs, which means you’re creating a composition that will require stitching during post-processing.

Let’s walk through all the steps it takes to make a Milky Way panorama happen—from planning to scouting to gear to shooting—so that you can go forth and make your own!

When is the best time of year?

You can capture the Milky Way any time of year, but capturing the galactic core—the brightest and most notable portion—happens only at certain times of the year. The galactic core is what most people want to see and shoot. Similarly, you can see the arch of the Milky Way any time of year—it’s just without the core during certain months.

Furthermore, capturing an arch that spans from horizon to horizon, that includes the galactic core and that happens during nighttime—this all comes together during a limited window of the calendar. And this varies a bit depending on where you live.

Northern World

In the northern hemisphere, the galactic core can be photographed from the end of March to the beginning of October. Common wisdom is that “prime” viewing dates are late April to late July, because that’s when the galactic center is visible for longer during the night. But every season has disadvantages to be aware of:

  • In early spring the core rises very late—or early, depending on how you look at it—either way, well after midnight. Most people don’t want to stay up that late or get up that early.

  • In midsummer the core is technically above the horizon longer, but there are fewer hours of darkness to shoot in. Late sunsets = less night.

  • As of August the core is too high above the horizon to create panoramas with the longer range of wide angle lenses (e.g., 35mm), so you’ll be cornered into using the superwide family—think 15mm, 14mm, 11mm. (More on lens choice later.) You might even need to let the Milky Way arch out of the composition (see Chris’ Devils Tower pano above).

  • In September and early October the core is setting not terribly long after twilight ends—so again, not a lot of time to shoot.

Southern World

In the southern hemisphere, the galactic core is visible from February to the beginning of October. Between April and August are the best months to photograph the Milky Way because of the much longer nights, but the prime of that time falls in the middle of winter (brrrr).

For the rest of this article, I will focus on the Northern Hemisphere, where I spend most of my time. But the techniques apply to our southern night photographer friends as well.

For ideal lack-of-light conditions, consider shooting during the few days before and after new moon.

When is the ideal moon phase?

To best capture the delicate features of the Milky Way in all its glory, you ideally want to shoot when the moon is not lighting the sky. That means the four nights prior to or after the new moon.

But this poses a problem: Without moonlight, how do you illuminate the foreground?

Being an astro-landscape photographer, I want the people viewing my images to see context. So the landscape needs light. You can make a Milky Way pano image while the moon is present. But keep in mind, you will lose the dimmest of the stars to moonlight in the atmosphere. So I like to choose a time when the moon is 60 to 90 degrees away from the core—i.e., a crescent. And the dimmer, the better—around 20 percent is ideal, give or take.

If you shoot in complete darkness, to reveal the foreground, consider Low-level Landscape Lighting, traditional light painting, or making a second run of panoramic images at a longer exposure length and perhaps a lower ISO for more quality. (For more on that last option, see Gabe’s write-up about his Hovenweep photo.) Or … embrace the dark. Use silhouettes with intent. Darkness is OK if harnessed with skill.

Scouting

First, check your weather. I prefer the Weather Underground app, but use whatever works for you.

Weather Underground’s prediction for Bryce Canyon National Park. Looks great for night photography!

Choose someplace dark. Why? The Milky Way has a lot of subtle, faint parts, so give yourself the best chance for success by choosing a location away from light pollution. When shooting in Bryce Canyon with Tim Cooper this past June—specifically, in Fairyland Canyon, where we intended to make a pano—we knew we could expect great dark skies, because we had e-scouted the location with Light Pollution Map:

Light Pollution Map rendering of the Bryce Canon region.

I also love using the PhotoPills app to drop a pin and then scrub though which night is best. I look for when twilight is just ending, and the arc of the arch.

PhotoPills Planner view of the Fairyland Canyon pano.

Gear

In addition to a capable camera for night photography and an intervalometer, I recommend the following:

● good tripod (like my trusty Gitzo Traveler Series 2)

● panoramic leveling base (like my Acratech)

● good ball head (like my Acratech GP-ss)

● nodal rail (like my Acratech Nodal Rail)

● L bracket (like my Acratech Universal L Bracket)

● a lens focal length somewhere between 14mm and 50mm—preferably 20mm to 35mm, and preferably a prime lens

Starting from the ground up:

  1. Get your tripod legs spread wide. Get it tightened up and as stable as possible.

  2. Mount the leveling base on the tripod legs. Level it. (If you don’t have a leveling base, then level the tripod itself using a built-in or external bubble level, adjusting each leg accordingly.)

  3. Mount your ball head on top of the leveling base. Level that.

  4. Mount your nodal rail to your ball head.

  5. Secure your L bracket on your camera and mount the camera on the tripod in vertical position. (Vertical frames will give you more information to work with than horizontal frames will. Always shoot pano frames vertical.)

  6. Mount your lens. Historically I used my Sigma 35mm f/1.4 Art lens for pano stitches. I find its flat field makes stitching easier with less overlap. But lately I’ve fallen in love with the Viltrox 20mm f/1.8, because it comes in a Nikon Z-mount and is crazy-easy to focus manually.

  7. Attach your intervalometer.

Why the nodal rail?

If you have elements in your foreground that have to be stitched, using a nodal rail properly will eliminate parallax. That will make your pano stitching software very happy.

Essentially, to set up a nodal rail, you place something tall and skinny close to your camera, such as a street sign, lamp post or tree, or even another photographer’s tripod with the center column raised. Then rotate your pano base left and right, observing the item. Slide the nodal rail forward and backward until the test object doesn’t move left or right when you swing your camera. That’s the point at which you’ve eliminated parallax.

Camera Settings

OK, let’s lock down a few variables and settings to get the pano shot right.

Focus

If possible, focus during daytime and tape it down with gaffer tape. (Or, use other ways to get proper focus.)

Exposure

Now we are getting serious! You have to choose—are you shooting to:

●       share on a small to medium screen, or

●       print and/or sell

If the former, use the 400 Rule to determine your longest viable shutter speed; if the latter, use the NPF Rule. I want sharp stars, so I use the NPF Rule on Default. But I’m not making wall murals, so I don’t choose the Accurate setting.

Here are my settings for the Bryce Canyon pano:

  • ISO: 6400

  • Aperture: f/2.8

  • Shutter speed (with intervalometer): To test different focal lengths, I used the NPF Rule with three lenses—the Zeiss 15mm Distagon f/2.8 (18 seconds), Viltrox 20mm f/1.8 (14 seconds) and Sigma 35mm f/1.4 Art (8 seconds). (More on the results when we get to the post-processing in Part II.)

Framing

Face east. This is the center of your panoramic image. Look left, then right. Your pano stitch will begin to the north and end facing south. And this will move more to the right as the galactic core rises and the Milky Way rotates clockwise. (Reminder: I’m speaking specifically about the Northern Hemisphere.)

Then you shoot, one frame at a time, moving left to right, overlapping at least one-third. (That is, including one-third of what was in the last frame in the current frame—overlapping visual information, so the software has context when it starts stitching.) Repeat as many times as you need to cover the range of your composition.

Notice I say at least one-third. I always overshoot panoramas. Meaning, I overlap each frame way more than I geometrically need to—approximately 50 percent, to be approximately precise. Why? I want to give the post-processing program as much information as possible to stitch a great pano; those extra pixels are a good hedge on your photo bets. If you don’t give your stitching program enough to work with, you fail—and going back is kinda hard, right?

When rotating the camera between frames, I do not use the markings on the base of my ball head. With my eye, I look at something in my frame that is in the middle, then loosen the pano base and rotate the camera until that object almost hits the left edge of the frame.

PhotoPills angle of view data for my 20mm mounted on my Z 6.

Yes, you can instead use the degree markings on your ball head to do this more precisely. I choose not to, and I see no ill effect on the final image due to opting for this preference. But if you want to use math to capture accurately spaced pano slices in the fewest number of frames, then look up the angle of view for your lens (you can do this in PhotoPills—and remember to look up the angle for portrait mode), then divide it by 2 or 1.5. The result is the number of degrees you rotate the panning base on your ball head between each frame.

For example, see the included screen shot. PhotoPills reveals that the angle of view for my 20mm mounted on my Z 6 is 61.72 degrees. To make the math easy, let’s call it 60 degrees. (Even when being precise, we really only need to be approximately precise.) Divide 60 degrees by 2, and that tells me to rotate my camera 30 degrees between frames. On a ball head with markings at the base, it’s more than easy to see when you’ve moved the camera 30 degrees.

Shooting

Now … go for it! You are ready. Make those exposures.

All my frames for the Bryce Canyon pano, from each of the three lenses.

Points to Review

Your keys to success:

  • Lock and unlock your pano head for every exposure. It’s a pain, but one little slip in your sequence and you cannot stitch it! It’s soul-crushing. Believe me.

  • Use the start-stop on your intervalometer (as opposed to pressing the body’s shutter release) to eliminate camera shake.

  • Make the pano exposures back to back, one immediately after the other. Don’t dally. Stars move a lot in 8, 10, 20 seconds. Too much time between your frames will make bad panos or awkward duplications of stars in the overlapped areas. Astronomers and pixel-peepers will notice.

Post-Production

Those are the nuts. Now for the bolts. (And by “now” we mean “next week.”)

I’m going to hand off this topic to Tim, who in our next post will cover how to process these frames into a glorious stitched panoramic image. Stay tuned!

Matt Hill is a partner and workshop leader with National Parks at Night. See more about his photography, art, workshops and writing at MattHillArt.com. Follow Matt on Twitter Instagram Facebook.

UPCOMING WORKSHOPS FROM NATIONAL PARKS AT NIGHT

Seizing a World of Nights: Announcing Our 2020 Workshops and Tours

As we enter our fifth year of workshops, I must simply say, we are so very humbled and grateful for all of you–readers, attendees, friends and all.

Now … it’s time to announce our 2020 itinerary! Our dream locations span the world. From coastlines to mountain peaks, boats to four-wheel-drives, we will explore this amazing planet and work together on capturing photos of the darker side of its beauty.

Let’s go find those amazing places, improve our skills and become the best night photographers we can be.

Note: Several workshops have already sold out. As always, we announced them to our alumni and our email list first. However, if that workshop truly speaks to you, be sure to sign up for the waitlist! There is no fee to do that, and we’ve had many waitlisters become happy alumni! See our 2020 Workshops page for updates on what is sold out and what is still open.

Joshua Tree National Park

Joshua Tree National Park

A Slight Change in Direction

You may notice above that we're going to Joshua Tree this year. Didn't we do that in 2017? Yes, we did.

From our beginning, we have been committed to offering a workshop at every U.S. national park, one at a time, without repeating. However, for four years we’ve heard the refrain from our most loyal attendees: “Please go back; we want a chance to go with you.” So we’ve listened, and we’re adjusting our mission. We are still committed to running a night photography workshop at every national park possible, creating new experiences, exploring new places, seizing new nights. But we will also do this: Once per year, we will host a workshop in one of the parks we’ve visited before. For you. Because you’re right. These places are too amazing not to revisit.

And this year we start with Joshua Tree, a gem of the desert in southern California.

Our 2020 Night Photography Workshops & Tours

Without further adoing, below is what we’re up to in 2020. This includes all our workshops and tours. A simple rundown, with links, dates, photos and brief descriptions. A ton more info is available about each event by simply clicking on the links provided.


Passport Series Workshops

Our signature event workshops. We take a deep dive into a national park, and a deep dive into the fundamentals and intricacies of night photography, exploring and photographing some of the most beautiful places that have been set aside for the preservation and enjoyment of all. Involves shooting every night, and at least a partial daytime curriculum of lessons and/or image reviews.

  • Joshua Tree, April 25-30

  • Shenandoah, June 6-12

  • North Cascades, August 2-7

  • Badlands, August 9-14

  • Yellowstone, September 20-25

Joshua Tree National Park

Joshua Tree National Park encompasses sections of two different deserts—the Mojave and the Colorado—both full of opportunities for remarkable images. We will extensively explore this IDA Dark Sky Park. People come for the trees and bouldering on the rock during the day, but at night these features take on a heightened surreality and make for great foreground subjects while the Milky Way stretches across the sky. We will also have special access to Keys Ranch, a photogenic “ghost ranch” that has several buildings, old cars and lots of machinery to light paint. The workshop will feature dark starry skies, Milky Way explorations, as well as a gentle waxing moon that we can mix with our light painting to create wonderful night images.

Dates: April 25-30, 2020
More Information: Joshua Tree National Park

Shenandoah National Park

Road-trip through time as we fully immerse ourselves in the scenic Shenandoah area. We’ll visit historic towns like Harpers Ferry and venture deep into the surreal underworld of the Luray Caverns. Then of course there is the 105-mile Skyline Drive, which features 75 beautiful overlooks of the rolling Blue Ridge Mountains. We’ll do some daytime hikes to photograph waterfalls, and nighttime shoots to capture the Milky Way rising above the Appalachians. You are sure to enjoy an incredibly immersive experience in our nation’s 20th national park.

Dates: June 6-12, 2020
More Information: Shenandoah National Park

North Cascades National Park

In the northern regions of Washington state, some of the least-visited and most beautiful mountains in the U.S. rise dramatically from the landscape under untainted dark skies. An alpine wilderness rife with dramatic peaks, lush forests, placid lakes, gushing waterfalls, curious wildlife and more. We will explore by day and night, visiting and photographing different regions of this peaceful, special place.

Dates: August 2-7, 2020
More Information: North Cascades National Park

Badlands National Park

Nestled in the Northern Great Plains, Badlands National Park comprises 244,000 acres of otherworldly landscapes, grassy prairie and wildlife such as bison, black-footed ferrets, mountain goats and bighorn sheep. We’ll be visiting during the 2020 Perseid meteor shower, and will be focusing on capturing the incredible eroded landscapes with Milky Way, meteors and some moonlight.

Dates: August 9-14, 2020
More Information: Badlands National Park

Yellowstone National Park South

At well over 2 million acres, Yellowstone is the second largest park in the lower 48. Covering three different states, this park has such a diversity of scenery and biospheres that we decided it was just too much to cover in one workshop! This, the first of our Yellowstone workshops, will cover the southern end of the park. From the Upper Geyser Basins and Old Faithful to the awe-inspiring yellow stone walls of the Grand Canyon of the Yellowstone, we’ll explore and photograph some of the more iconic features in the southern half of our first national park.

Dates: September 20-25, 2020
More Information: Yellowstone National Park South

Adventure Series Workshops

A workshop or tour that explores one or more of the many inspiring night photography locations in North America. Examples include national monuments, national forests, scenic byways, urban ruins and more. May also include specialty experiences in narrowly defined regions of national parks, or even narrowly defined themes in broader spaces. May or may not involve a formal daytime education component.

  • Charleston March 29-April 3

  • Trona Pinnacles & Alabama Hills, May 4-9

  • Maine–Mid-Coast, July 12-17

  • Maine–Monhegan Island and Acadia, July 19-24

  • Colorado High Country, October 4-9

Charleston

This gem of the south is a night photographer's dream. We'll explore the natural—the boneyard beaches, the sandy shores, the dark skies over the Atlantic. And we'll explore the man-made—the cobblestone streets, the Civil War forts, the historic cemeteries. And so much more. Welcome to the ghosts and charm of one of America's prettiest cities.

Dates: March 29-April 3, 2020
More Information: Charleston

Trona Pinnacles & Alabama Hills

Two fantastical places in the southern California desert, both known for rock formations that photographers love to make art with. Trona Pinnacles, a collection of 500 spires of rock rising from a dry ancient lake bed. And the Alabama Hills, a set of arches and other formations in the stark and mesmerizing Owens Valley. We'll be there in full moonlight for a light painting-intensive workshop, capturing the nighttime beauty of these surreal and wild places.

Dates: May 4-9, 2020
More Information: Trona Pinnacles & Alabama Hills

Maine–Mid-Coast

The Maine coast epitomizes coastal New England. Rocky points extending out into the sea, spruce forests and sandy beaches, small harbors full of fishing boats and lobster traps, villages with country stores, churches and lighthouses. We’re used to seeing iconic—or some would say cliché—images of this scenery. We’ll take those photos, and you, a couple of steps further by photographing this quintessential scenery at night, with a special emphasis on techniques for photographing different types of lighthouses.

Dates: July 12-17, 2020
More Information: Maine—Mid-Coast

Maine–Monhegan Island and Acadia

Our night photography expedition of the Maine coast continues for a second week. A small island community, a village surrounded by the Atlantic, a lighthouse standing tall upon a hill, an 80-year-old shipwreck. Then we drive up the coast to an amazing national park, small but diverse, with rocky coastline, crushed-stone carriage roads, the Milky Way hovering above. Monhegan Island and Acadia National Park await, in the dark, ready to be photographed.

Dates: July 19-24, 2020
More Information: Maine—Monhegan Island and Acadia

Colorado High Country

Skies seem clearer at higher elevations and Colorado has plenty of those. We’ll be exploring the state’s San Juan Mountain range, which is the largest within the Centennial State and contains some of the highest and most jagged peaks in the lower 48. It also has a ton of jeep roads which allow fun access into these alpine landscapes.

Dates: October 4-9, 2020
More Information: Colorado High Country

Voyager Series Workshops

Photography tours outside the United States, often overseas, sometimes far overseas. We endeavor to trek the globe finding beautiful landscapes and fascinating cultures to immerse ourselves in, especially in the dark. International tours usually forgo classroom or formal meeting time in favor of exploration.

  • Lofoten Islands, March 8-16

  • Orkney Islands, May 16-23

  • East Greenland Schooner, September 4-13

  • Barcelona, November 15-20

  • Easter Island, January 25-February 1, 2021

Lofoten Islands

This will be a winter workshop focused on photographing the rugged snow-covered mountain islands, northern lights, pristine fisherman huts, and the untouched beauty of this remote and breathtaking region of the world. March is a perfect time to visit Lofoten—the milder winter temperatures make the overall experience ideal for catching the auroras over a snow-globe winterscape.

Dates: March 8-16, 2020
More Information: Lofoten Islands

Orkney Islands

During our tour we’ll explore the remarkable ways that past and present collide at the crossroads of the Celtic and Viking worlds. A cluster of 5,000-year-old archeological sites on the archipelago are collectively designated as a World Heritage Site called The Heart of Neolithic Orkney. The main sites consist of two major circles of standing stones, a massive chambered cairn, and the remains of an ancient village that was exposed on a clifftop during a storm in the 19th century. Orcadians live with these monuments in their backyards—these relics are part of the cultural, as well as physical, landscape that influences the way the locals interact with the world.

Dates: May 16-23, 2020
More Information: Orkney Islands

East Greenland Schooner

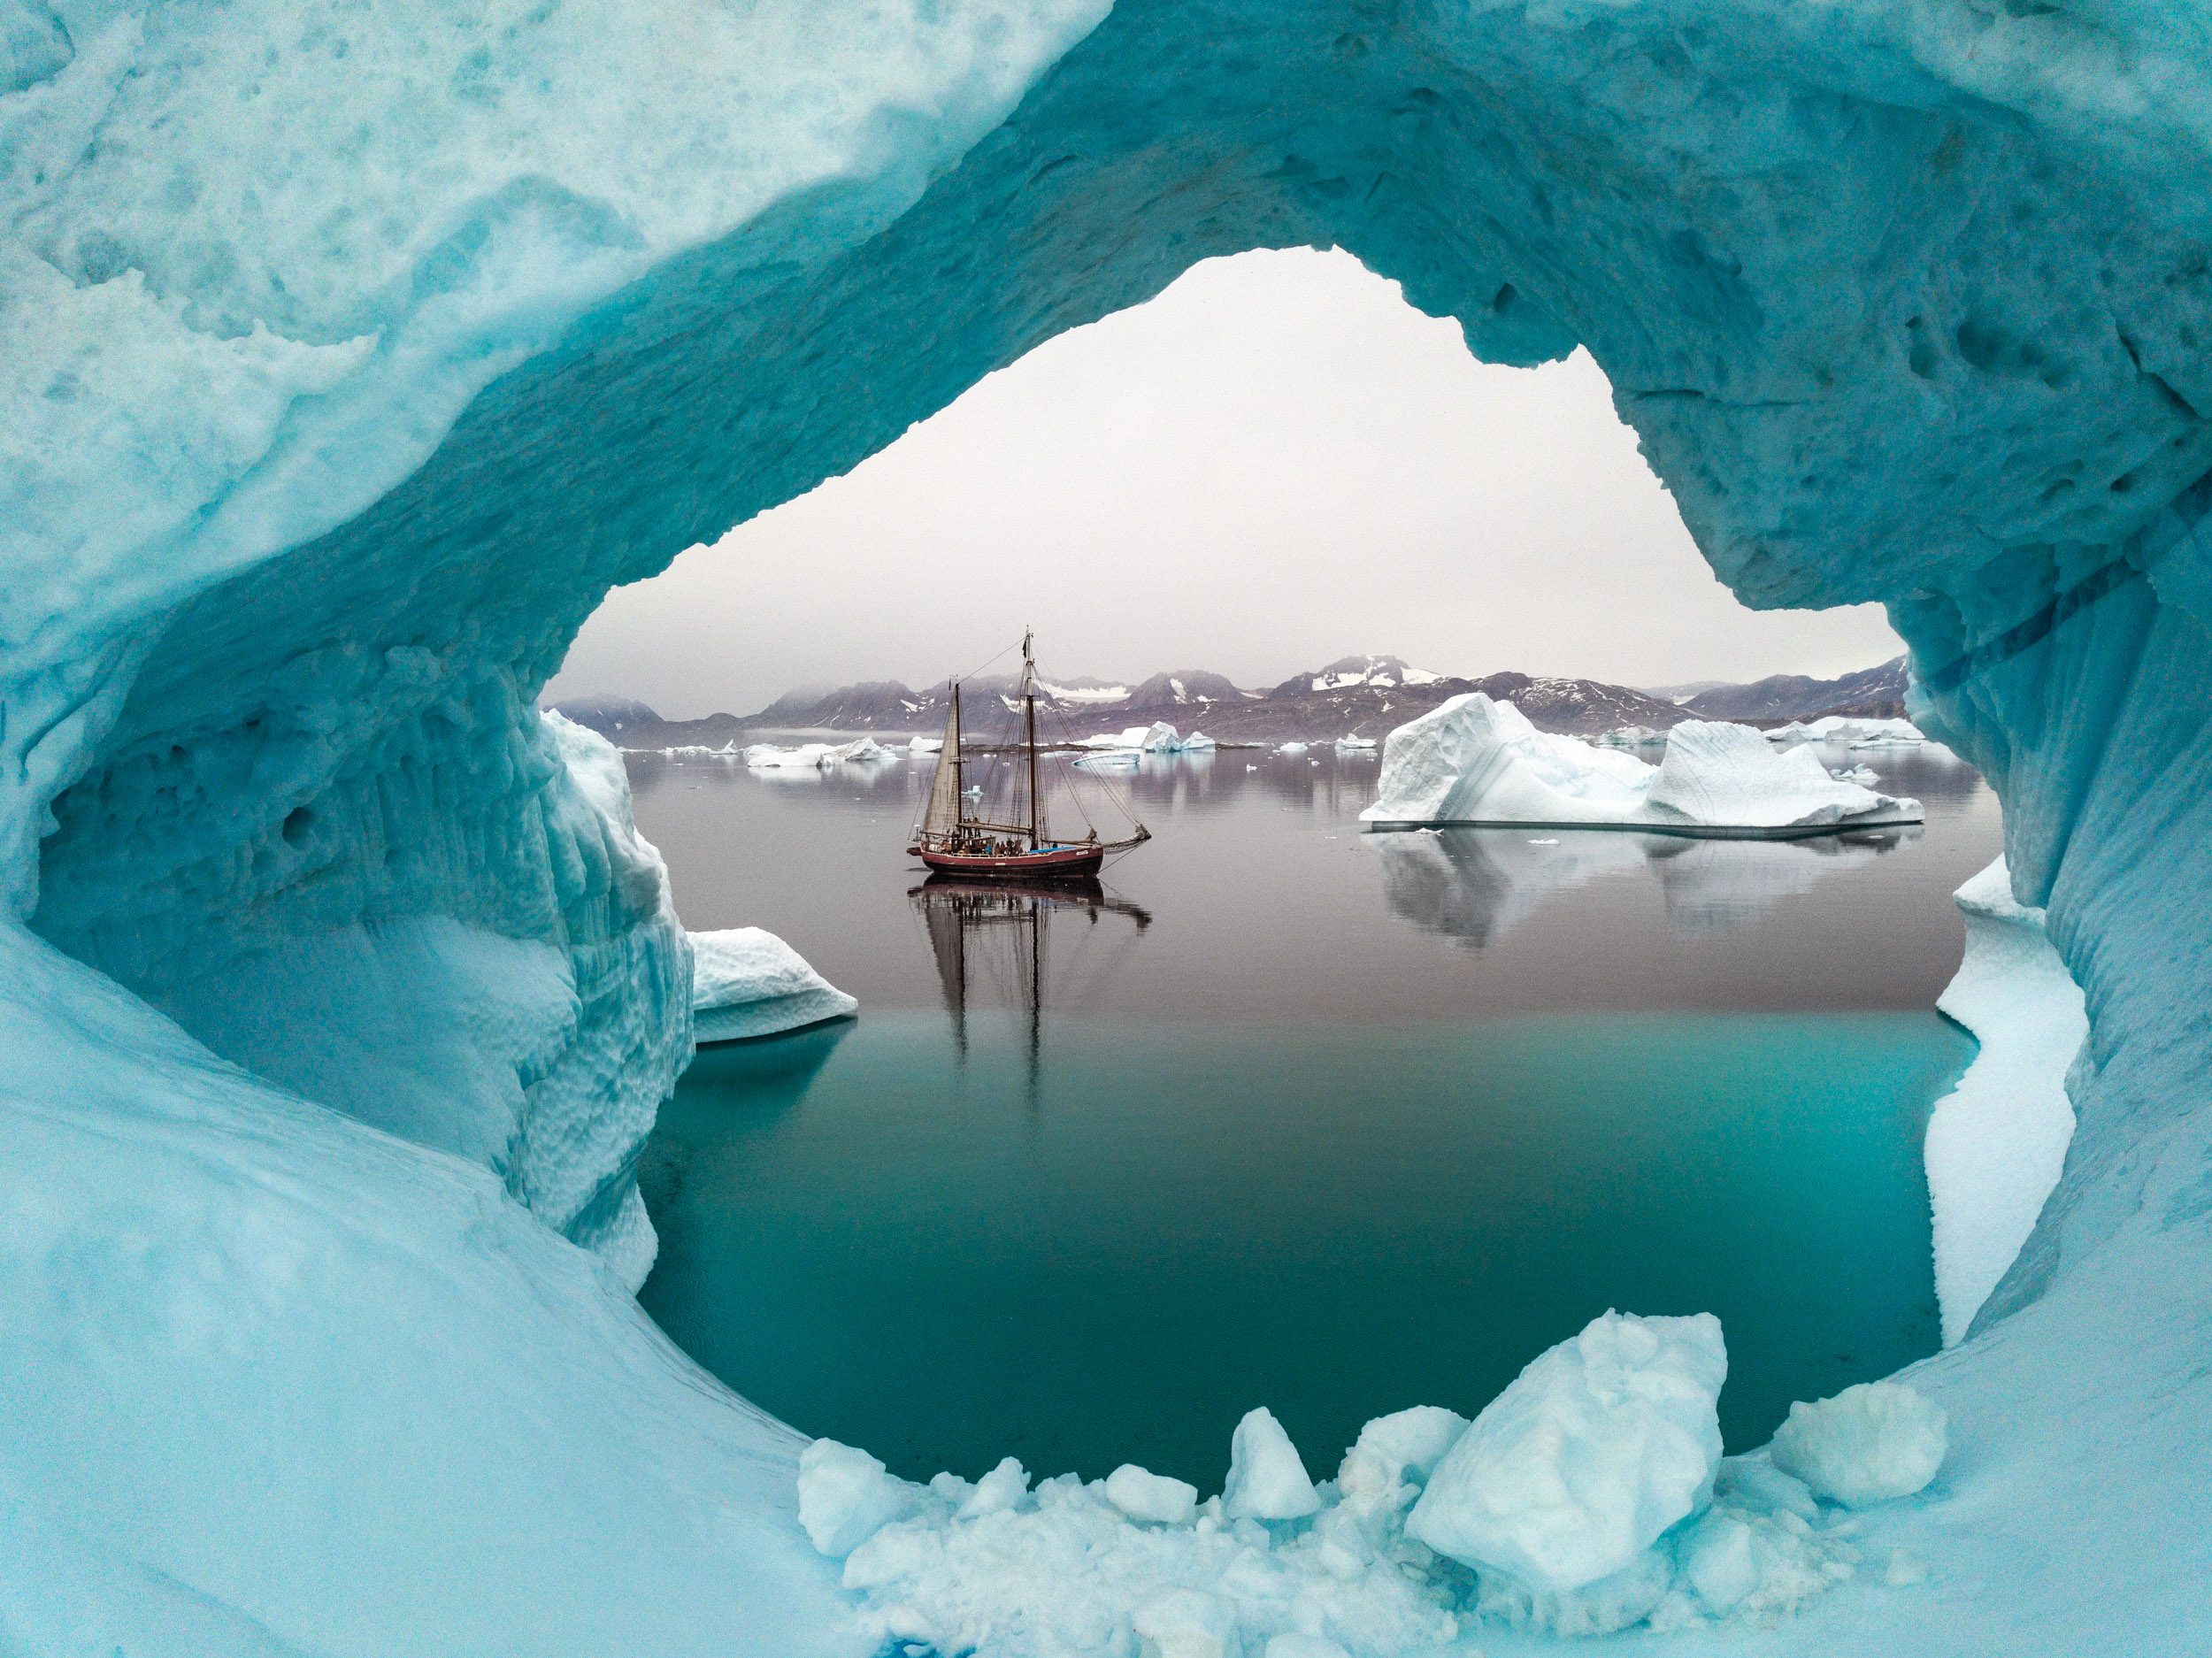
Experience the extraordinary scenery and Inuit culture of Greenland’s captivating coastline. This trip along the striking and sparsely populated east coast of Greenland will begin and end in the village of Kulusuk, but everything in between is truly an exploration. Glacier hikes, stand-up paddleboarding, sea kayaking, and of course photography––you’ll have the opportunity to do all of these and more on one of our grandest adventures yet.

Dates: September 4-13, 2020
More Information: East Greenland Schooner

Barcelona

Barcelona, Spain’s premier city of culture and art, is rich in delicious dichotomies. From the 13th century gothic Barcelona Cathedral to the 19th century Art Nouveau masterpiece of the La Sagrada Familia. From the respectful and beautiful graffiti to the citywide art installations. Here world class food, art and architecture are woven together to create one of the most beautiful and photogenic cities in Europe.

Dates: November 15-20, 2020
More Information: Barcelona

Easter Island

Few places on Earth are as mysterious or compelling as Easter Island. The giant stone figures known as Moai oversee this remote island 2,200 miles off of the coast of Chile. Most of Rapa Nui, as it’s known to the locals, is a national park. Not only is it hard to get to Easter Island, it is notoriously difficult to access the park at night. In Late January of 2021, National Parks at Night will be taking a maximum of 12 people for an unforgettable week with the Moai.

Dates: January 25-February 1, 2021
More Information: Easter Island

Skills Development Series Workshops

Classroom- and education-intensive workshop experiences designed to teach specific skills and goals, such as post-processing, night portraiture and the like. Usually comprises more classroom or studio time, but will always include some amount of shooting.

  • Post-Processing Intensive–Catskill, January 12-17

  • Post-Processing Intensive–San Francisco, April 18-23

  • Catskill Night Portraiture, October 29-November 3

Post-Processing Intensive–Catskill

You’ve spent a lot of time building your camera skills and honing your photographic vision. Now it’s time to take it to the next level. Post-processing has become an integral part of nearly every discipline of photography. Just as the black and white photographers of the 20th century were able to creatively interpret their work in the darkroom, we can now use modern technology to enhance our photos, and even to create images that were impossible only a few short years ago.

Dates: January 12-17, 2020
More Information: Post-Processing Intensive–Catskill

Post-Processing Intensive–San Francisco

Same as our post-processing class in Catskill (above), but in the beautiful Bay Area.

Dates: April 18-23, 2020
More Information: Post-Processing Intensive–San Francisco

Catskill Night Portraiture

Master the fundamentals of night portraiture with our expanded five-night workshop. Mash up night photography with classical portrait lighting to create dramatic long-exposure portraits. Level up your creativity and craft.

Dates: October 29-November 3, 2020
More Information: Catskill Night Portraiture

But Wait, There’s More!

Don’t see the perfect fit for your schedule or location? Throughout the year we continually announce our Ambassador Series destinations with our partners at Atlas Obscura, Rocky Mountain School of Photography and more.

Also, remember to always monitor our Speaking Engagements page. We give lectures and photo walks in the New York City area and all over the country. And if you want us to come directly to your camera club or meet-up group, feel free to contact us. (Click here to see what we can offer.)

We also offer one-on-one tutoring in-person or via videoconference that can help you build your portfolio, organize your images or give you targeted, individualized education to elevate your photography skills.

Finally, we’d like to express a deep thanks to all our alumni—the 300-plus fine photographers who have accompanied us over the past 3.5 years to wonderful night photography locations such as Acadia, Big Bend, Biscayne, Bryce, Capitol Reef, Dry Tortugas, Death Valley, Great Sand Dunes, Great Smoky Mountains, Olympic, Redwood, Zion and more. We appreciate you so very much.

Do you want to see their work? Check out this playlist of all the workshop slideshows.

Seize the Night

Are you ready to leap with us into 2020 and beyond? Sign up today to #seizethenight!

Matt Hill is a partner and workshop leader with National Parks at Night. See more about his photography, art, workshops and writing at MattHillArt.com. Follow Matt on Twitter Instagram Facebook.

UPCOMING WORKSHOPS FROM NATIONAL PARKS AT NIGHT