0
items
$0
How I Got the Shot: Ryan Ranch Ruins in Joshua Tree National Park

Ryan Ranch Ruins in Joshua Tree National Park, © 2016 Lance Keimig
The Location
Last September I spent a week in Joshua Tree National Park, and stayed in five different campgrounds within the park during that time. It was a great way to get to know this gem of the California desert a bit better. I had visited before, but I wanted to dig a little deeper before leading a workshop to Joshua Tree this year.
Joshua Tree is a large park in Southern California that lies in both the Colorado and Mojave deserts. The lower, hotter and drier Colorado Desert makes up the eastern half of the park; the higher, wetter and slightly cooler Mojave Desert makes up the western half, which is home to the famous, wily trees.
“Over the years, I have developed a field workflow that I follow for every image I make.”
One of my favorite spots turned out to be the adobe ruins at Ryan Ranch, one of the smaller, less popular campgrounds. Ryan Ranch and the adjacent well supplied water to the nearby Lost Horse mine. The house was destroyed in a fire in 1978. The remains have been stabilized, and make excellent subject matter for light painting, and in particular a great opportunity to work on a series of lighting variations.
Scouting and Prep
For this shoot, I scoped out the ruins earlier in the afternoon after setting up camp. I saw a westward-facing composition that included two different structures that played well off of each other, and would be easy to light independently. This was going to be fun.
I set up my shot as it was getting dark, and planned to make good use of the very last bit of daylight on the western horizon. Over the years, I have developed a field workflow that I follow for every image I make. By using a standardized method with consistent, repeatable steps, I have a high success rate with relatively few images lost to technical problems. The steps that I follow are:
- compose
- focus
- expose
- light
- adjust
- repeat
In this case, I saw the composition almost immediately. I’ll often begin with high ISO, hand-held shots to rough out a composition, but in this case, I already knew what I wanted to do. I went right to the tripod and made my first exposure. I still used a high ISO and wide aperture to keep the exposure time short, as I was interested in only the composition at this point.

High ISO test for composition—20 seconds, f/3.5, ISO 6400
The biggest challenge would be achieving critical focus using hyperfocal distance, because my foreground element was quite close to the camera—less than 10 feet away. As it was an important part of the composition, it had to be sharp. I hadn’t yet decided if this would be a star-point or star-trail shot, but either way, I also wanted the stars to be tack sharp.
Using the Field Tools app, I concluded that f/6.3 would give me sufficient depth of field when focused at the hyperfocal distance of 16.5 feet. (For more information on how I did this, see “Use Hyperfocal Distance To Maximize Depth Of Field At Night.”) I measured the distance from the back of the camera to a spot on the ground in the scene by taking five and a half big steps. I then put a flashlight at that spot, returned to the camera, focused on the light, and shot a test image to confirm that both the foreground structure and the stars were sharp.
Next, it was time to figure out the ambient exposure. By this point, it was almost completely dark, with just a hint of glow left on the western horizon. I used the high ISO testing technique, and came up with 30 seconds for my ambient exposure with an ISO of 6400 and my preselected aperture of f/6.3.
At this point, I had composed using high ISO shots, focused using the Field Tools app to determine the hyperfocal distance, and determined the exposure with high ISO testing. Then I decided to stick with 6400 for the time being to maintain star points. It was time to play!
Getting the Shot
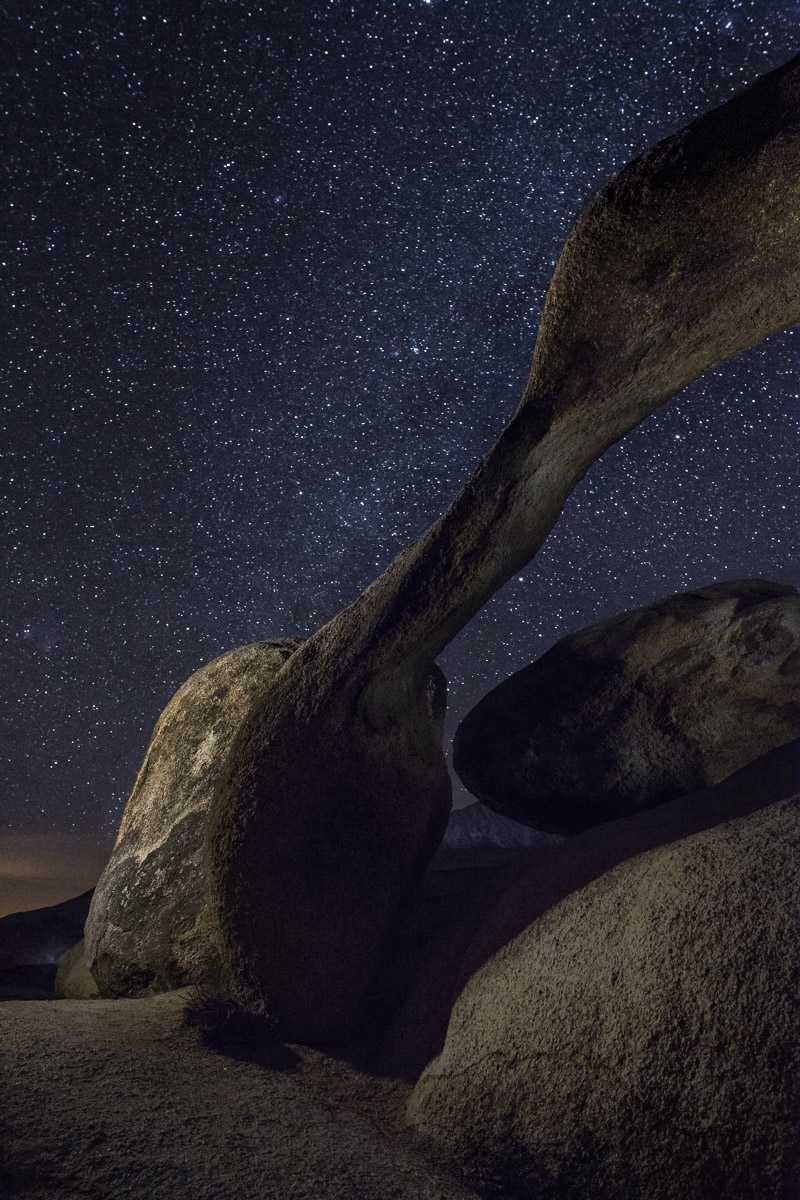
Using a Coast HP5R flashlight with a full CTO gel, I stood about 3 or 4 feet in front of the middle-ground structure, out of the frame behind the foreground structure, and swept the surface of the adobe with one quick pass of the light at low power, and also lit the ground toward the camera with a momentary flash of light.
Next, I stood out of frame camera-right in the foreground, and did a very quick pass with the flashlight along the vertical edge of the foreground element. Because I was using ISO 6400, it didn’t take much light to get the job done.

Variation #1—30 seconds, f/6.3, ISO 6400
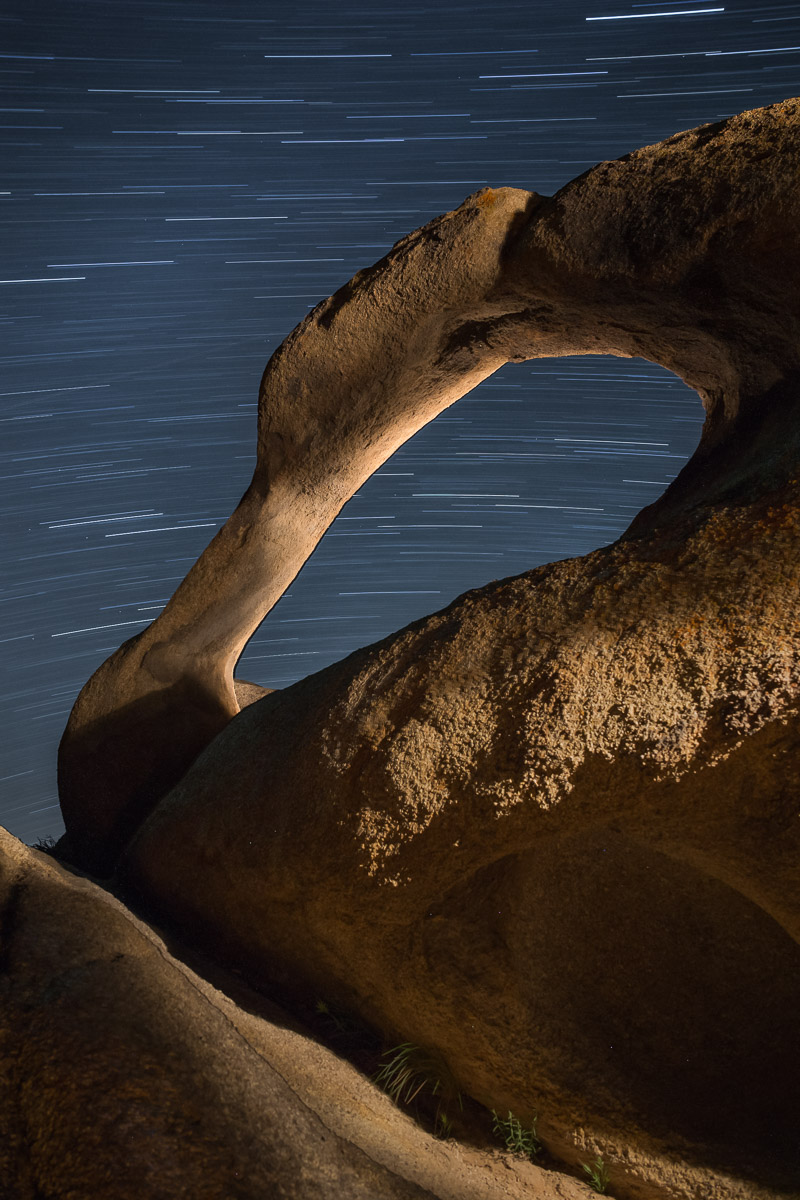
After doing several variations, I decided to try something different. For the next exposure, I chose to go long. The equivalent exposure to the previous one would have been 16 minutes at ISO 200, but I instead decided to go for 20 minutes just to get some longer star trails.
Aside from the star trails, the main difference between the short and long ambient exposures was that the extended time allowed for the last bit of twilight to build up on the horizon. The star trails created leading diagonal lines that paralleled the slope of the foreground element.
The light painting differed in that I moved closer to the rear wall, which had the effect of making the light harsher and more directional, and it brought out the texture of the surface. For the foreground wall, this time I lit from camera-left, scraping the light along the surface of the wall, leaving the edge in shadow.
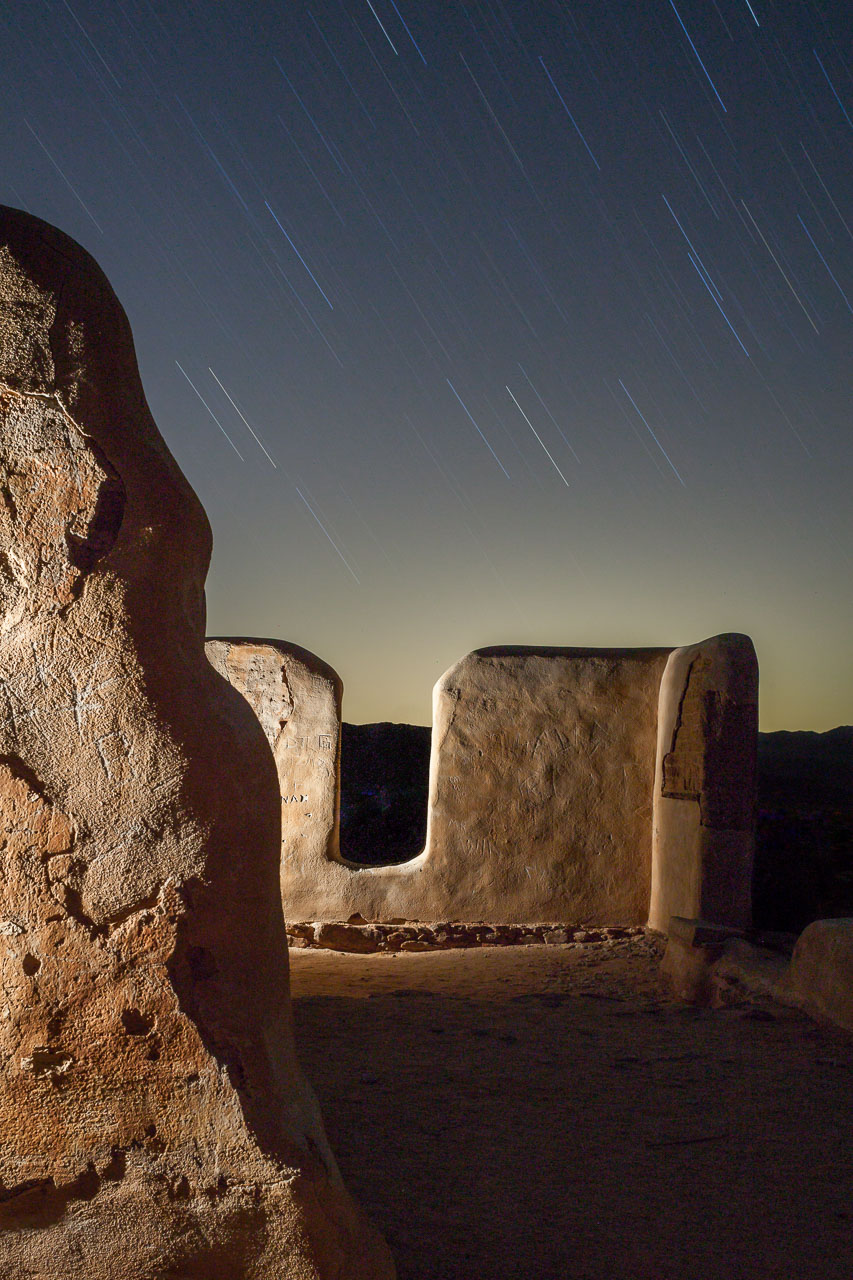
Variation #2—20 minutes, f/6.3, ISO 100
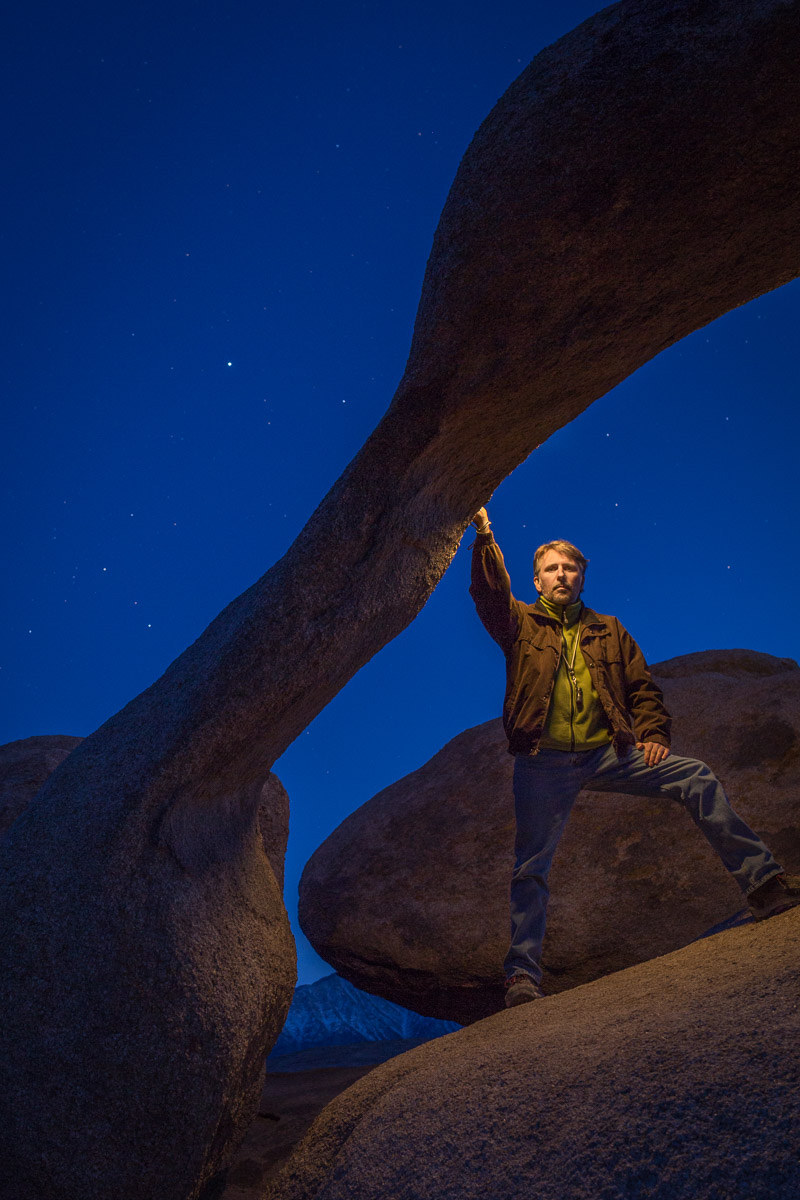
For the final frame, I used a variation of the lighting technique from the first shot. I adjusted the exposure to an equivalent 3 minutes, f/6.3, ISO 800—mainly because I wanted more time to light than I was allotted in the 6400 ISO version, and as this photograph was meant mainly as an experiment in lighting, I was less concerned about having long star trails.
For the light painting in the rear, I moved further from the wall until I was standing just behind the foreground wall, pointing back to the other structure. Notice how the light is softer and more even, and spreads across a larger area of the ground. The light on the foreground wall is similar to the first lit version, but is cooler because I removed the CTO warming gel from the flashlight. I also took a step back away from the camera (i.e., toward the scene), which had the effect of keeping the camera-facing surface of the front wall in shadow, which emphasized the curved line rather than the texture of the surface. I made a few other variations, but these are the ones that I liked the best.

Final variation—3 minutes, f/6.3, ISO 800
Chris Nicholson and I will be leading a workshop in Joshua Tree National Park from April 21 to 26, as will Gabriel Biderman and I the following week. Both weeks will include this location as well as the historic structures at Keys Ranch, an area that is usually off-limits at night. I’m looking forward to returning to these spots then to see how our NPAN workshop participants work with these fun and playful structures, and also to see how a year and a half has changed the way I see them.
Note: The second week is sold out, but we have a few spots remaining for the first week of the Joshua Tree workshop. As is the case with all of our Passport Series workshops, we’ll be teaching here only once. We hope you can join us!
Lance Keimig has been photographing at night for 30 years, and is the author of Night Photography and Light Painting: Finding Your Way in the Dark (Focal Press, 2015). Learn more about his images and workshops at www.thenightskye.com.