Travel

Returning to Nature, Returning to the World: Where We’re Ready to Go

It’s official. We at National Parks at Night have broken all previous records of days without travel.

The current situation does remind me a bit of being on the road with a photography group. As challenging as staying at home or in one place can be, one positive personal experience for me is that each night, to honor the first responders and essential workers of New York City, my wife Nancy and I cheer and clap with our neighborhood in Brooklyn at 7 p.m.

These few minutes have been perfectly timed with the sun setting to the west, so I’ve seen more sunsets than in any other two months of my life. Meeting new neighbors and feeling the warmth and beautiful light have added to the incredibly uplifting moments. That all reminds me of the many moments and shared adventures we have on our workshops, and that kicks my wanderlust into high gear!

While we have been focusing on cleaning our catalog clutter and re-editing images from past adventures, all of us at NPAN have also been dreaming about where we want to go next when all the travel restrictions are lifted. More than ever we are craving large green spaces to roam as well as magical dark skies to envelope ourselves in.

We love turning dreams into reality. So to inspire you to envision where you’d like to go next, we created this video that features some of the amazing places in the world we have explored.

In that same spirit, below all five of us share a place that we’re dreaming about, a place we are looking forward to exploring in the near future—hopefully with you!


North Cascades National Park

by Chris Nicholson

North Cascades National Park. © 2016 Chris Nicholson. Nikon D810 with a Nikon 28-70mm f/2.8 lens. 10 seconds, f/2.8, ISO 3200.

I miss mountains. Pretty, snow-capped mountains. Especially ones reflecting in glassy alpine ponds.

I miss waking on foggy mornings and walking through grass damp with dew. I miss days warm enough for T-shirts followed by nights cold enough for coats. I miss thin, clean air, and how easy breathing is. I miss remote, quiet meadows centered among softly rustling forests, and I miss the trickling sounds of delicate cascades and the thunder of tall waterfalls.

I miss how rock feels beneath my trail shoes: thousands of feet of rock that don’t budge even a smidge under my step as I climb to reach heights to see over the endless miles of valleys and lakes below.

I miss Washington state’s North Cascades, and the national park that bears their name. The beauty there is at once still and dynamic, at once present and ancient, at once silent and alive. The mountains rise around in all directions. Layers and layers of peaks and ridges that recede toward the horizon. And above that horizon at night, the glorious Milky Way that floats among a million stars.

I’m feeling one with John Muir. Those mountains are calling, and I can barely wait to go.

All the Islands of Scotland

by Lance Keimig

Sligachan, Isle of Skye, Scotland. © 2017 Lance Keimig. Nikon D750 with a Tamron 15-30mm f/2.8 lens. 1/200, f/11, ISO 100.

I’ve always had a thing for islands. Perhaps it’s because I’m a sucker for all things romantic––and what’s more romantic than a mist-shrouded shoreline, crashing waves and quiet fishing villages? Maybe it’s because I’m a bit of a rebel and an island has clear boundaries to push up against, be they geographical or cultural. Regardless, if you give me a map, my fingers will quickly find the coastline, searching for those offshore land masses just out of reach.

I had the good fortune of spending the month of August 1995 in Scotland. I was there for the glorious cacophony colloquially known as “The Fringe,” one of two concurrent arts festivals that take over the city of Edinburgh every summer. After almost three weeks in the city, I signed up for a jump-on/jump-off mini-bus tour and found myself making a loop around the country with extended stops on the Isle of Skye and Orkney. One is a very traditional and conservative island off the west coast, and the other an archipelago of islands off the north coast that is steeped in history yet is very modern and cosmopolitan. Two worlds equally fascinating and distinctly different.

That was a life-changing journey for me, and it marked the beginning of my career as a professional photographer. Three years later, I began teaching night photography workshops in San Francisco, and five years after I led my first photo tour to Scotland––to Skye and Orkney.

The rest is history, but I have a long way to go to visit All the Islands of Scotland. I doubt that NPAN will offer a trip to each of them, but you can know that I am scouting them all and will be planning trips to the very best to share with you in the coming years.

South Island

by Tim Cooper

South Island, New Zealand. © 2017 Susan Magnano. Canon 5D Mark IV with a Canon 17-40mm f/4 lens. 30 seconds, f/2.8, ISO 6400.

Where do I want to explore in the near future? New Zealand’s South Island. I find the landscape there to be simply awe-inspiring.

In many ways it’s like North America in miniature. Starting in the east you have gentle coastlines that rise up into low country, and then farming plains like our eastern and central United States. Then the plains rise up to the Southern Alps, which easily rival our Rocky Mountains. On the western downslope, glaciers flow into rain forests much the way they do in Alaska and British Columbia. All of this on an island that you can cross in less than a day.

Similar as it may be, everything is just a little different. A little more green. A little more remote. Even the trees have a mystical quality about them. From the fjords in the south to the parks of the north, you’ll find magnificent and rocky coastlines, tree ferns twice the height of a human, mountains that rise straight up and spill glaciers into magical forests. It truly is a landscape lover’s paradise.

My first trip to South Island was nearly 20 years ago when on assignment for a magazine. While the magazine work came off fine, my efforts at personal photography failed miserably. I had taken an extra nine days to shoot for myself using my Wisner 4x5 camera loaded with a new type of holder for preloaded sheets of film. I shot nearly 100 sheets during my time there. Upon returning home I found that every sheet was blank. The new system had not been working properly and I didn’t know because I had never tested it before leaving! Ughhh. Talk about heartbreak. I must return!

Theodore Roosevelt National Park

by Matt Hill

Theodore Roosevelt National Park. © 2019 Matt Hill. Nikon Z 6 with an Irix 15mm f/2.4 Firefly lens, light painted with Luxli Cello and a Coast HP7R. 2 minutes, f/5.6, ISO 500.

If I could go anywhere, I’d really like it to be someplace that has lots of things I enjoy. This park in North Dakota checks off lots of those boxes. And it was a total surprise to visit. Chris and I drove there last summer after learning that the elevator had broken at Wind Cave National Park. And boy, was the detour worth it. 

Roosevelt’s South Unit features a wondrous, windy river (the Little Missouri) with excellent lookouts, plus herds of bison and wandering wild horses. Outnumbering them all are the prairie dogs—watch your step or you’ll turn an ankle in their holes. Not to mention the badlands landscapes and the petrified forests.

Drive toward Polaris, and the North Unit has more wildlife, plus the cannonball concretions and even more views of another section of the Little Missouri.

Easily drivable, this less-known park is an ideal place to spend some quality time in nature and with stunning night skies. 

Easter Island

by Gabriel Biderman

Rapa Nui National Park, Easter Island. © 2019 Tim Cooper. Fujifilm X-T2. A series of stacked images shot at 2 minutes, f/4, ISO 400.

When Nancy asked me 14 years ago where I wanted to go for our honeymoon, I didn’t skip a beat and said: “Easter Island.” As luck would have it, the enigma that is Easter Island had also been at the top of her bucket list since seventh grade. But then we did the research and realized Easter Island is a challenge to get to. It is 2,200 miles away from Chile and in the middle of the Pacific Ocean. Remote is the understatement. So unfortunately the time and financial commitments didn’t make sense (however we had one heck of a honeymoon driving across the U.S. and visiting 14 baseball stadiums).

That was 2006. I can’t remember the first time I became aware of the mysteries of the moai, but I always loved ancient history, mythology and photographing sacred places. When Lance suggested our first Easter Island workshop that we offered in 2019, I quickly raised my hand to assist. But again, timing was not on my side. The workshop was a huge success and we decided to keep running more trips there as long as people are interested in going. And I’m going next! Even though our second Easter Island workshop isn’t until January, I have already starting thinking ahead and packing accordingly.

Most of Rapa Nui, as it’s known to the locals, is a national park. We have worked very closely with the park and local guides to get rare access to the moai at night. Most trips to Easter Island are a brief 2 to 3 days, but I’m looking forward to fully immersing ourselves on our 8-day adventure. I’ll be loading up infrared film for our day hikes and for photographing the moai under the Milky Way.

They say the third time is a charm, and Nancy already said she is coming on what she is calling part two of our honeymoon. If you can’t join us next year, stay tuned—2022 isn’t that far away!

Wrapping Up

So, that’s where we’re dreaming of going when we can travel again. Where are you dreaming of going? Share in the comments section, or on our Facebook page!

Gabriel Biderman is a partner and workshop leader with National Parks at Night. He is a Brooklyn-based fine art and travel photographer, and author of Night Photography: From Snapshots to Great Shots (Peachpit, 2014). During the daytime hours you'll often find Gabe at one of many photo events around the world working for B&H Photo’s road marketing team. See his portfolio and workshop lineup at www.ruinism.com.

UPCOMING WORKSHOPS FROM NATIONAL PARKS AT NIGHT

Photo Management for the Road Warrior: A Lightroom Travel Workflow

A question I am frequently asked is how I manage all of my photographs while traveling. I travel a lot. I’m on the road about half of the year. During this time I create tons of photographs, all of which I download and edit on my laptop. How, then, do I sync these photos with those in my primary Lightroom catalog back home? Easy. Let me show you how.

A Great Workflow for Small Lightroom Catalogs

When teaching Lightroom, I typically recommend having only one catalog. This alleviates much confusion and complexity for the new Lightroom user, and it complies with the philosophy of the way the software was designed.

I also suggest creating the Lightroom catalog on an external drive and storing all of the images on that same drive. (Click here for a simple explanation of how the Lightroom Catalog works.)

This strategy keeps all of your images, settings and catalog in one place. Then you can take that drive on the road with you, and work on the road just as you would work when home. When you return from your trip, you can plug that drive into your desktop computer and launch the same Lightroom catalog you had been working with while traveling. Finally, when it comes time to back up, you simply purchase two other drives of the same capacity and clone your master drive to the two backup drives.

This system works incredibly well … until you have too many images to carry around with you. (More on that later.)

Creating a Catalog on an External Drive

So how do we go about doing this?

1. Plug the external drive into your computer and open a Finder/Explorer window.

2. Navigate to the external drive.

3. Create a new folder on the drive called “Primary Lightroom Photographs” (or whatever else makes sense to you). This is where you will store all of your actual photo files.

4. Double-click on the Lightroom application while holding down the Alt/Option key (Apple) or the Alt key (PC). This will force Lightroom to open the Select Catalog dialog box (Figure 1).         

Figure 1.

5. Click the Create a New Catalog button (circled in red in Figure 1).

6. Navigate to your external hard drive and create a folder there with a name such as “Primary Lightroom Catalog.” This folder will house your Lightroom catalog (in the LRCAT file format). You will also see your Primary Lightroom Photographs (or whatever you named it) folder (Figure 2).This is where you will store your actual images.

Figure 2.

7. When you want to launch this catalog, navigate to the external drive, click on the Primary Lightroom Catalog Folder and double-click the LRCAT file (Figure 3).

Figure 3.

Larger Lightroom Catalogs, Larger Hard Drives

OK, back to that pesky problem of having too many photos for the aforementioned approach to work. Once you create enough imagery, it will be impractical to keep all of your images with you on a portable external drive. In this case you’ll want to have a large hard drive at home. I use a LaCie 16TB RAID Array (Figure 4).

For those of you who are afraid to delete any of your images, or for those who perhaps shoot a lot of video, you’ll want even more space than I have. You’re in luck, as even bigger versions are available. LaCie, for instance, offers their series of RAID arrays in sizes rangings from 8 TB to 168 TB! Purchasing a large hard drive allows room to expand, and it serves as a single location to keep all of your images.

To create a Lightroom catalog on one of these workhorses, follow the directions above, but instead of using a portable external drive, use your RAID (or equivalent).

Taking it with You

That solves your storage needs at home, but what about on the road? Well, once you have all of your images on your home-based hard drive, you use a smaller hard drive to take with you when traveling. That smaller drive won’t contain every image you have, but it will give you the capability to add to your home-based catalog quite easily once the trip is over.

There are countless sizes and brands from which to choose, but again I go with LaCie for their consistent quality. If you feel you’ll need a ton of storage on the road (4 to 8 TB), I recommend the Rugged series of hard drives. Tough, reliable and with ample storage, these drives will serve even the most prolific photographer. I use a superfast 2 TB SSD drive. These drives have no moving parts to knock around and are lightning fast. They range in capacity from 500 GB to 2 TB.

Once again, create a new catalog on your “travel drive,” this time in a folder called something like “Travel Catalog.”

When you are on the road, simply plug in this smaller drive and use it as you would use your larger home-based drive. This means that when you want to launch Lightroom, you navigate to this travel drive, go into to the folder that contains your catalog, and double-click on the LRCAT file. This will launch this specific catalog and alleviate any confusion if you have multiple catalogs on your computer.

When downloading your images on the road, be sure to import them into the Travel Photographs folder on this drive. This strategy keeps both your catalog and your images in one place: on your external travel drive.

Syncing Your Lightroom Catalogs

When you return home from your trip, it’s time to sync your catalogs.

1. Plug your travel drive into the same computer that your home-based drive is plugged into.

2. Launch your Primary Catalog from your home-based hard drive.

3. From the File menu, choose Import from Another Catalog (Figure 6).

Figure 6.

4. Navigate to your travel drive, click on your LRCAT file (Figure 7) and then click Choose.

Figure 7.

5. You’ll be shown the dialog in Figure 8. Check all of the boxes at the upper left to import all of your images from your travel drive to your home-based drive. By default all the images in the right-hand window will be checked. If they’re not, click the Check All button.

Figure 8.

6. Under file handling, choose “Copy new photos to a new location and import.”

7. Click the Choose button (circled in Figure 9) to select the folder on your primary drive that you would like to put the images in. In this example, I’ve navigated to the Primary Lightroom Photos folder on my Primary drive. Once again, click Choose.

Figure 9.

That’s it! Sit back and let Lightroom copy all of the images from your travel drive onto your primary drive. The beautiful thing about this method is that it not only copies your images but it also includes their adjustments, keywords and any other changes you’ve made while on the road.

When the process is complete, back up your entire primary drive—both the catalog and the RAW files. Only then should you erase the images from your travel drive. (I never want to delete that travel drive until I have at least two other copies of those files.)

In Short …

The key is to keep it simple. Your primary drive should contain only two folders: Primary Photos and Primary Lightroom Catalog (Figure 10). Always launch your Primary Drive Catalog while at home and keep this catalog organized.

Figure 10.

When you create your travel drive folder hierarchy, it should look the same. One folder for Photographs and one for the Catalog (Figure 11).

Figure 11.

Now you can use your lightweight travel drive on the road, and easily marry those images with your main catalog at journey’s end. Using this simple system will save you tons of time both at home and on the road.

Moreover, there’s a bonus! You can use this same Import from Another Catalog command to consolidate any extra Lightroom catalogs you may have lying around. Launch your Primary Catalog and choose Import from Another Catalog. Then simply point to whichever stray catalog you would like to import into your Primary. Repeat this process for each of the extra catalogs you may have. Once all of your images are in your Primary Catalog, you can delete all those older catalogs. And then back it up!

Note: If you’d like assistance setting up Lightroom to work this way, the National Parks at Night crew is happy to help! See our Tutoring page to learn how to connect with us one-one-one.

Tim Cooper is a partner and workshop leader with National Parks at Night. Learn more techniques from his book The Magic of Light Painting, available from Peachpit.

UPCOMING WORKSHOPS FROM NATIONAL PARKS AT NIGHT

Tips for Packing for a Night Photography Trip

A common question we get at National Parks at Night is, “What should I bring on one of your photo adventures?” It’s a question that applies to any trip where the purpose is night photography.

Trips like this require specific gear that you might not normally take on a regular photo excursion or vacation. The ultimate goal is not to overpack and burden yourself with extraneous stuff. My goal is to pack in a way where I end up using everything I brought, and I take notes on things that could have enhanced the experience.

The Packing List

These travel notes have turned into a Workshop Packing List that I can review each time I’m getting ready for the next adventure. This is invaluable, because it keeps me on track and not packing for hours and days sifting through all my gear! Feel free to download my list below and customize it to fit your needs.

This list covers about 90 percent of what I need to bring, but I also suggest doing research on the locations and thinking of anything specific you’ll need that will help enhance or interpret that location better. Definitely check the weather predictions—for both days and nights—so you can be prepared and comfortable for what’s heading your way.

Know Your Gear/Vision

I always advise bringing gear you are familiar with on workshops. When you order or rent new gear, try to have it arrive at least a few days before you leave and set aside time to get to know it. The last thing you want is to be fumbling around in the dark with unfamiliar equipment.

If you’re looking to build a kit, our recommended gear page is a good starting point. But everyone sees the world differently, so gear is a very personal choice. Study the way you see, and really understand the tools that are helping create your masterpieces.

LR 20mm.jpg

You can easily do that in Lightroom. Look at your favorite 4- to 5-star photos in the Library module and then scroll down the right hand side to the Metadata section. What lens did you use? If it was a zoom lens, what focal length? If a lot of your images were shot with a 14-24mm lens set at 20mm (as in the above screen shot), then perhaps you should consider investing in a 20mm prime lens. Often the prime lens will have a faster aperture than the zoom, which can help us collect more light for the dark skies we are visiting. Plus, that’s how you are seeing the world, so embrace it! (For more about this, see my 2016 blog post “Finding Your Focal Length: Use Metadata to Divulge Your Tendencies.”)

Insurance

I highly recommend investing in photography or travel insurance that will cover your expensive gear at home and on the road. Home owner/renter’s insurance often doesn’t cover your photo gear, especially if you are making money with it. Travel insurance isn’t that expensive, but I travel so much that photography insurance covers my gear 365 days of the year.

One thing that any insurance company will ask you to do is list all your gear with serial numbers. This is a good practice anyway, and I have this document accessible to me on the road just in case.

Which Bag is Best?

When I first started working at B&H Photo in 2001, I worked in the bag and tripod department. Obviously it was my job to find the best match for the customers’ needs, but what happened was that I became convinced that so many of their solutions could also be mine. Much to the chagrin of my wife, one of our rooms quickly filled up with 20 bags in the first three months! I didn’t know which one was best for me, so I had to try them all!

I can’t recommend that strategy for others. But I can pass along the valuable lesson I learned: It is, in fact, good to have a variety of bags that can offer multiple carrying experiences.

Understand what your body is capable of carrying and which styles of bag you prefer. Bringing a roller bag of gear is great on your back but not conducive to moving around on the trails at parks or on the cobblestone streets of Europe. For me, a compromise is best: I do bring a lot of photo gear on most trips, and for me a roller and a backpack is the best way to carry it all.

Roller

For a roller, my hardy, well-traveled companion is The Large case by Away Travel. It’s guaranteed for life, and large enough to carry pretty much anything I need to pack, from tripods to clothing. I generally use this case for any trip of five days or more. For shorter trips, I use a smaller roller by Travelpro.

Backpack

For a non-roller option, the Peak Design Everyday Backpack suits my needs perfectly. The 30L model fits up to a 15-inch laptop, plus a tablet and most of my cameras and lenses. It is super comfortable and the innovative divider system keeps me organized.

However, I always like to also bring a smaller bag on my trips. When I get on-site and go out for a shoot, I don’t need or want to carry all my gear all the time. When Peak Design released their Everyday Sling bag, I found my perfect daily companion.

The Sling is my go-to work bag, which fits lunch, an iPad and a little camera. When I went to the Galapagos Islands, I was able to fit any non-vertical-grip DSLR camera with a 150-600mm style lens! You can fit a whole mirrorless system in the bag as well. Don’t believe me? Check out the video I did with that bag in Galapagos:

Does It Fit?

Bags are definitely a personal choice, and, like with a good pair of shoes, we often don’t know how a bag “fits” us until we try it on. Some things to look for are:

  • Does it safely protect your gear?
  • Is it comfortable to carry or wear?
  • Does it fit your style?

B&H has a 30-day return policy that really can help you take the time to figure it out which of their 500-plus bags fits you best.

Just as important as bags are cable organizers and pouches. Tenba’s Cable Duo 4 helps me keep the variety of cables, cords, remotes, and other little bits and bobs organized inside my bag. Another option is the Duo 8 if you travel with lots of cables and cords!

Tenba Cable Duo 4 (above) and Duo 8

I always have two to six flashlights in the field at night. Instead of putting them all in my pockets, I use the Peak Design Field Pouch matched with their Leash Camera Strap, which gives me easy access to not only my assortment of lights, but also filters, Allen wrenches and Arca-Swiss plates.

Check-in vs. Carry-on

Traveling as a photographer isn’t easy. If you don’t have TSA Pre or Clear status, most U.S. airports want you to take all of your large electronics out of your bag—sometimes even all your cameras! That could mean needing to arrive to the airport even earlier. Be familiar with the restrictions, which definitely vary from country to country.

Also, pay attention to what sizes and weights your airline allows. Camera gear adds significant weight to our bags, and going over the limits could incur some serious fees. Plus, smaller planes can’t fit rollers. I’ve found that my Everyday Backpack fits on even the smaller airplanes, albeit sometimes only under the seat.

All I need for a night photography trip in two bags: My Peak Design backpack (top) containing my cameras and lenses comes on the plane as a carry-on, and my roller with everything else gets checked into the plane’'s belly.

I try to carry on all my important and expensive gear, and I check in my cloths, tripods, liquids, cables, etc. in my roller.

The main thing to remember is that we always need to carry on lithium batteries, no matter how small or big. These cannot be checked in. And they need to be either in a device, or stowed in a way so that the ends can’t come into contact with each other (wrapping them with a rubber band will suffice, though more techie options are available).

Final Thoughts and 3 Things We Can’t Live Without

That covers a lot about one half of packing, but the other half—the gear itself—is a whole other monster. I could explain my strategy here in even more words, but instead I decided I’d show you. So we created the following video, which breaks down all the gear I typically bring on a night photography workshop or trip. It goes into more detail about the gear and why each piece is important to me

Hopefully this will help you game-plan even better for your next adventure! Remember to take notes in the field and on your trip so that you can keep track of the gear that you brought and didn’t use, or that you left home and missed having. Creating your own checklist will make your gear, vision and packing experience a whole lot better!

Finally, not everything we travel with is a camera or lens. We all have ancillary items that might not help us take a picture, but they do help make our trip better. Here are three such items from each of the five of us:

For more information about the gear in Gabe’s bag and packing list:

Gabriel Biderman is a partner and workshop leader with National Parks at Night. He is a Brooklyn-based fine art and travel photographer, and author of Night Photography: From Snapshots to Great Shots (Peachpit, 2014). During the daytime hours you'll often find Gabe at one of many photo events around the world working for B&H Photo’s road marketing team. See his portfolio and workshop lineup at www.ruinism.com.

UPCOMING WORKSHOPS FROM NATIONAL PARKS AT NIGHT

Revisiting Locations Can Lead to Seeing with New Eyes, Boosting Creativity

Over the years, I’ve had many opportunities to revisit some of the great locations I’ve photographed. There have been times when a photograph I had envisioned didn’t quite work out for one reason or another—an errant plane leaving a trail across the sky, the moon or the Milky Way being in the wrong part of the sky, or simply me not getting the lighting quite right, or the stars being just a little bit soft.

I count myself fortunate to have the chance to reshoot, but I have learned not to expect to be able to recreate the original image, because if one thing is certain, it's that nothing stays the same for long. It could be that the light has changed, a tree has fallen over, or a gate is locked where once it was open.

On other occasions, I’ve made a successful image and am simply hoping to make another. Because I teach workshops in national parks and monuments, my students and I are often photographing well-known views in popular locations, and it can be a challenge to make an original photograph. It’s a worthy endeavor to try to make a unique image of Yosemite Valley, the church at Bodie, or of Mobius Arch in the Alabama Hills. I push myself, and encourage my students, to come up with compositions that they have never seen before.

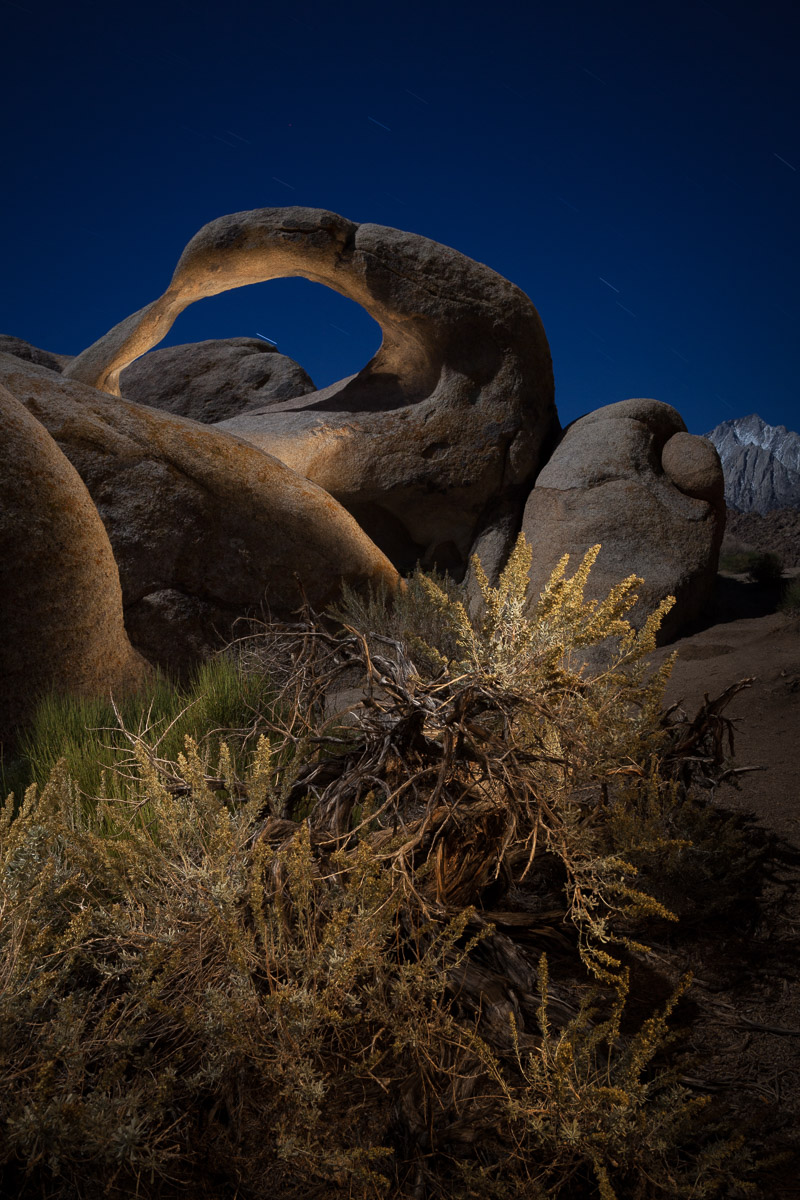
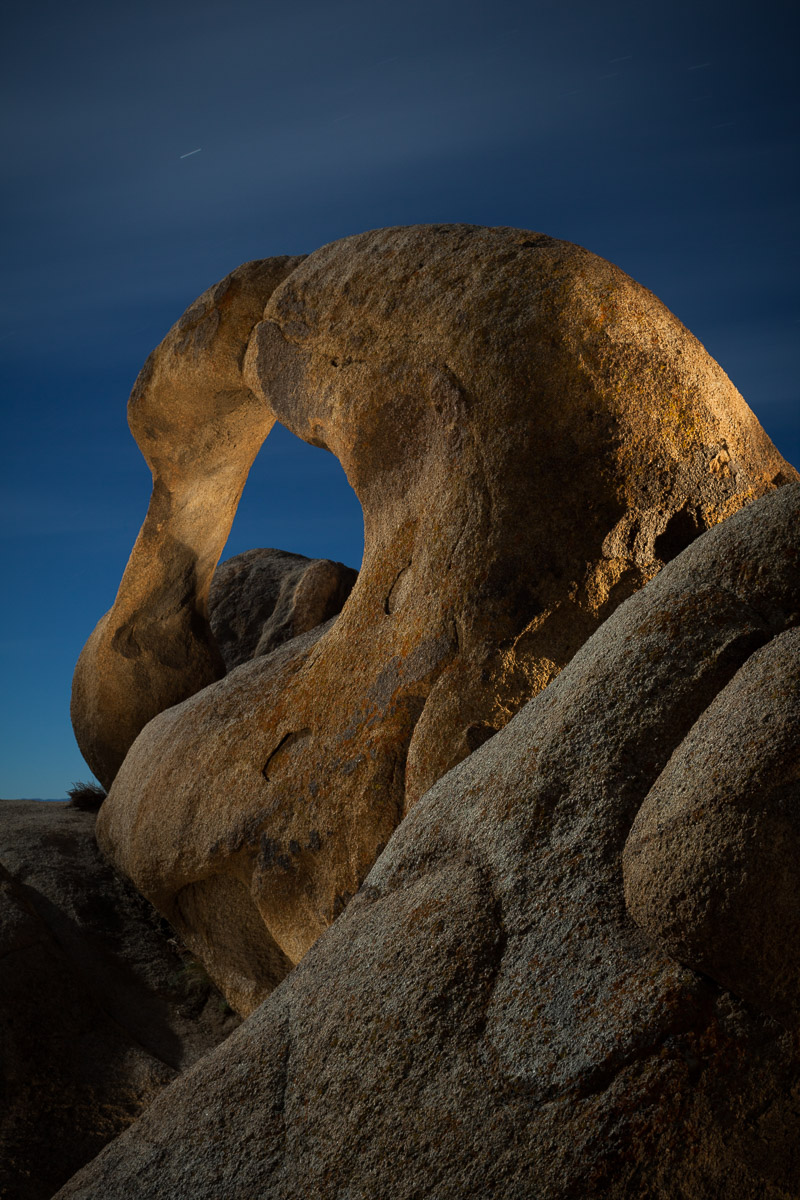
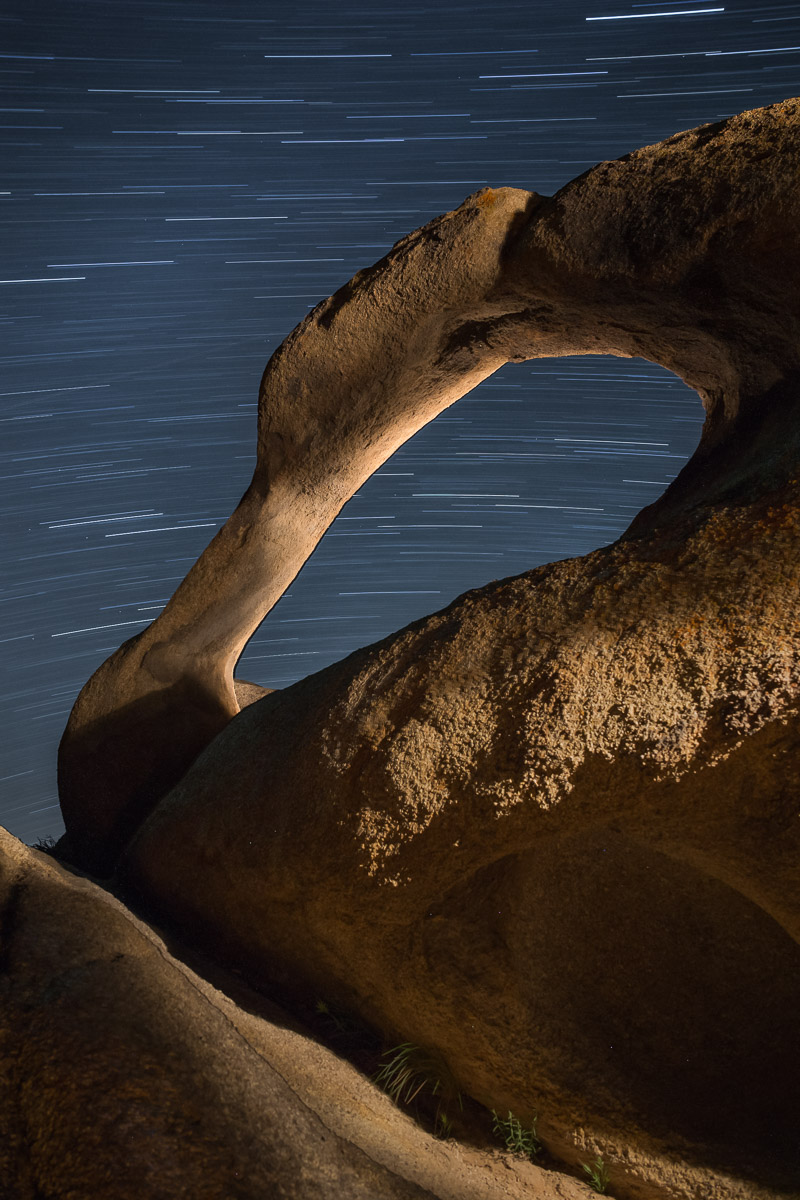
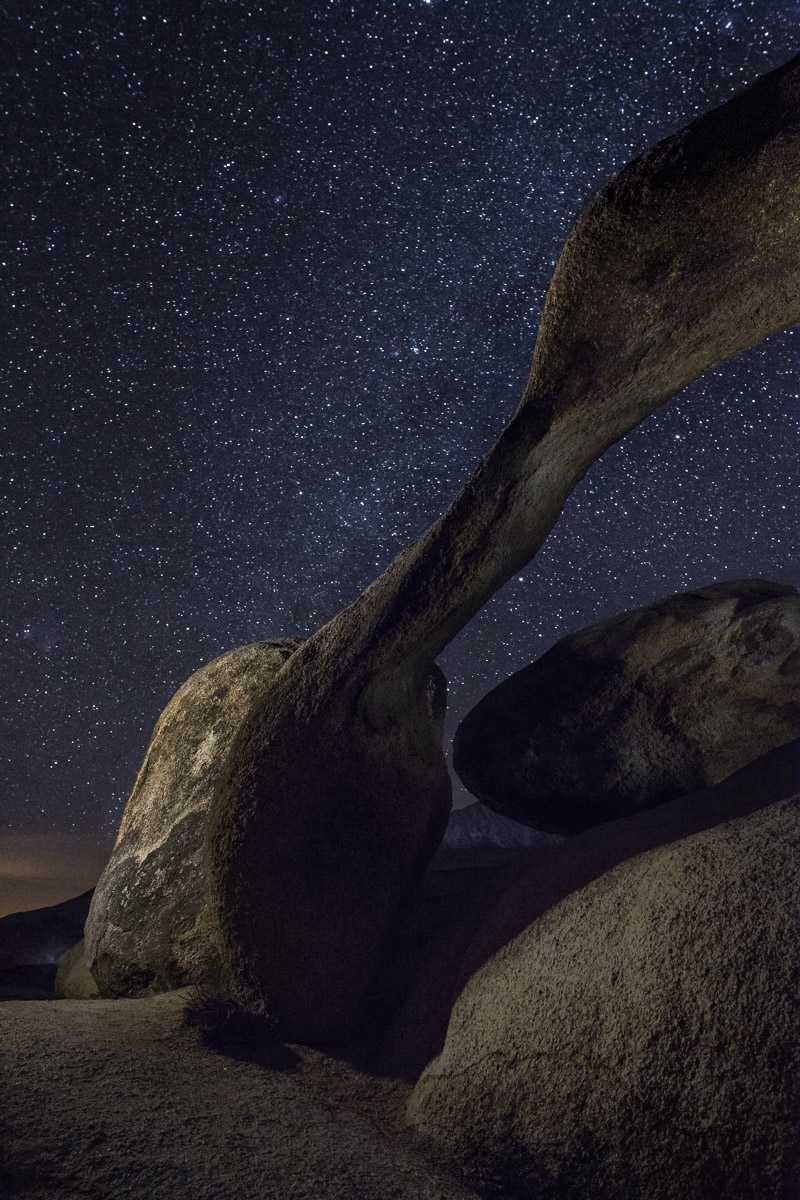
Mobius is typically photographed at sunrise, as the arch runs from north to south, and Mt. Whitney can be framed within the arch just as the sun’s first rays light up the Sierra to the west. The most obvious shot is a horizontal one, and that is what most people choose to do. There are plenty of nocturnal versions too, with low moonlight on the Sierra, and the arch in shadow, which provides a great opportunity for light painting.

I challenge myself to make at least one unique view of the famous Mobius Arch every time I visit the Alabama Hills, a rocky landscape in the foothills of the Eastern Sierra in California. It’s a way to refine my vision and to stay sharp, and to appreciate how fortunate I am to be able to visit these places on a semiregular basis.

If one thing is certain, it’s that nothing stays the same for long.
— Lance

In 2007, I was invited by the Texas Photo Society to teach a night photography workshop in Big Bend National Park. The landscape, culture, and geology were all new and exotic to me (coming from Massachusetts) and I was excited to explore.

One of the unexpected highlights of the workshop was a visit to Terlingua Ghost Town, a former cinnabar mining town just outside of the park. Mining is always a dangerous occupation, and smelting cinnabar to extract mercury made it doubly so. Terlingua’s miners were mostly Mexican, and many of them died there.

The cemetery in Terlingua is a fascinating place to explore, and we were lucky enough to visit during Dia de los Meurtos, when the graves are decorated with sugar skulls, fresh flowers and candles. I made the following image during that workshop, and it was my favorite from the trip.

Tres Cruces, Terlingua, 2007. ISO 200, 5 minutes, f/8. Canon 5D, Nikkor 28mm f/3.5 PC lens. Nearly full moon.

Tres Cruces, Terlingua, 2007. ISO 200, 5 minutes, f/8. Canon 5D, Nikkor 28mm f/3.5 PC lens. Nearly full moon.

This image was made with existing light, consisting of moonlight and the orange glow from a candle that was inside the fenced grave in the foreground. I positioned the camera so that the candle was hidden behind one of the fence posts which kept the highlights from being blown out. The candle glow contrasted nicely with the cool blue moonlight, and I felt like the image captured the spirit of the place.

I have just come back from another West Texas workshop, this one based entirely in Terlingua Ghost Town and the surrounding area, which is so rich with subject matter. I wanted to see how the graveyard had changed, thinking perhaps that one of the crosses might have fallen over, or at least be leaning over further than it was nine years ago.

Much to my surprise, very little had changed aside from the lack of Dia de los Meurtos paraphernalia. What was different was that I was there at the end of the lunar cycle, and the moon was below the horizon. The Big Bend region is the darkest area in the lower 48, so it was truly very dark.

One of the workshop students and I decided to do a reshoot of the photograph I had made in 2007. We worked together for about an hour and came up with a dramatic image of nearly the same composition. But the results were very different due to the lack of moonlight, to light painting, and to the partly cloudy sky.

I still like the original image, but very much enjoyed the opportunity to revise the location with different eyes.

Tres Cruces, Terlingua, 2016.  ISO 6400, 30 seconds, f/4.5. Nikon D750, Nikon 24-120mm f/4 lens at 24mm, Coast HP7 flashlight (back-lighting) and Coast HP3 flashlight (fence lighting). New moon.

Tres Cruces, Terlingua, 2016.  ISO 6400, 30 seconds, f/4.5. Nikon D750, Nikon 24-120mm f/4 lens at 24mm, Coast HP7 flashlight (back-lighting) and Coast HP3 flashlight (fence lighting). New moon.

For more information about the equipment mentioned in this post, see the Our Gear page and the following links:

Lance Keimig has been photographing at night for 30 years, and is the author of Night Photography and Light Painting: Finding Your Way in the Dark (Focal Press, 2015). Learn more about his images and workshops at www.thenightskye.com.

UPCOMING WORKSHOPS FROM NATIONAL PARKS AT NIGHT