arches national park

Five Questions: Offering Answers on Gear, Techniques and Etiquette

As you might imagine, we get emails from time to time asking us questions about night photography. We’re always happy to respond personally to those questions. However, there’s also the (largely correct) theory that for every person who asks a question, there are a hundred others who want to know the same thing but didn’t ask.

Therefore, we have decided that from time to time we will collect five of the questions that have recently been asked of us, and share them, along with our answers, with all of our blog readers. We hereby commence this “Five Questions” series today.

Our first foray into shedding some light on night photography conundrums includes some excellent questions on gear, techniques and etiquette.

1. SharpStar2 and the Nikon 14-24mm

Q: I have the Nikon 14-24mm f/2.8 lens. I have just finished reading about the SharpStar2. In my very limited experience with photographing stars, I have yet to obtain anything close to a sharp focus on them. Thus I’m intrigued by the SharpStar2. Can this be used with the lens I’ve mentioned? I’m assuming I would have to purchase the appropriate square filter holder and the appropriate size SharpStar 2 filter. Could you tell me what size to order, and which filter holder you’d recommend? — Liela N.

A: Although the Nikon 14-24mm is one of the best lenses for night photography, it’s actually not one I can recommend for combining with the SharpStar2. In fact, I’m not sure there’s a way to get it to work at all. The issue is that lens has the bulbous front element, which means a flat filter can’t be used without retrofitting a holder. There’s a great article on Naturescapes titled “Adapting Filters to Fit the Nikon 14-24mm Lens” that explains why and offers a DIY solution, but it requires a 150mm filter, and the largest that SharpStar2 comes in is 100mm.

But I would definitely hold on to that lens for night photography! If you’d like to work on other techniques for focusing in darkness, I’ll offer three suggestions:

  1. Use Live View. It’s infinitely easier than trying to focus through your viewfinder.
  2. Try presetting your lens to infinity during daylight, then turn off autofocus and tape down the focus ring.
  3. Use hyperfocal distance.

Incidentally, if you’re interested in purchasing the SharpStar2 for other lenses, we have a discount code we can share with you. Use “NPAN10” to receive 10 percent off the SharpStar2 on LonelySpeck.com. — Chris

2. Stack-a-Matic

Q: I use Photoshop/Lightroom CS6. I am a new user to Photoshop so obviously still learning. I tried to download your recommended Stack-A-Matic but I get an error that says I need Photoshop 12 or higher. What is a good stacking program that goes with CS6? — Sue W.

A: Stack-a-Matic works with CS5 thru CC (latest). Did you download it from my website, and use the manual installation instructions? Sometimes it’s a little bit finicky, but it does work. You might have to do a restart, or possibly walk through the installation twice, but it’s worth it.

I’m sorry that I can’t offer more tech support than this for Stack-a-Matic; I’m just hosting it for Russell Brown. Alternatively, you can try StarStax for Mac, and Startrails.exe for PC. — Lance

3. Light painting in Arches National Park

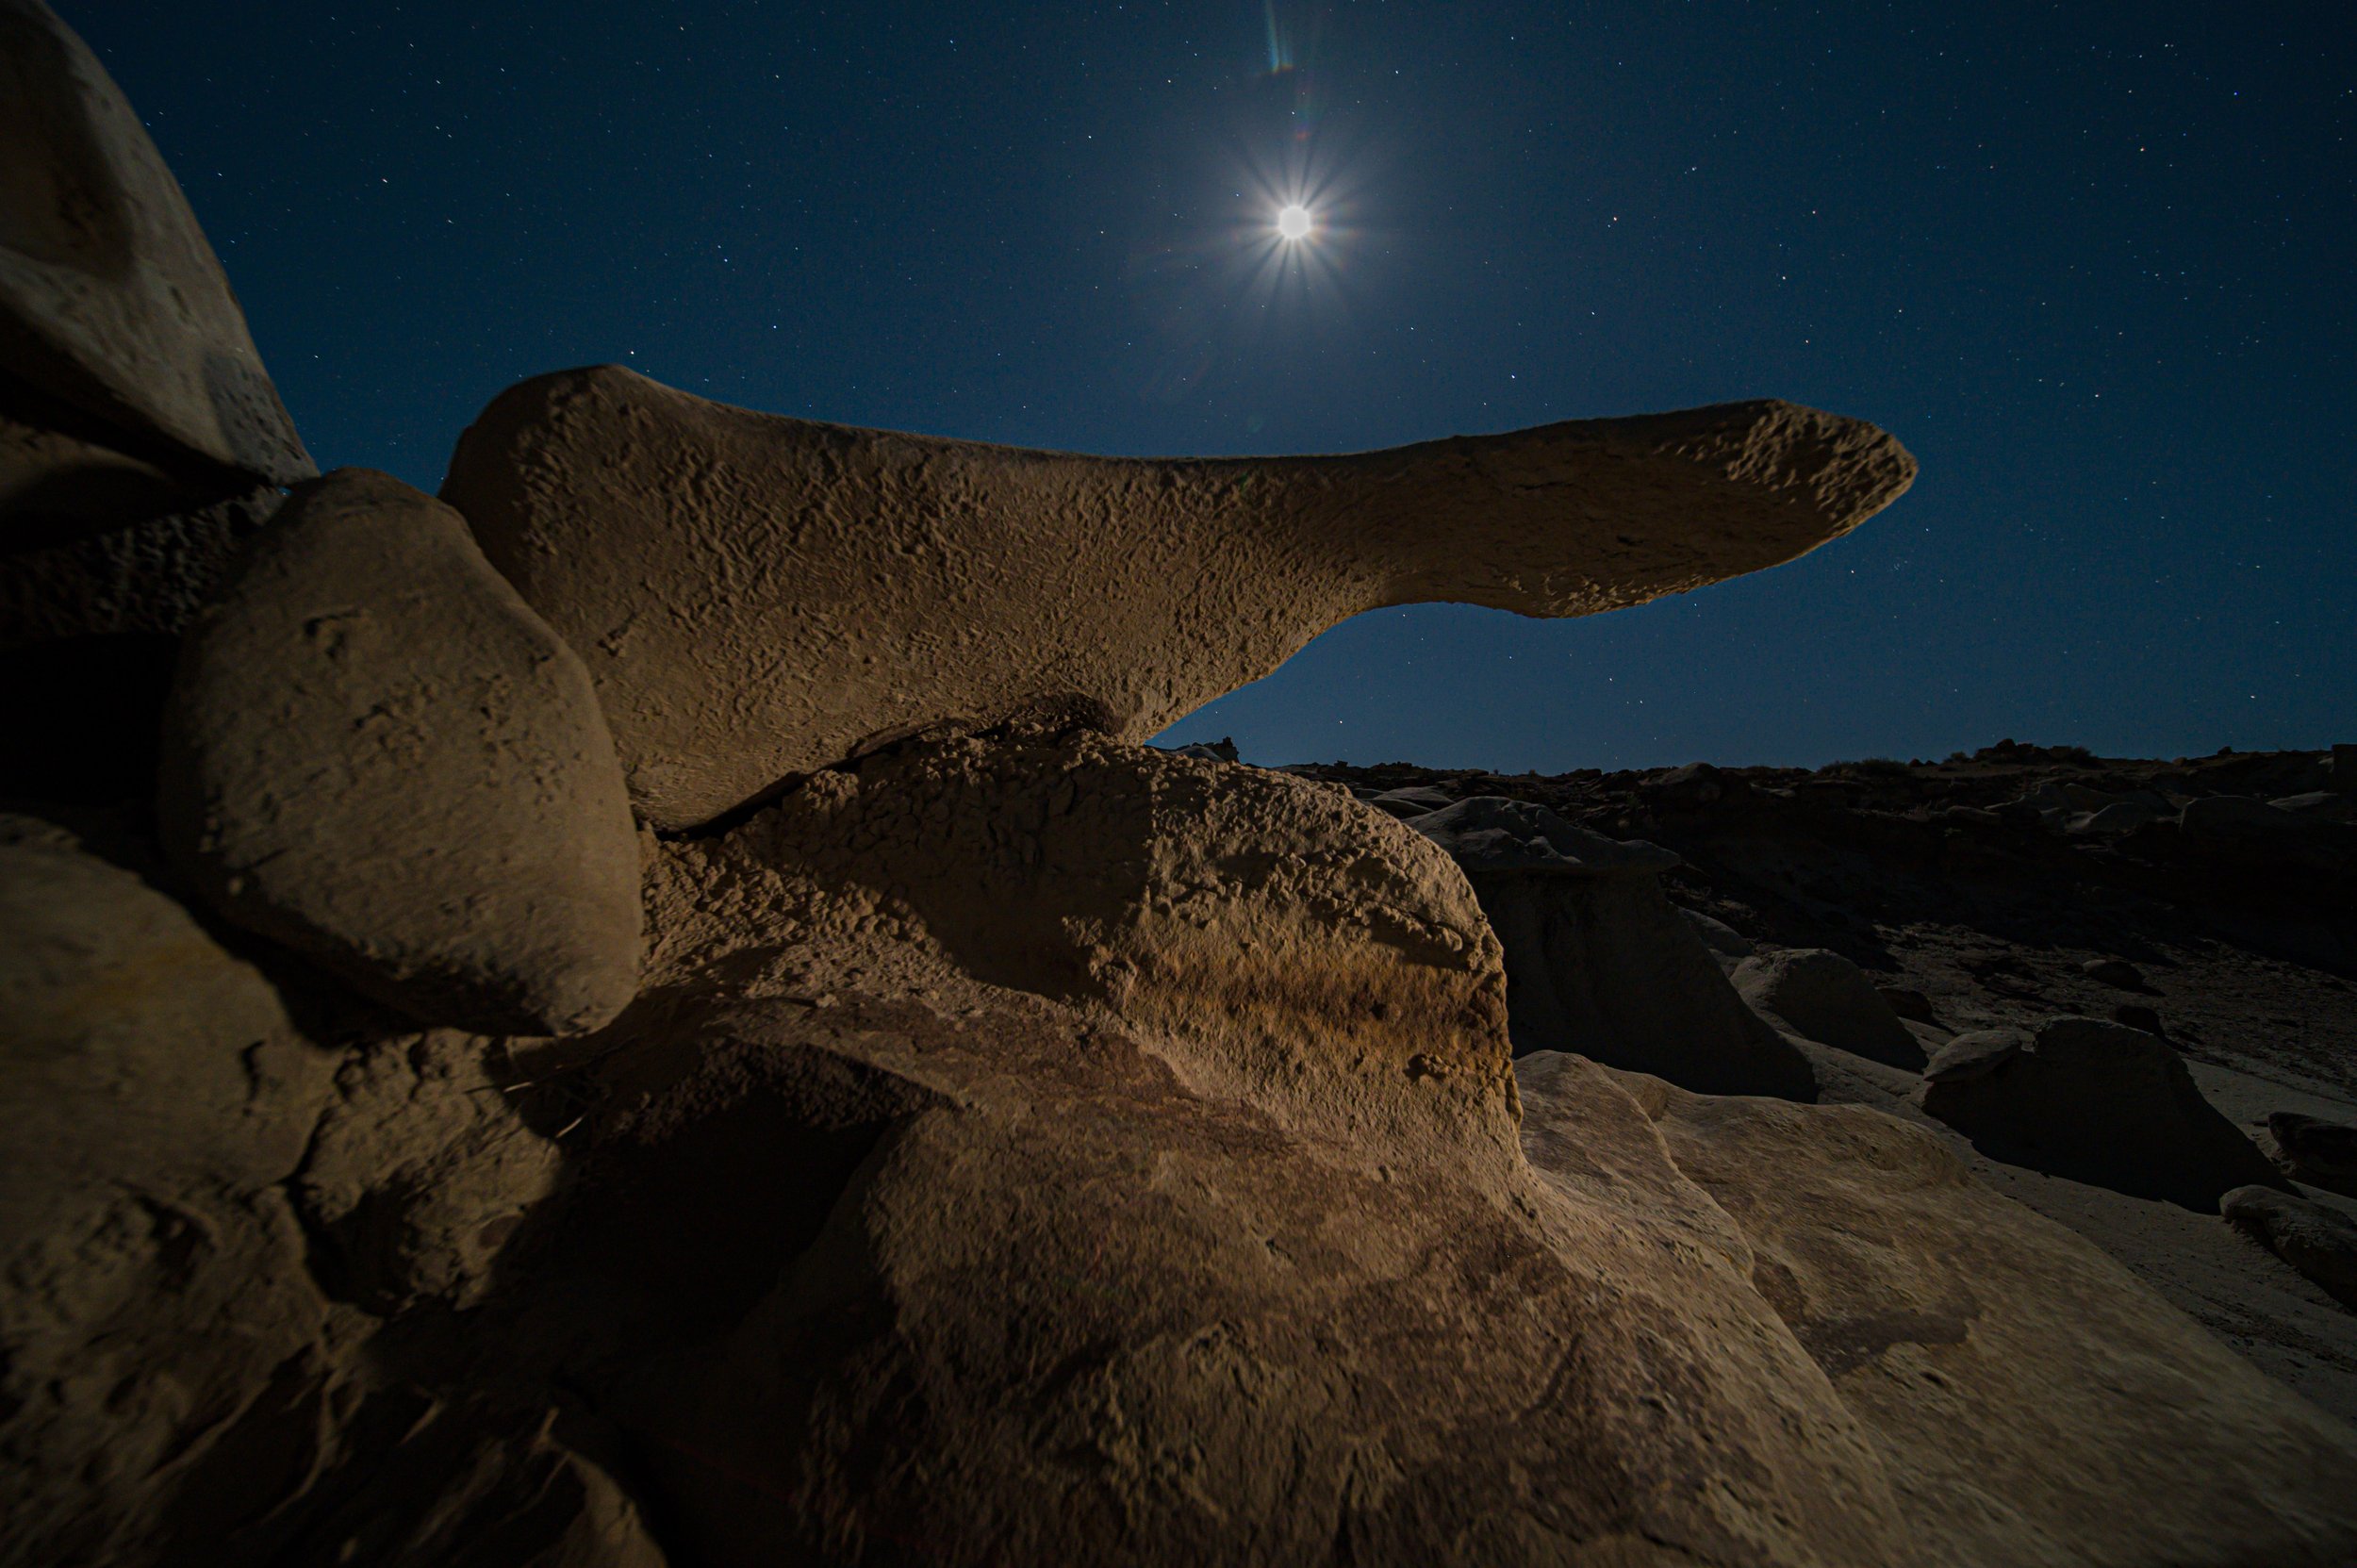
Arches National Park. © 2016 Tim Cooper.

Arches National Park. © 2016 Tim Cooper.

Q: I heard/read that Arches National Park has closed the permits for night photography. Does this mean for workshops or personal? — Juan Aguilera

A: Yes, Arches (and Canyonlands National Park) did institute a rule change this year, but it applies only to instructor-led groups using an official CUA (Commercial Use Authorization) permit, and for the moment it applies only to light painting.

If you go on your own as a photographer, there are no restrictions—for now. But if photographers don’t collectively respect that environment (i.e., behave ourselves), who knows what might change? While we don’t agree with a blanket rule change in Arches, we do understand why it was implemented. We always talk about the etiquette of doing night photography in a way that doesn’t negatively affect others who are enjoying the same dark skies that we’re photographing. (See the early sections of the “Night Photography in National Parks” presentation Lance and Chris did at the B&H Event Space a few months ago.)

However, it’s also good to note that if you’re planning to shoot in Arches in 2017, the park will be closed at night every Sunday through Thursday due to road construction. So you can do night photography only on Fridays and Saturdays, until the expected November completion date. — Matt

4. Aurora in New England?

Q: Is there any chance of seeing aurora in New England? And is there a good app that you use for potential activity? HersheyArtImages

A: The aurora can occasionally be seen in southern New England, but it is usually just a little bit of green near the horizon in the northern sky, when seen from a dark beach with a view to the north. In the northern parts of Vermont, New Hampshire and Maine, it is seen a little more frequently.

We use an app called Aurora Forecast, which is available for both iOS and Android. Once you download it, you can customize the settings to send you an alert for a kp (the unit of measurement of auroral activity) of 6 or higher in the middle latitudes. If the activity is much less than that, you are not likely to see anything.

You will never see aurora from a light-polluted area so far south. Really strong displays can sometimes be viewed right in the center of Reykjavik –– but that is a much smaller city, with much smaller suburbs. — Lance

5. Dealing with light pollution

In this photo from Everglades National Park, light pollution from distant Miami builds up in a 30-second exposure to provide depth to the scene. © 2013 Chris Nicholson.

In this photo from Everglades National Park, light pollution from distant Miami builds up in a 30-second exposure to provide depth to the scene. © 2013 Chris Nicholson.

Q: I am struggling with processing wide-field astrophotography images (starscapes, Milky Way, etc.). In particular, with how to remove light pollution, which is an unfortunate fact of life for those of us living in the eastern part of the country. For wide-field photographs, the light pollution is usually graduated over the image, being brightest at the horizon and diminishing at you go higher. I would very much appreciate any tips you might have in this area. — David T.

A: Honestly, I generally don’t do anything to try to rid light pollution from my night photos, but rather try to use that extraneous light creatively. Specifically, I use the distant light to create silhouettes of mountains, for example, or to light clouds in the sky. Both of those tactics can provide depth to otherwise pitch-dark scenes.

If you do want to negate the color effect of light pollution in the night sky, a tech option is to try one of the new filters for eliminating the color cast in the sky that can be caused by light pollution. Our friends at Lonely Speck recently released the PureNight filter, which is made from a special didymium glass that reduces the transmission of light from sodium vapor lamps. We have yet to try it, but they know their stuff, so it’s likely an excellent solution. We also just heard about the NiSi Natural Night Filter from Ikan, but again, we haven’t had the pleasure of trying it yet. — Chris

Chris Nicholson is a partner and workshop leader with National Parks at Night, and author of Photographing National Parks (Sidelight Books, 2015). Learn more about national parks as photography destinations, subscribe to Chris' free e-newsletter, and more at www.PhotographingNationalParks.com.

UPCOMING WORKSHOPS FROM NATIONAL PARKS AT NIGHT

Recapping Our Final Workshops of 2016: Arches and Death Valley

Winding down 2016 also means that National Parks at Night is winding down its first year. (Which seems odd, because we're already working on our third year.) Part of that winding down was running our final two workshops of 2016, at Arches National Park in Utah and Death Valley National Park in California.

Both workshops were a lot of fun and productive, with pristine night skies and beautiful scenery. Check out below for some details.


Arches National Park

November 15-19, 2016,
by Matt Hill

Fifteen creative souls joined Tim Cooper and I in Utah at Arches National Park. With experience levels ranging from first-time night photography shooters to advanced artisans of the night, they all tackled the iconic Arches landscapes with enthusiasm and great cheer.

The workshop started directly after the supermoon, giving us more and more access to darkness and Milky Way as the workshop proceeded, while still giving some stunning lighting from the waning full moon.

We visited many of the breathtaking vistas in Arches: Park Avenue, Balanced Rock, The Windows, North/South Arch, Turret Arch, Double Arch, Landscape Arch, Pine Tree Arch and the coveted (and often crowded) Delicate Arch.

The weather played nice—it was warmer than expected during the beginning of the workshop. And we had clear skies most nights, except for some pesky clouds here and there. But what's night photography without a little adversity, right?

The students were eager to hone their skills for star point and Milky Way shots, for light panting, and for star trails and star stacking. We covered all those topics and then worked on combining them, in groups and individually. We're certainly proud of our students' accomplishments, and from what we heard at the end of the workshop, so are they. Mission accomplished!

One of our favorite moments in the workshop is always the group show at the end. Everyone gets to see how they and their peers have grown during the workshop. Here is a look at their wonderful work as a video (slideshow available on the workshop page for larger views of the photos). Enjoy!


Death Valley National Park

November 15-19, 2016,
by Lance Keimig

Death Valley is one of the most famous, but least known of our National Parks. It’s famous for being the hottest place on Earth, for having the lowest elevation in the U.S., and of course for the colorful name that leads one to think of a dying man lost in the desert sun, crawling across the desert in search of water only to find mirages, cacti and rattlesnakes.

Death Valley is not so well known simply because of the sheer scale of the park, and the incredible diversity of flora, fauna, geology and weather to be found there. Most people visit for a few days or a week, which is barely enough time to scratch the surface of this incredible wilderness in the Great Basin near the California-Nevada border.

I’ve been visiting Death Valley regularly for the last six or seven years, and have taught a couple of night photography workshops there before, but still have much to learn about and see in the largest of our national parks.

Using my Coast Portland focusing light on the Death Valley salt pans a couple of nights before the workshop began. Also note my Manfrotto Series 1 Traveler tripod, my Nikon D750 and Peak Design Everyday Backpack. Four sponsors in one photo, totally …

Using my Coast Portland focusing light on the Death Valley salt pans a couple of nights before the workshop began. Also note my Manfrotto Series 1 Traveler tripod, my Nikon D750 and Peak Design Everyday Backpack. Four sponsors in one photo, totally unplanned! See, we really do use this stuff! Photo by Chris Nicholson.

Fellow instructor Chris Nicholson spent a couple of days with me a year ago during my previous Death Valley workshop, but this was our first time teaching together. We arrived a few days early to scout locations, to get acclimated and to plan our strategy for the week. We feel that those few days before a workshop spent in a park are always critical to making the experience as good as it can be for the participants. It gives us a chance to get into the groove of working together and also to match the rhythm of place itself. Of course, this little bit of extra time is our opportunity to shoot for ourselves, and we did just that.

As with most of our workshops, we had a mixture of alumni and new faces, advanced photographers and novices. What was rather unusual was that we had only three women out of 15 participants. It was, however, a great group and everyone got along well and worked together to make the most of our experiences in the park.

We had planned for this workshop to begin right after the full moon so that we had bright moonlight at the beginning and increasingly dark skies toward the end as our group became more confident.

On the first night of the workshop, we hiked into a canyon to photograph the enormous Natural Bridge, which was a great place to start. It also worked out to be a fitting consolation prize for one of our group who had wanted to attend the Arches workshop but couldn’t sign up before it sold out!

After a few hours in the canyon, we ventured out into Badwater Basin for wide-open skies with salt flats in the foreground and mountains on the horizon. Recent rains had dissolved most of the famed geometric patterns in the salt pans, but new ones had already begun to form, and we spent time seeking them out.

We had planned to visit the Mesquite Sand Dunes on the second night, but the wind kicked up and made it impossible to go out to the dunes. Instead, we followed the Badlands Loop trail into the canyon below Zabriskie Point, and the group worked collaboratively to great success on light painting images. In the end the change of plans worked out perfectly. Chris and I had scouted off-the-beaten-path access to the dunes, but despite that, there had still been quite a few footprints—the No. 1 enemy of the photographer working with a sandy landscape. But the wind that blew in on the second night cleaned the dunes of every single footprint and dissipated by the next morning, leaving us pristine dunes to photograph on the third night. We couldn’t help but leave a few footprints behind, but did our best to walk in each other’s tracks.

On the fourth night, we traveled just outside park boundaries to Rhyolite ghost town, just across the border in Nevada. Rhyolite is always a great location for workshops, as the remaining buildings are scattered over a large area, making it easy for the group to spread out and keep out of each other’s way. After making what I think is the best workshop group photo ever (above), we broke up into small groups, and happily spent the night among the ruins.

On or last day, we had our final presentations (below) and then a group lunch at the Furnace Creek Inn. That night, we went to the flats south of Salt Creek, which was a similar location to Badwater, but with some spots of shallow water that could be framed to reflect the starry sky.

By this time of the week the sky was completely dark, as there was no sign of the moon until quite late. Despite it being November, we were still able to photograph the tail of the Milky Way, which was a highlight for many in the group. Later we went to the Furnace Creek area to photograph the surrounds in the soft glow of the lights of the village reflected off of the landscape—an eerie scene that makes this one of my favorite places to photograph in the park.

There are many great locations that we didn’t get to—Racetrack Playa, the charcoal kilns, Ubehebe Crater and the higher elevations in the western side of the park. Somehow, I’m sure that most of our group will find their way back to Death Valley again someday to further their explorations.

Death Valley National Park Night Photography Workshop Student Slideshow ** This slideshow showcases the work of 15 students with a wide range of experience in night photography as they learned more about shooting the night sky and stunning landscapes of Arches National Park in Utah.


Thank you to the perk providers

We owe a special thanks to our partners for how they helped the attendees of both workshops, supporting our mission to share and capture the beauty of national parks (at night!). Nikon sent a generous loaner package of gear for attendees to use, including D5's, D750's, D810A's and lenses ranging from the 10.5mm to the 16mm to the 20mm to the 14-24mm (all among our very favorites for night-sky work).

Coast Portland generously supplied flashlights for all attendees to own and love. X-Rite supplied an i1 Display Pro to profile and calibrate our teaching laptops and projectors. Digital Silver Imaging provided a set of sample prints of NPAN instructor photos for students to view. TetherTools sent along a Case Relay System which Matt used to capture many timelapses and star stacks. And Manfrotto was along too, supporting all of the instructors' cameras.

Nikon D5, D750, D810A and D500 bodies, plus AF fisheye-Nikkor 16mm f/2.8d, AF DX fisheye-Nikkor 10.5mm f/2.8, AF-S Nikkor 14-24mm f/2.8g ED, PC-E Nikkor 24mm f/3.5d ED, AF-S Nikkor 24mm f/1.4g ED, and AF-S Nikkor 20mm f/1.8g ED

Tim and Matt a full of glee at Double Arch

Chris using his Coast HP7R to focus on some rock formations in Death Valley's Furnace Creek area. Shooting with a Nikon F5 on his Gitzo 3541L tripodS.

Matt rocking a Coast HP7R and a Peak Design Everyday Backpack 30L on the trail to Landscape Arch.

See more about Matt's photography, art, workshops and writing at MattHillArt.com. Follow Matt on Twitter Instagram Facebook.

UPCOMING WORKSHOPS FROM NATIONAL PARKS AT NIGHT

Level Up: Re-Editing Your Night Photography Images (Video)

I made a screencast for you, dear readers and passionate night photographers. I'm about to join Tim Cooper in Arches National Park next week for one of our final workshops for 2016, and I thought I'd reveal some of my creative process.

It's important to revisit processed photographs from time to time to apply new tastes and techniques. You'll grow faster by identifying old mistakes you made while making better versions of your favorite images, and you may also be able to improve old work because you now know more post-processing techniques or simply because you're better at them.

When you re-edit photos, you'll leave the experience strengthening your new abilities, with more confidence, and with a further developed aesthetic. Give it a shot. I guarantee you'll learn something about yourself, and maybe make a good image great.

My challenge to you: 

  1. Re-edit one of your favorite images.

  2. Write a blog post on your website.

  3. Post a link in the comments. We'd love to see what you do!

Here is the video. Grab a cup of coffee and lean into it. You'll watch along as I re-edit three images from Arches and talk through how I've leveled up since I first shot and edited them.

Example images

Below are the images from the video, much larger so you can see the before and after. Click to view.

Image 01 from the video, before and after.

Image 02 from the video, before and after.

Image 03 from the video, before and after.

Experimenting with Uncommon Light Sources in Night Photography

One of the joys we have as night photographers is having extra time to make more deliberate choices about lighting for our imagery. Our common tools include flashlights, speedlites and larger flashes. But it certainly isn't limited to the usual, right?

Let's explore some alternate lighting experiments I've conducted:

Adjacent to Sand Arch in Arches National Park, Utah © Matt Hill

The above image combines me choosing to record another photographer's light painting while adding my own twist: toy LED "Rocket Copters." I had thrown them in my bag, knowing that I would be able to make some UFO-like descending lights.

Central Park in January © Matt Hill

Point light sources, such as battery-operated Christmas lights, are often used to make glowing orbs, but they are also fun to drag along the ground to illuminate and write with light simultaneously. This aided this photo in becoming an obvious long exposure. Without it, the only clue was the rising fog in the rear left.

Toy sword inside crashed plane in northern Arizona. 

At a trade show in Las Vegas, someone left a toy sword in our booth that lit up green. The kid in me was like, "YEAH!" The photographer in me was like, "I'm gonna use that for tonight's shoot." And I did.

Toys with cheap, colored LEDs in them can sit well in small places and provide that perfect color glow to make a scene.

Arches National Park © Matt Hill

A tablet is also a gorgeous source of light, with both very consistent and controllable output. On my iPad mini I have an app called Rave Magnet. It cycles through all chroma as you wave it around, making beautiful color gradients. The effect is excellent for light writing and painting.

Downtown Denver

Sometimes the tools you have can be repurposed. The above was my two flashlights in plastic bags, dragged along underwater.

This was the most exercise I'd gotten in weeks. My friend and I threw this light back and forth for eight minutes while the camera popped off sequential exposures. Stacked in post.

Have fun. Look at the world of light-emitting objects in a new way: How can I make cool new photos with that?

See more about Matt's photography, art, workshops and writing at MattHillArt.com. Follow Matt on Twitter Instagram Facebook.

Upcoming workshops from National Parks at Night