We get a fair number of questions. We try to answer them all, and we like to share this information exchange with any night photographer interested in listening in.
This installment of our “Five Questions” series features inquiries about enhancing Sony live view, the Nikon Z6 versus the Z 7, identifying flying objects, using Nikon lenses on Canon bodies, and third-party post-processing software.
If you have any questions you would like to throw our way, please contact us anytime. Questions could be about gear, national parks or other photo locations, post-processing techniques, field etiquette, or anything else related to night photography. #SeizeTheNight!
1. Bright Monitoring for Sony Cameras
Q: In your recent blog post about the Nikon Z 6, you mentioned that Sony recently added a Bright Monitoring mode to their A7 and 6000 cameras that makes it easier to compose at night. Where do I find that? You also said it could use some improvement. Where does it fall short? – N.N.
A: It is a bit hidden in their menus, so it’s best to assign the feature to a button. To find it:
Change your camera to manual focus. It won’t let you select Bright Monitoring if you are in any of the AF modes.
Navigate to the Camera Settings2 tab in the menu, and look for Custom Key for stills (the icon that looks like a picture of a mountain).
Assign a button to activate Bright Monitoring.
This lets the camera decrease the FPS refresh rate so that you can better see and compose in dark scenarios.
Where it falls short is here: Because you are in manual focus mode, if you zoom in on your LCD or EVF to finesse your focus, the camera automatically jumps out of Bright Monitoring and the screen goes back to normal (i.e., dark), which makes it hard to focus. So then you need to revert back to one of our “8 Ways to Focus in the Dark.”
So yeah, it has room for improvement. You can use it to compose, but not to focus. Still, it’s a very cool feature, and it could be added as a firmware upgrade by any camera manufacturer. (Hint hint.) — Gabe
2. Nikon Z 6 or Z 7 at Night?
Q: I’ve been sitting on the fence about buying a Nikon Z 6 or Z 7. Your recent article makes me want to go ahead and get one, but I’m curious how the Z 7 compares with the Z 6 at night. I currently shoot my night (and day) pics with the D850. — Deb
A: The short answer is that the Z 6 is better for night photography than the Z 7. The long answer? Here it goes:
The Z 7 has a very similar sensor to your D850, so if you like the image quality you are getting now, then the Z 7 would give you about the same results in a smaller body. And those results are amazing.
But at night things change. The issue with higher-megapixel cameras (typically over about 40 megapixels) is that it’s harder to achieve cleaner high ISOs, particularly past 6400. This is true for the Z 7, whereas the Z 6 can easily shoot 2 to 3 stops beyond that—it’s a low-light machine.
The other issue for me (and this is a literally a big one) is that the file size created by the Z 7 averages about 85 MB for an uncompressed RAW file. The Z 6 is in the 35 MB range. This gives you more detail (which is great for making very large prints), but at two costs:
Stars will start to trail faster on a higher-resolution camera. So when you want to shoot star points, not only will you be losing a couple of stops in ISO due the reason I mentioned above, but you’ll also lose another half-stop in shutter speed.
The bigger file size fills up memory cards and hard drives twice as fast. If you are going to do star stacking (which is something I do a lot at night), then your computer will be working twice as hard, for twice as long, while blending or stacking 60 or 100 85 MB files. For that reason, the most needed accessory to go along with higher-megapixel cameras is a new computer or hard drive for all the wonderful files they produce.
My honest suggestion to you is this: If you currently love your D850, keep it as your high detail/dynamic range daytime camera. It will also be fine under most moonlit conditions at night. But for shooting the Milky Way and moonless nights, invest in a Z 6. — Gabe
© 2019 Sue Wilson.
3. Identified Flying Objects
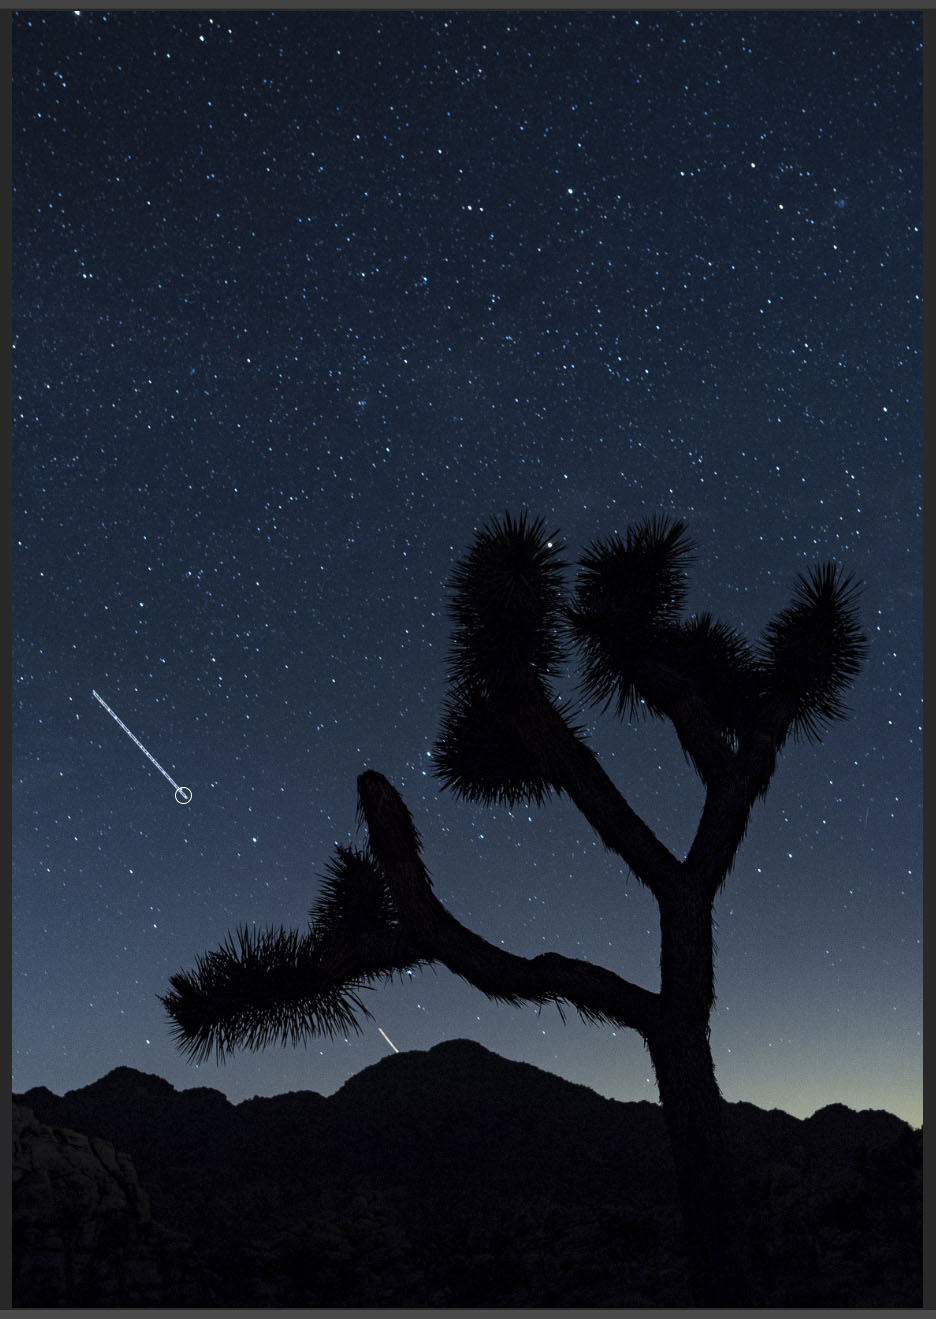
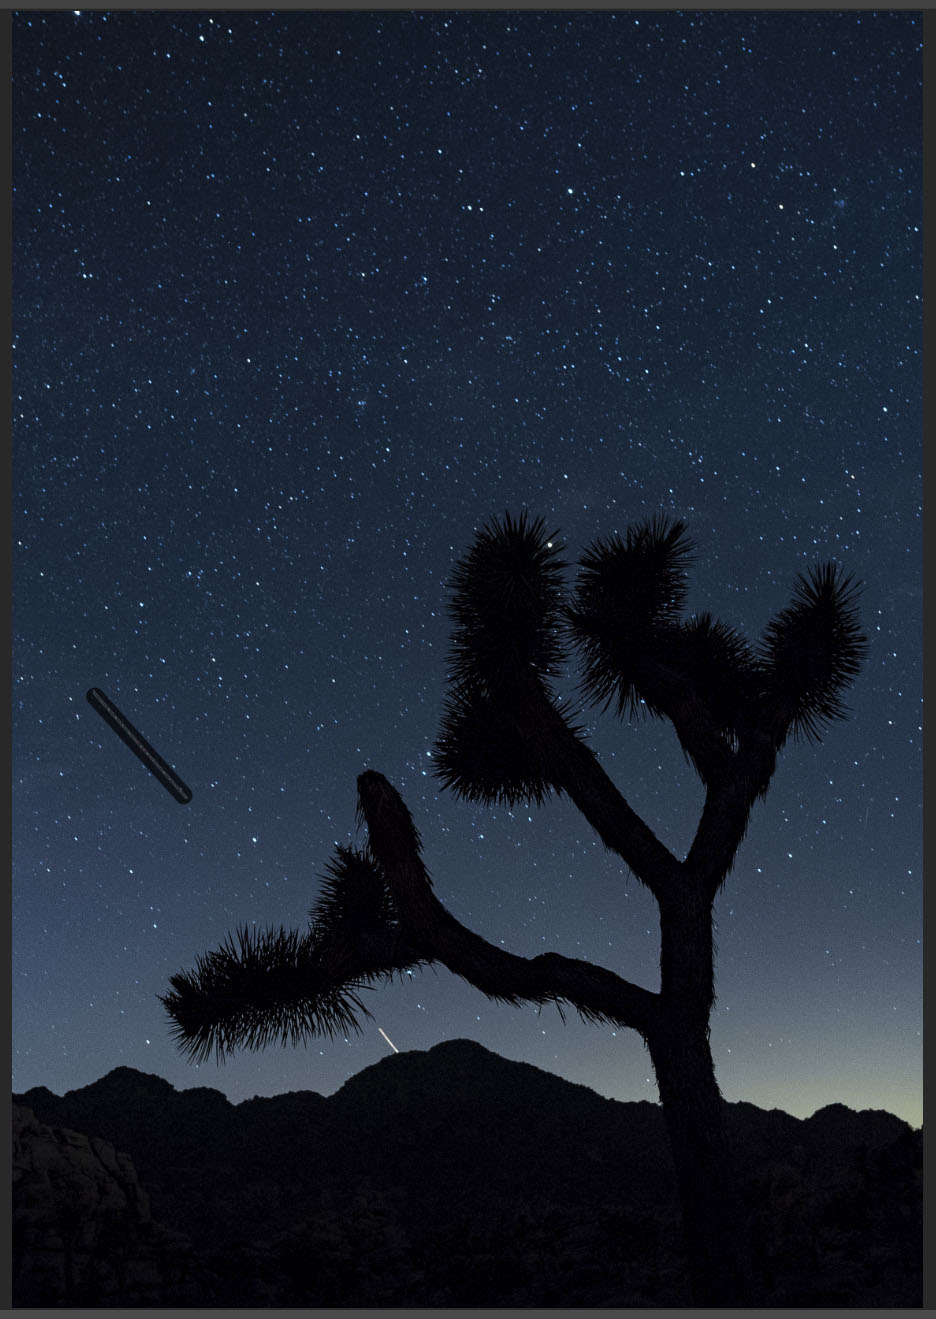
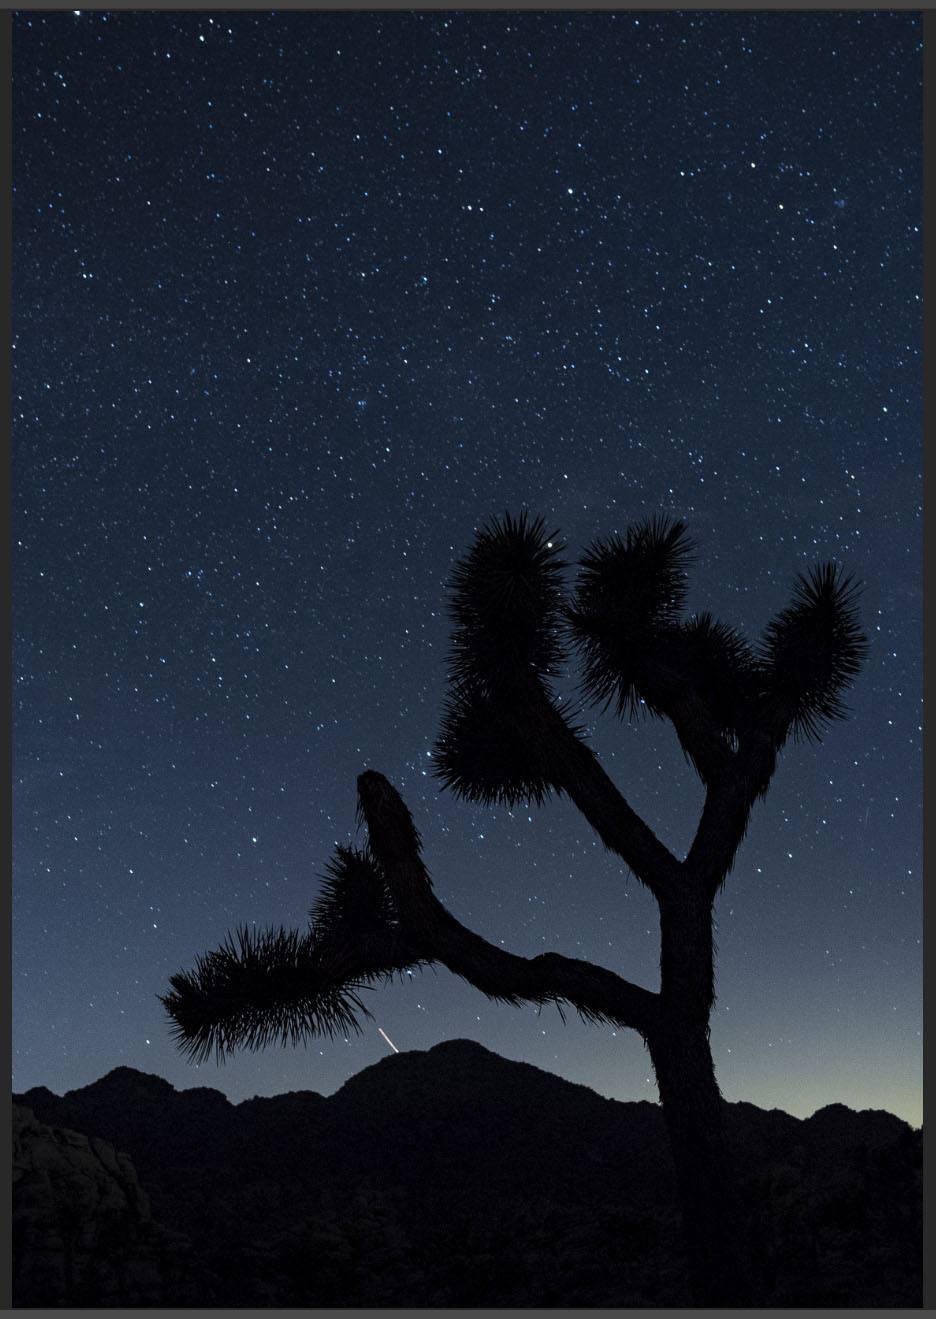
Q: I was out taking photos last night and I just started looking at them. I came across this grouping of three photos that have three distinct lines in the sky. The photos are consecutive (the ones before and after do not have anything). Would these lines be three jets? Just curious as to whether you have captured or seen something like this. — Sue
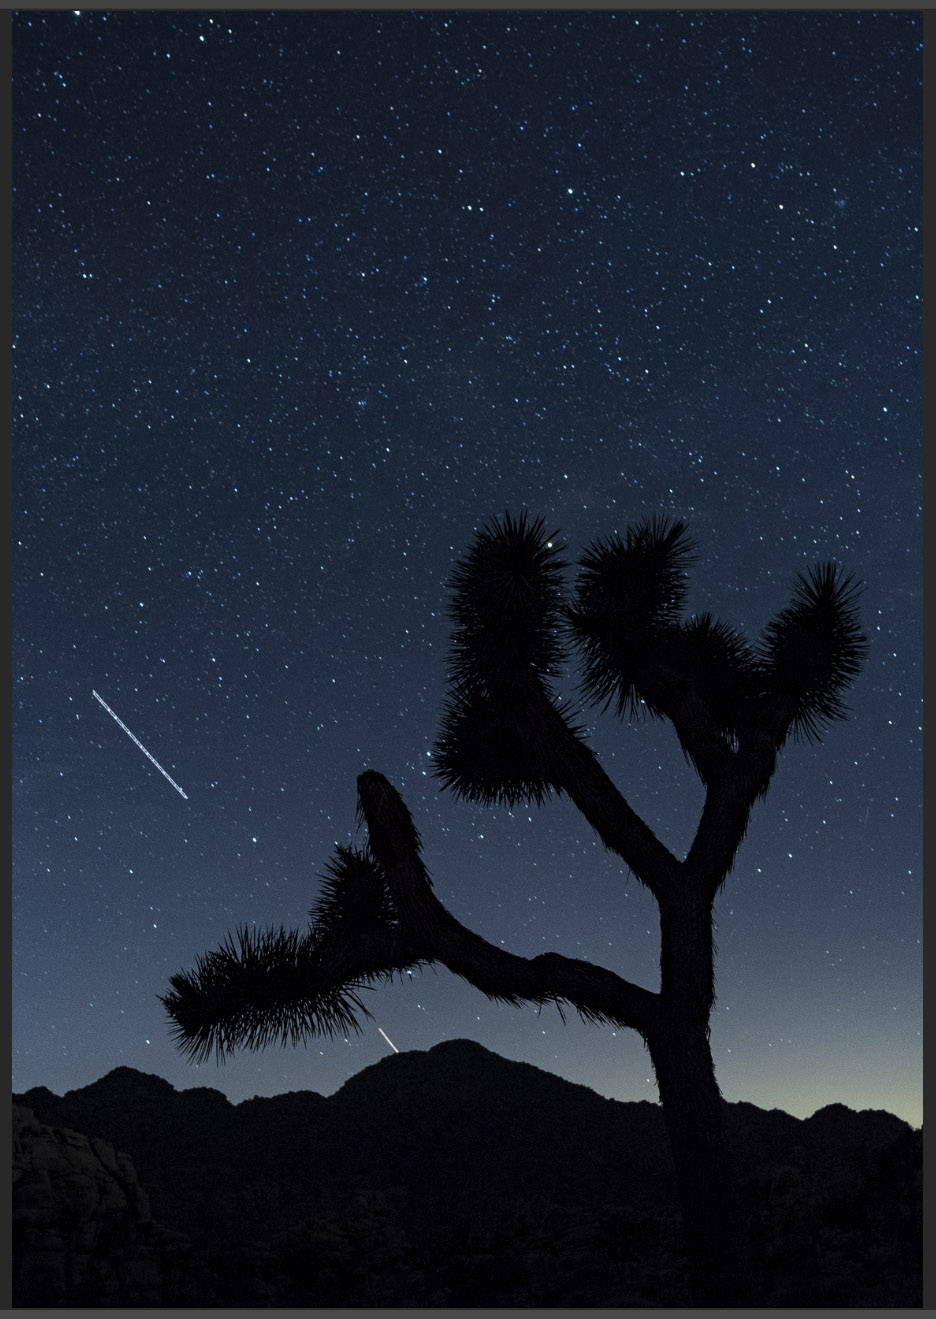
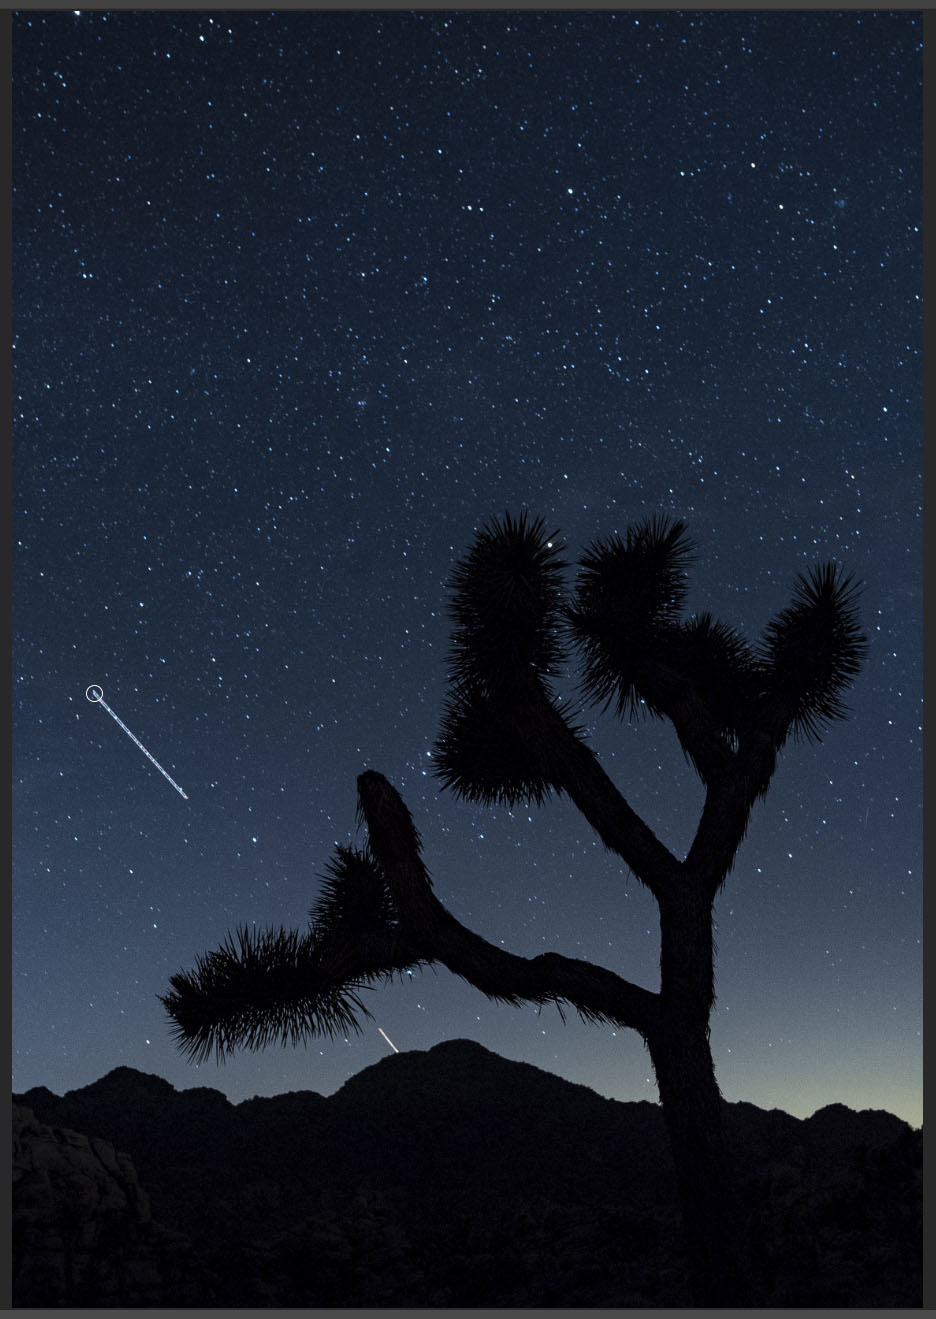
A: Those three lines are typically what we see from commercial airliners. There are lights on the end of the wingtips and sometimes one in the middle, so it’s most likely you are seeing a large airliner with a broad wingspan, or a large military aircraft that also has a sizable wingspan and perhaps is flying lower to the ground.
A fun side project of night photography can be identifying airborne objects in our images. See my blog post from last year, “How to Tell the Difference Between Planes, Satellites and Meteors.” — Matt
4. Nikon Lenses on Canon Cameras?
Q: In your recent blog post “The Simmer Dim: Photographing in Twilight that Lasts Till Morning,” the caption below the first picture says it was shot with a Canon 5D and a Nikkor lens. Can one really do such a thing? — Henry
Stones of Stenness, Orkney, Scotland. Canon 5D with a Nikkor 28mm f/3.5 PC lens. 30 seconds, f/8, ISO 800.
A: There are adapters that allow you to use Nikon, Olympus, Pentax and Contax lenses on Canon DSLRs. And that’s a good thing, because I have a bag full of film-camera perspective control lenses that I use this way! I’m still using the old PC Nikon lenses, as well as a couple of Olympus Zuiko Shift PC (Perspective Control) lenses. They are great quality, and way cheaper than the modern equivalents, especially when bought used on eBay.
You can adapt all sorts of lenses to all sorts of cameras (though manual-focus Canon FD lenses cannot be adapted to other cameras because of the flange that was used to stop down the aperture). There’s a price to pay in performance, though. Using old film-camera lenses on digital cameras is 100 percent manual—no auto focus, manual aperture control, and no metadata in your software. — Lance
5. Third-Party Software for Stars and HDR
Q: There are some other programs you guys use a lot for star trails and HDR. What are they? – J.K.
A: All five of us use Lightroom and Photoshop for almost all of our star-trail images. Adobe has done a good job over the years of watching the market for third-party tools that fill a real need for photographers, and then adopting, and then improving upon, the best solutions.
That said, there are a few exceptions in our personal workflows:
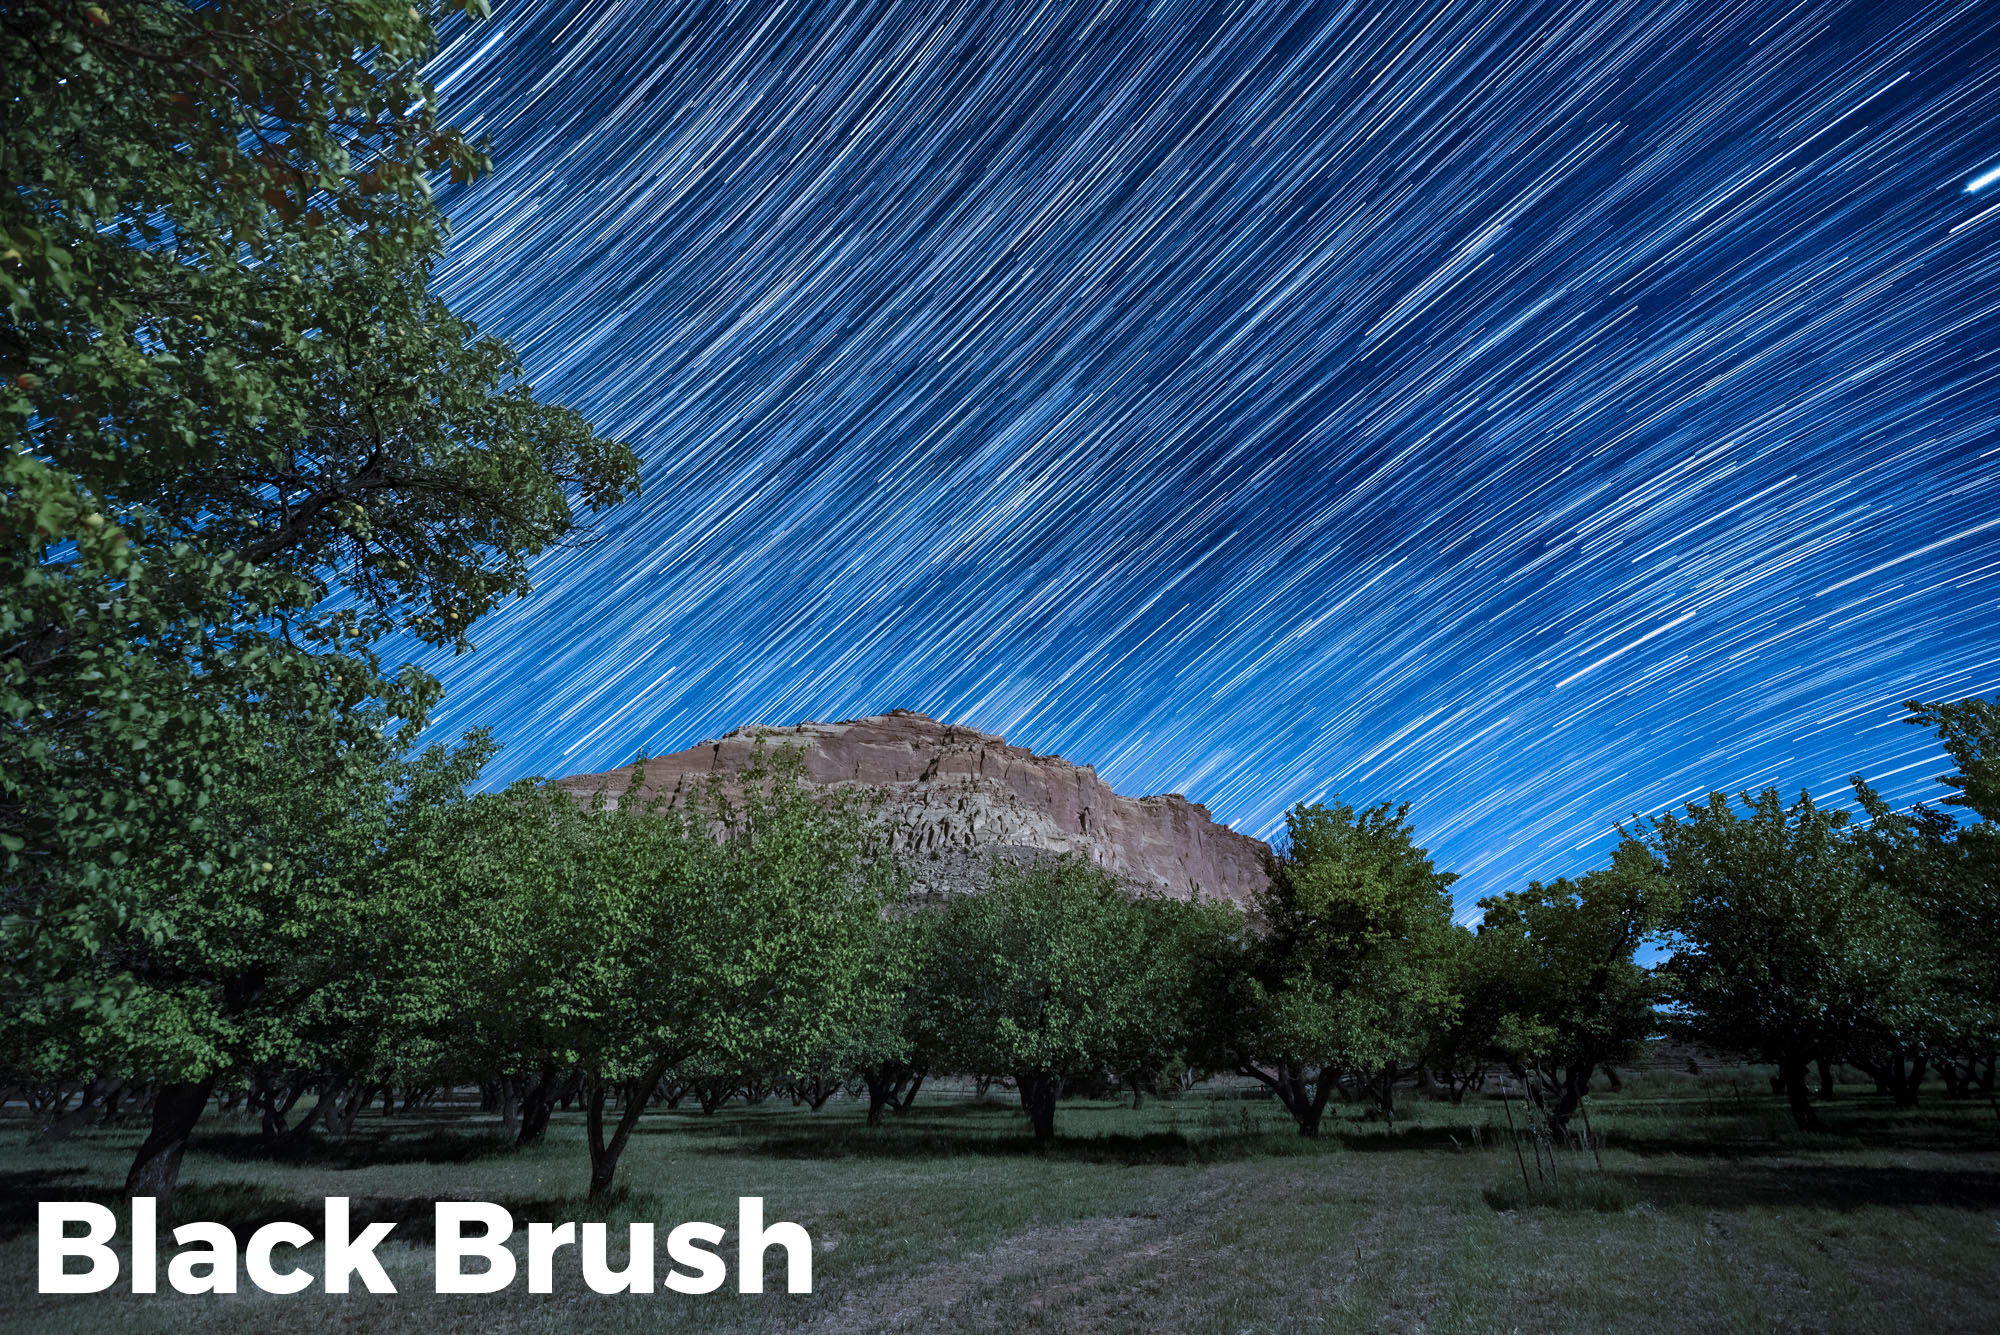
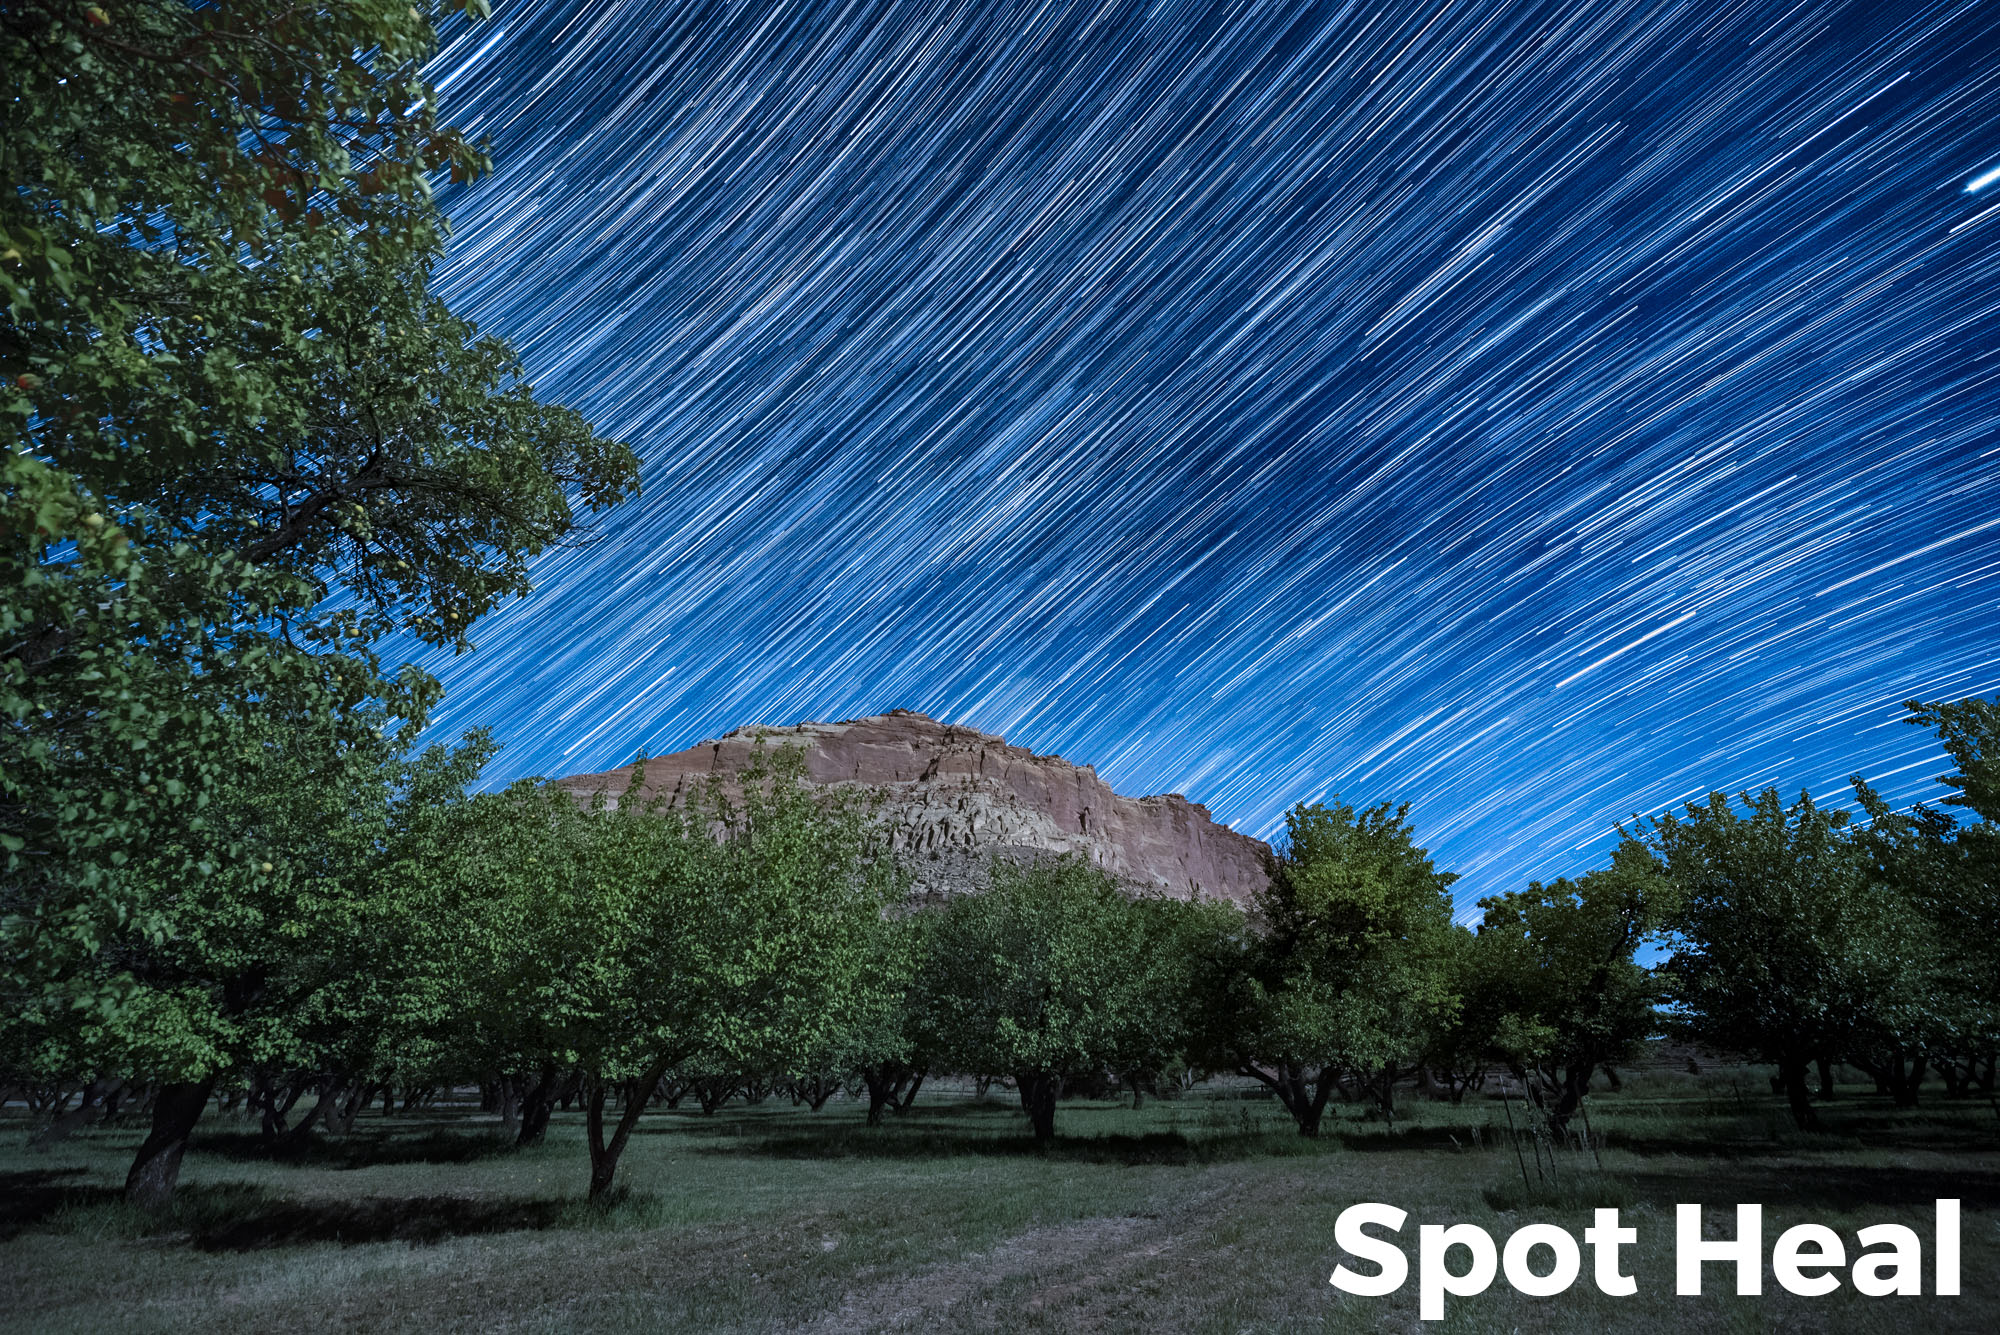
For creating star stacks, Lance and Gabe sometimes use StarStax, which fills the gaps in the trails created when multiple images are stacked together.
Lance also likes Dr. Brown’s Stack-a-Matic, which is a Photoshop script that automates creating masks on each stacked layer.
HDR night image of Las Vegas, which Tim created in PhotoMatix.
As for HDR, most of us use Lightroom, which creates a 32-bit DNG file from your bracketed exposures, which you can then develop or tone-map as usual. The exception here is Tim, who instead often uses PhotoMatix for creating HDR images in cases where Lightroom fails with ghosting or complex blends.
Incidentally, the only three third-party solutions we really use often accomplish tasks other than what you asked about:
LRTimelapse for creating time lapse videos
Silver Efex Pro for black-and-white conversions
Starry Landscape Stacker for making low-noise star-point images
What third-party software solutions do you all use? Let us know in the comments sections below, or on our Facebook page. — Chris


