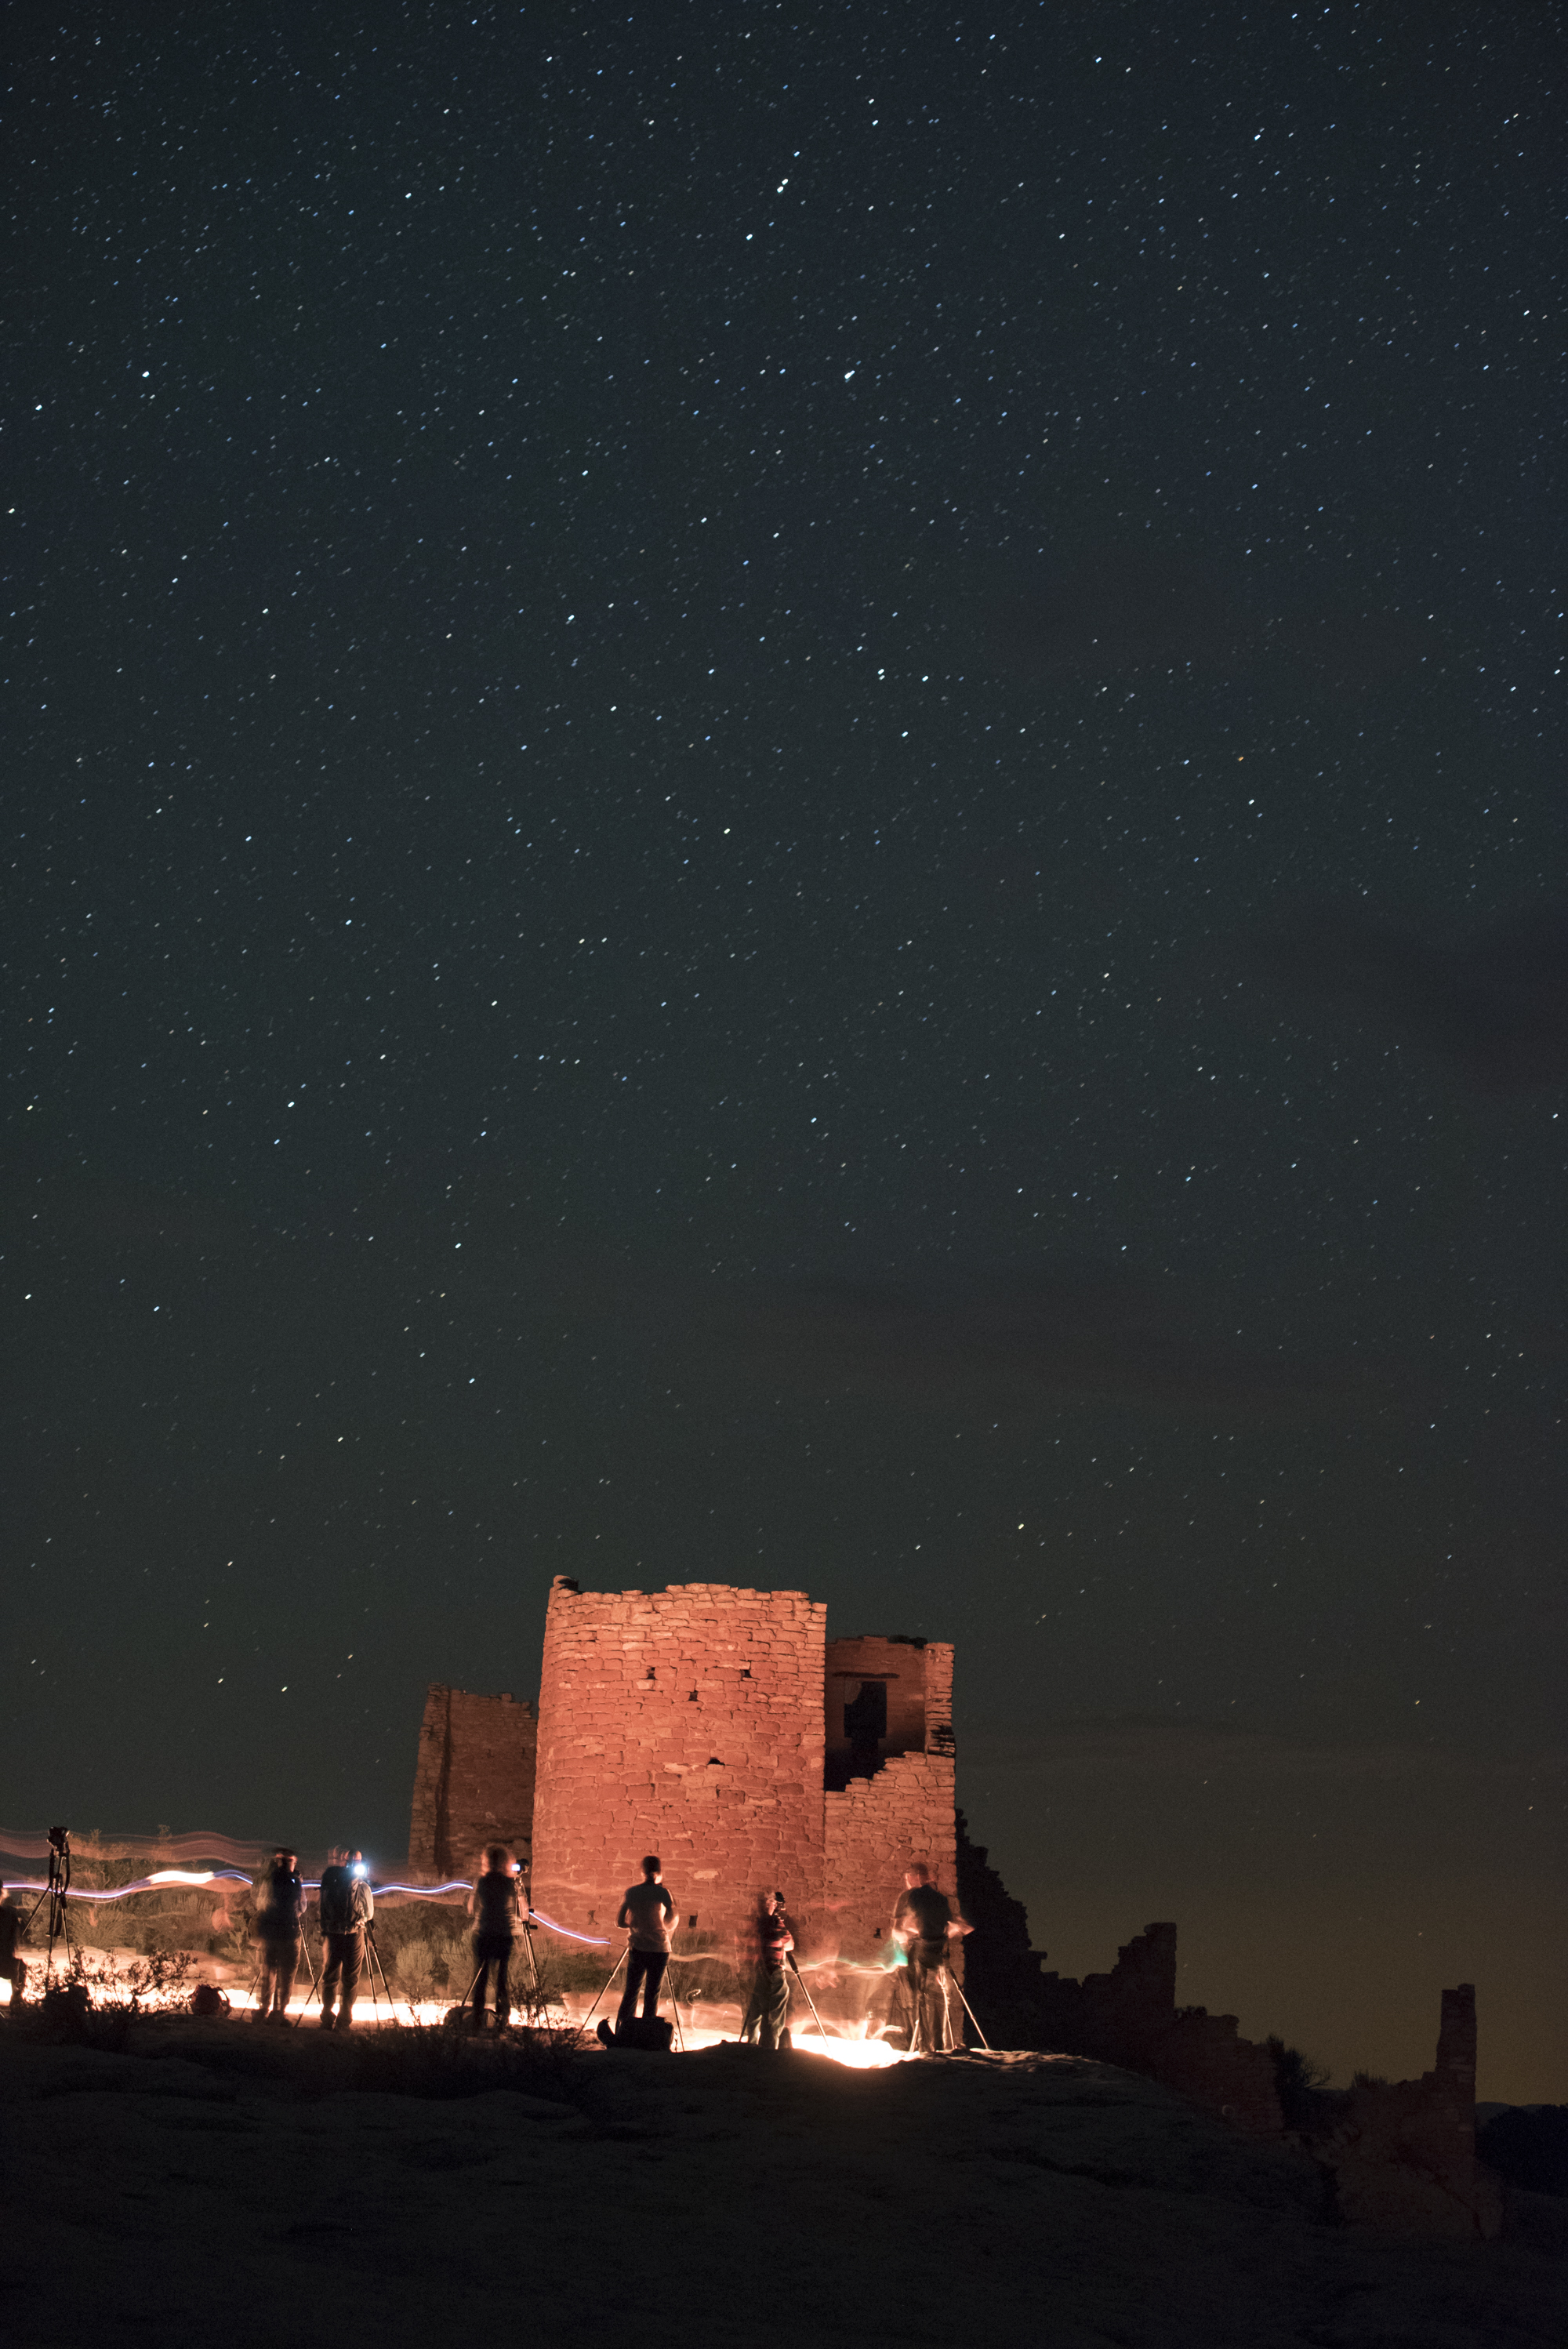
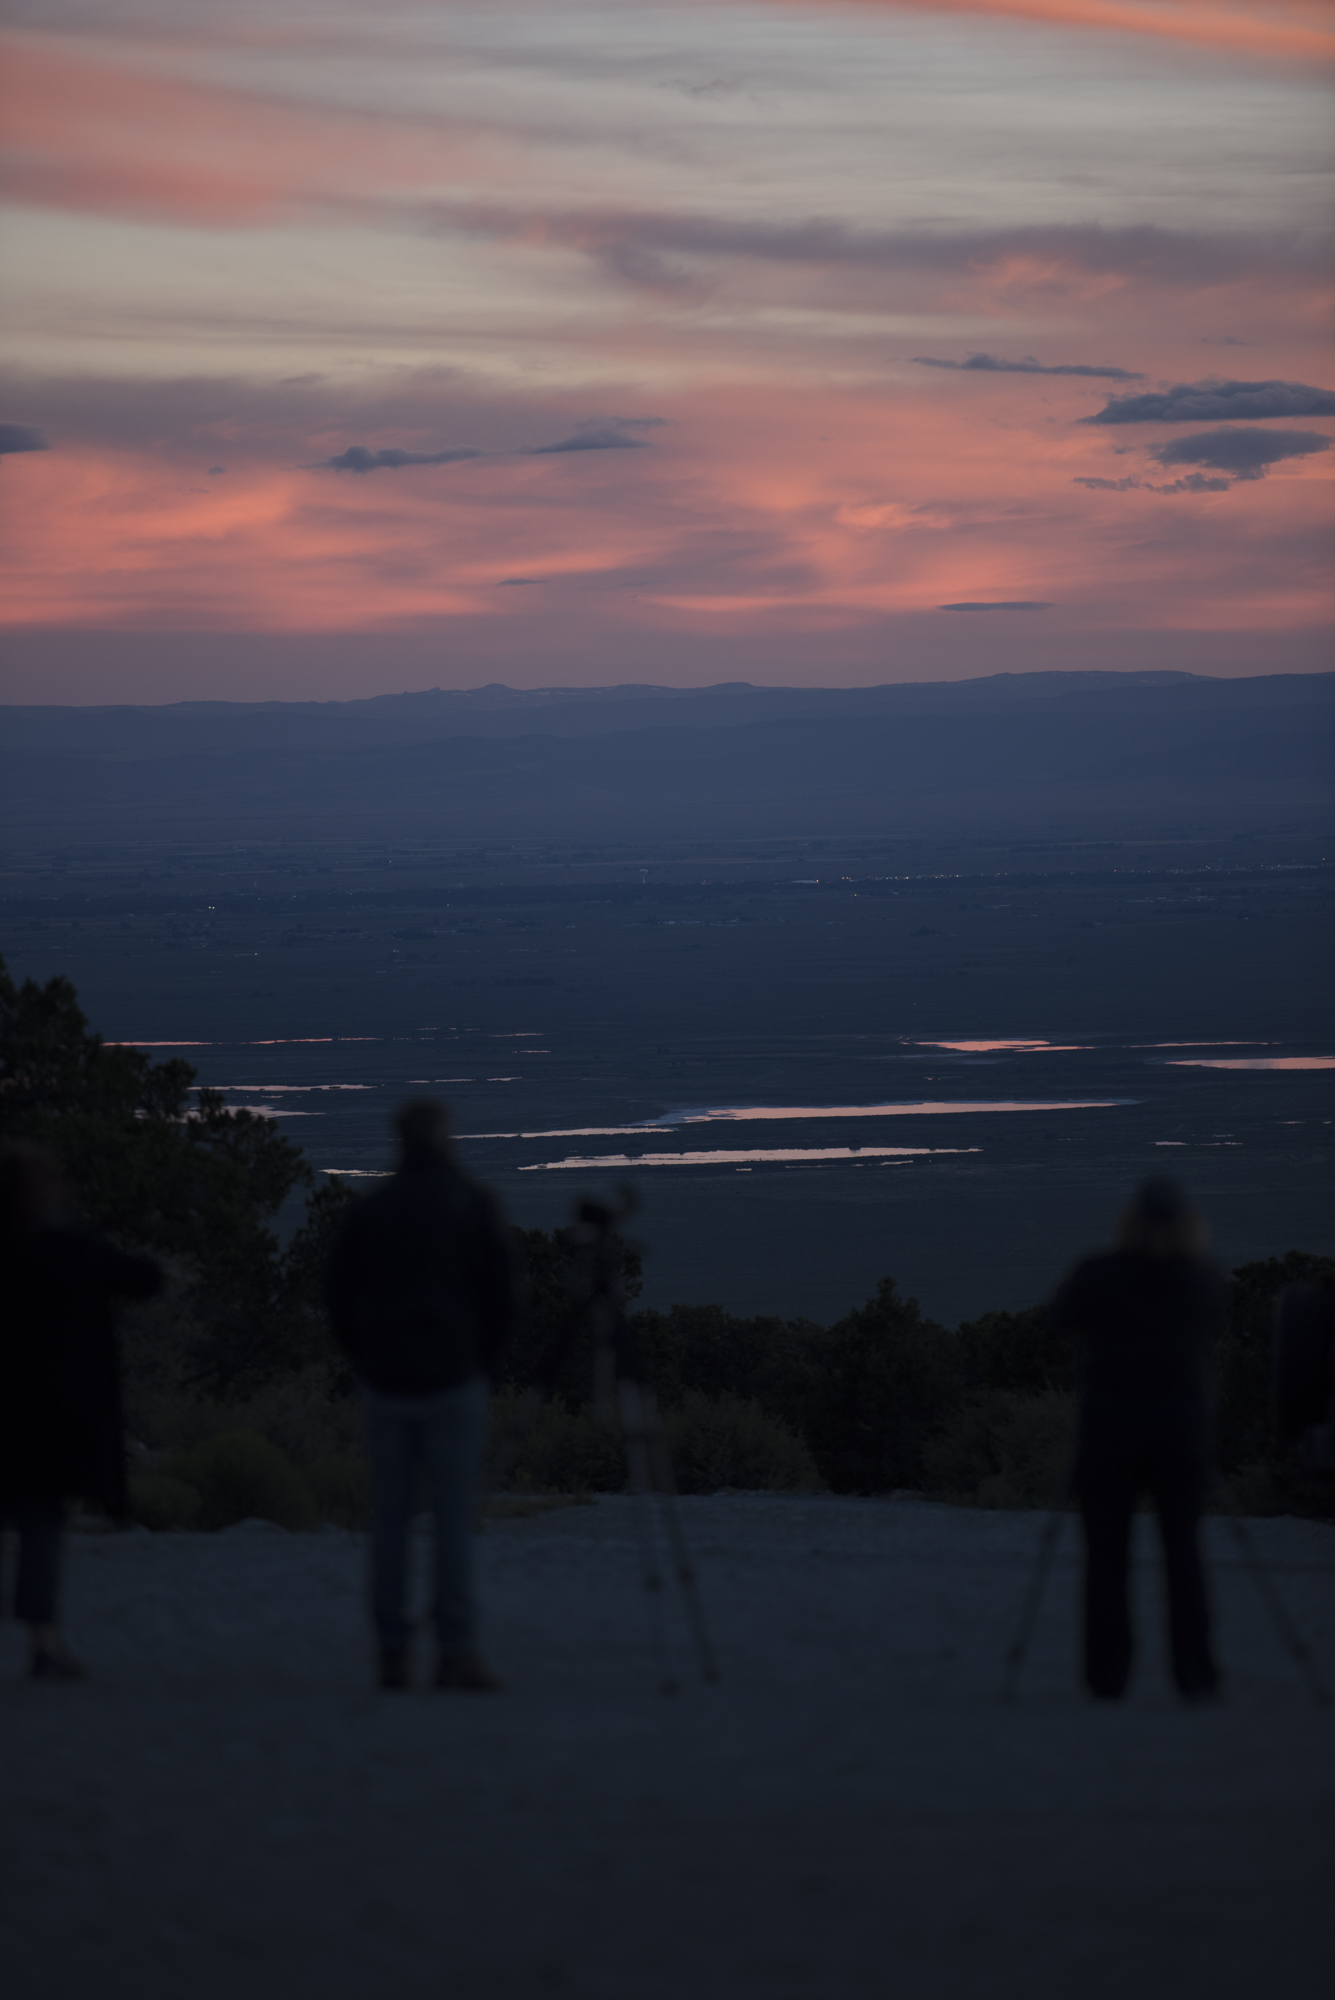
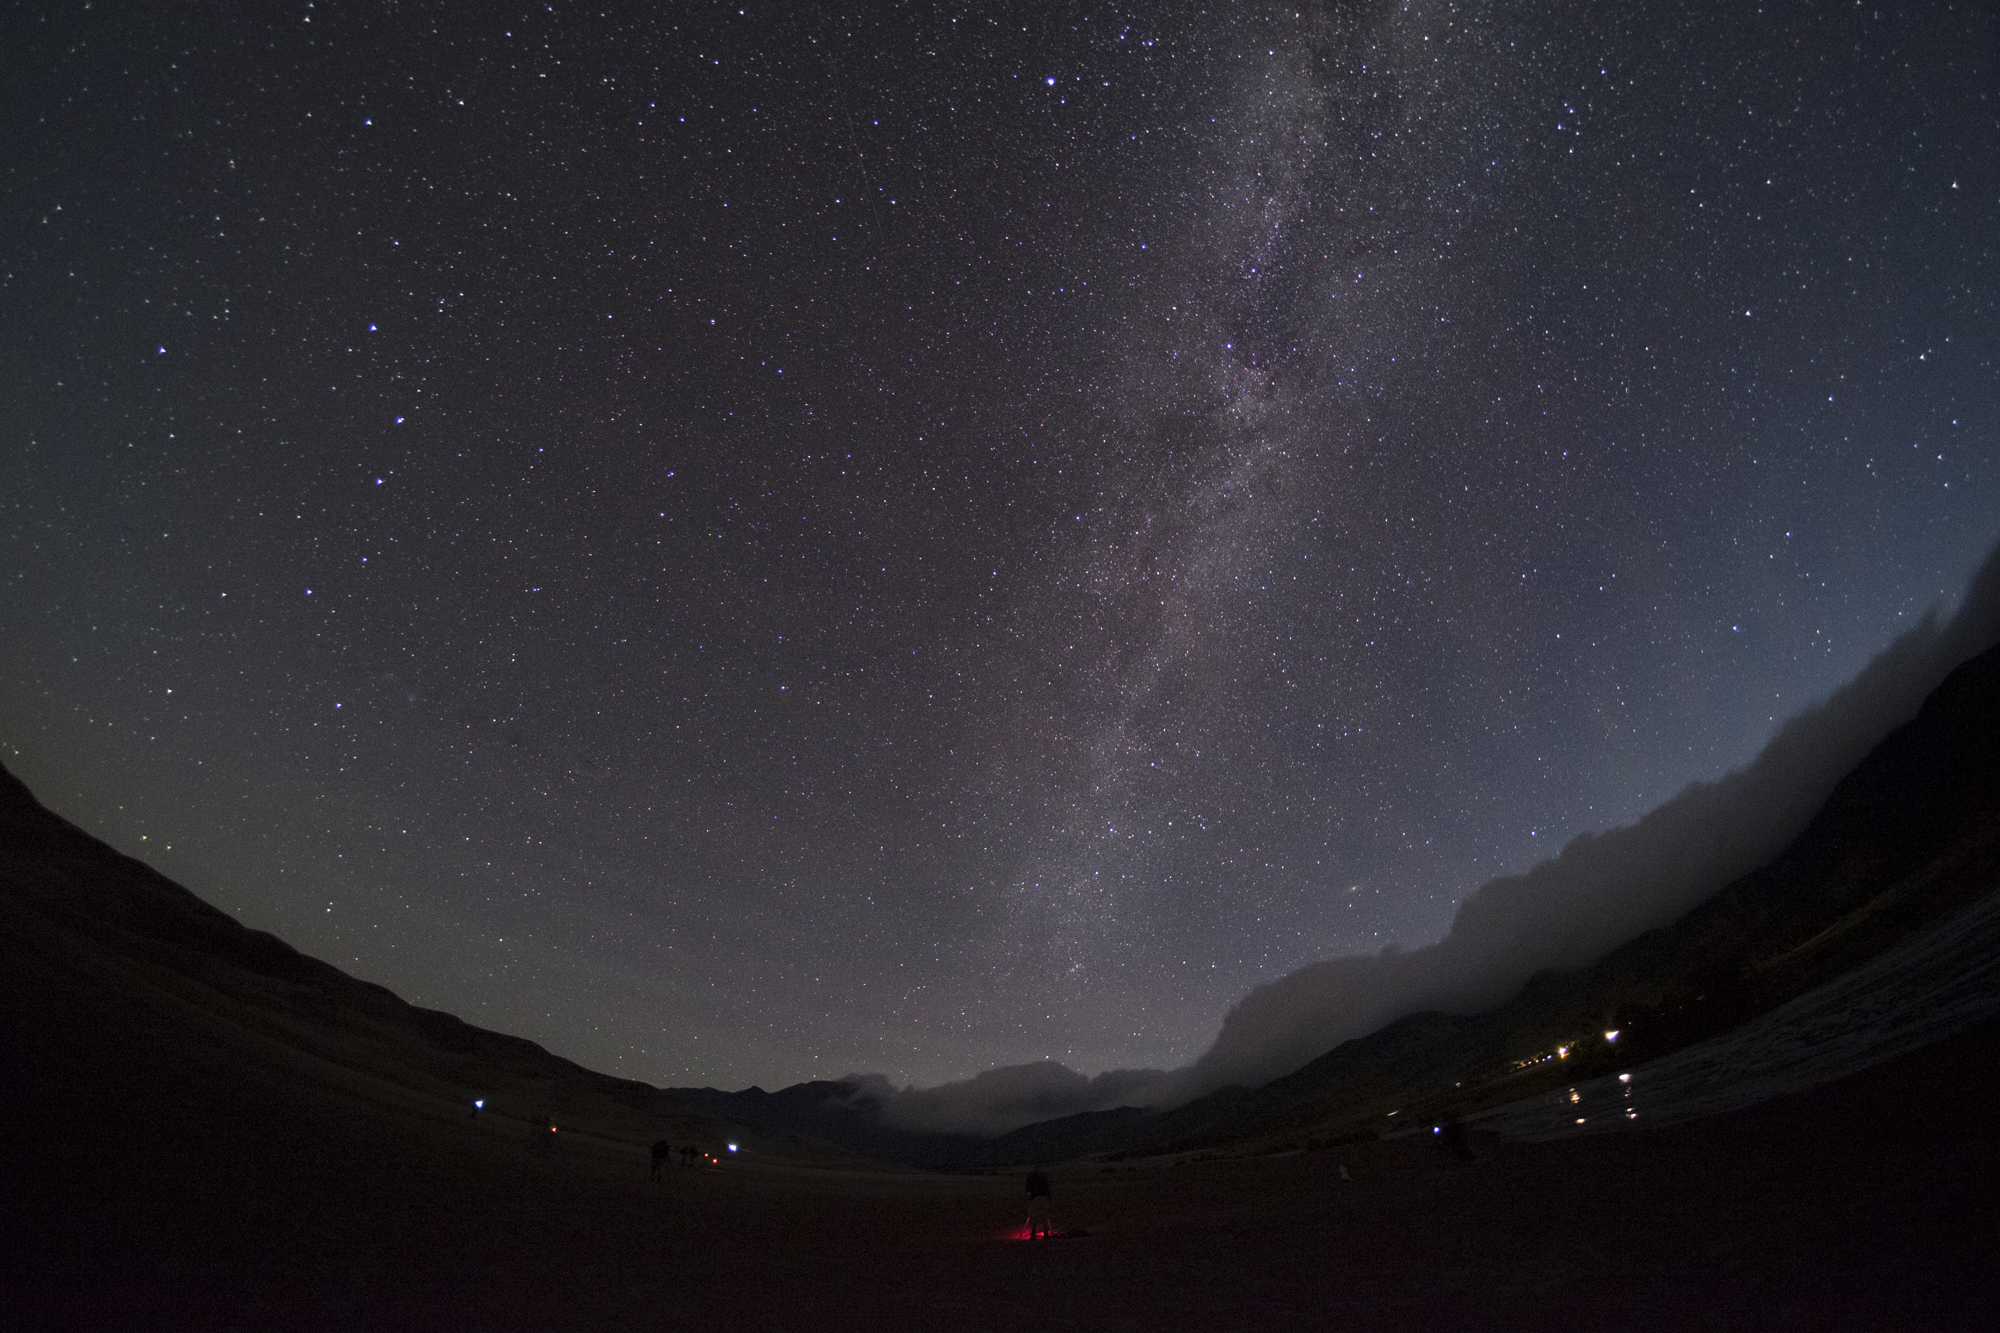
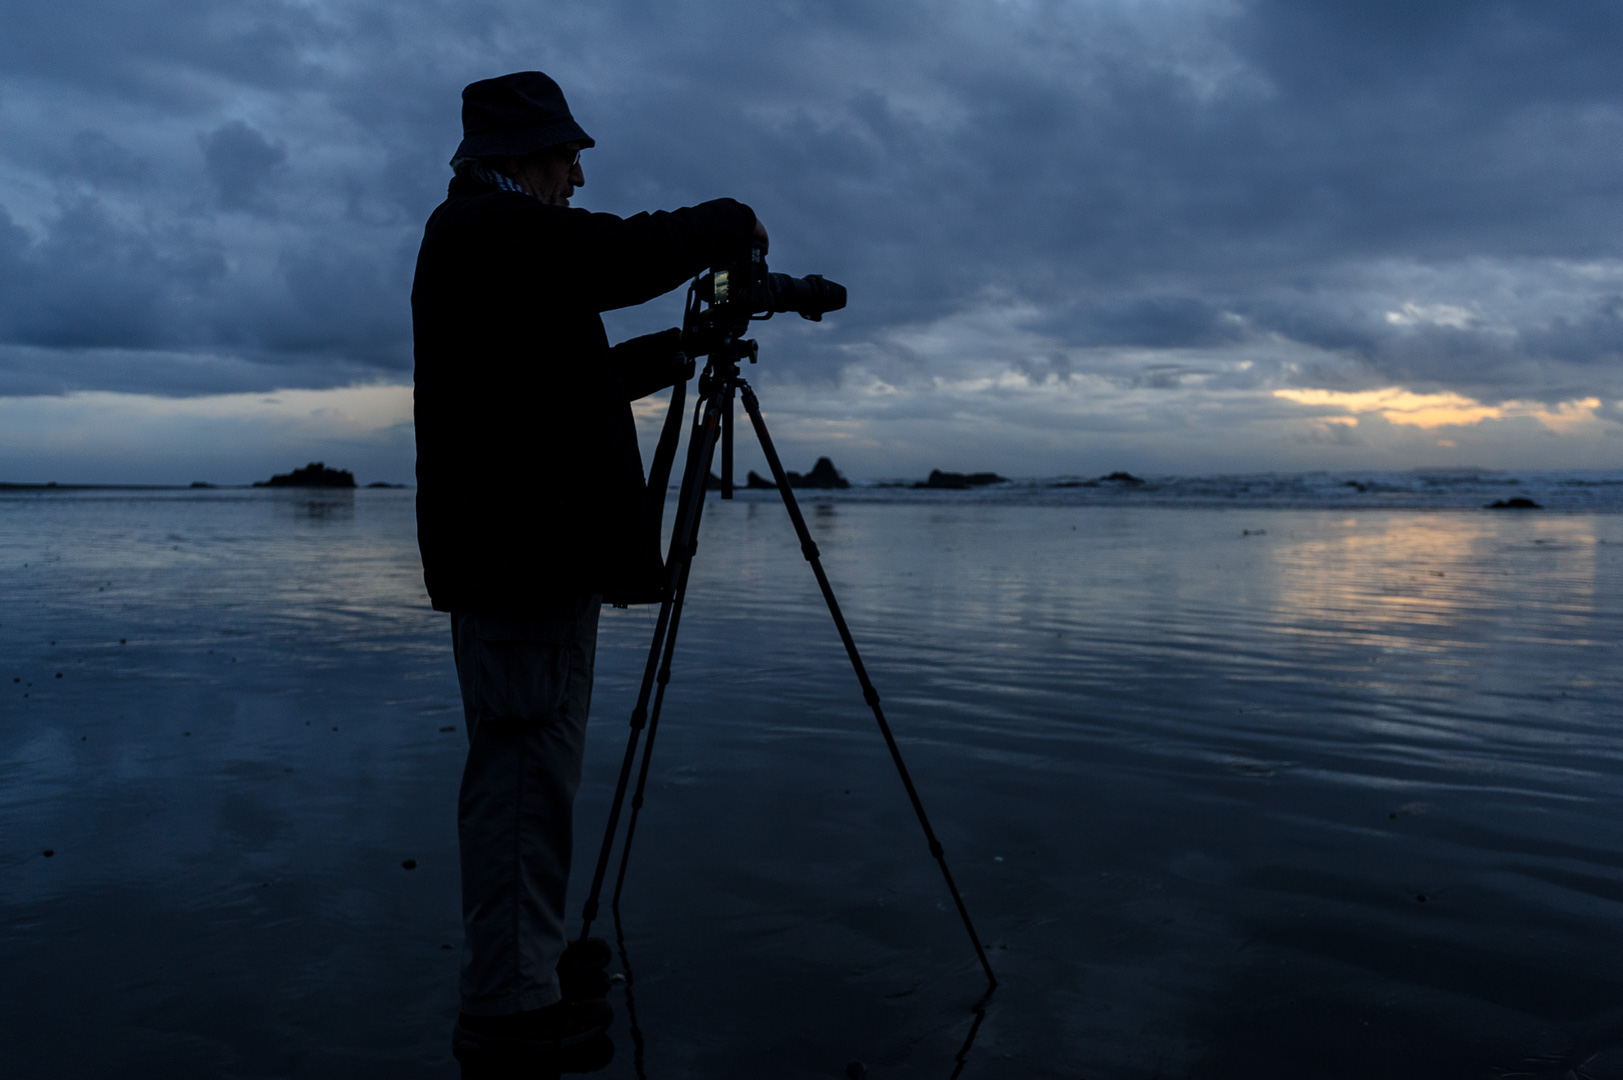
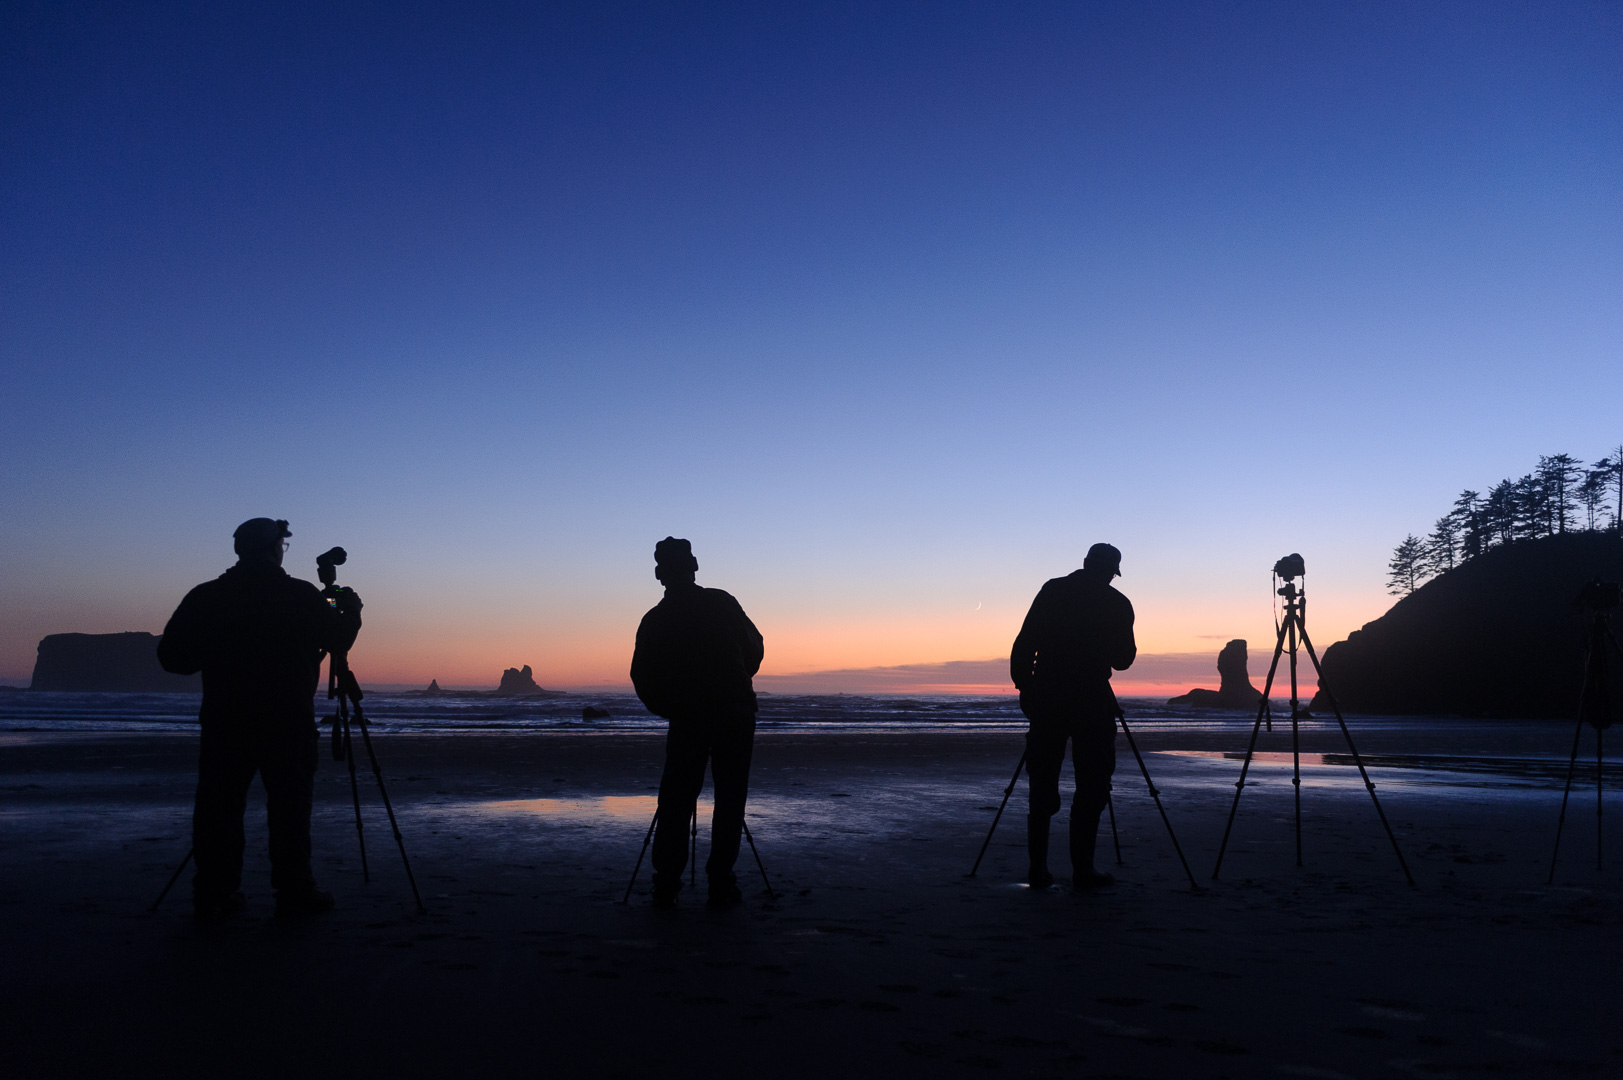
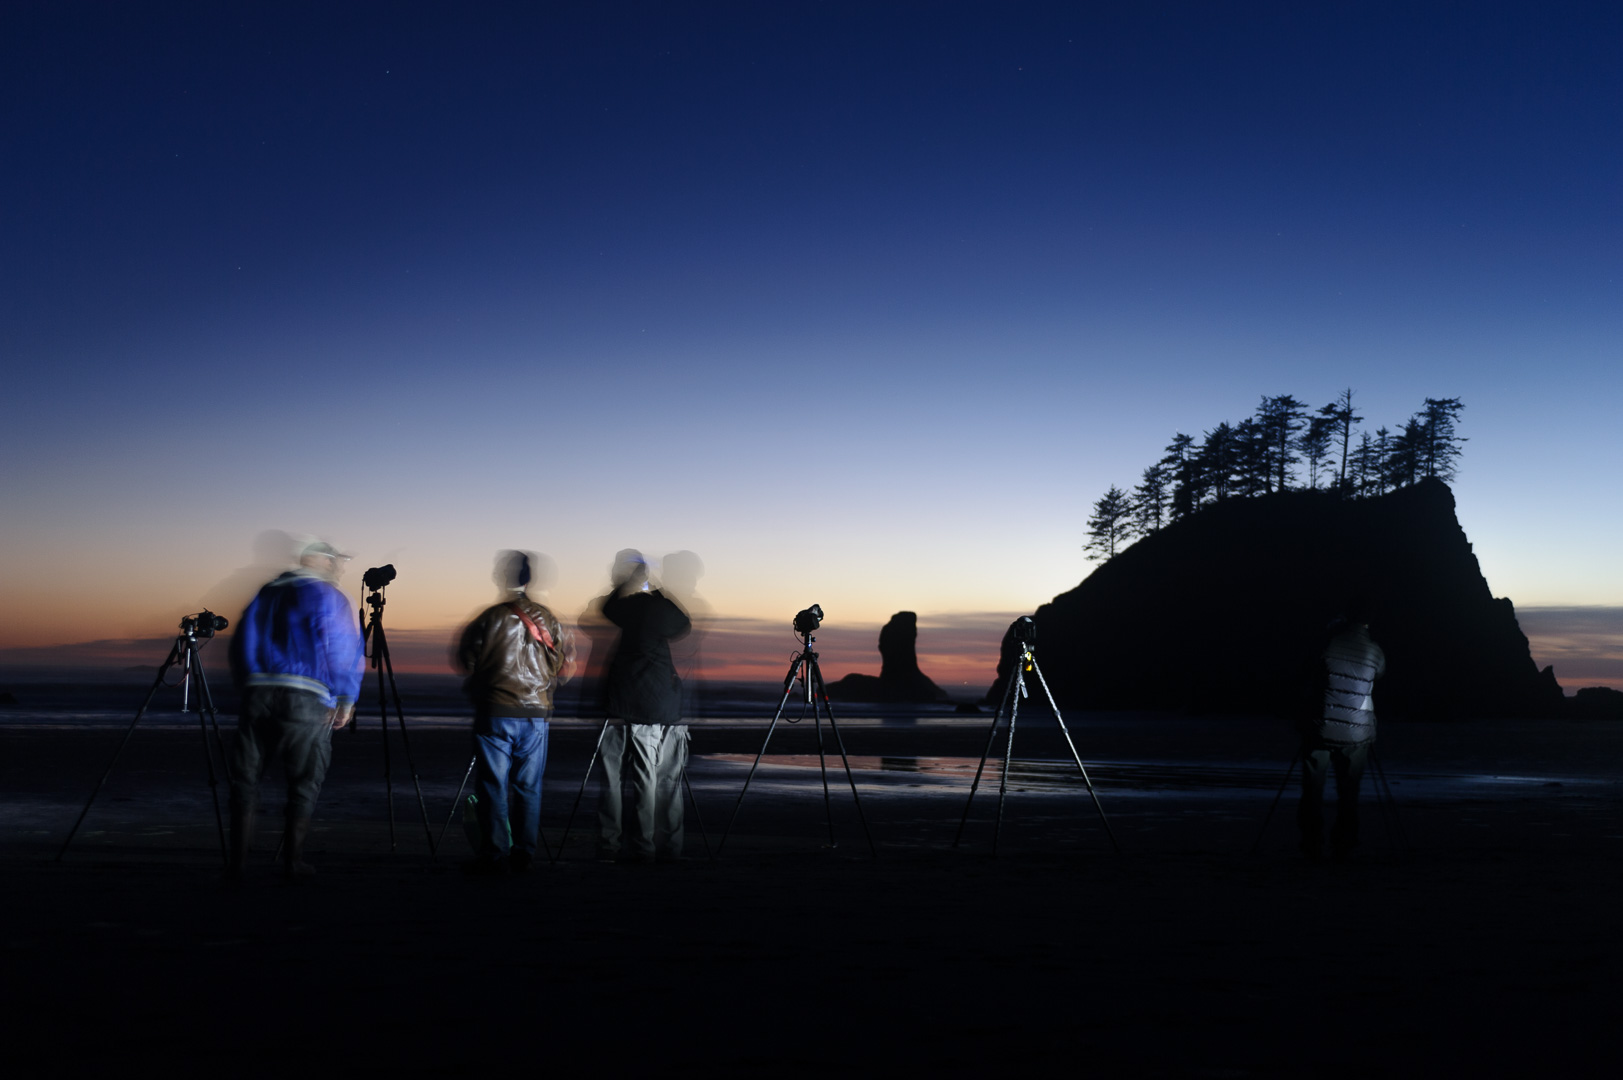
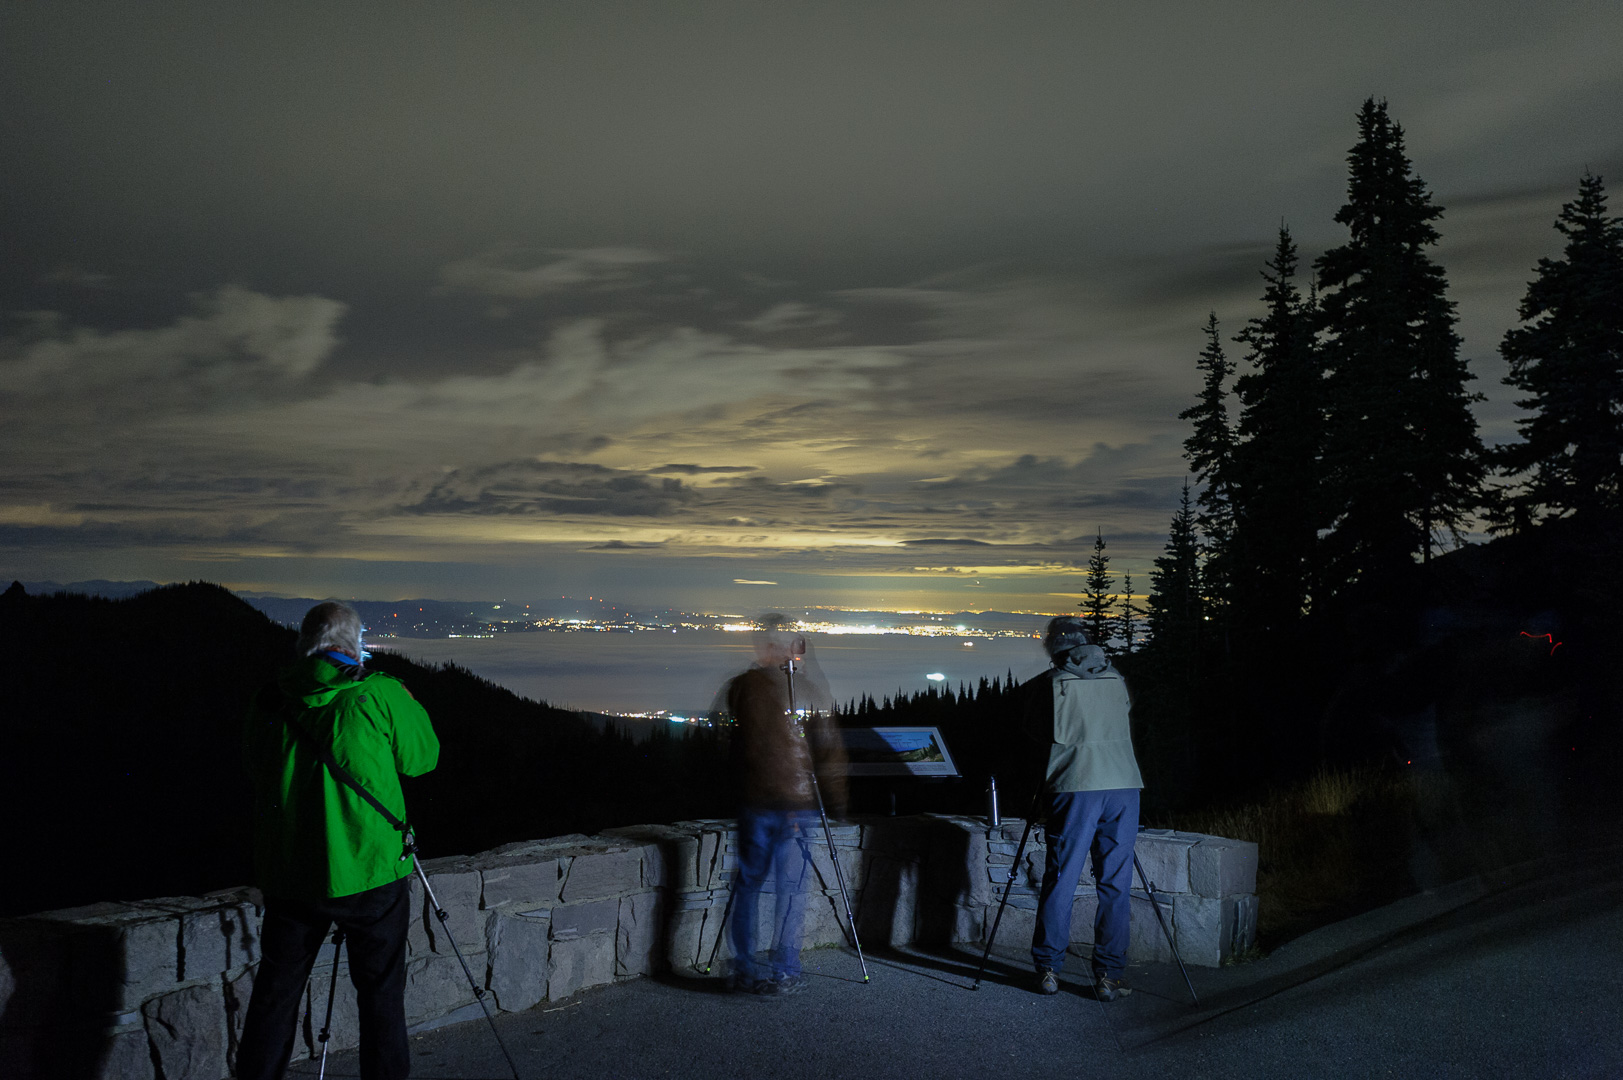
Hovenweep National Monument

Five Questions: Light Painting Headlights, Moonrises and Sunsets, Auroras and More

You ask questions, we give answers. (When we’re not shooting. Which is why we don’t do this feature more often.)

This installment of our “Five Questions” series features inquiries about light painting headlights, tripods, open hours for national parks, moonrises at sunset and lens choices for aurora.

If you have any questions you would like to throw our way, please contact us anytime. Questions could be about gear, national parks or other photo locations, post-processing techniques, field etiquette, or anything else related to night photography. #SeizeTheNight!

1. Light Painting Headlights

Pickup in Nelson Ghost Town, Nevada. © Tim Cooper. Nikon D4, Nikon 24-70mm f/2.8 lens. 3 minutes, f/8, ISO 100.

Q: When light painting old cars/trucks at night, how do you get the headlights to look like they are on? I have an old tractor in a field that I would like to practice on. — Brien R.

A: We love light painting, especially old cars! Who doesn’t?

Light painting the headlights is a tricky but rewarding thing to practice.

If the headlights have the glass still intact, use a very low-power light source (e.g., a Maglite or a Coast G5). Stand about 2 to 3 feet from the headlight, but to the side so you aren’t blocking the camera. Shine the flashlight into the headlight briefly—1 to 3 seconds is generally enough. Then walk over to the next headlight and do the same.

Here’s a key to this working: Stay invisible. Be careful and use your body to block the light source (i.e., the bulb) from being seen by the camera—we want to capture only the light reflecting from the headlights. I also advise dressing all in black, including black gloves. Sometimes the light bouncing off the headlights can freeze your hand or face in the frame, and you end up being ghosted in the picture. If that is the case, you’ll need to move farther out of the scene and then snoot your flashlight with a long tube— think PVC or a paper towel core. This will give you a more precise paintbrush to place the light.

Finally practice, practice, practice! And then feel free to share your results with us. — Gabriel

2. Lance’s Tripod

Q: I’m trying to figure out which tripod Lance showed in your CreativeLive class. I went back and watched the class again and figured out that it may be a Manfrotto 190 carbon fiber with a leveling center column. Can you please confirm this? Also, for a tripod this size would you still suggest that setup or has something else come out that you like better? Finally, which ball head would you suggest for this combo? — Marc S.

A: You are correct that I was using the Manfrotto 190 with a leveling head in the video. The head is great, but only for panoramas. It’s unnecessary otherwise.

If I were to buy today, I’d go with the Manfrotto 190go! Carbon Fiber M-Series Tripod with MHXP RO-BHQ2 XPRO Ball Head RC2 Kit. I like the twist locks better than the flip locks, which can pinch if you are not careful. However, these days I’m mostly using my Gitzo Series 2 Traveler Carbon Fiber Tripod with Center Ball Head.

Several of us at National Parks at Night are big fans of the Acratech GP-ss Ballhead With Lever Clamp. It is designed for compact travel tripods. It’s not quite as compact as the Gitzo head, but is easier to work with and the lever clamp is awesome. — Lance

3. Hours at National Parks and Monuments

Arch Rock, Valley of Fire. © 2014 Matt Hill. Nikon D750, Nikon 14-24mm f/2.8 lens at 14mm. 30 seconds, f/2.8, ISO 500.

Q: Thank you for your recent article on whether light painting is allowed in national parks. However, it seems there is an even more important issue, which is if visitors are actually allowed to enter certain parks at night. My wife and I visited a number of national parks and monuments in recent years, but in places like Valley of Fire, Hovenweep or National Bridges we were told by rangers that we’d be in trouble if we were seen out there at night. On the other hand I have seen plenty of photos taken by the National Parks at Night team or other professionals at exactly these places. Are there different rules for the average photographer? — Lambert

A: Most of the 400-plus National Park Service units are open 24 hours to all visitors—including Natural Bridges National Monument, so I’m not sure why that ranger told you otherwise. In fact, night skies are part of how Natural Bridges actively entices people to visit. It’s also a feature that Hovenweep plays up, though only some sections of the park are open at night.

All of the national parks are open 24 hours per day, except Petrified Forest, but you can get a camping permit to stay overnight, or pay for a Special Use Permit to shoot after hours. Some of the national seashores are closed at night unless you have a camping or special use permit. National wildlife refuges are mostly closed at night, but those are units of U.S. Fish and Wildlife, not the NPS.

The Oliver Cabin is one of the many wonderful night photography subjects in Great Smoky Mountains National Parks’ Cades Cove region. Cades Cove is closed to vehicles at night, but you can walk or bike the 11-mile loop road all night if you’d like. © 2017 Chris Nicholson. Nikon D3s, 17-35mm f/2.8 lens, light painted with a Coast HP7R flashlight. 30 seconds, f/5.6, ISO 3200.

However, note that even if a park is open at night, there’s a chance that certain features are closed. In addition to Hovenweep, this is also the case at Mesa Verde National Park, which closes access to the ruins after sundown. Another example is Great Smoky Mountains National Park (where we’re hosting a workshop this April): Cades Cove, an amazing place to shoot; it is closed to motor vehicles at night, yet remains open to foot traffic.

As for Valley of Fire, that’s a state park, and as with any state land is run under local regulations that the NPS guidelines don’t affect. For night access to Valley of Fire, you need either a permit or to be camping in the park. (Or you to be on our workshop this April, which happens to have one spot remaining.)

No matter where you’re going to shoot at night, we always recommend checking the hours and letting the rangers (or other appropriate authorities) know what you’ll be up to. Not because you necessarily need permission to engage in night photography on public lands, but because it sometimes makes their jobs easier if they know you’ll be out there. Not to mention that they might share some valuable local knowledge about the location. — Chris

4. Aurora Lenses

Aurora over Westfjords, Iceland. © 2012 Lance Keimig. Canon 5D Mark II, Nikon 20mm f/3.5 lens. 15 seconds, f/5.6 ISO 3200.

Q: I’ll be traveling to Iceland in March to shoot auroras. Which lens would you recommend between a Sigma 20mm f/1.4 and a Sigma 14mm f/1.8? Or is there another lens you’d recommend instead? I’m shooting with a Sony a7R III. — Jeff

A: Congrats on your Iceland trip! Our No. 1 bit of advice is to get off of the main ring road and explore the random back roads to avoid the crowds. It can be busy over there!

As for your lens question, the wider-aperture model will probably be more useful, but it’s always good to have options. If the sky really lights up, you’ll want the widest lens you can get, but the 14mm is crazy wide for general shooting. Also, you don’t necessarily need superfast lenses—with a good aurora, you will probably be stopping down a few stops anyway.

For more advice on shooting the northern lights, see our two blog posts “Capturing Clouds of Light: How to Photograph the Aurora Borealis.” and “Northern Exposure: 8 Illuminating tips for Photographing Auroras.” — Lance

5. Moonrises at Sunset

Day before full moon, Death Valley National Park. © 2005 Tim Cooper. Canon 1Ds, 16-35mm lens at 31mm. 4 seconds, f/8, ISO 100.

Q: We learned from PhotoPills that sunsets can be spectacular when the moonrise and sunset occur within an hour of each other. But the moon rises in the east and the sun sets in the west, so we’re stumped. Any ideas? — Barbara E.

A: I suggesting thinking about it this way: What will be illuminated from the west when you’re facing east, with a great view of the moon rising behind it? The idea isn’t to shoot the sun and moon together, but rather to shoot the full moon rising among beautifully sunlit scenery or among the delicate light of a just-set sun.

The other advantage to this scenario is that the brightness of sunset balances well with the moon, which equalizes the intensities to get it all in one shot (as opposed to having to HDR the scene, which is so often the need when trying to shoot the moon over a landscape).

For a crispy moon, keep those exposure times short—don’t be afraid to ramp up your ISO to keep things sharp. Ideally, you want a big ol’ moon coming just off the horizon with gentle, ruddy sunlight kissing your subjects.

Grab your phone and scout with PhotoPills! Use it to see just where that moon will peek up to be sure you will see it during that sweet spot of sunset with the moon on the horizon.

And please send us photos of your success! — Matt

Chris Nicholson is a partner and workshop leader with National Parks at Night, and author of Photographing National Parks (Sidelight Books, 2015). Learn more about national parks as photography destinations, subscribe to Chris' free e-newsletter, and more at www.PhotographingNationalParks.com.

UPCOMING WORKSHOPS FROM NATIONAL PARKS AT NIGHT

It's a Wrap! Recapping The Second Half of Our Second Year

Earlier this year we recapped our first three workshops of 2017. Now that the year is nearly over, after finishing our last workshop of the fall just a few weeks ago, we run down how the rest of itinerary went.

Rounding out our second year of workshops was a procession of amazing locations, students and celestial events, including the total solar eclipse, an impregnable fort in the ocean, deep canyons and dark skies, ancient Puebloan ruins, eye-popping aurora borealis, and alien desert landscapes.

Enjoy this review of the highlights. …

Natural Bridges and Hovenweep national monuments

June 21-25, 2017

By Gabriel Biderman

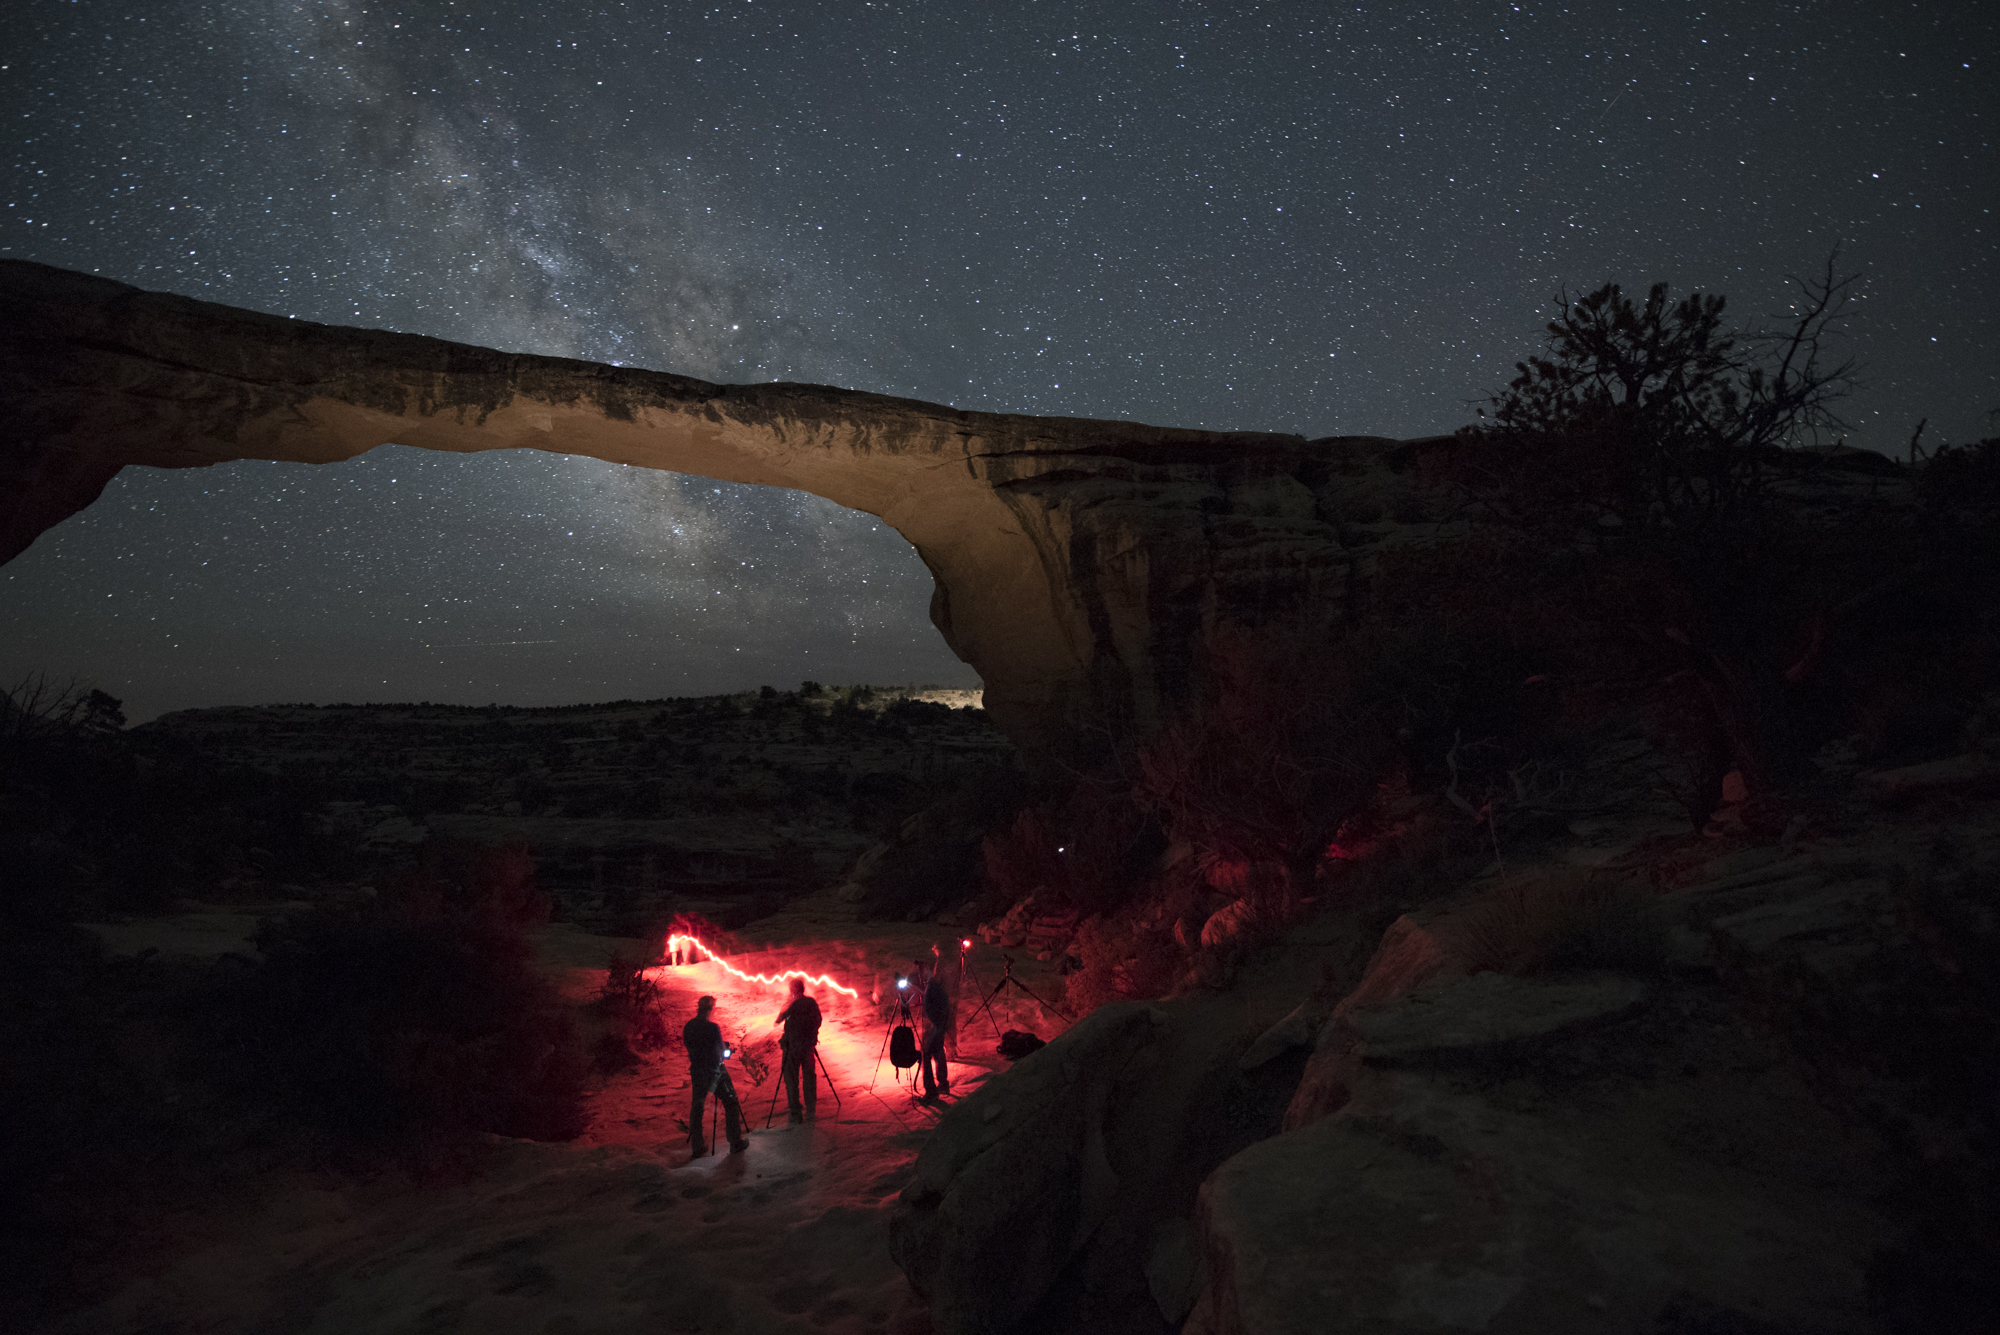
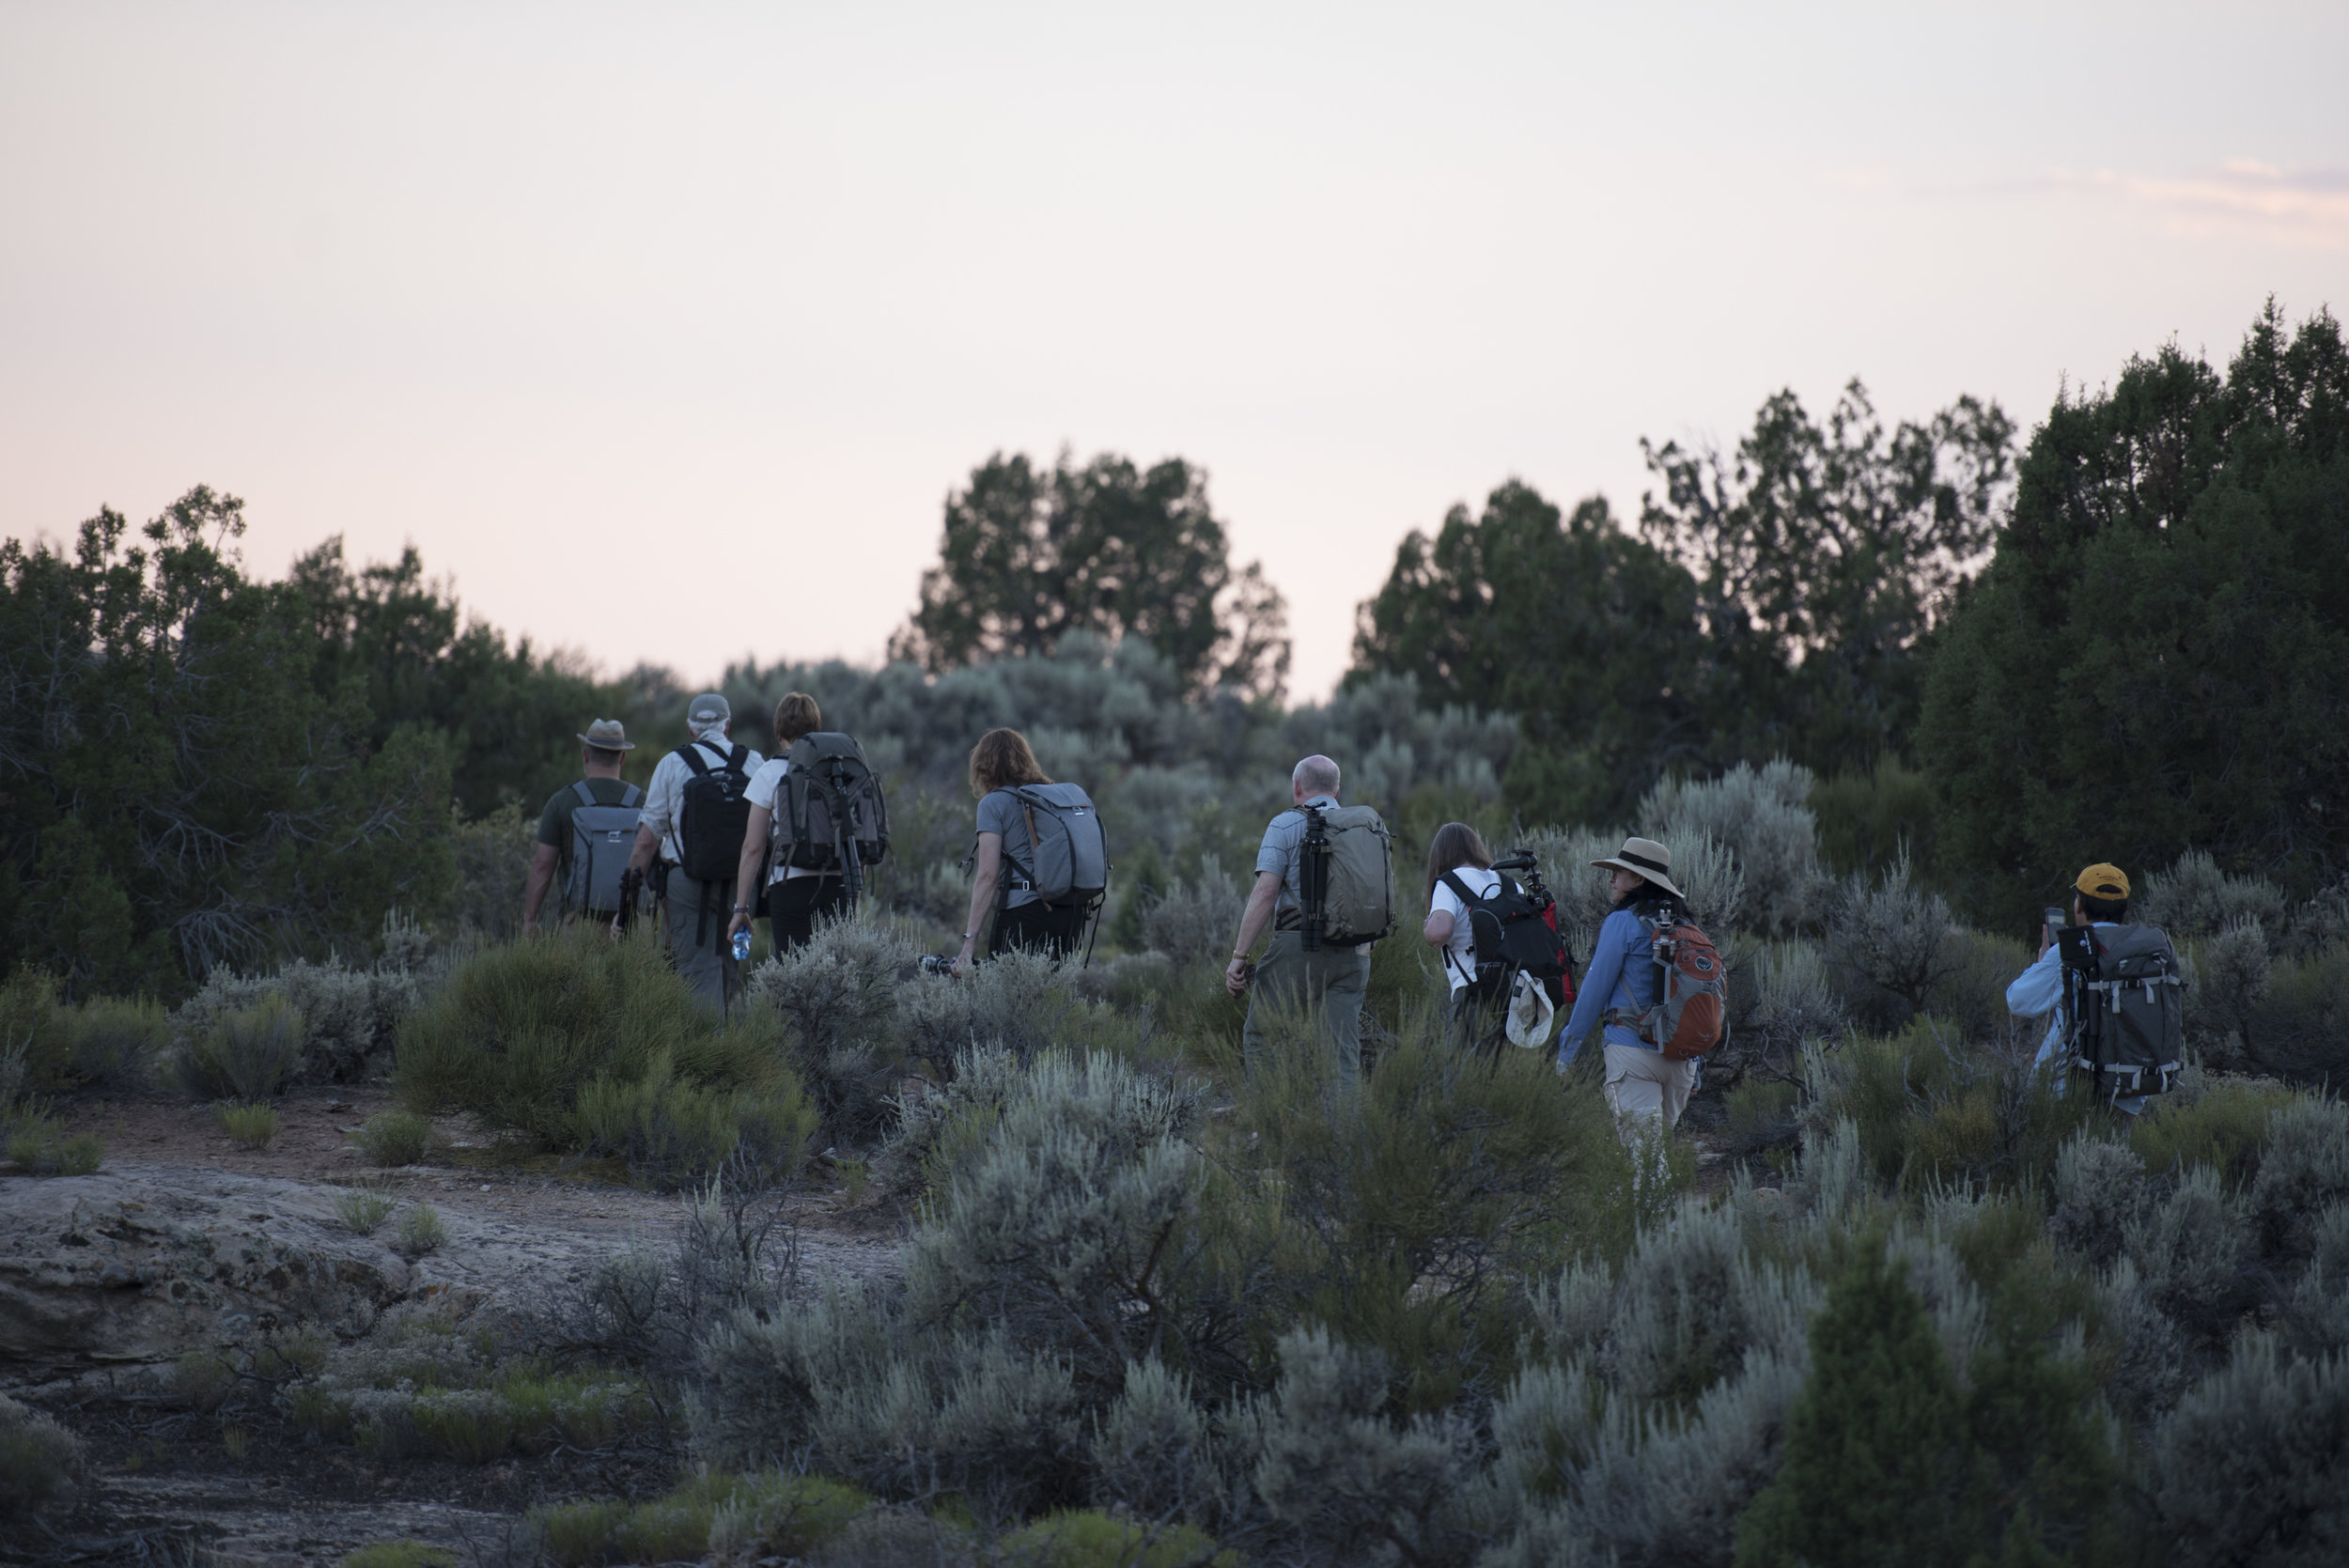
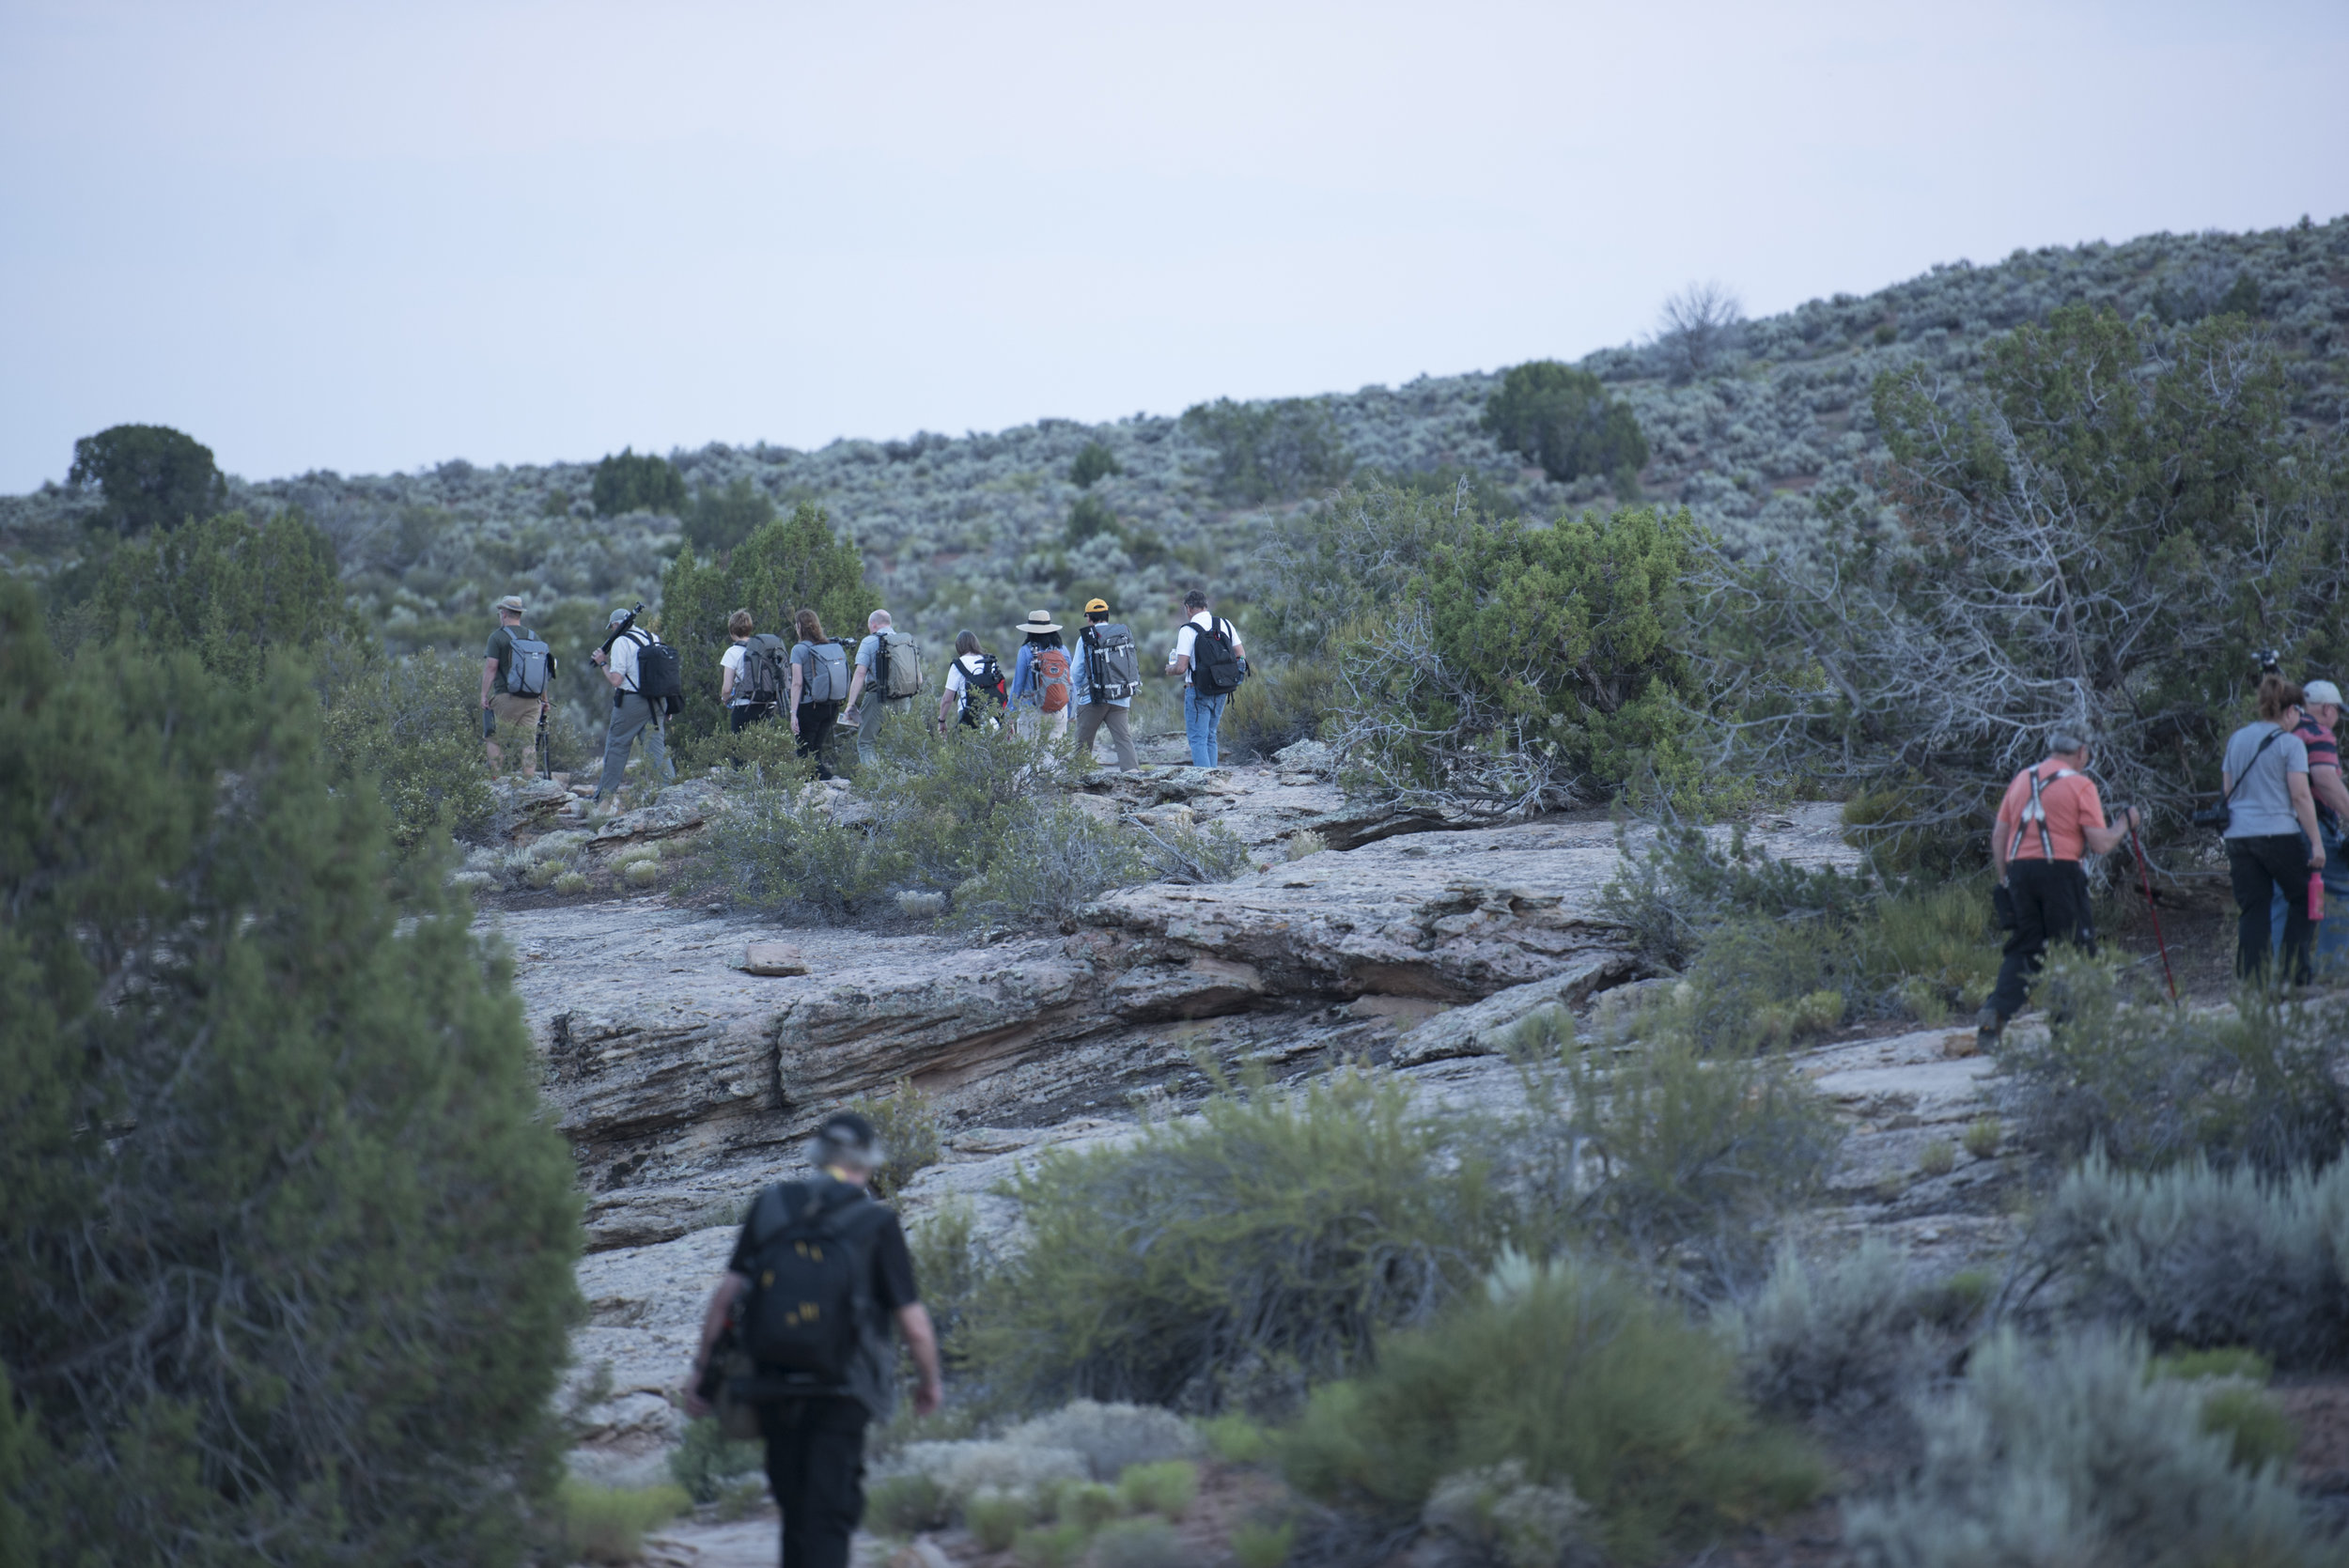
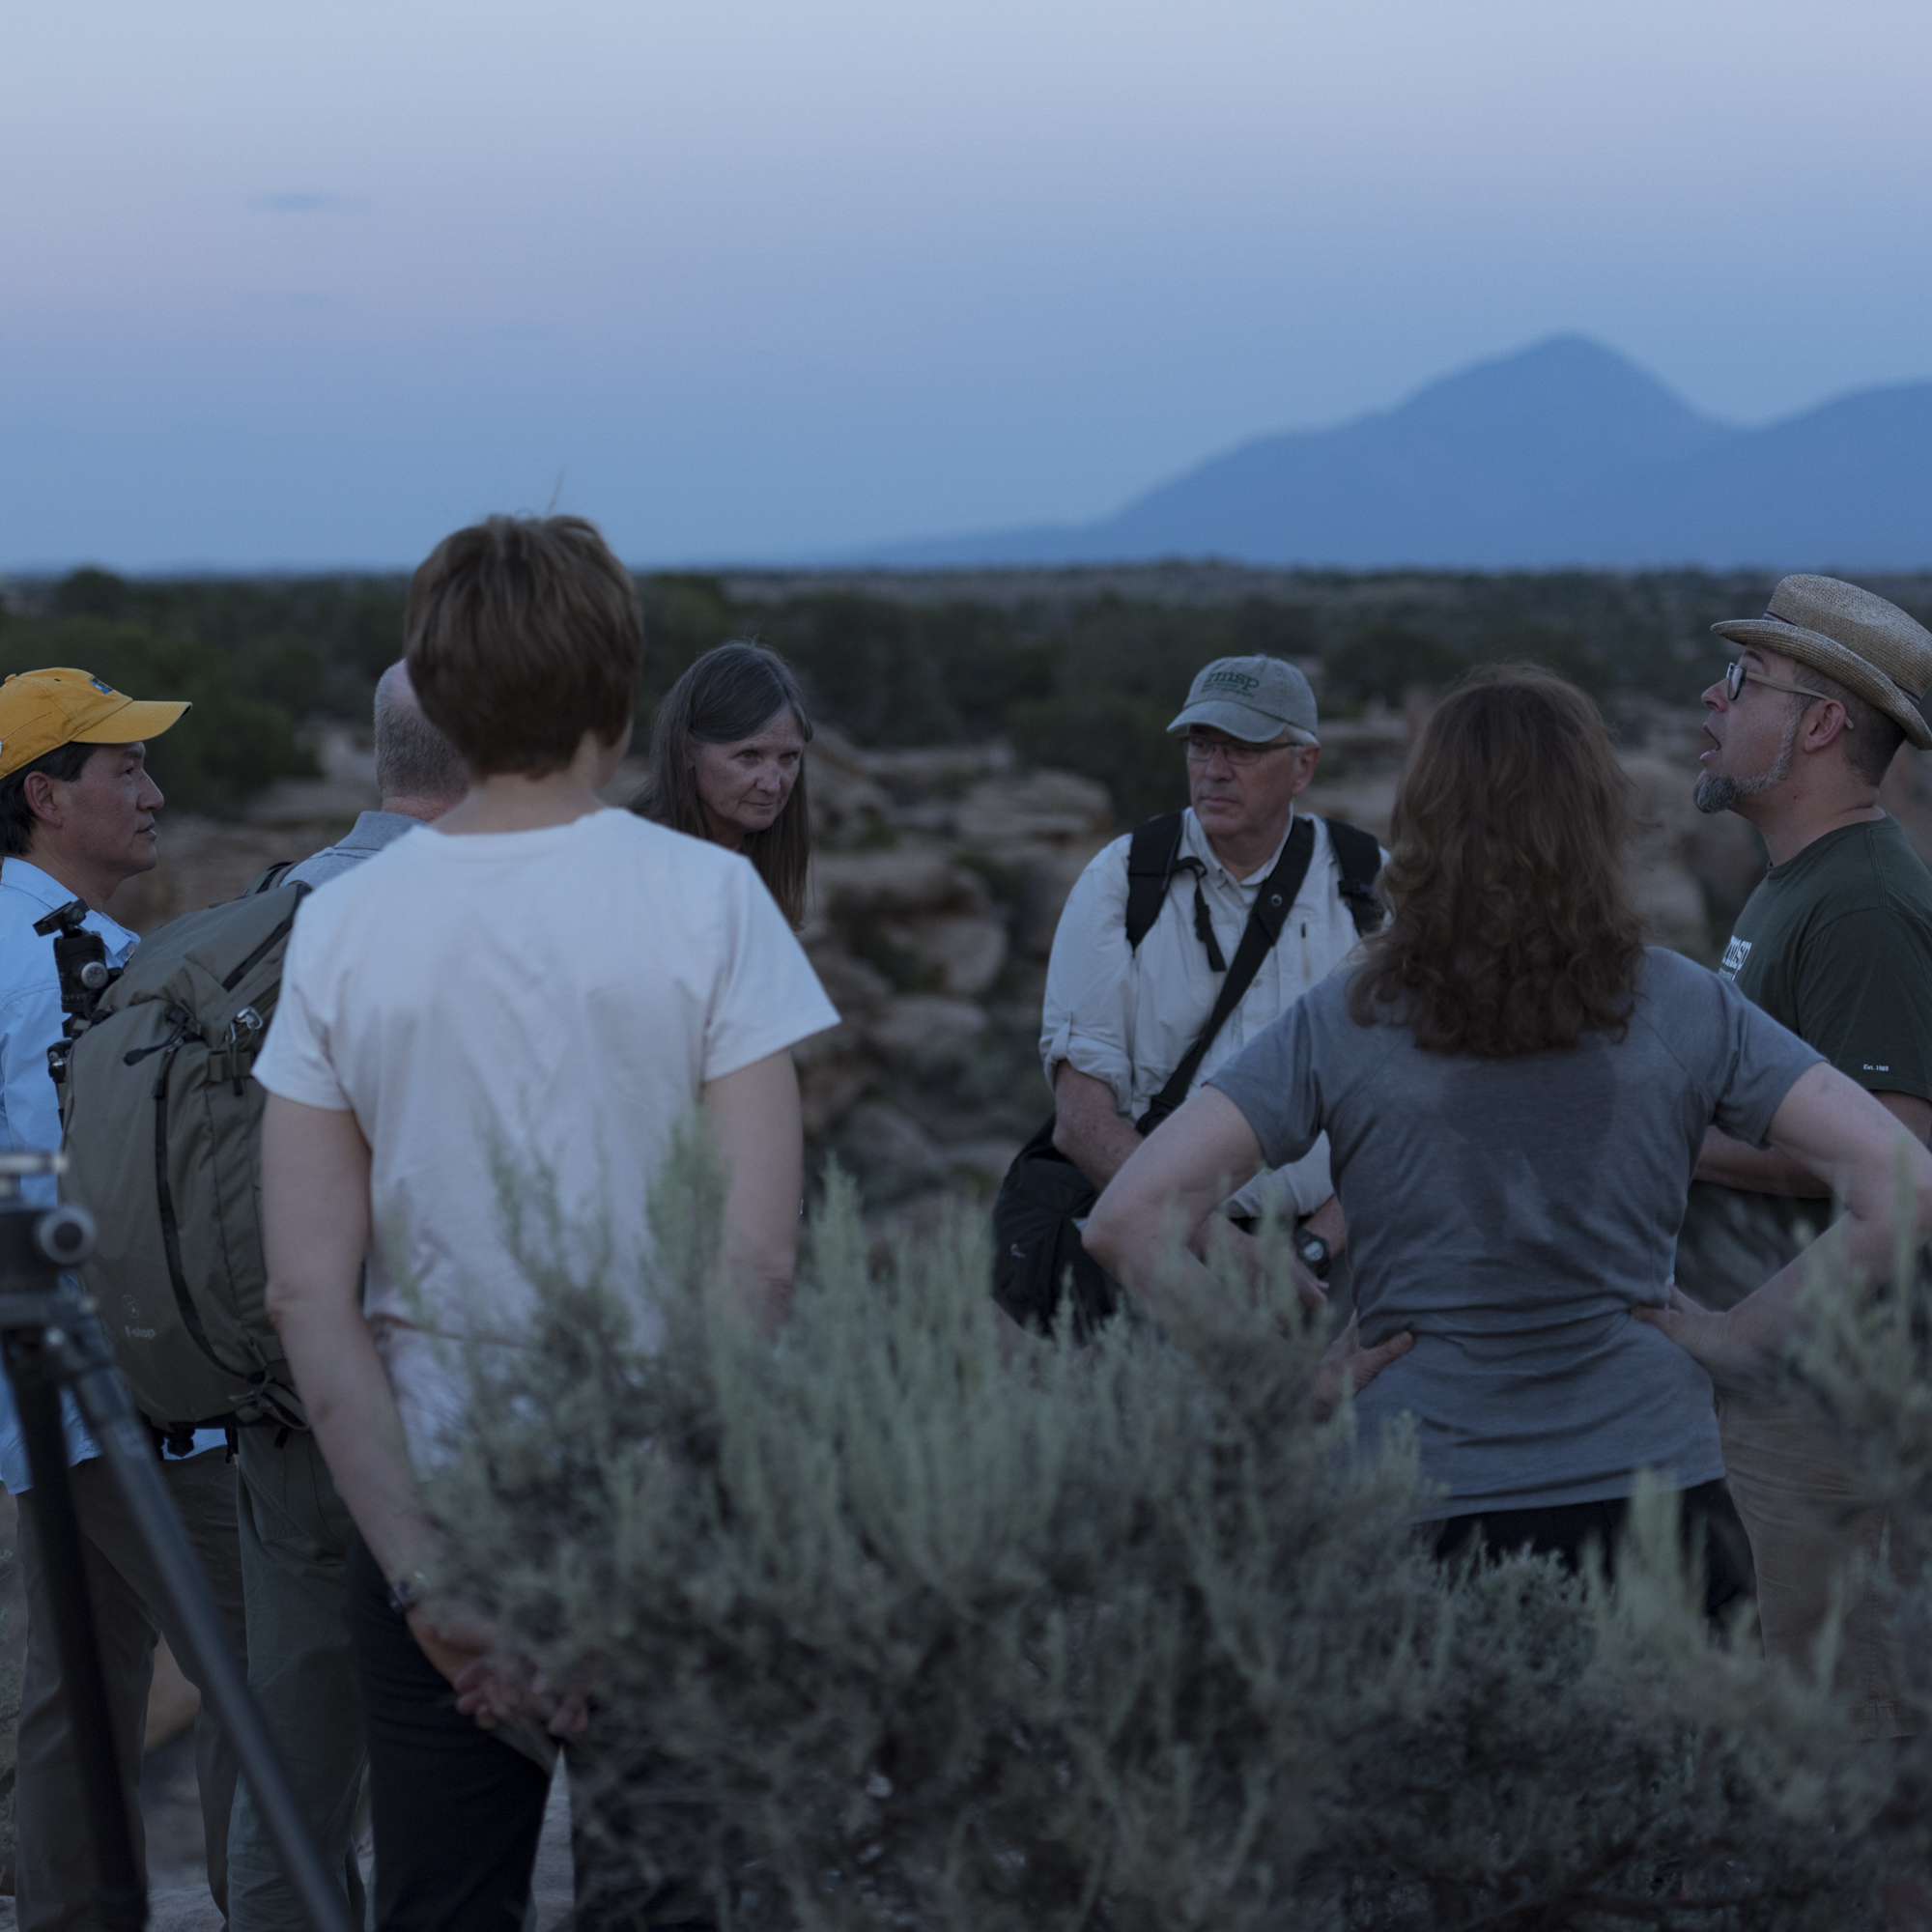
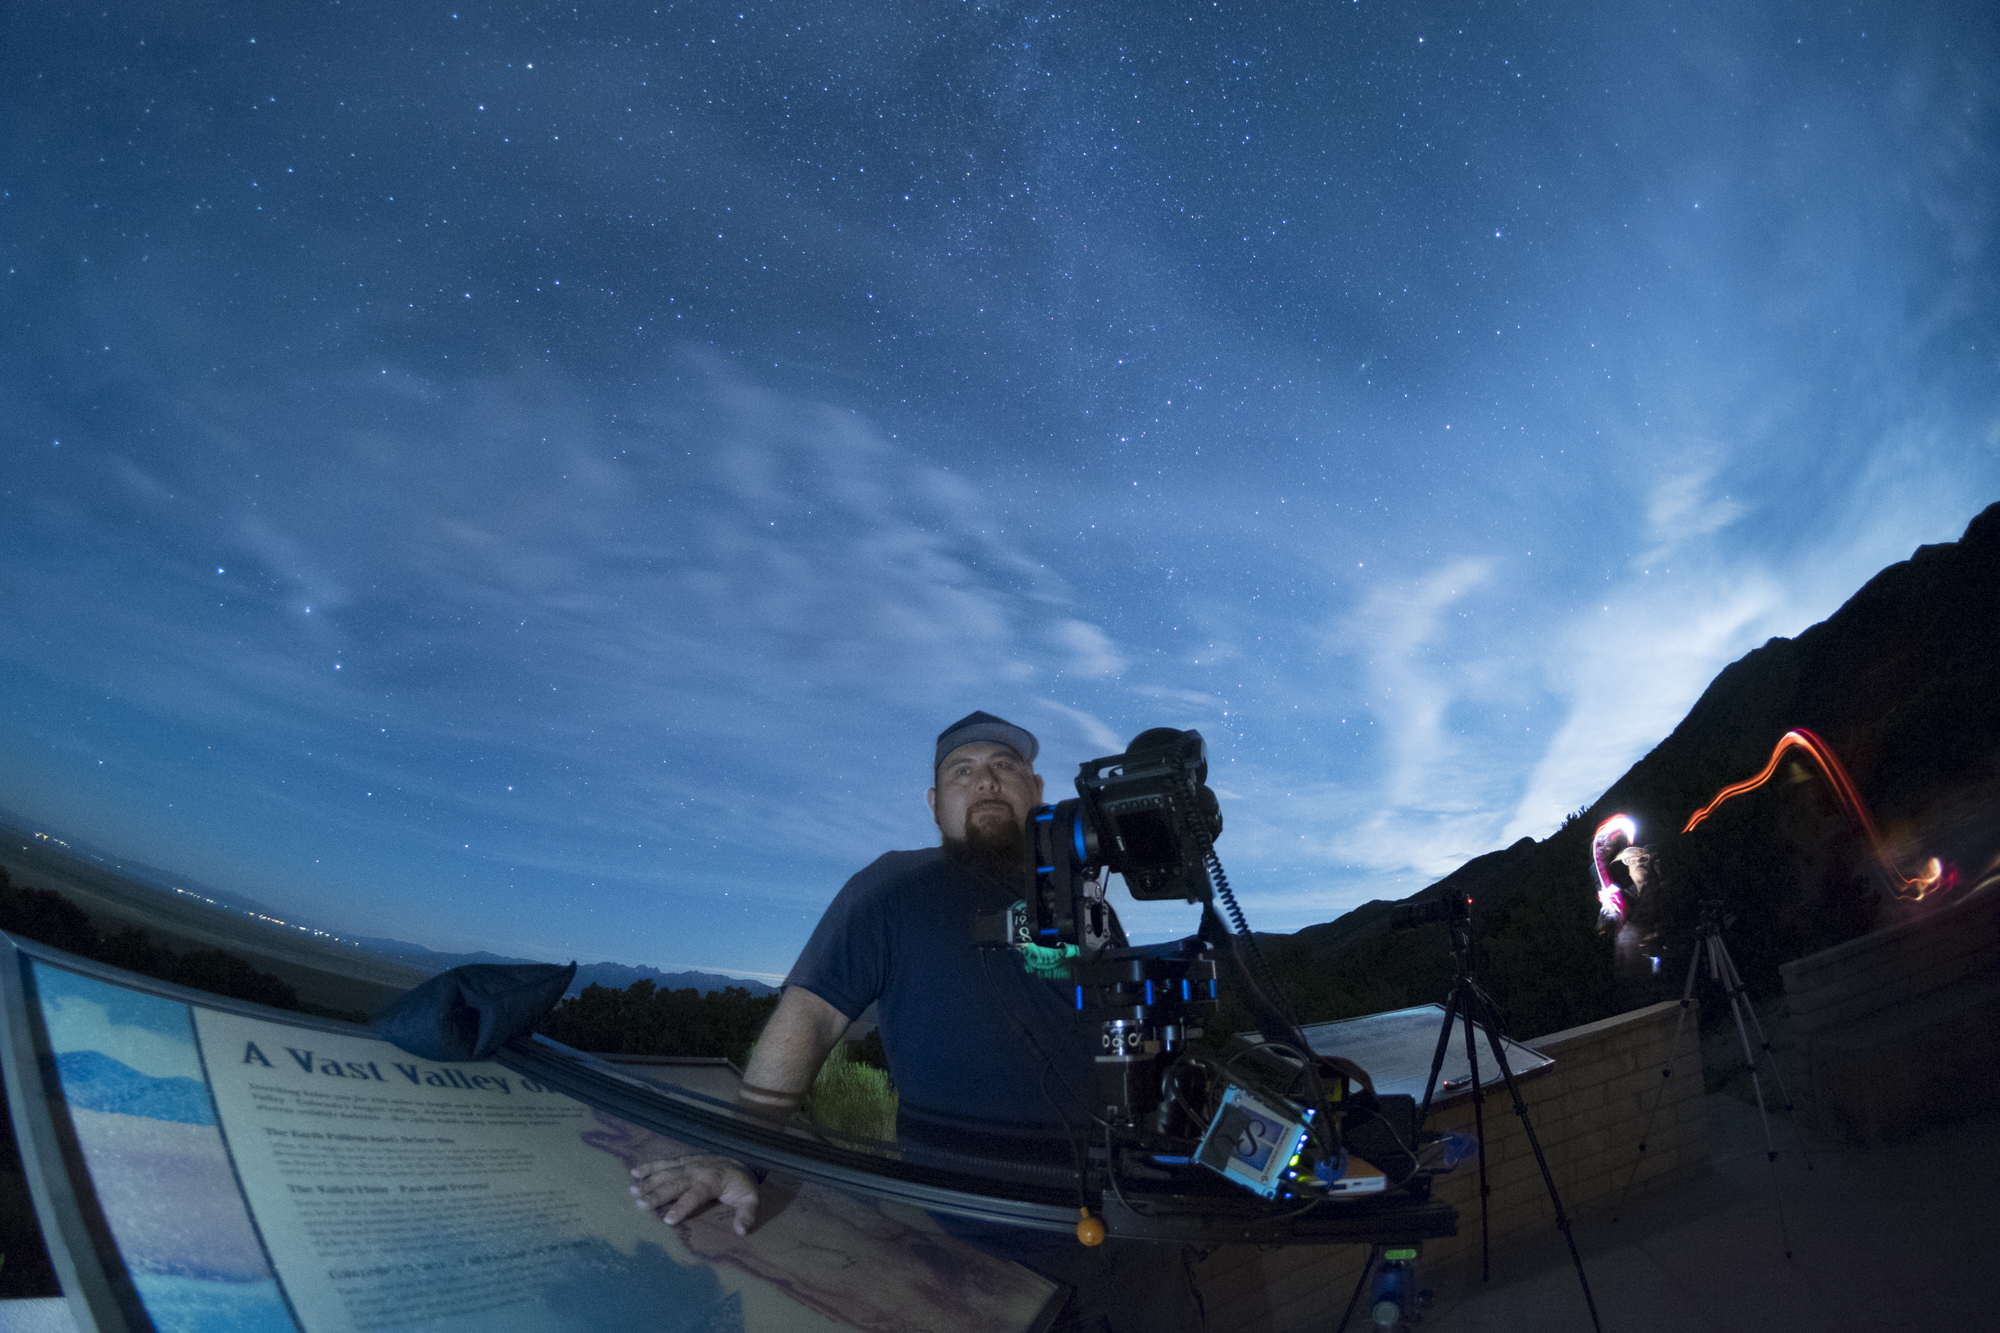
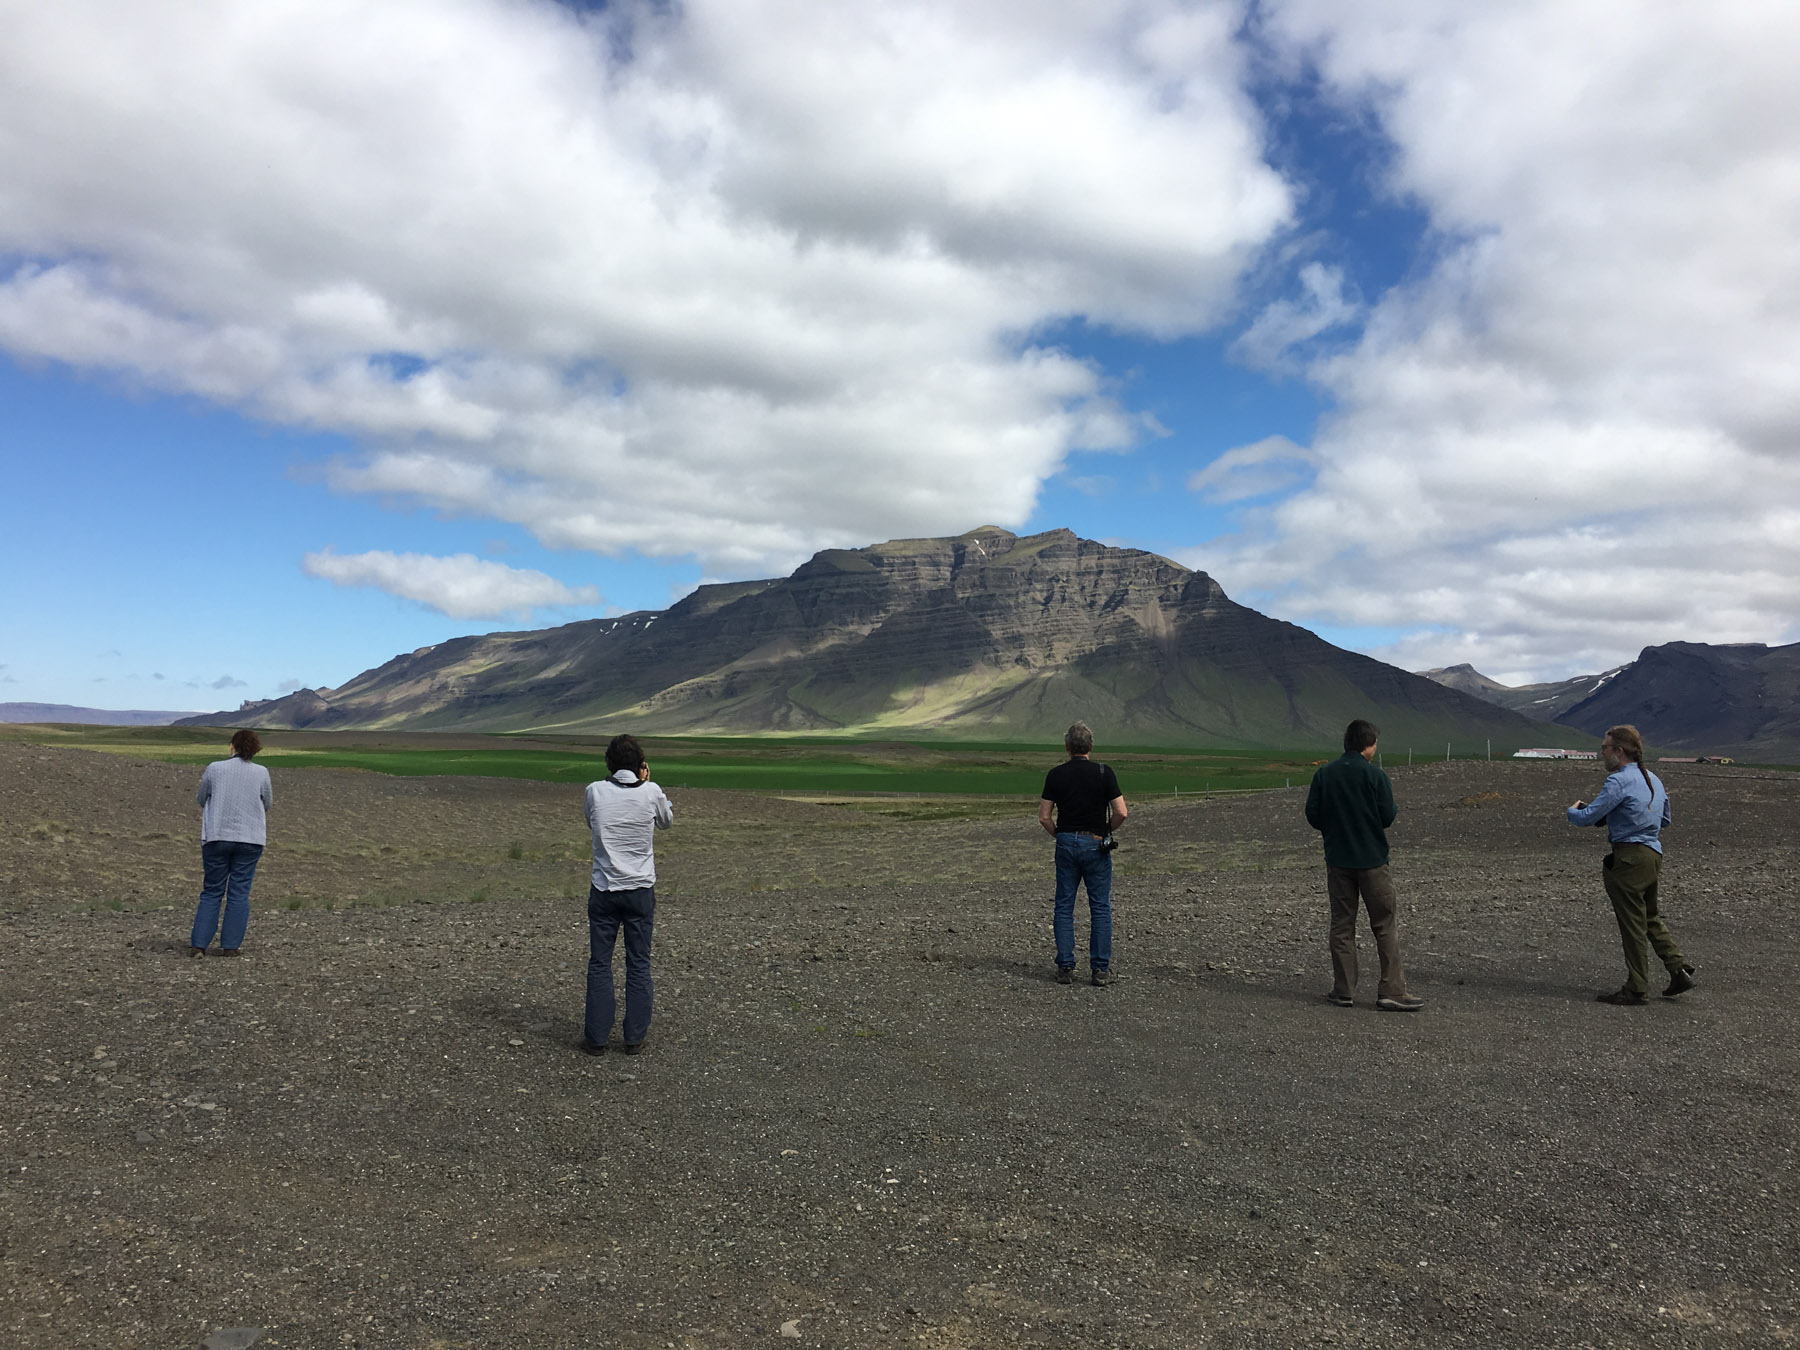
Each year we have partnered with the Rocky Mountain School of Photography to offer a night photography workshop. This year we were very excited to teach for them at one of the darkest sky locations in the United States: Utah’s Natural Bridges National Monument and Hovenweep National Monument.

This was a very challenging workshop, but as with any challenge, if you succeed then it is incredibly rewarding. The biggest hurdle was part of the beauty—both locations are very remote. We based our workshop in the town of Bluff, which was one hour from Natural Bridges and about 50 minutes from Hovenweep. Combine that with a summer Milky Way focus, and we weren’t starting to shoot until 9:30 to 10 p.m. and weren’t calling last shot until 2 or 3 a.m. To everyone’s credit, we were thrilled with each location and got home safely each night!

The first two nights we divided the class in two and had them either climb the 1-mile descent down the slippery rocks and ladders to the majestic Sipapu Bridge or photograph the Milky Way perfectly aligned over the Owachomo Bridge. The third night we explored the smaller canyon that was lined with Indian “castles” and ruins along the edge.

We had stellar Milky Way skies but the challenge again was hot, hot, summer nights. The daytime temperature was 114 F and at night it cooled to a pleasant 85 F. Long exposures without noise reduction were limited to 30 seconds or 1 minute to prevent excessive noise from the heat.

Natural Bridges National Monument. Nikon D750 with a 
 
  Normal
  0


  false
  false
  false
  
  EN-US
  X-NONE
  X-NONE


…

Natural Bridges National Monument. Nikon D750 with a 15mm Zeiss Distagon f/2.8 lens. 75 stacked 1-minute exposures at f/2.8, ISO 6400.

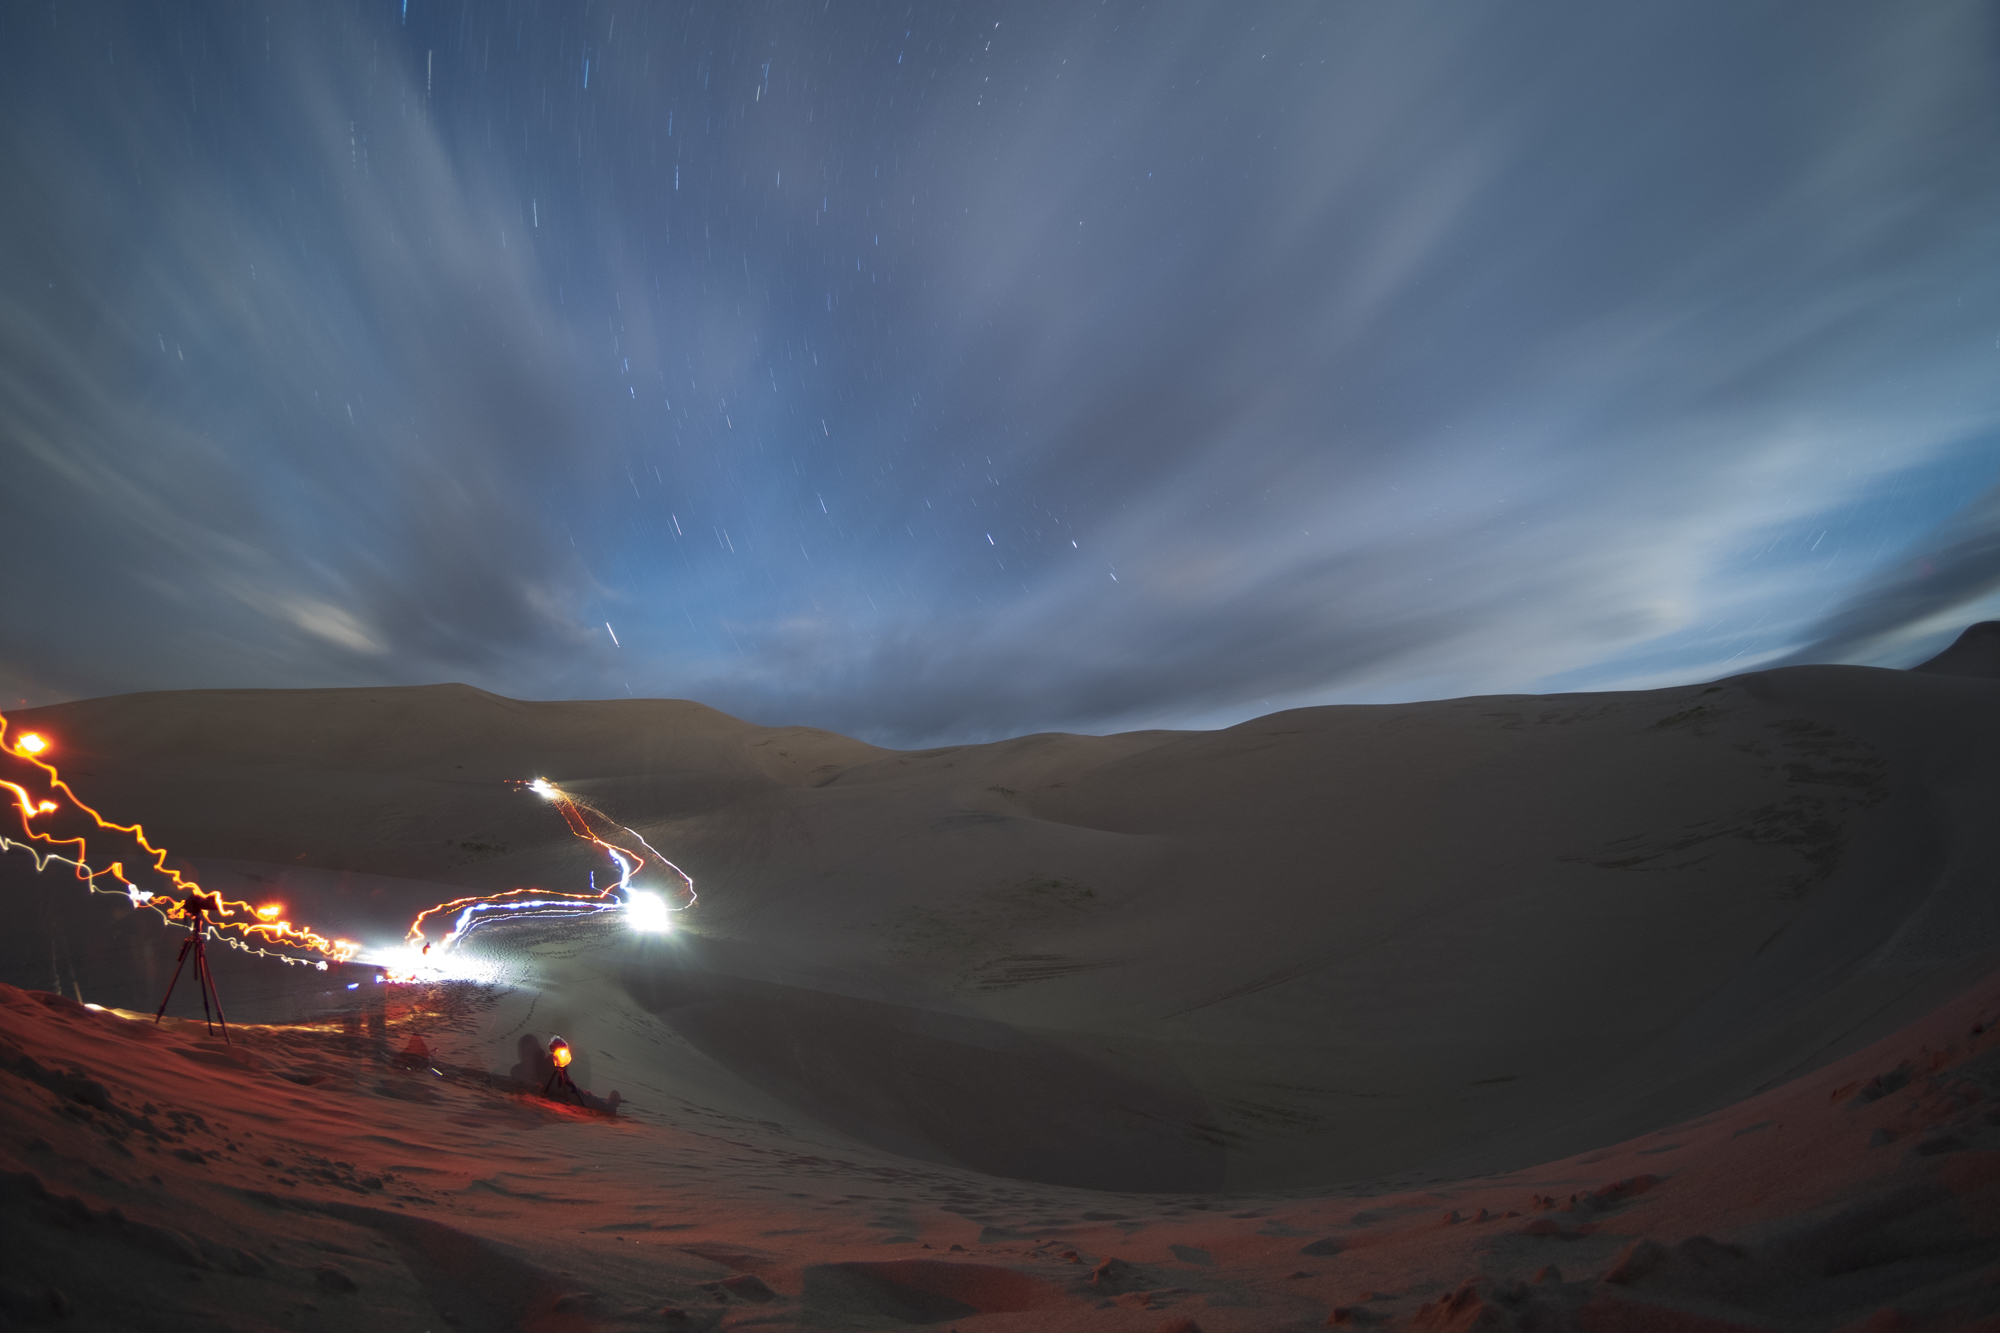
The last night of the workshop we gave the students a choice: Go back to either Hovenweep or Natural Bridges. I led a group to Hovenweep, where we collaborated on a 2-plus-hour star trail, while Matt led a group of daring souls to the edge of Sipapu. Matt asked, “Who wants to do something creatively risky that might not work—but if it does, it will be a shot to remember?" In short, they split into two teams—one for shooting on the canyon rim, and one for safely hiking 600 feet down into the canyon, then hiking through with flashlights for the 45-minute star stack. (See above.)
Dry Tortugas National Park

July 27-30, 2017

By Gabriel Biderman

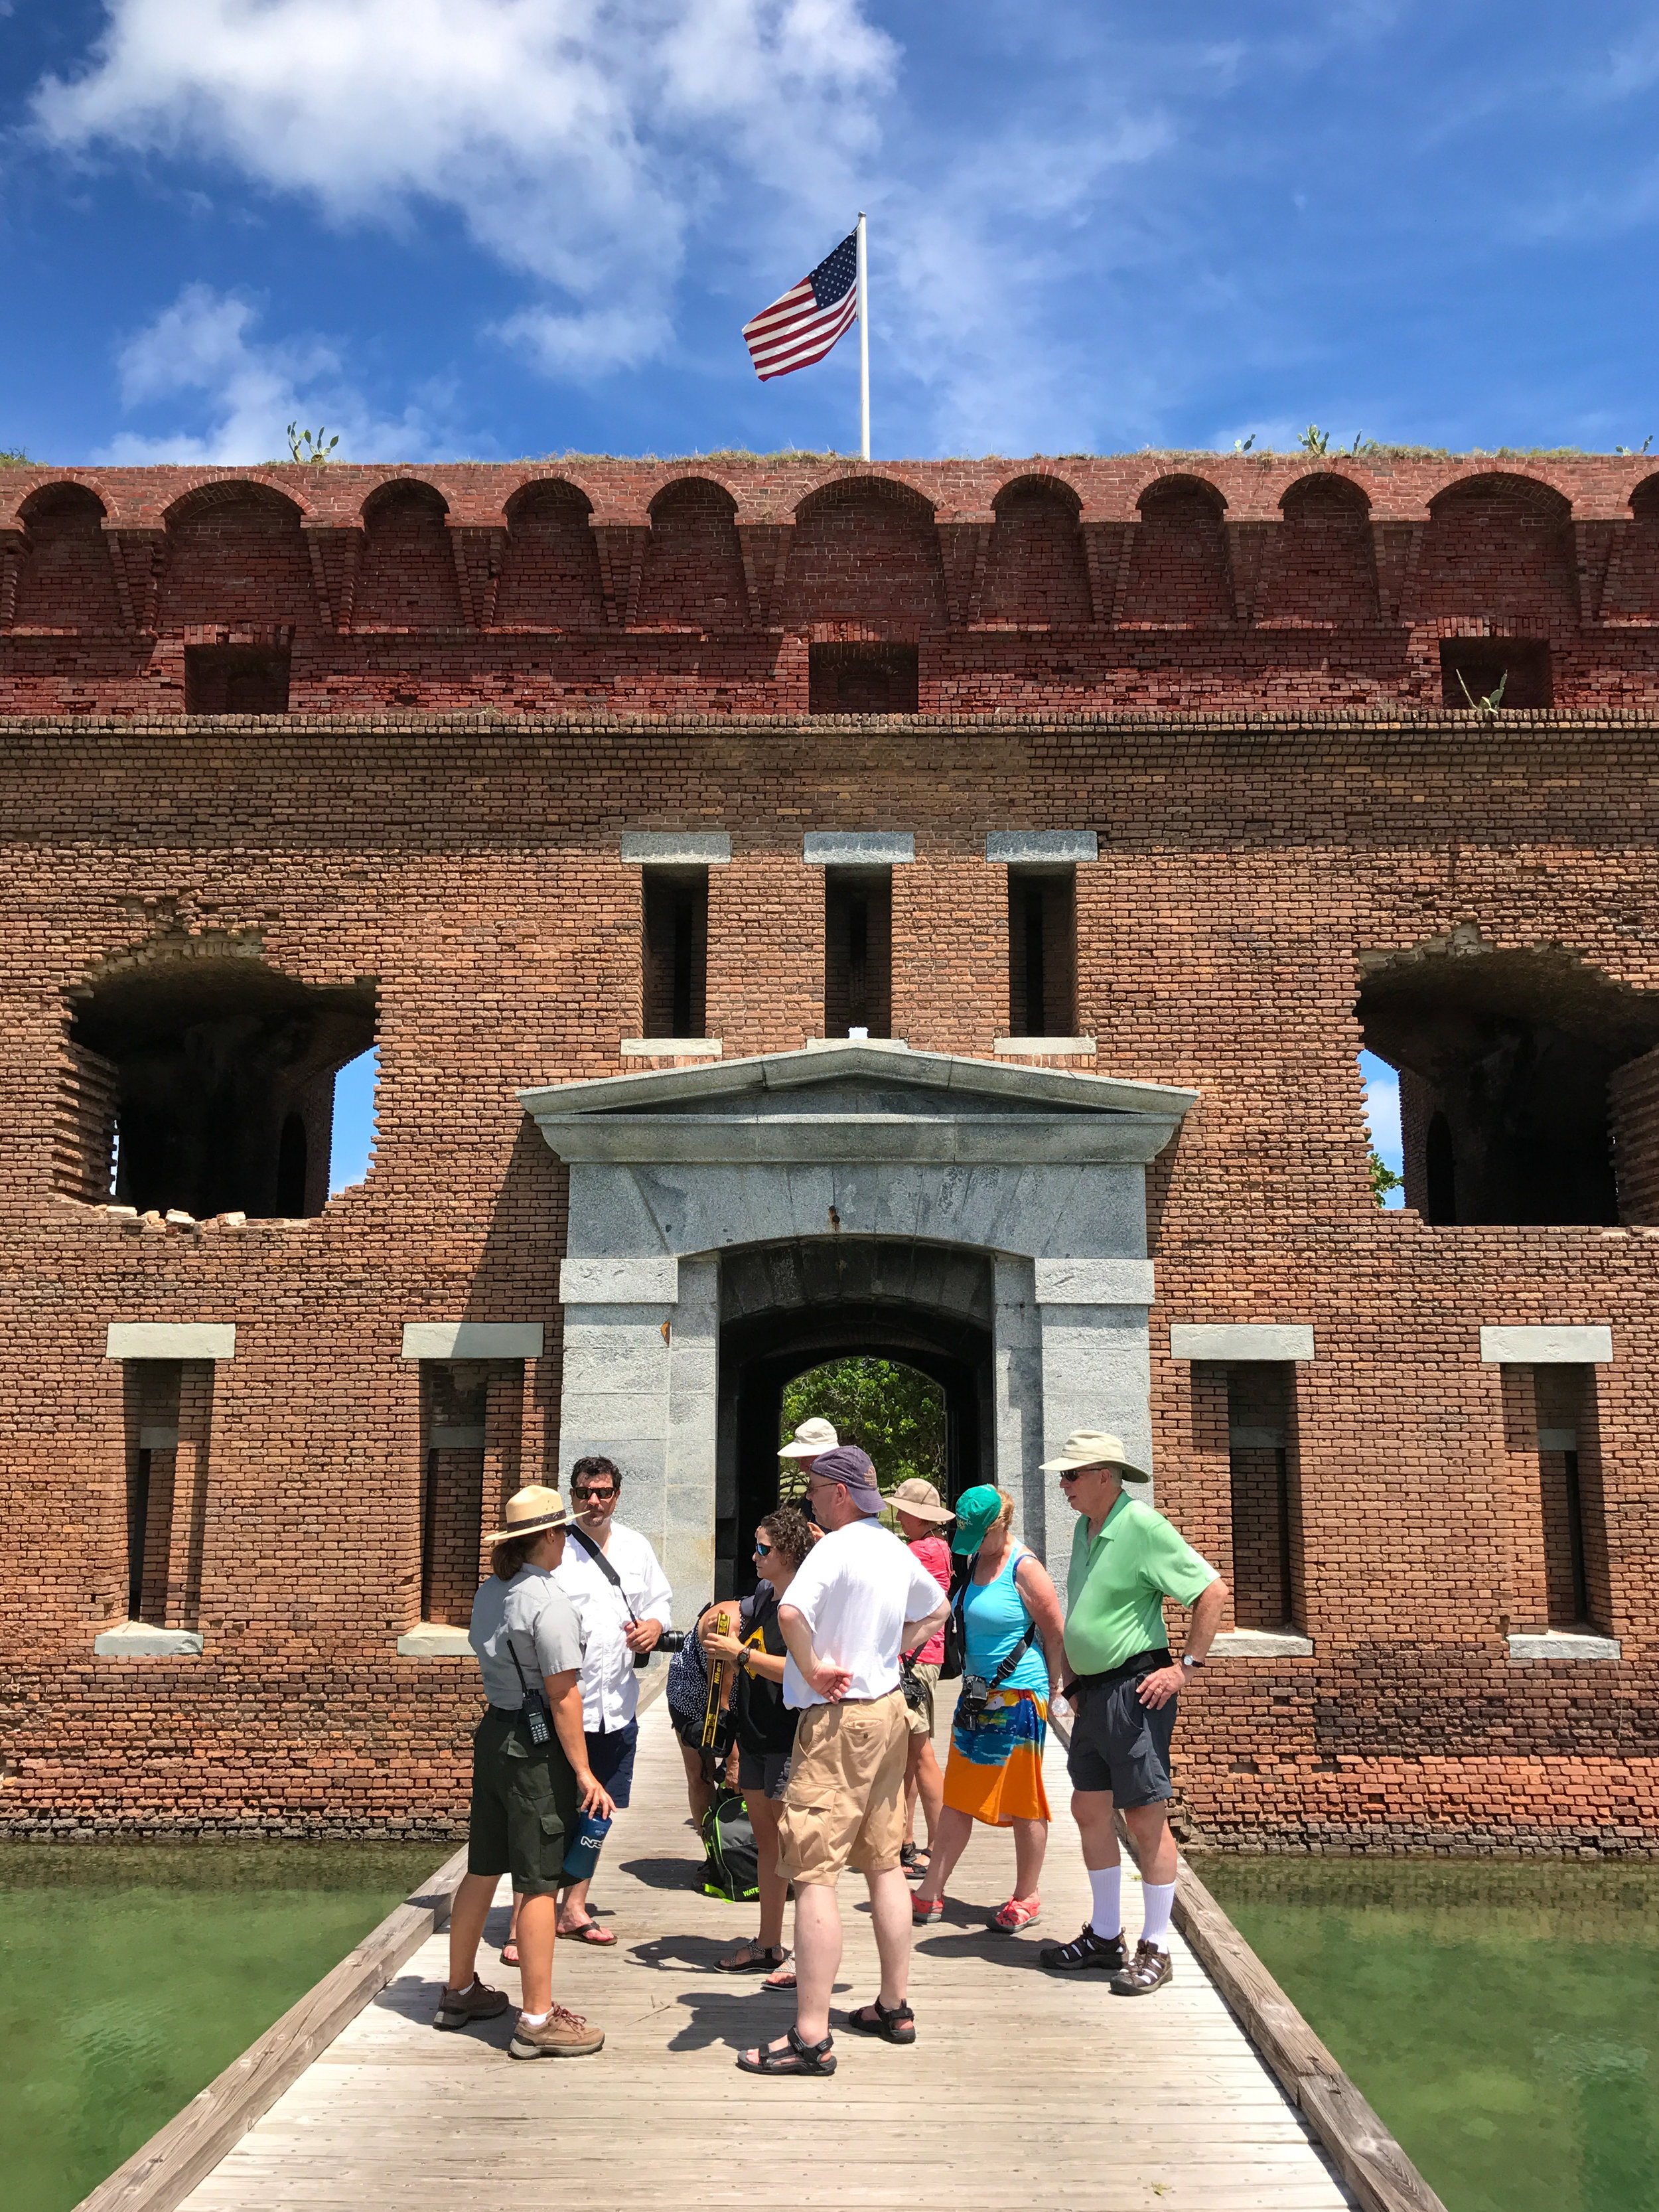
One of our more adventurous Passport Series workshops of 2017 was in Dry Tortugas National Park, which sits about 70 miles from Key West in the Gulf of Mexico. We were very fortunate to partner with the Key West Art and Historical Society and Dry Tortugas National Park for this immersive experience.

We kicked things off the day before the workshop with Tim and I presenting our favorite night park images at the Night Sky Symposium held at the Florida Keys Eco-Discovery Center. Kelly Clark, cultural resources specialist from Dry Tortugas, led off with an overview of the restoration and upkeep of the massive Fort Jefferson, then two local astronomers gave a very thorough overview of Florida night skies.

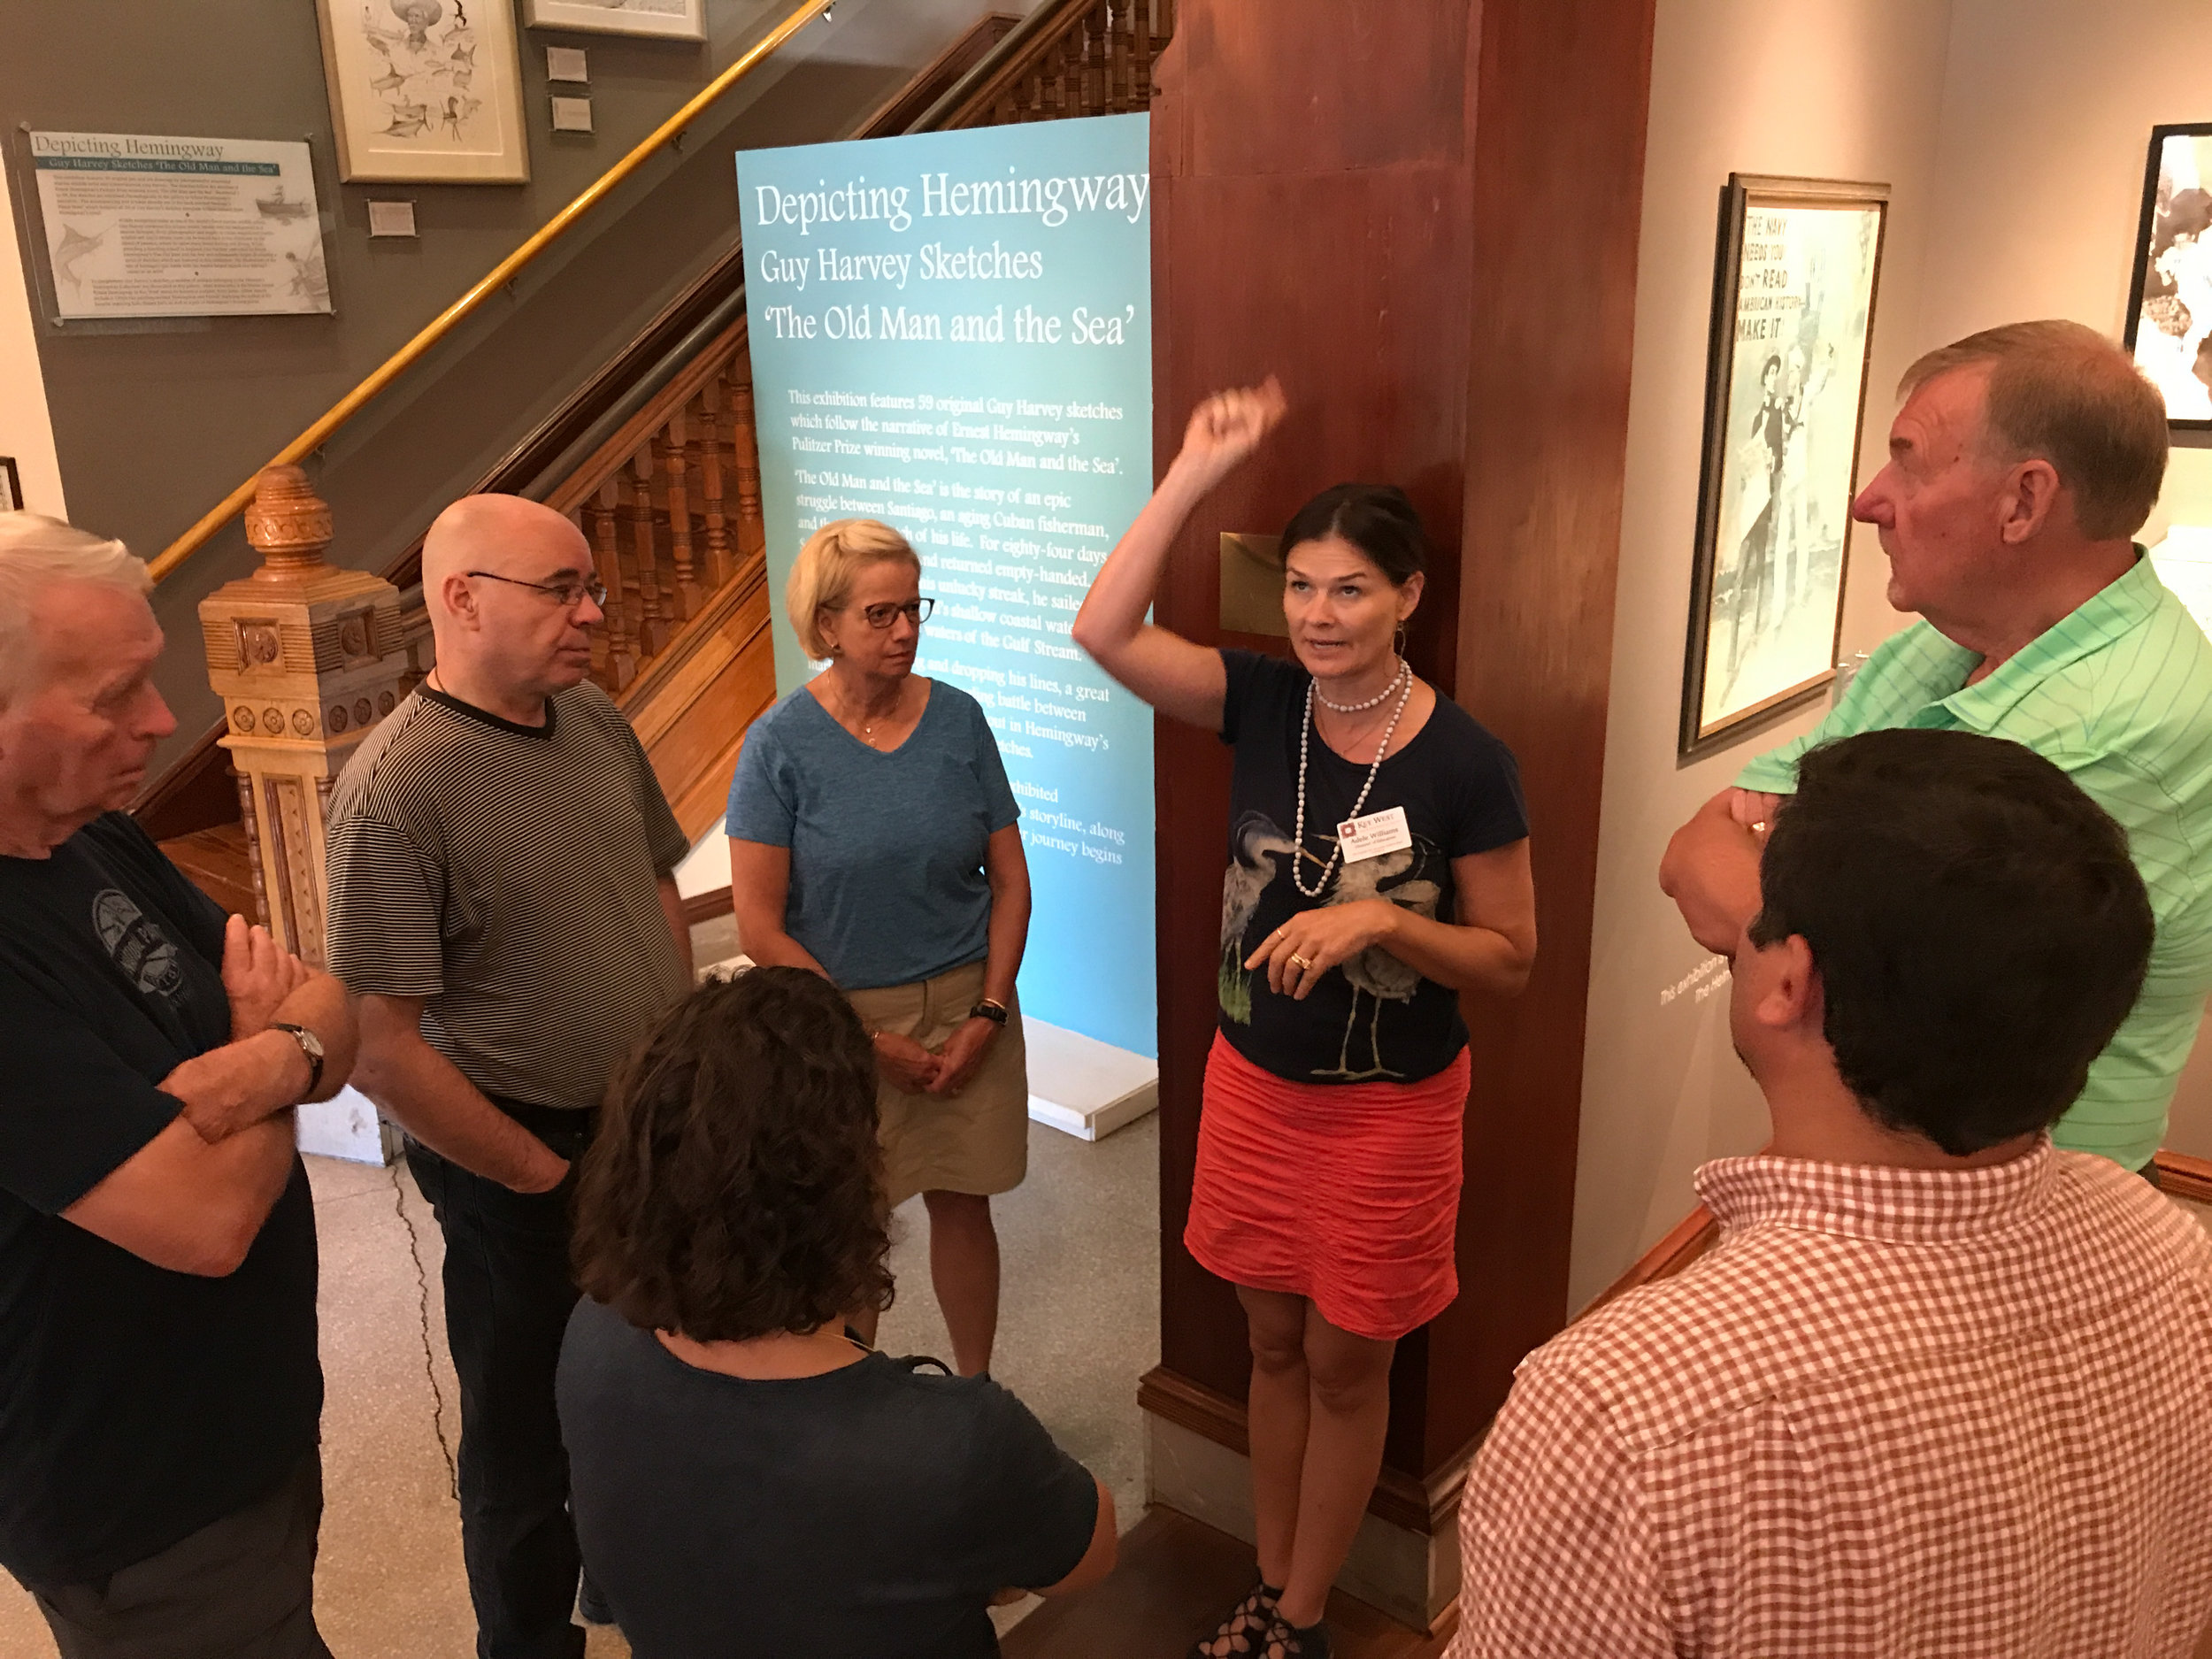
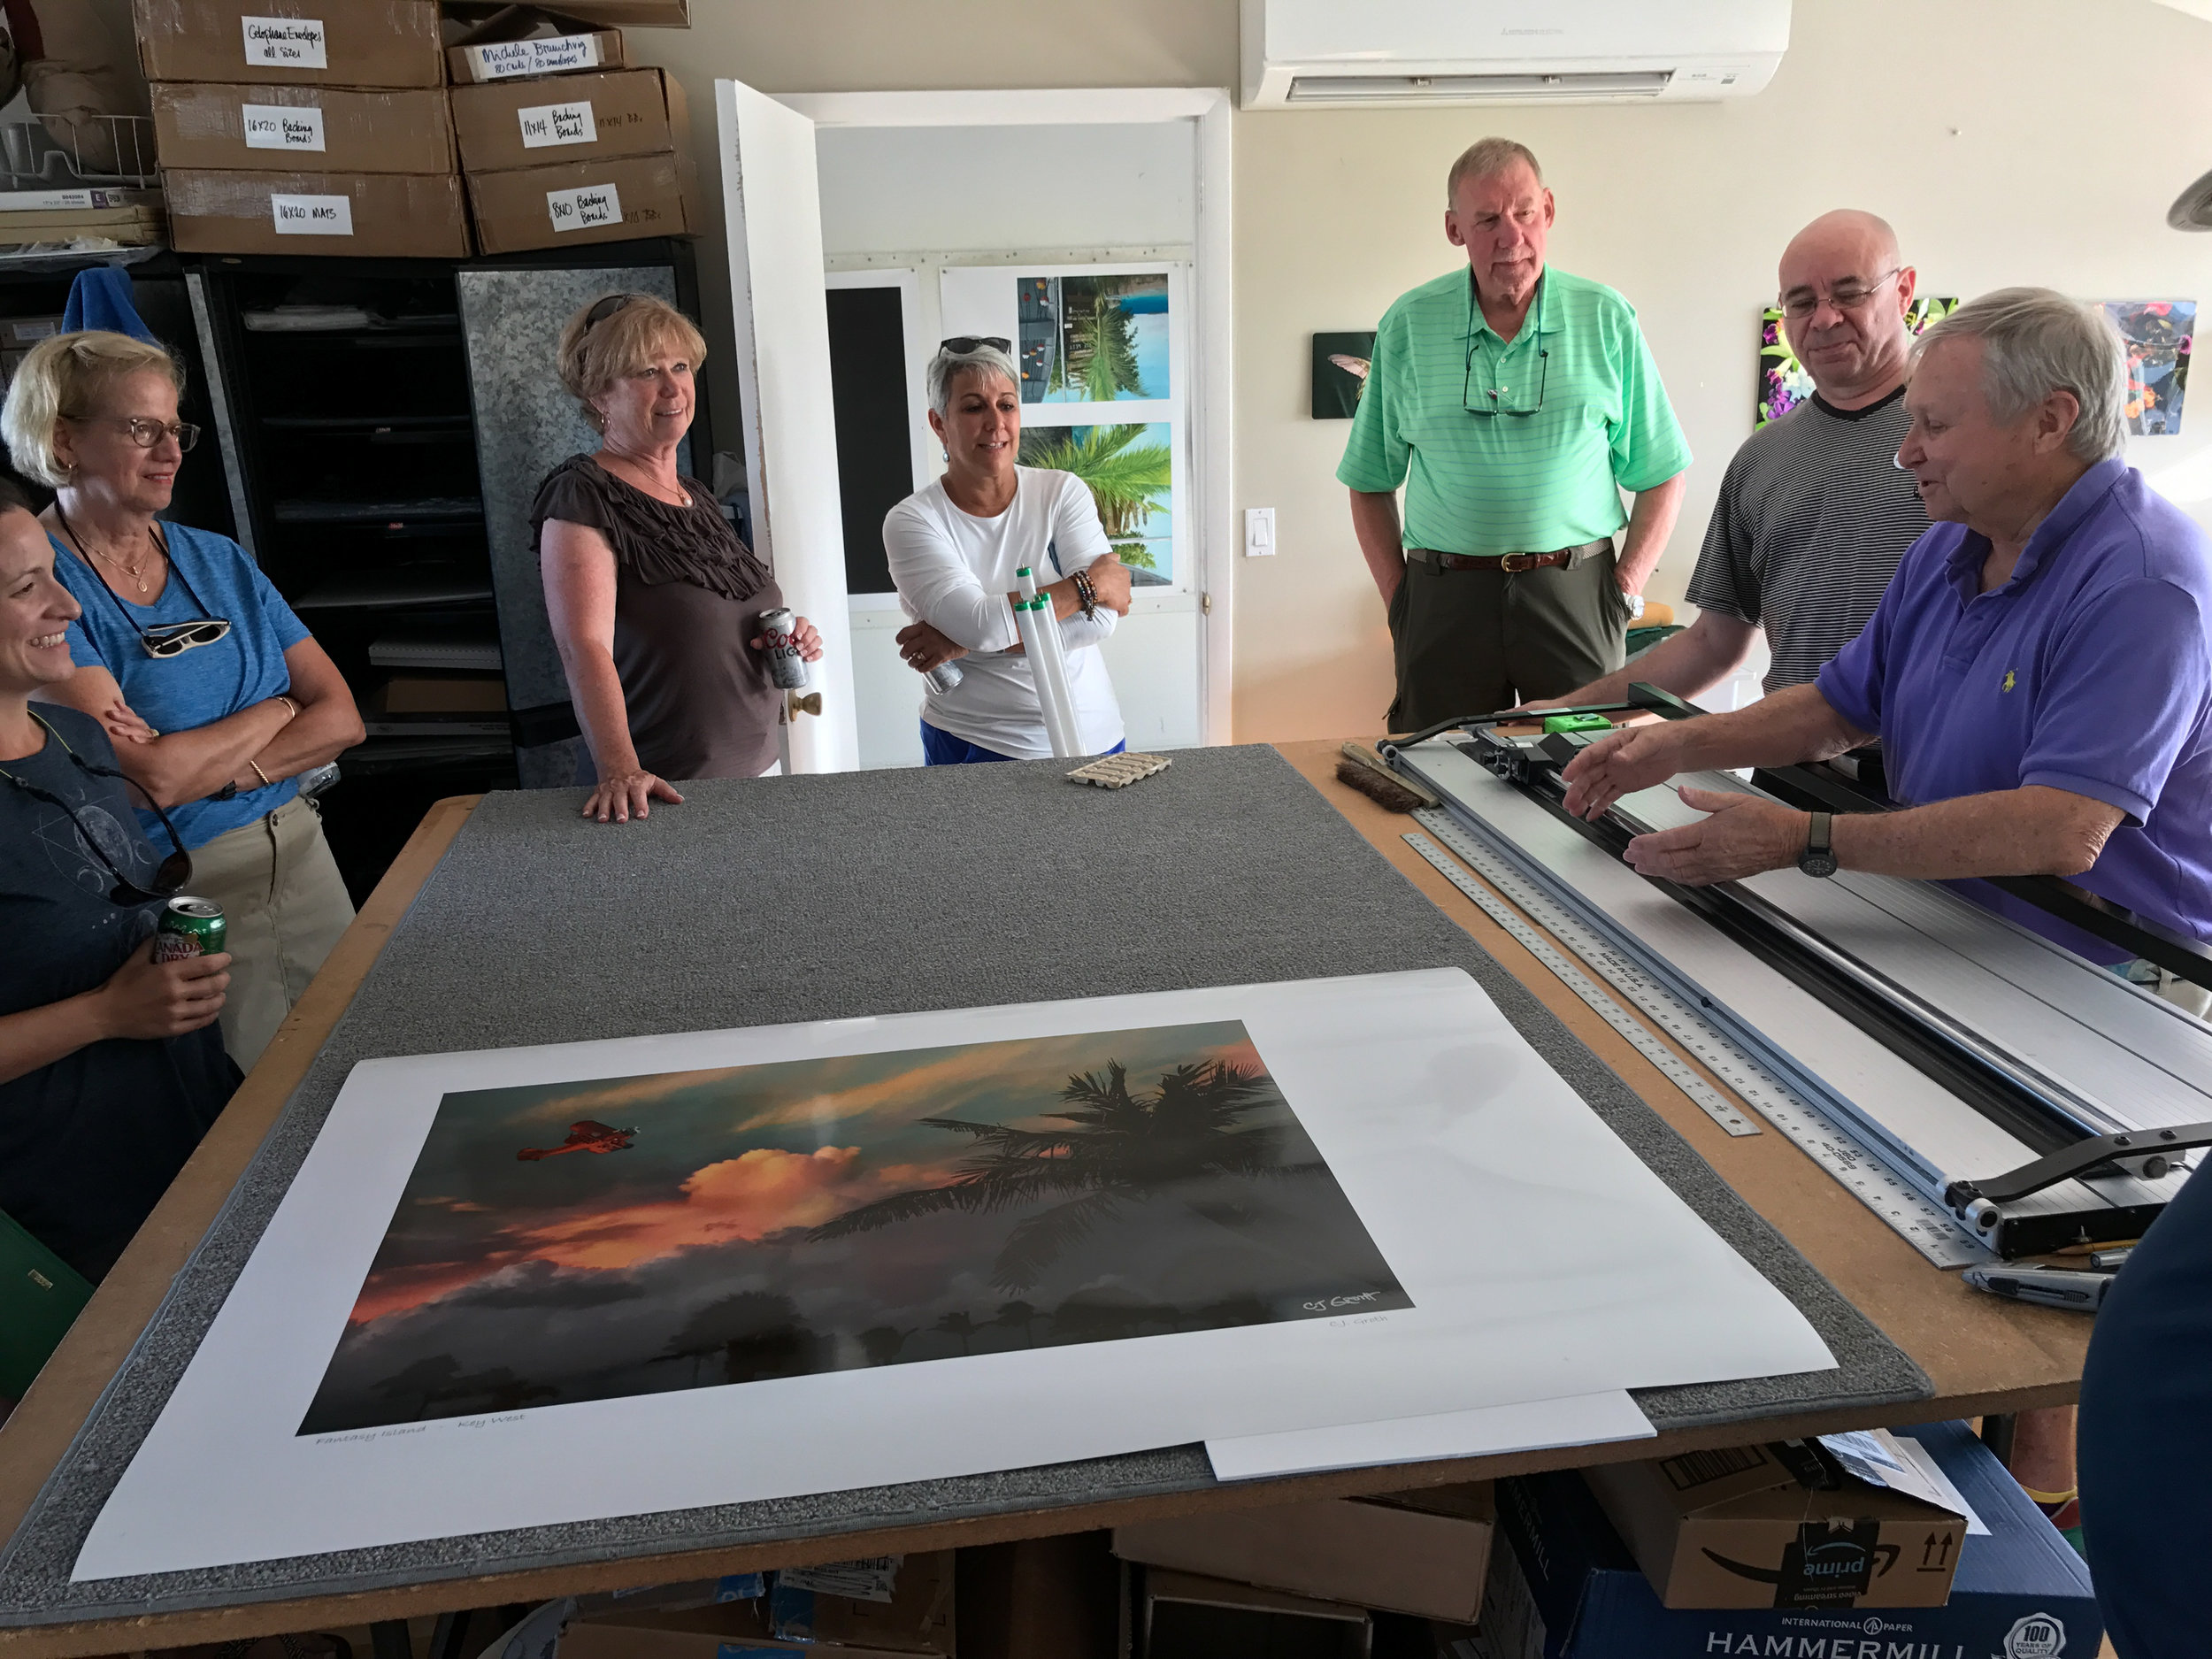
The next day we met the entire workshop class and spent the day going over night photography as well as learning the history of Key West with a private tour of the museum at the Art and Historical Society.

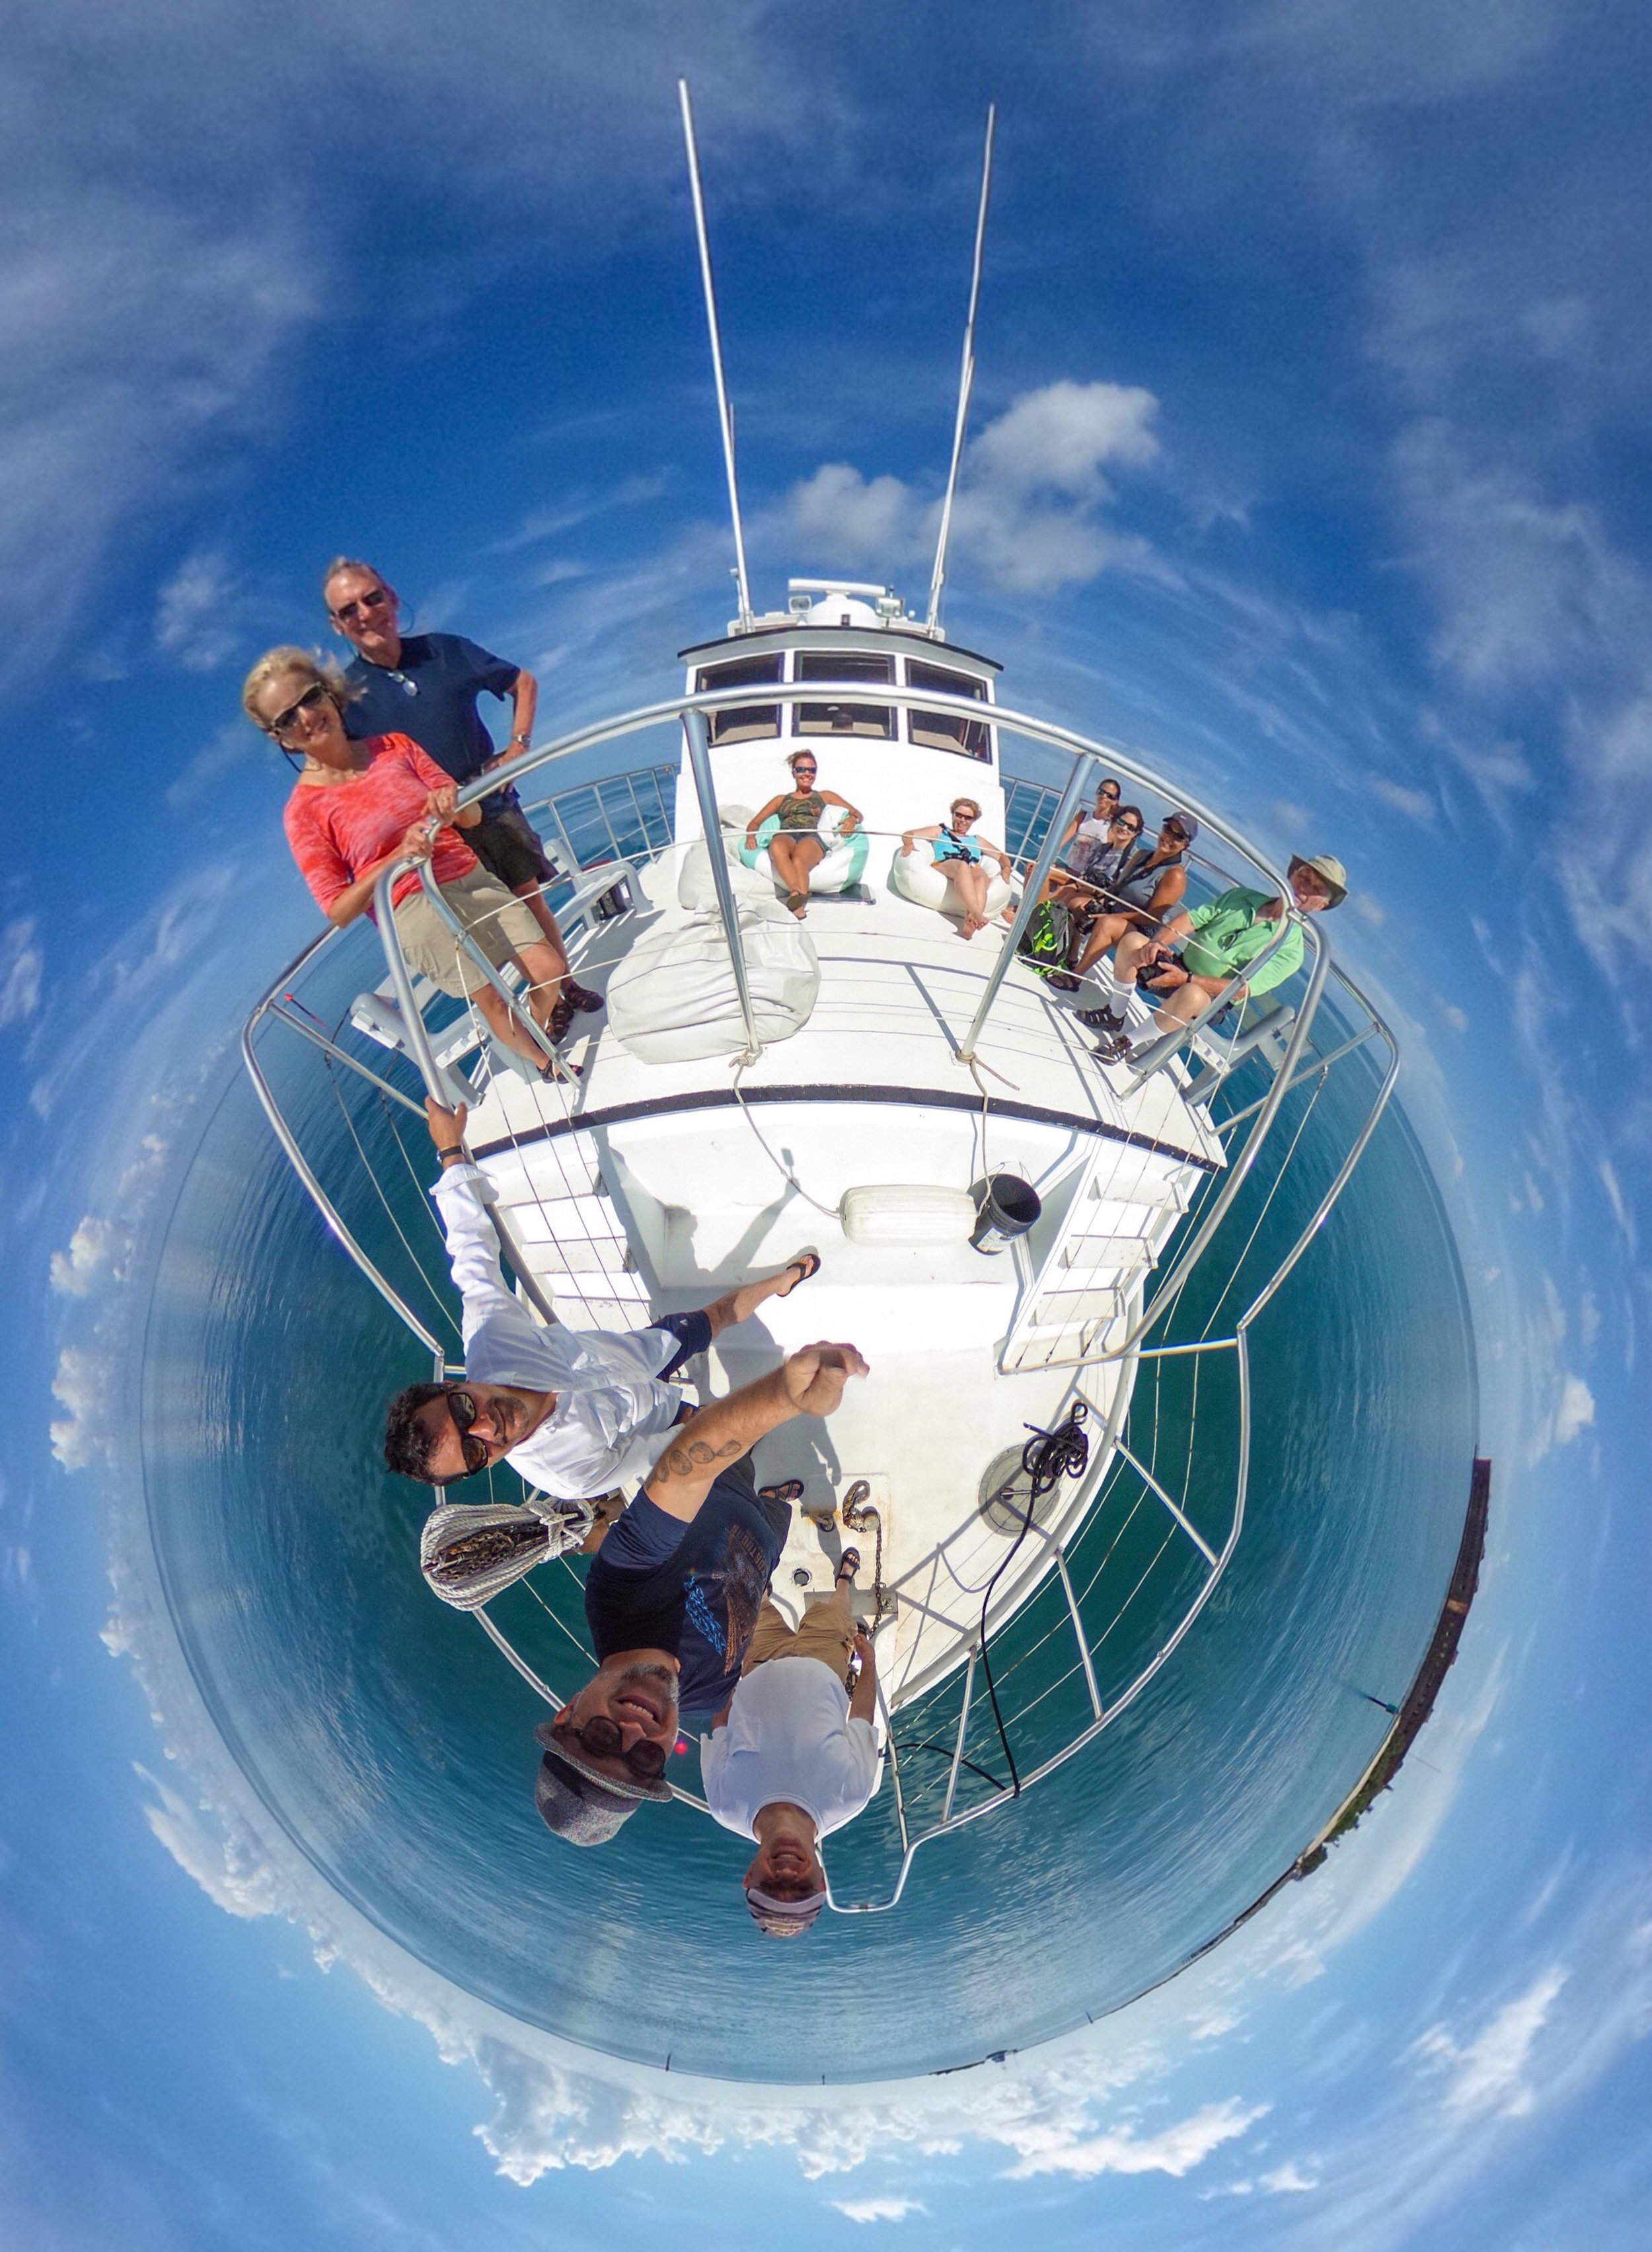
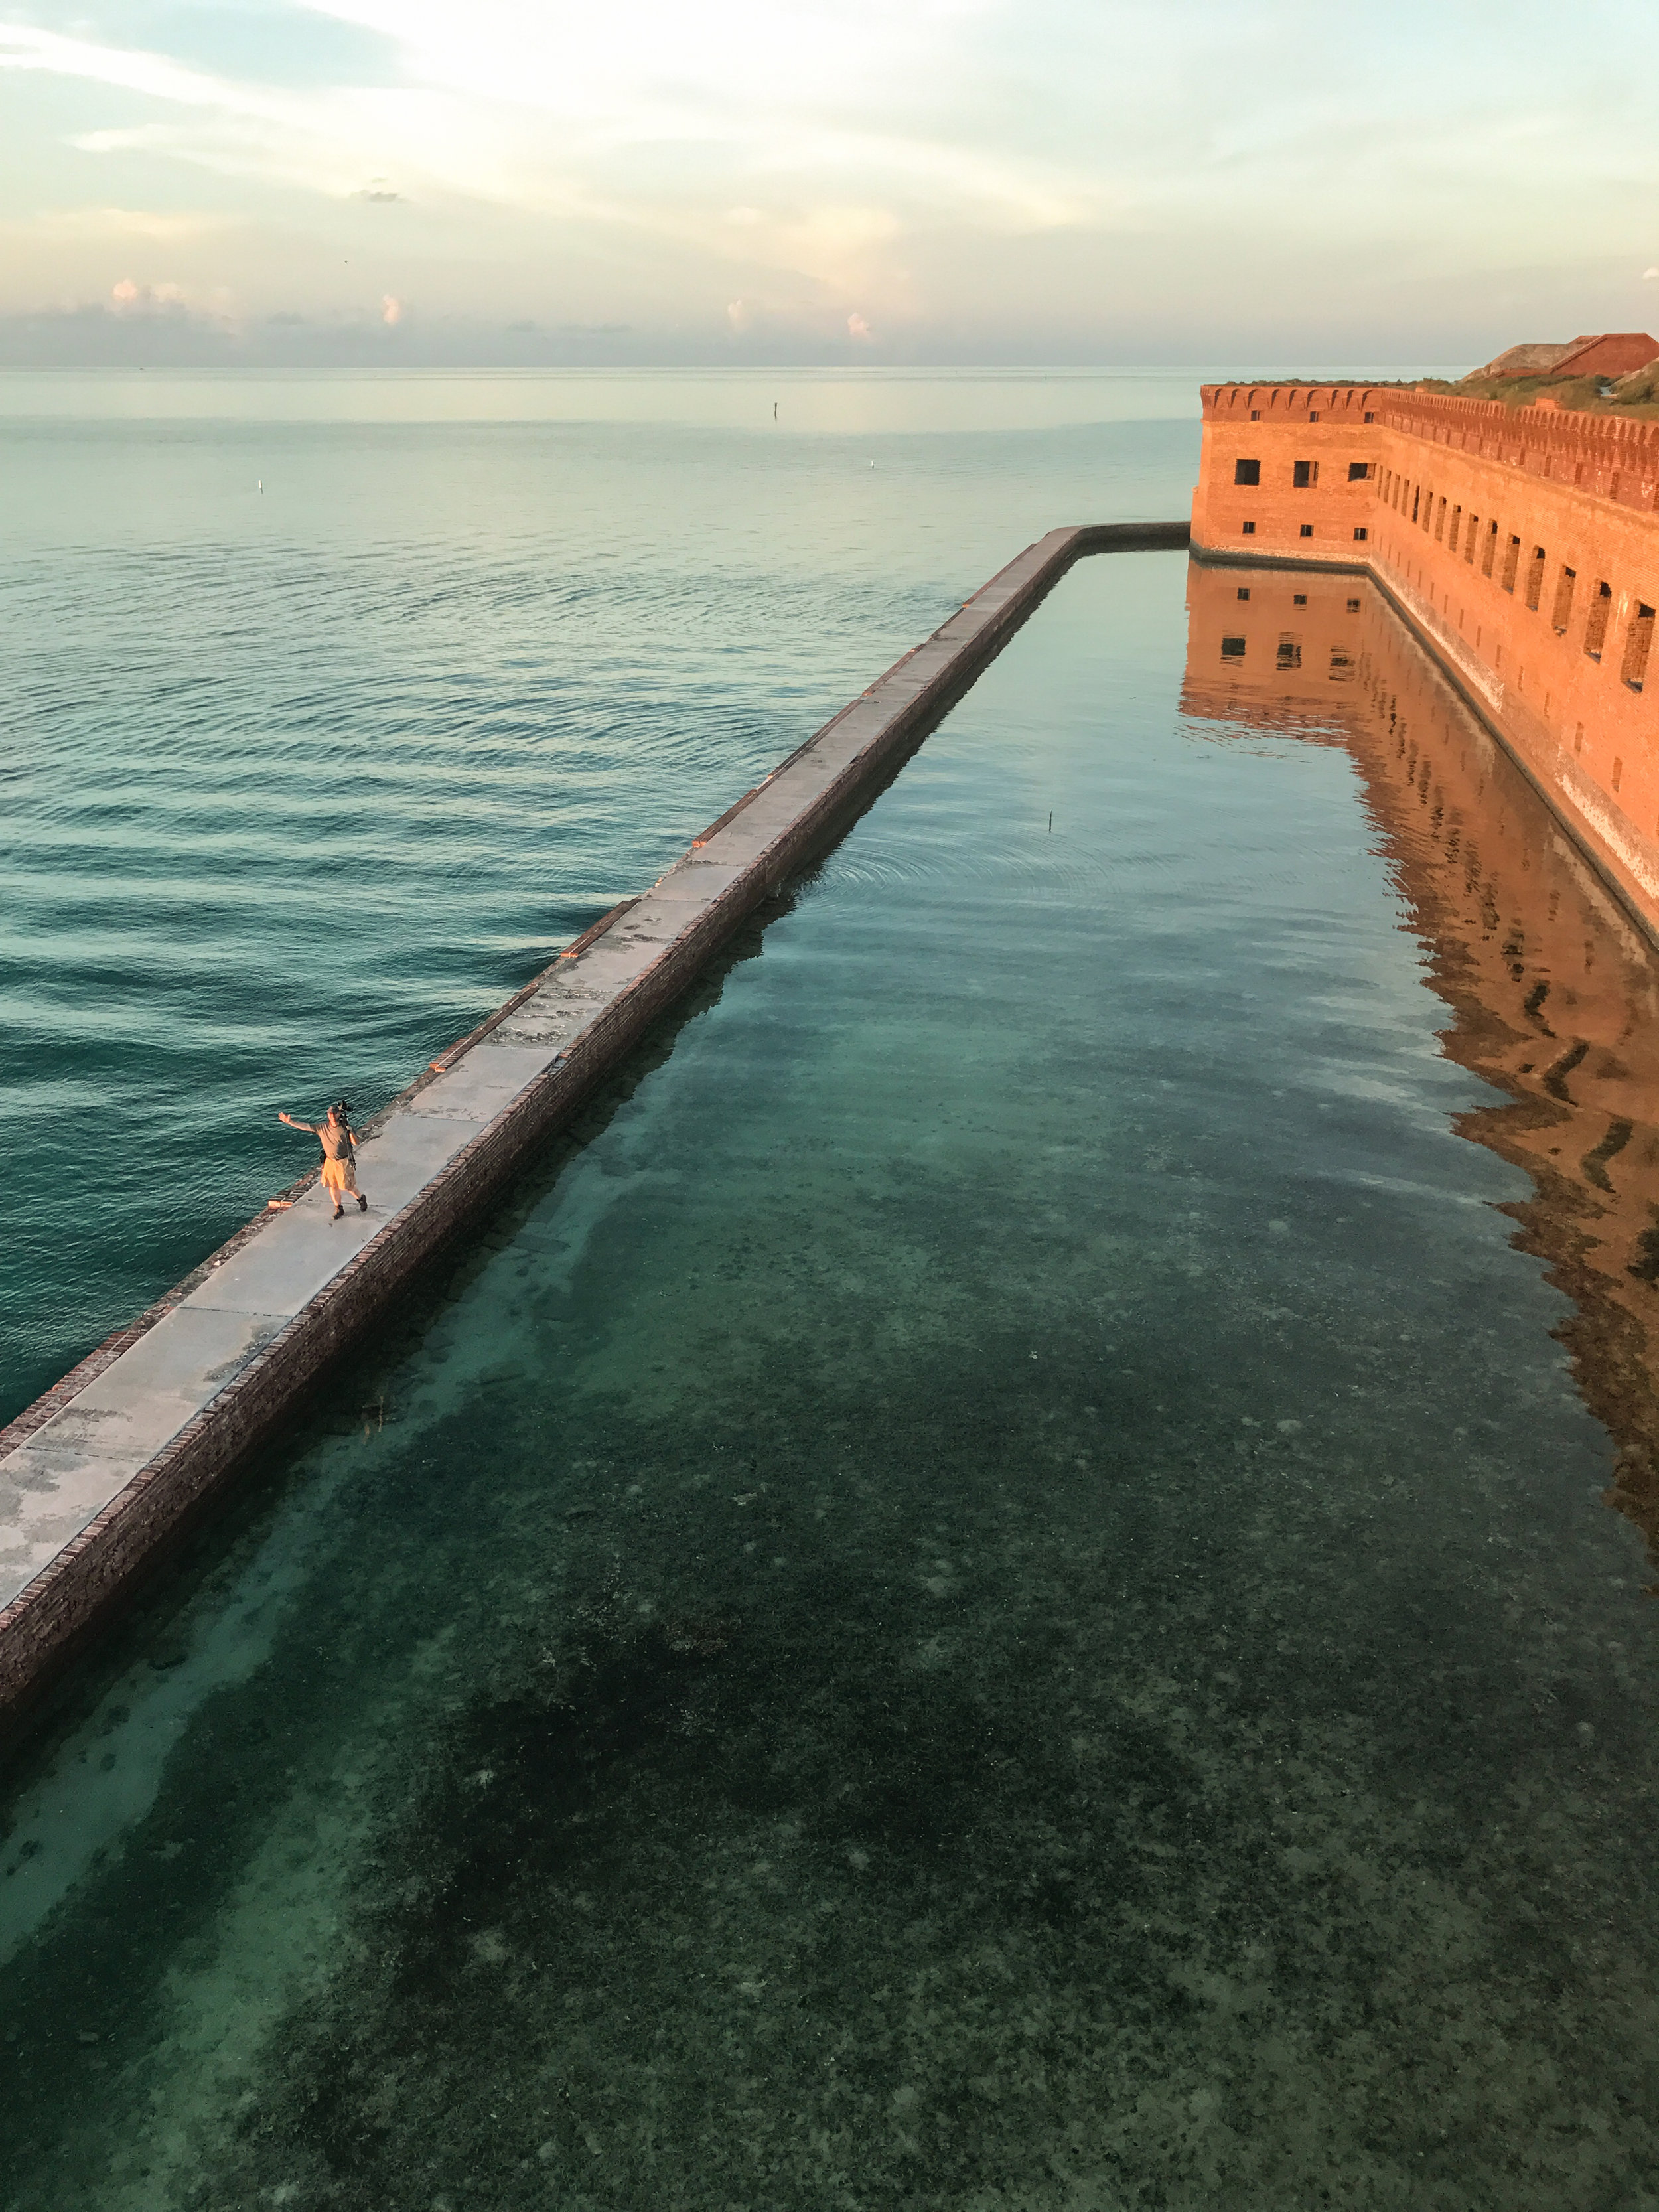
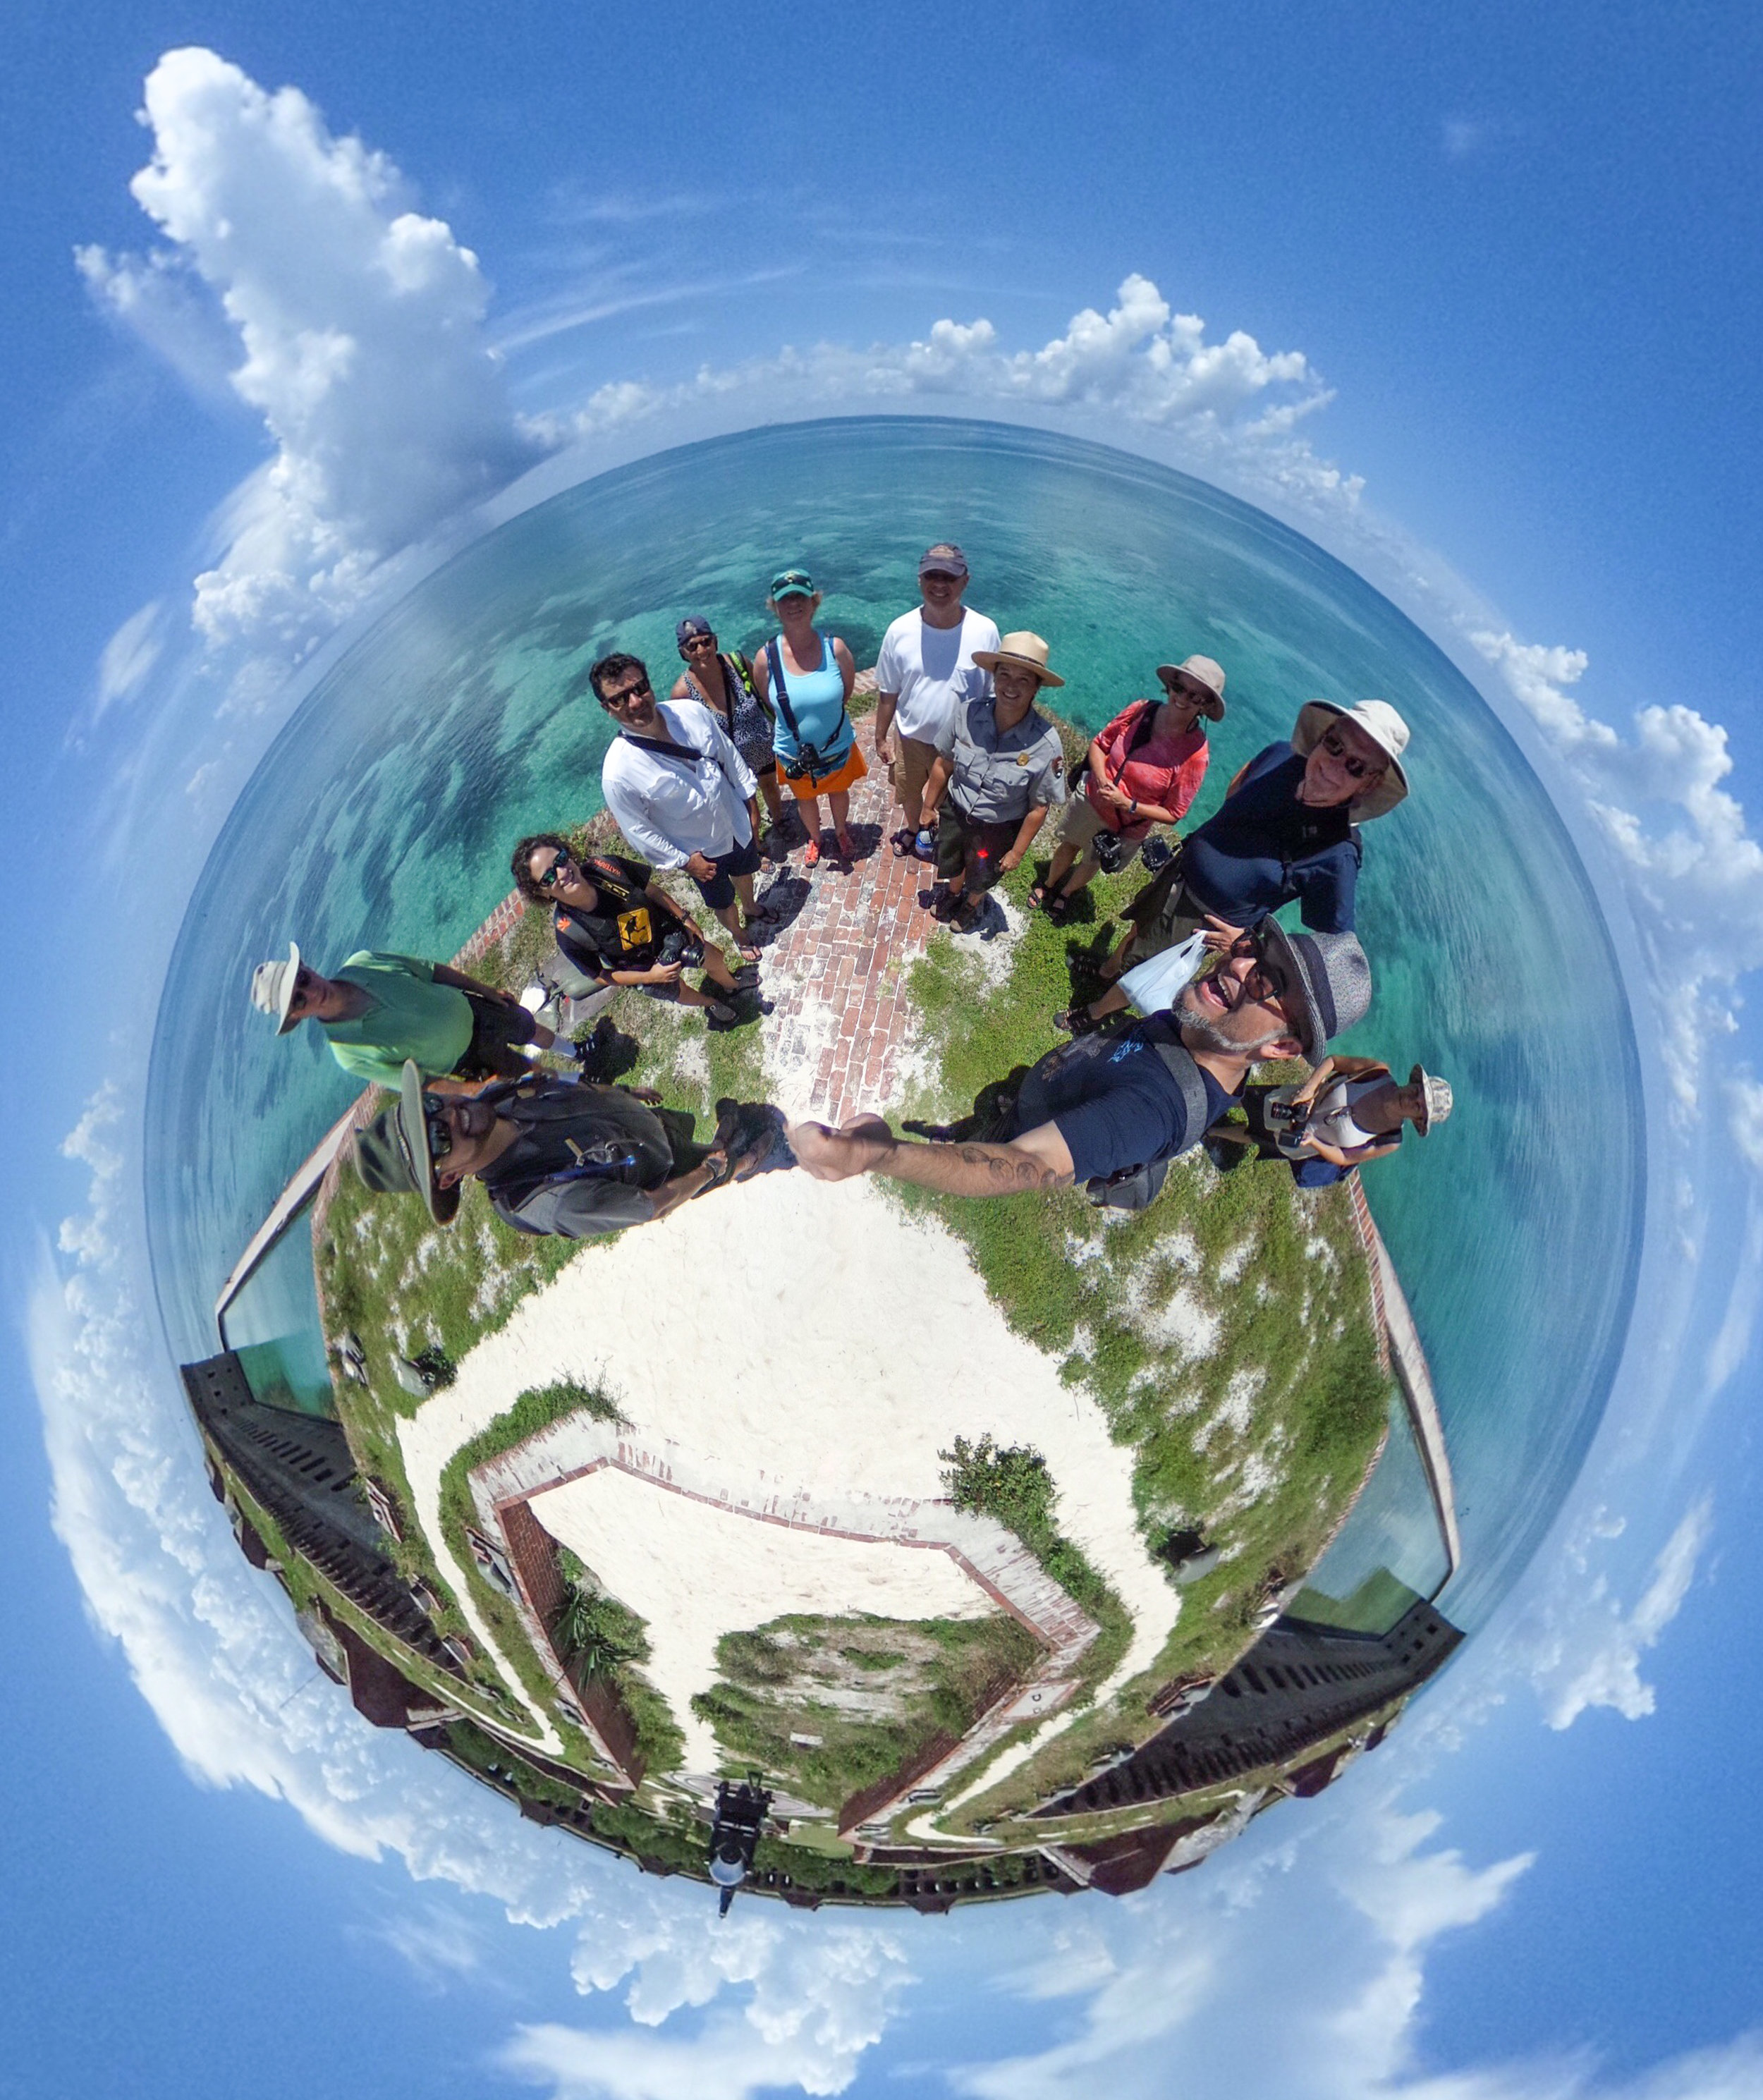
That night we put our night photography skills to the test at Fort Martello, where we practiced light painting and tested our high ISOs and long exposure parameters in the hot and humid heat of Florida. Then at midnight we boarded our private boat for a three-day tour. We woke to Fort Jefferson tiny on the horizon. The next two days and nights would be a full-on focus of Dry Tortugas. Most people get to visit this park for only two to three hours when the Yankee Clipper boat brings them in and out. Though the park has room for about 20 people to tent-camp, visitors don’t get access to the inside of Fort Jefferson after sundown. But we did!

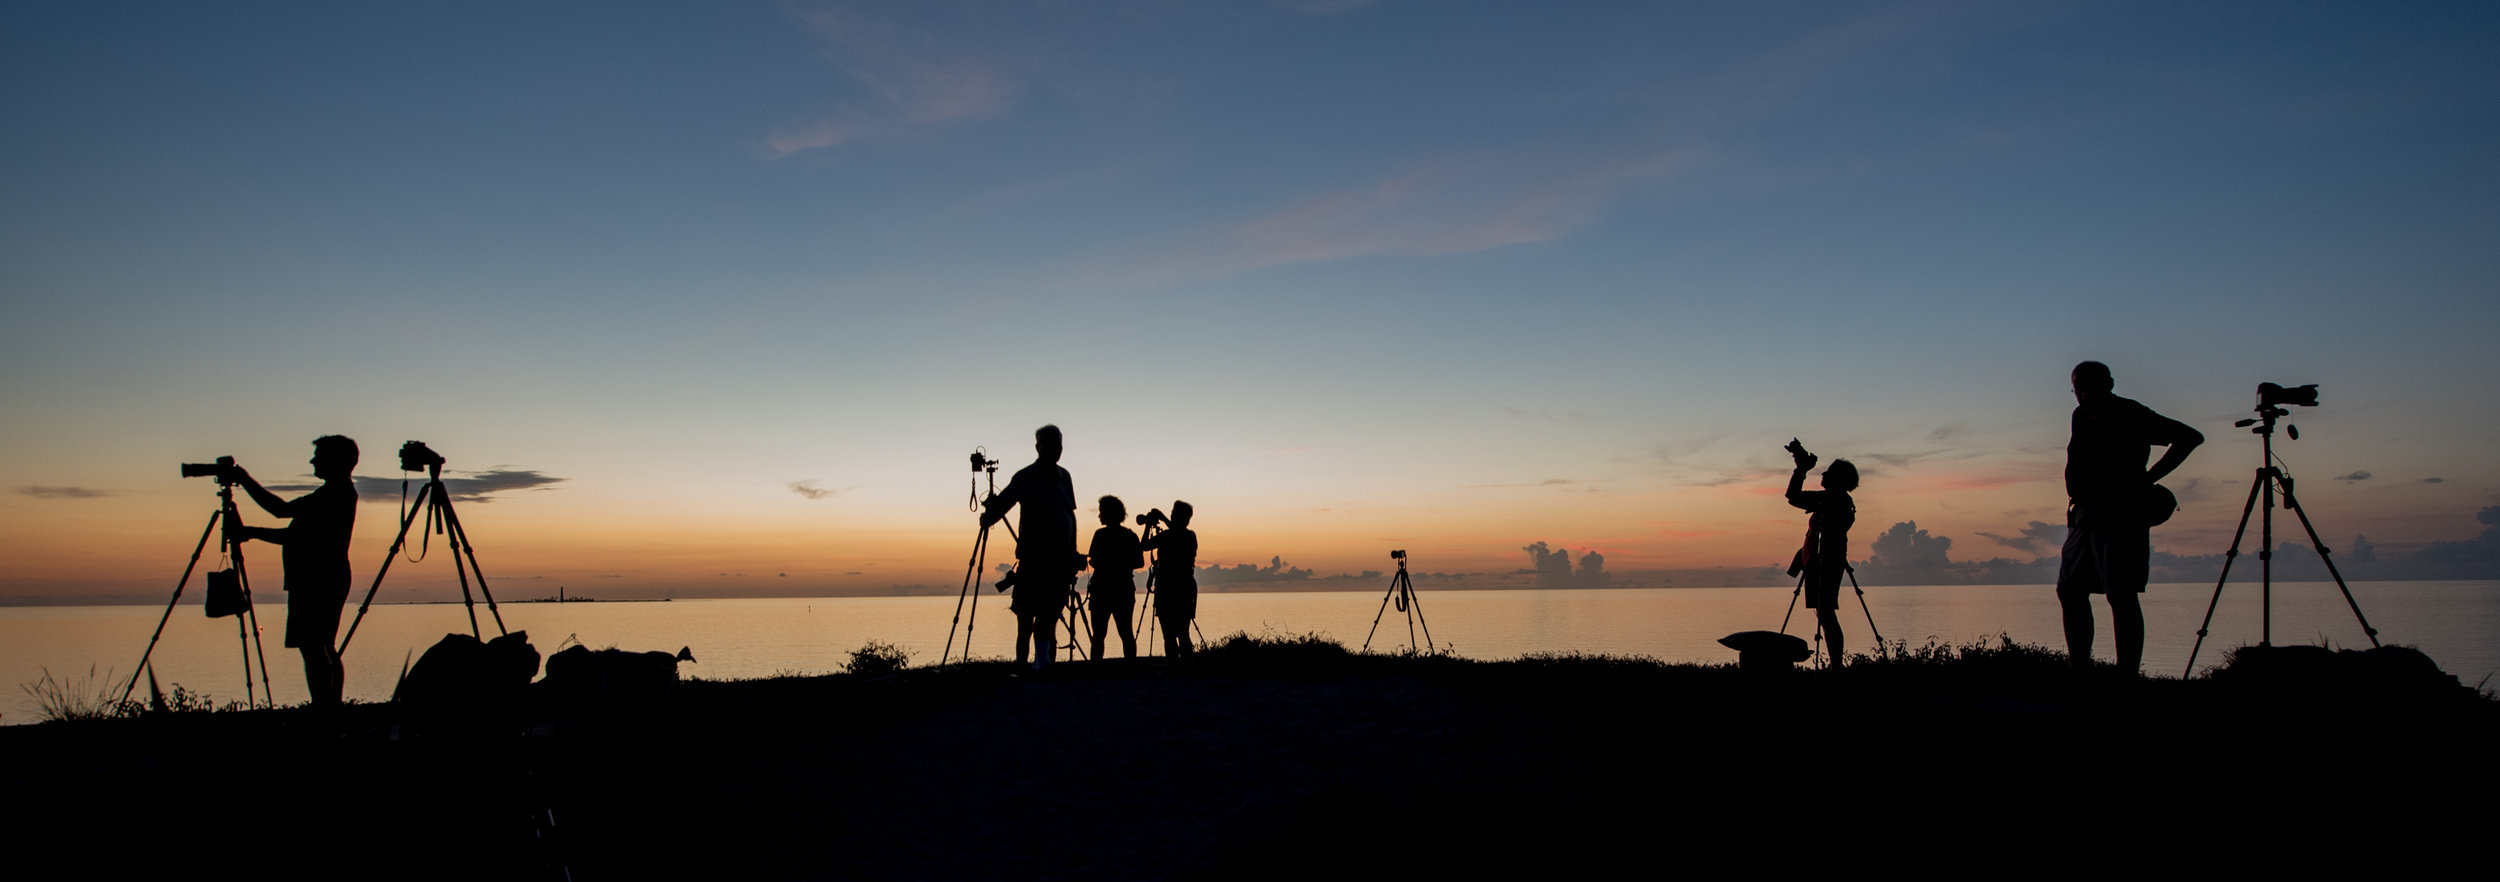
We kept cool during the day by snorkeling and swimming, and also used daylight hours to scout for the best compositions. At night we had full access to the fort, and each window and path led us to fantastic nightscape images.

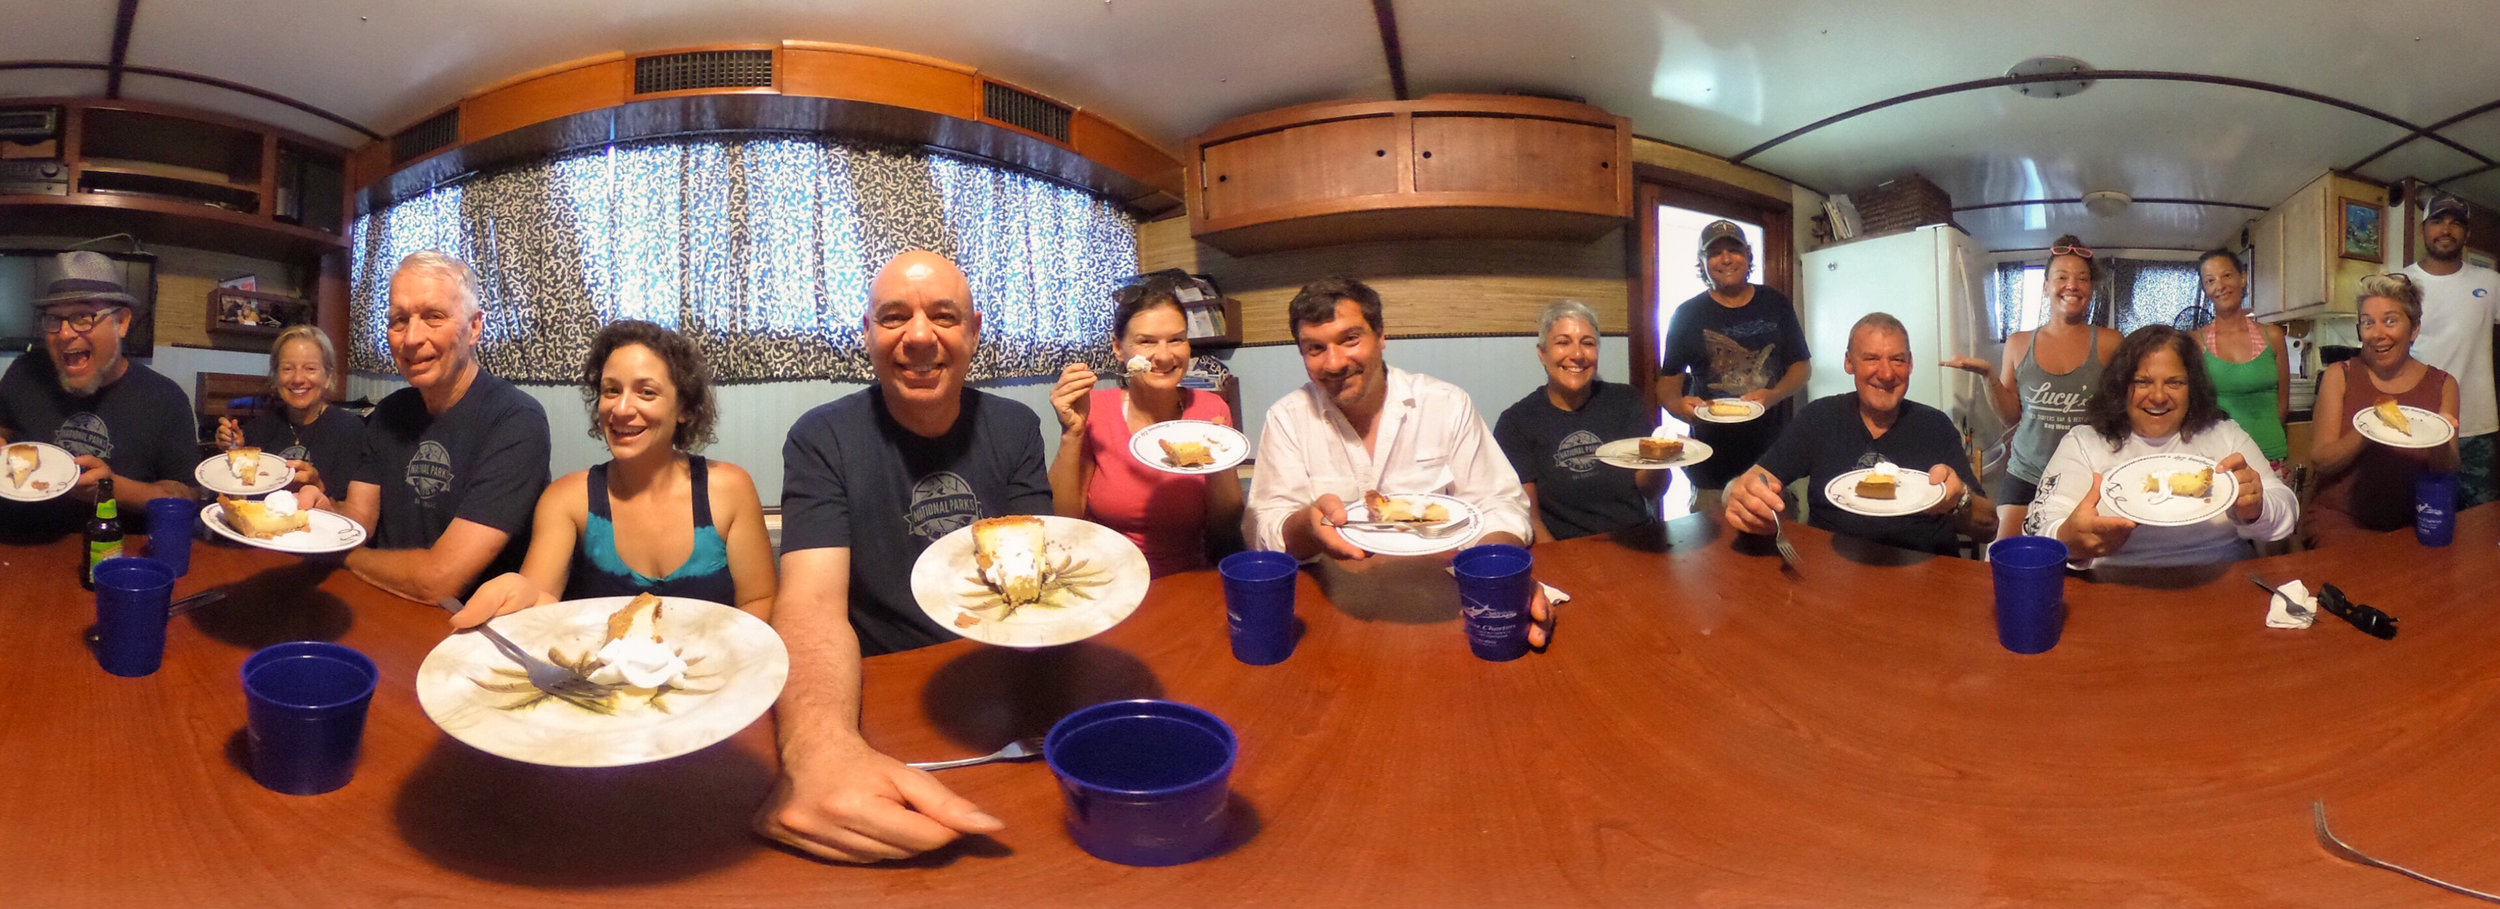
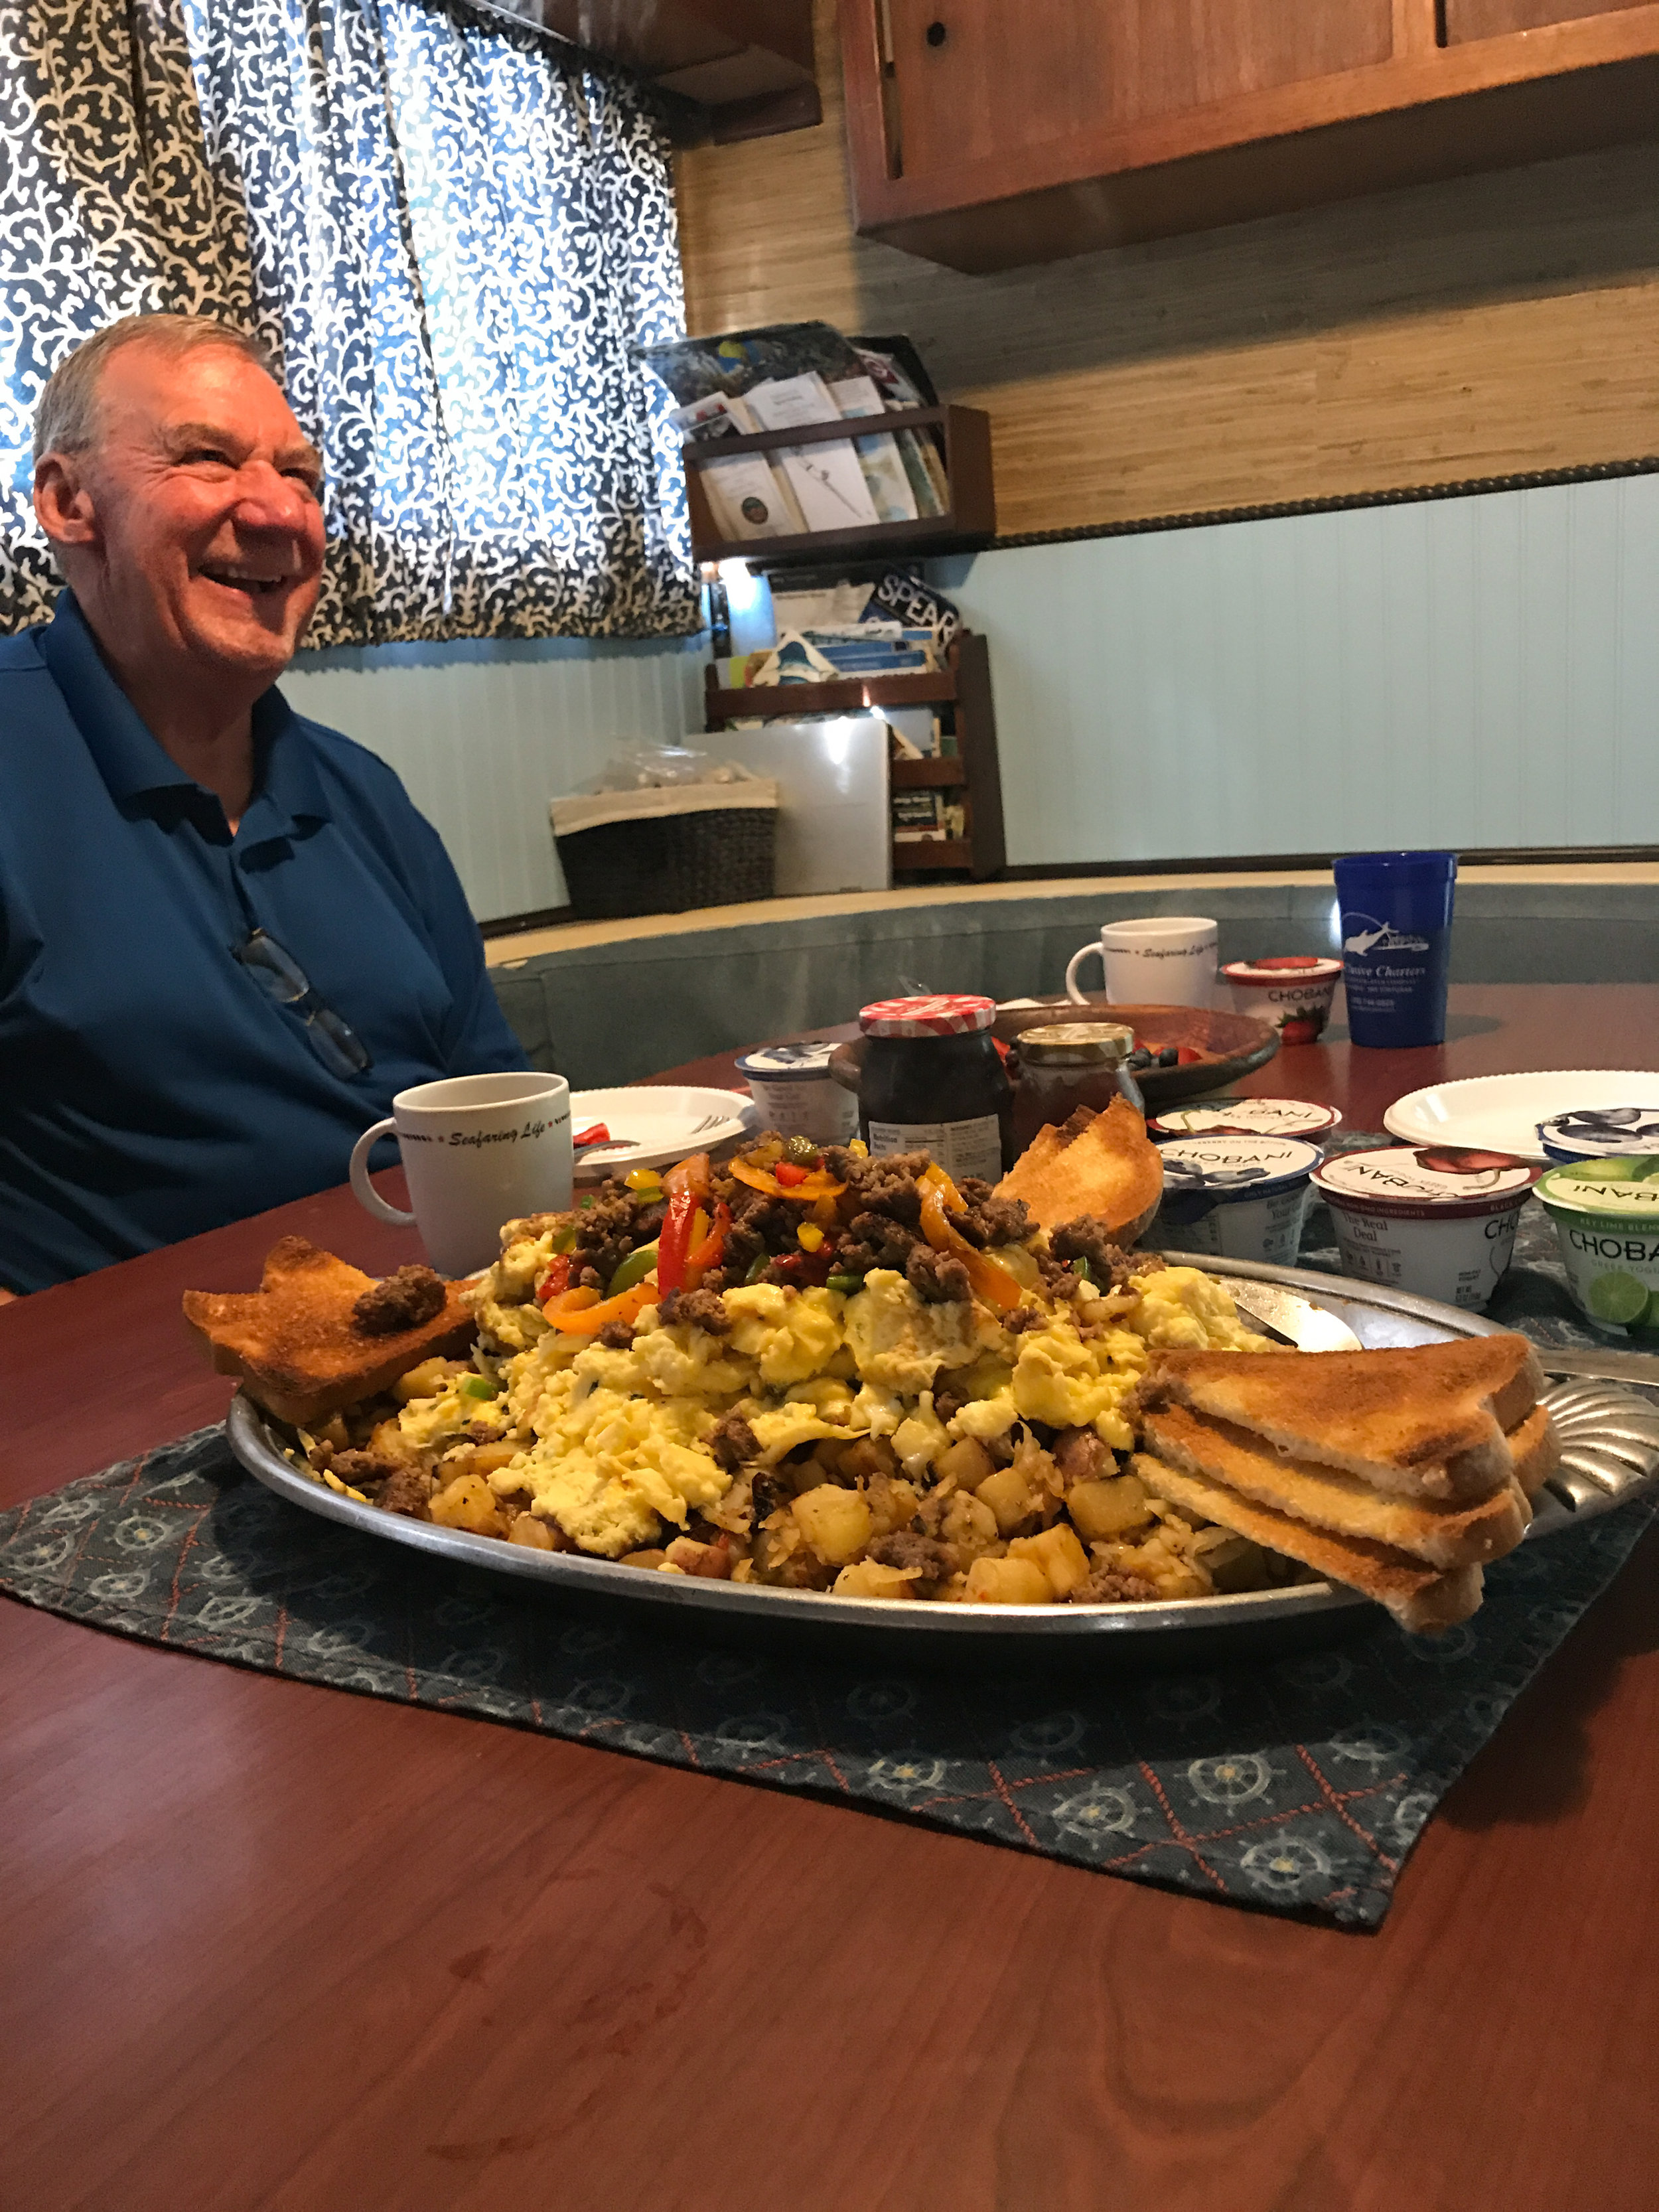
Life on the boat was a little cramped but the crew was amazing and the food top-notch! On our ride back to Key West we all started working on editing our photos for a public presentation at the Art and Historical Society. This turned out to be a huge hit—about 50 people attended. We put all the students’ work together and gave a brief talk about our recent adventures, followed by an hourlong Q&A and a celebratory group dinner.

Follow-up: Key West and Dry Tortugas were hit hard by Hurricane Irma. Fortunately our friends were safe and damage was minimal to their lives. A part of the famous walkway around the moat of Fort Jefferson was broken, so you can no longer walk all the way around—but I guess that makes for new picture opportunities. Stay tuned; we hope to partner with Dry Tortugas and the Key West Art and Historical Society again in the near future.

Great Sand Dunes National Park

August 10-14, 2017

By Matt Hill
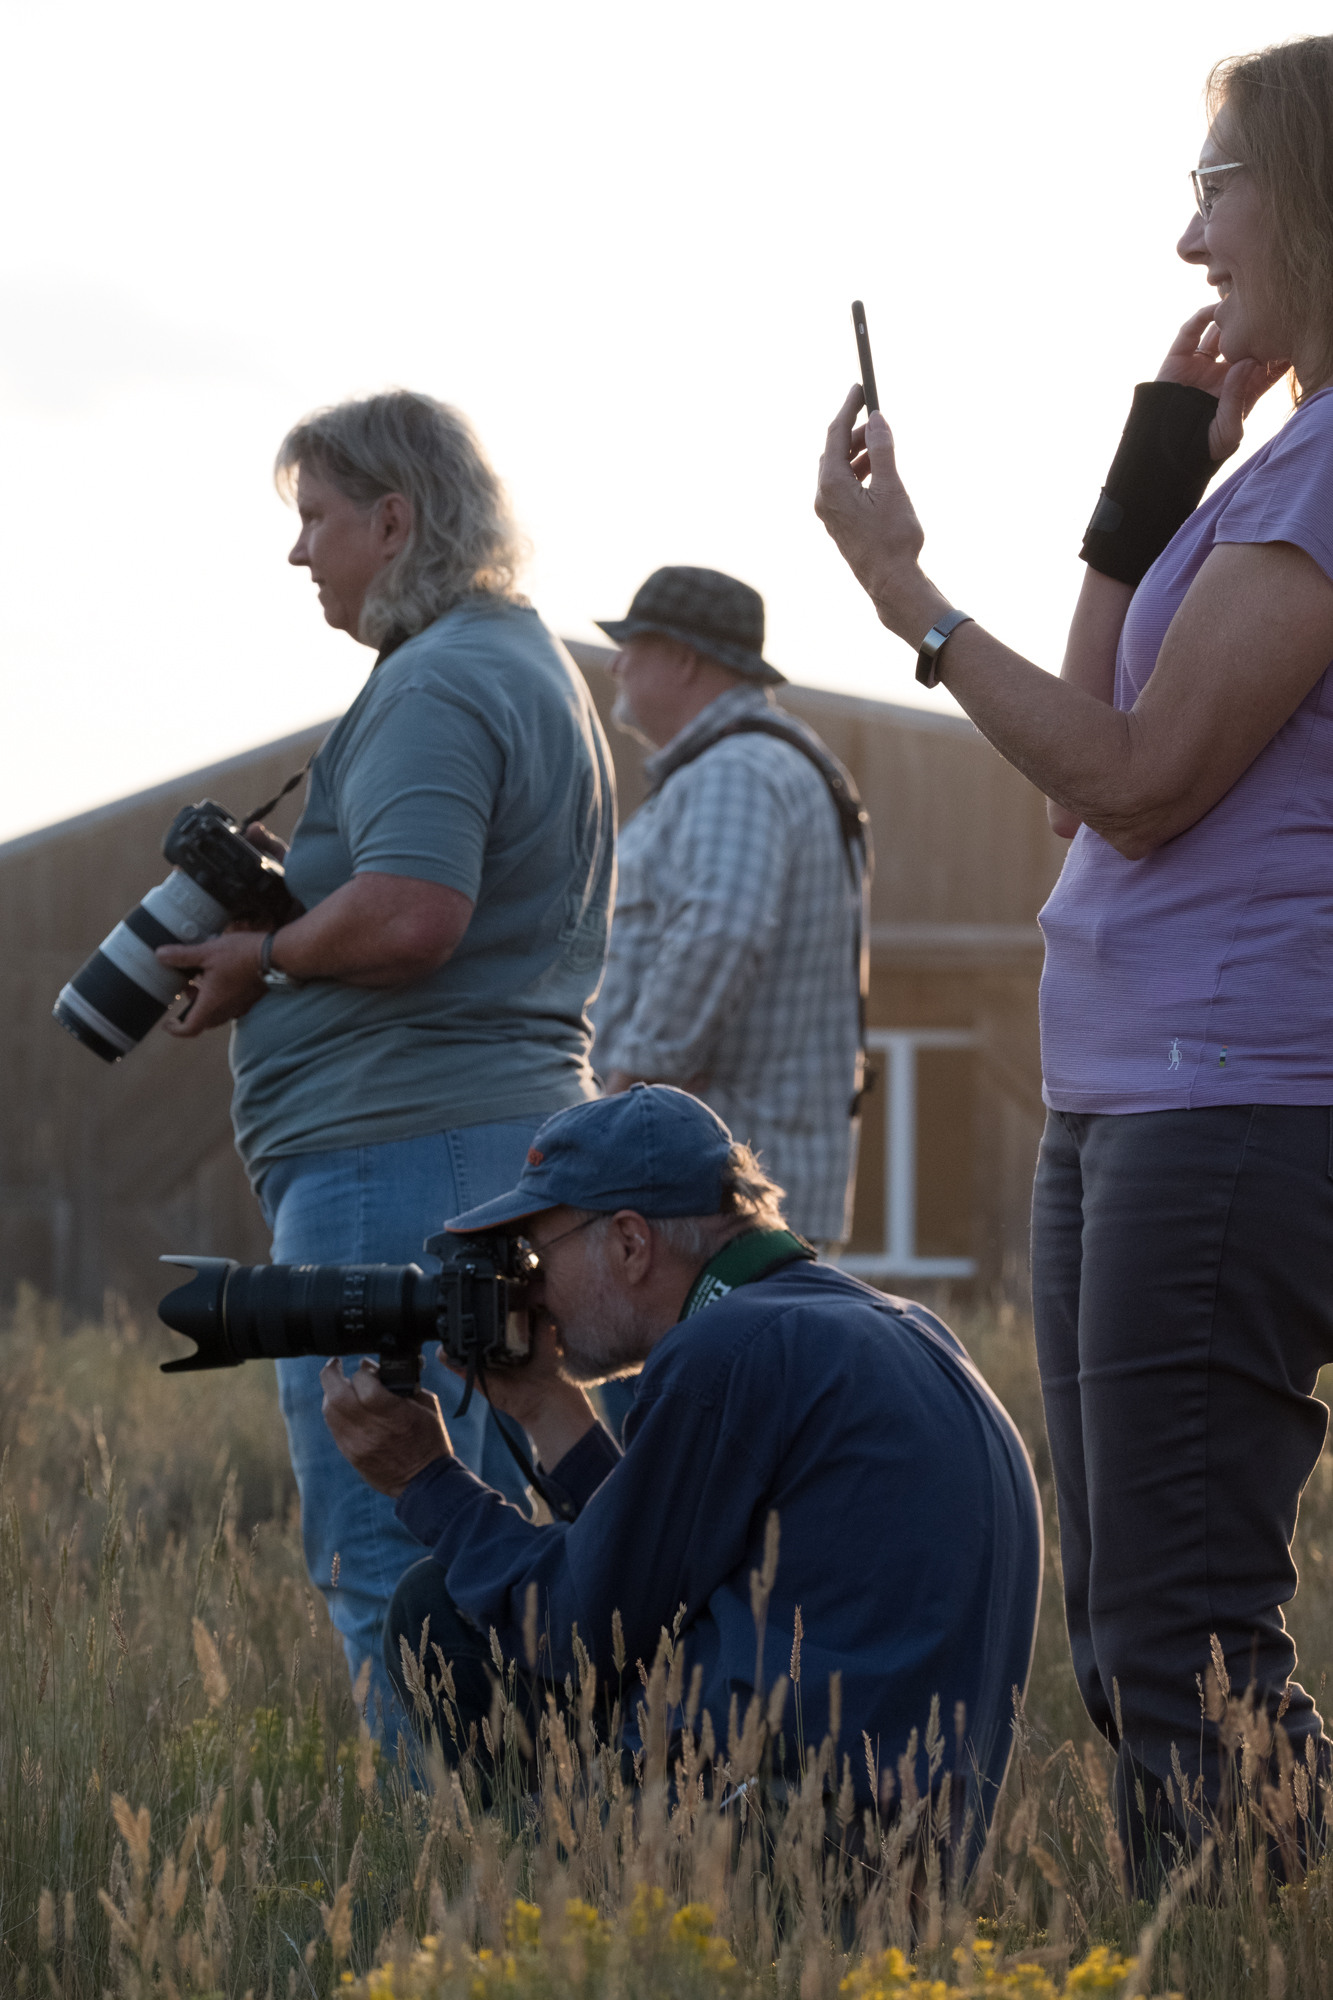
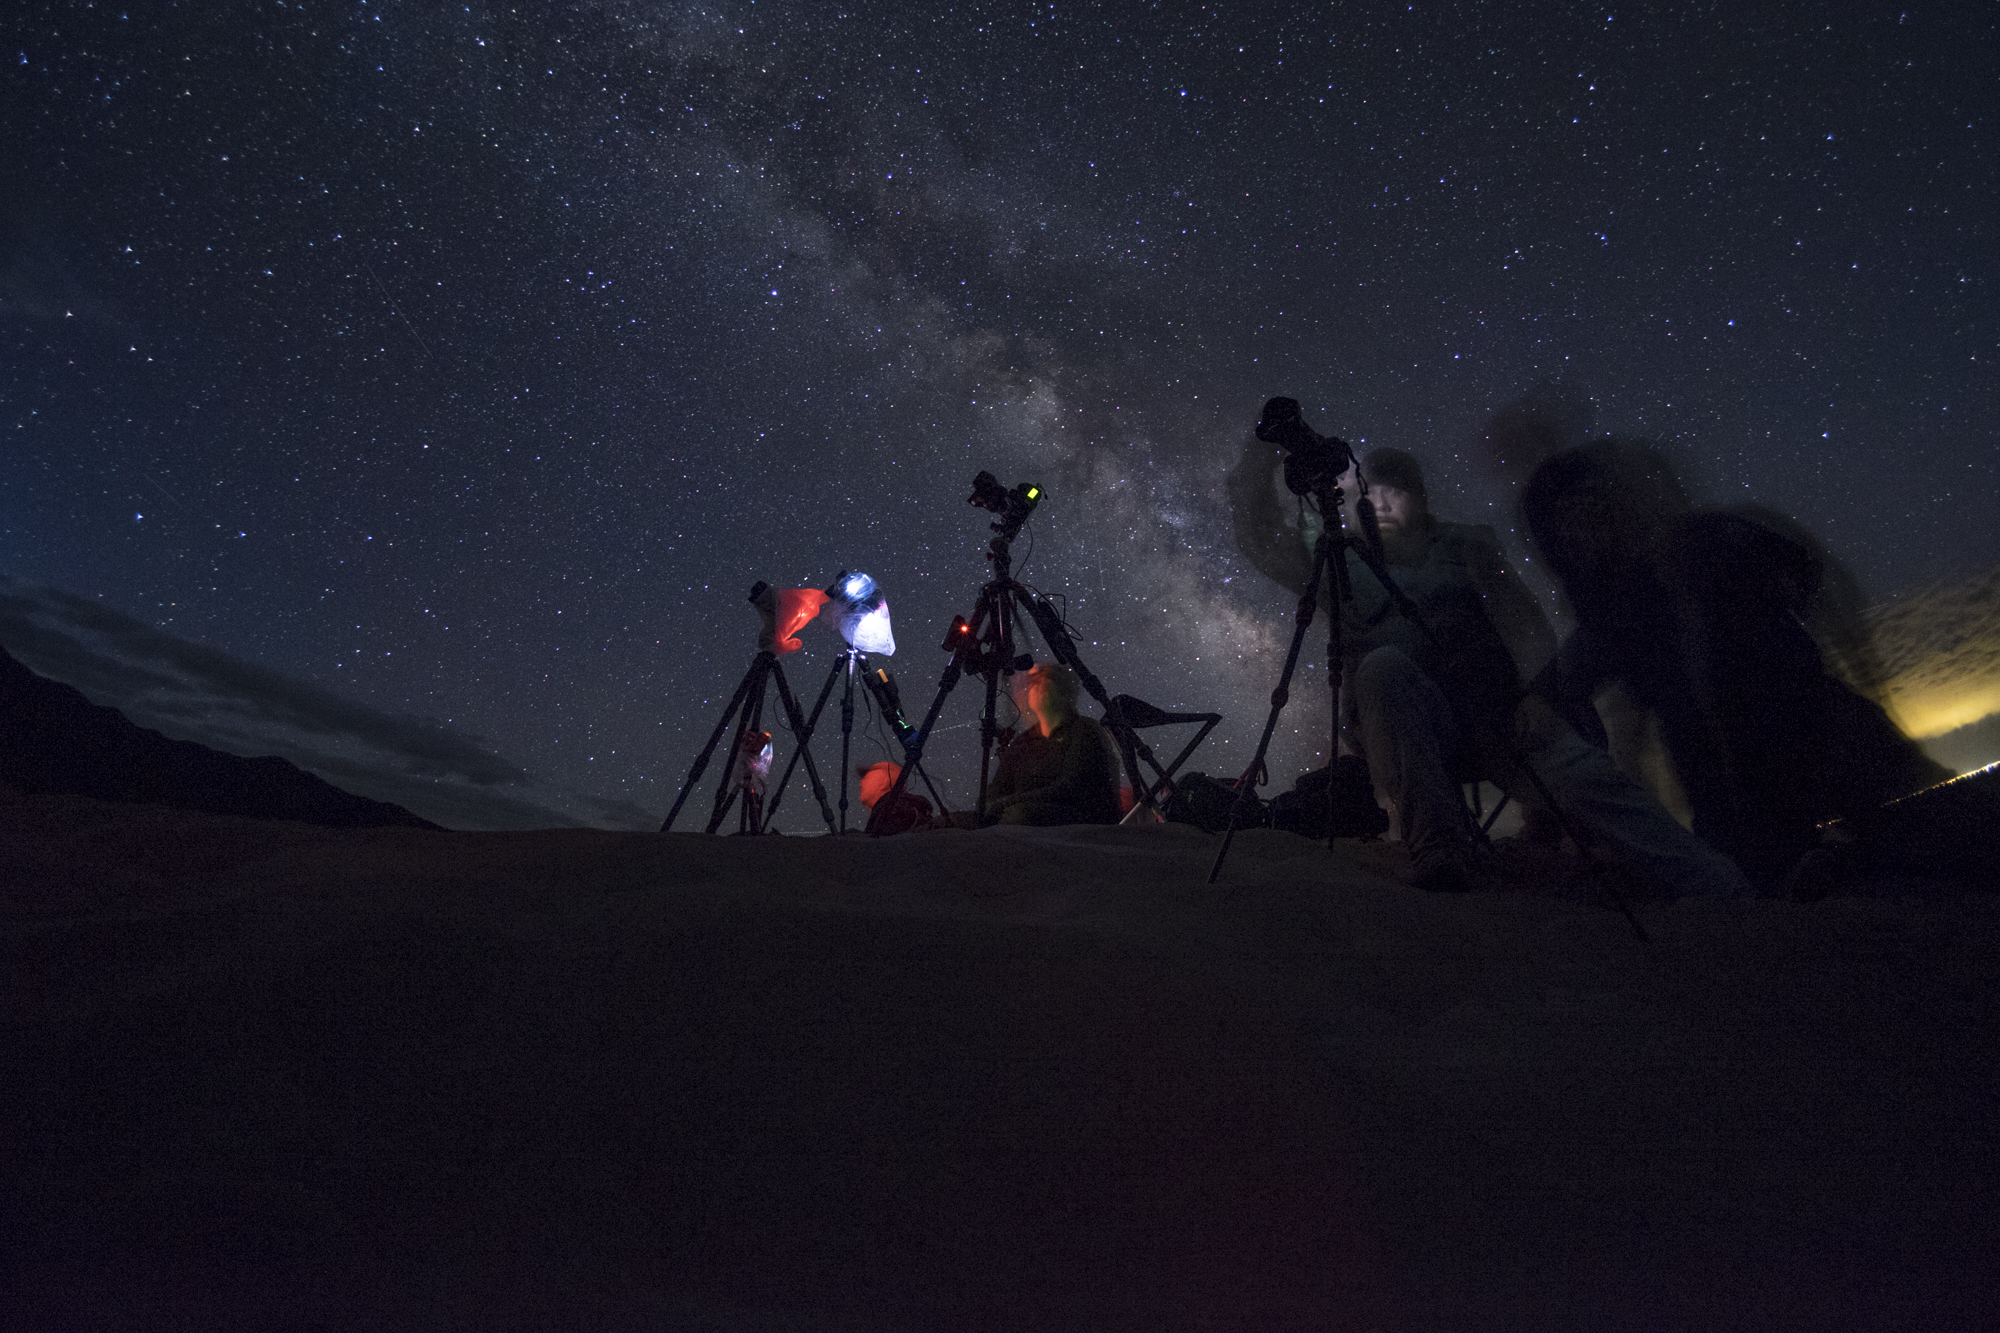
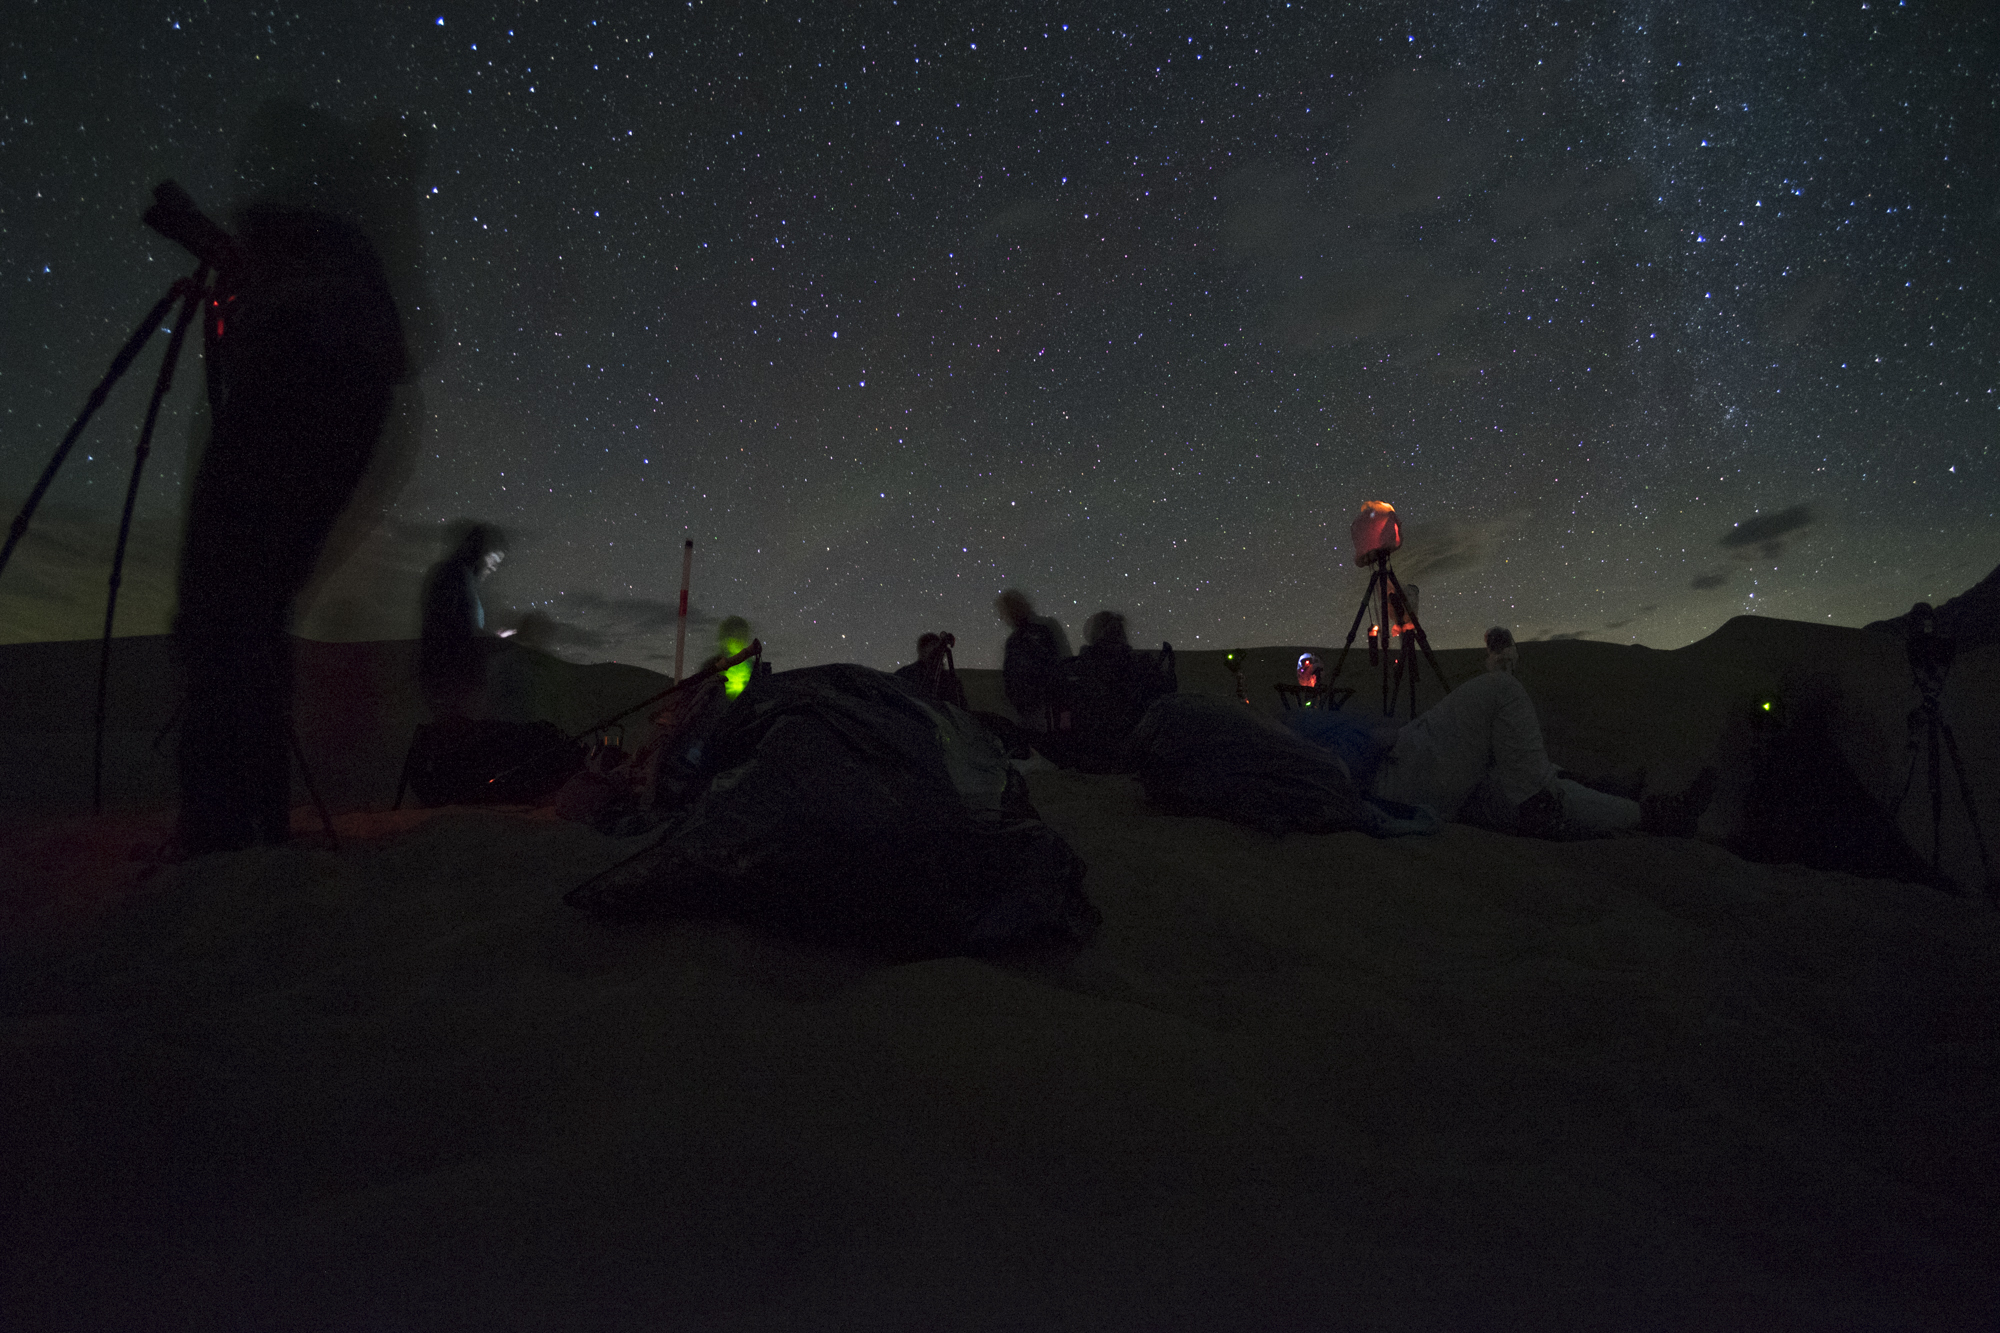
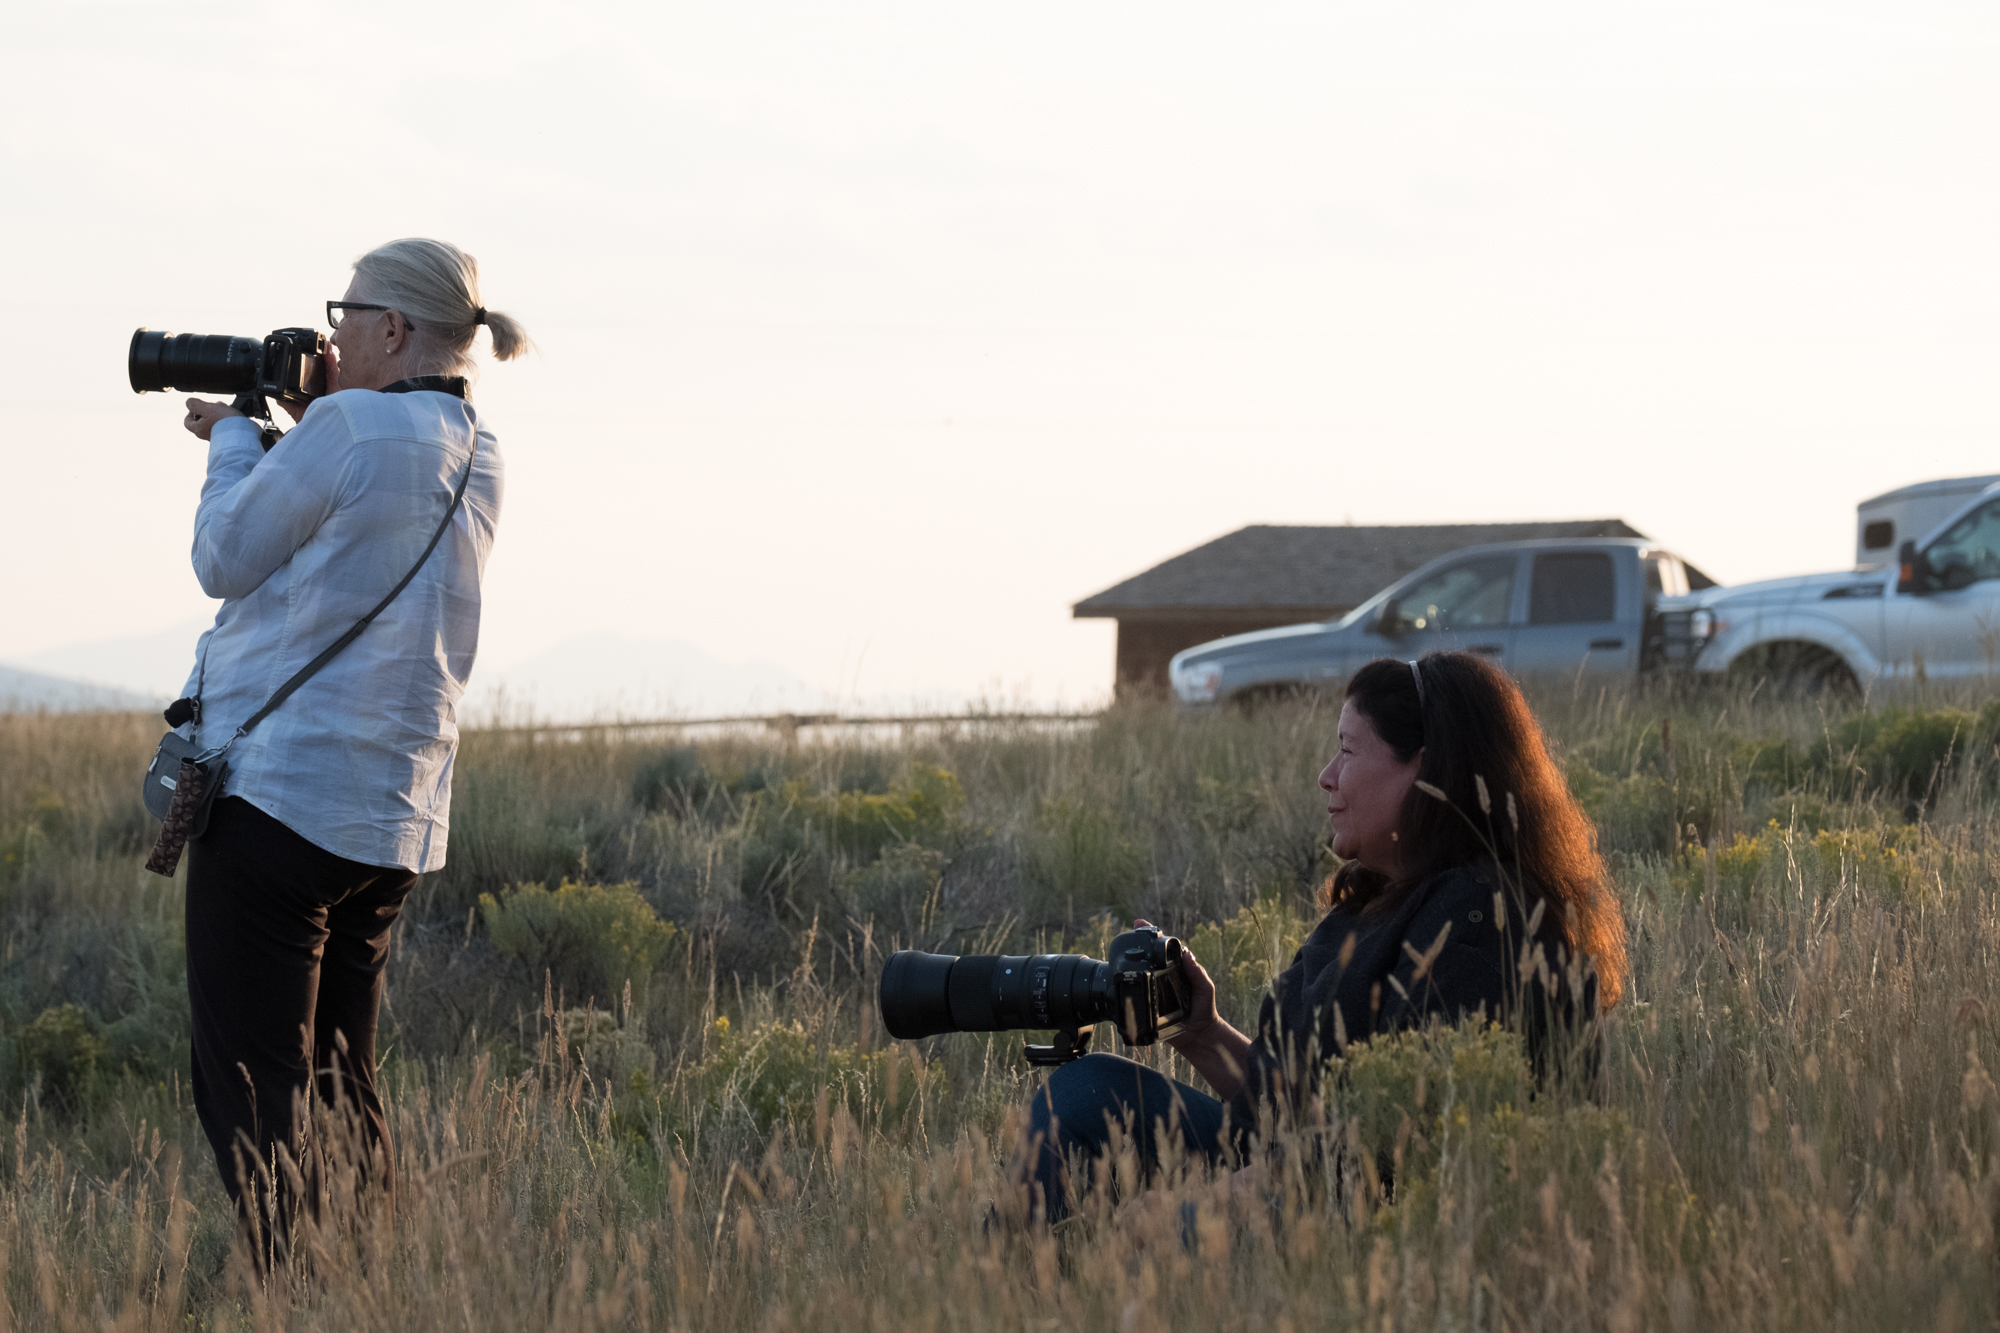
Our intrepid group of night photography adventurers joined Lance and I in the mysterious and wildly unpredictable southern oasis of beauty in Colorado. Great Sand Dunes is a rather small park with only one entrance and basically one parking lot from which you can access the dune field and Medano Creek. That is, without renting a 4x4, deflating your tires and driving in the arid backcountry.

This was my fourth visit to Great Sand Dunes, and my second visit during the Perseid Meteor Showers—the very event we came to teach and capture. August is also monsoon season. Yeah. The park is nestled against the Sangre de Cristo Mountains on the east in a valley 50 by 100 miles wide. When a storm rolls through, it can come from practically any direction, including over the 13,000-plus-foot mountains towering over the dunes, which start at about 8,000 feet and rise to over 8,700 feet. Needless to say, we had to roll with whatever the weather threw at us, and boy did it throw.

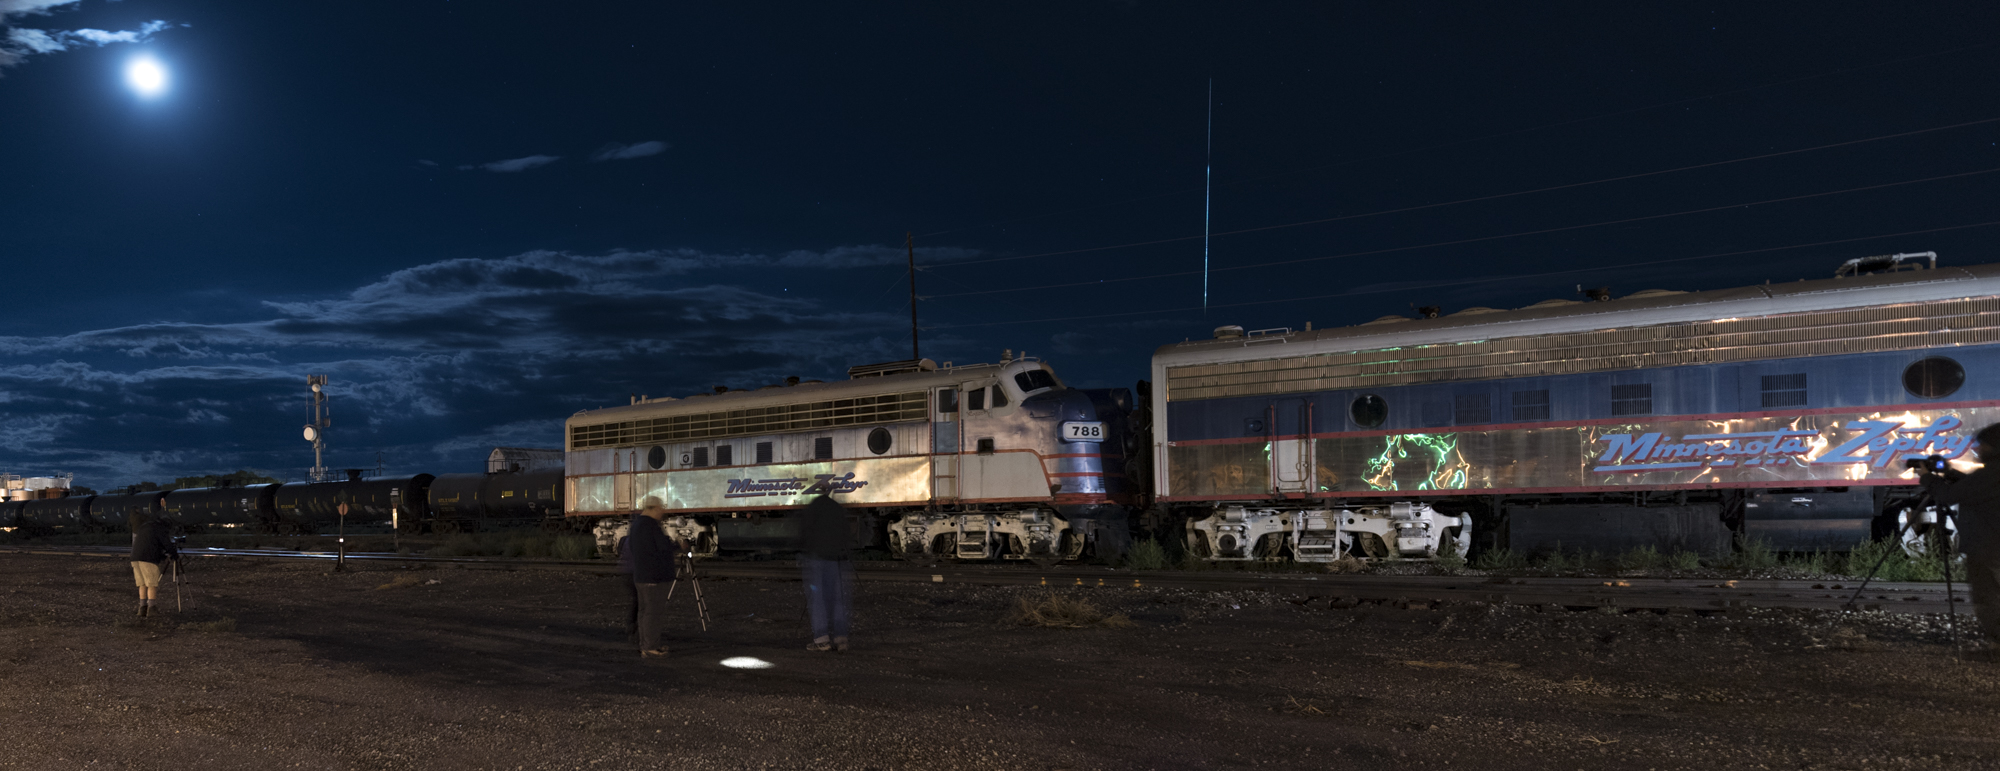
We began with a night by Medano Creek at the foot of the dunes. The creek was abnormally high from the recent daily afternoon thunderstorms. We witnessed the surreal “surges” that look and sound like rolling waves on the ocean, only they rush downcreek up to 3 inches higher than the normal flow—an odd sight in what otherwise appears to be a strictly dry, desert scene. A couple hours into shooting, a storm front came blowing in from the east over the mountains and whipped sand around madly. So we packed up and headed into Alamosa to finish out night-shooting historic train cars.

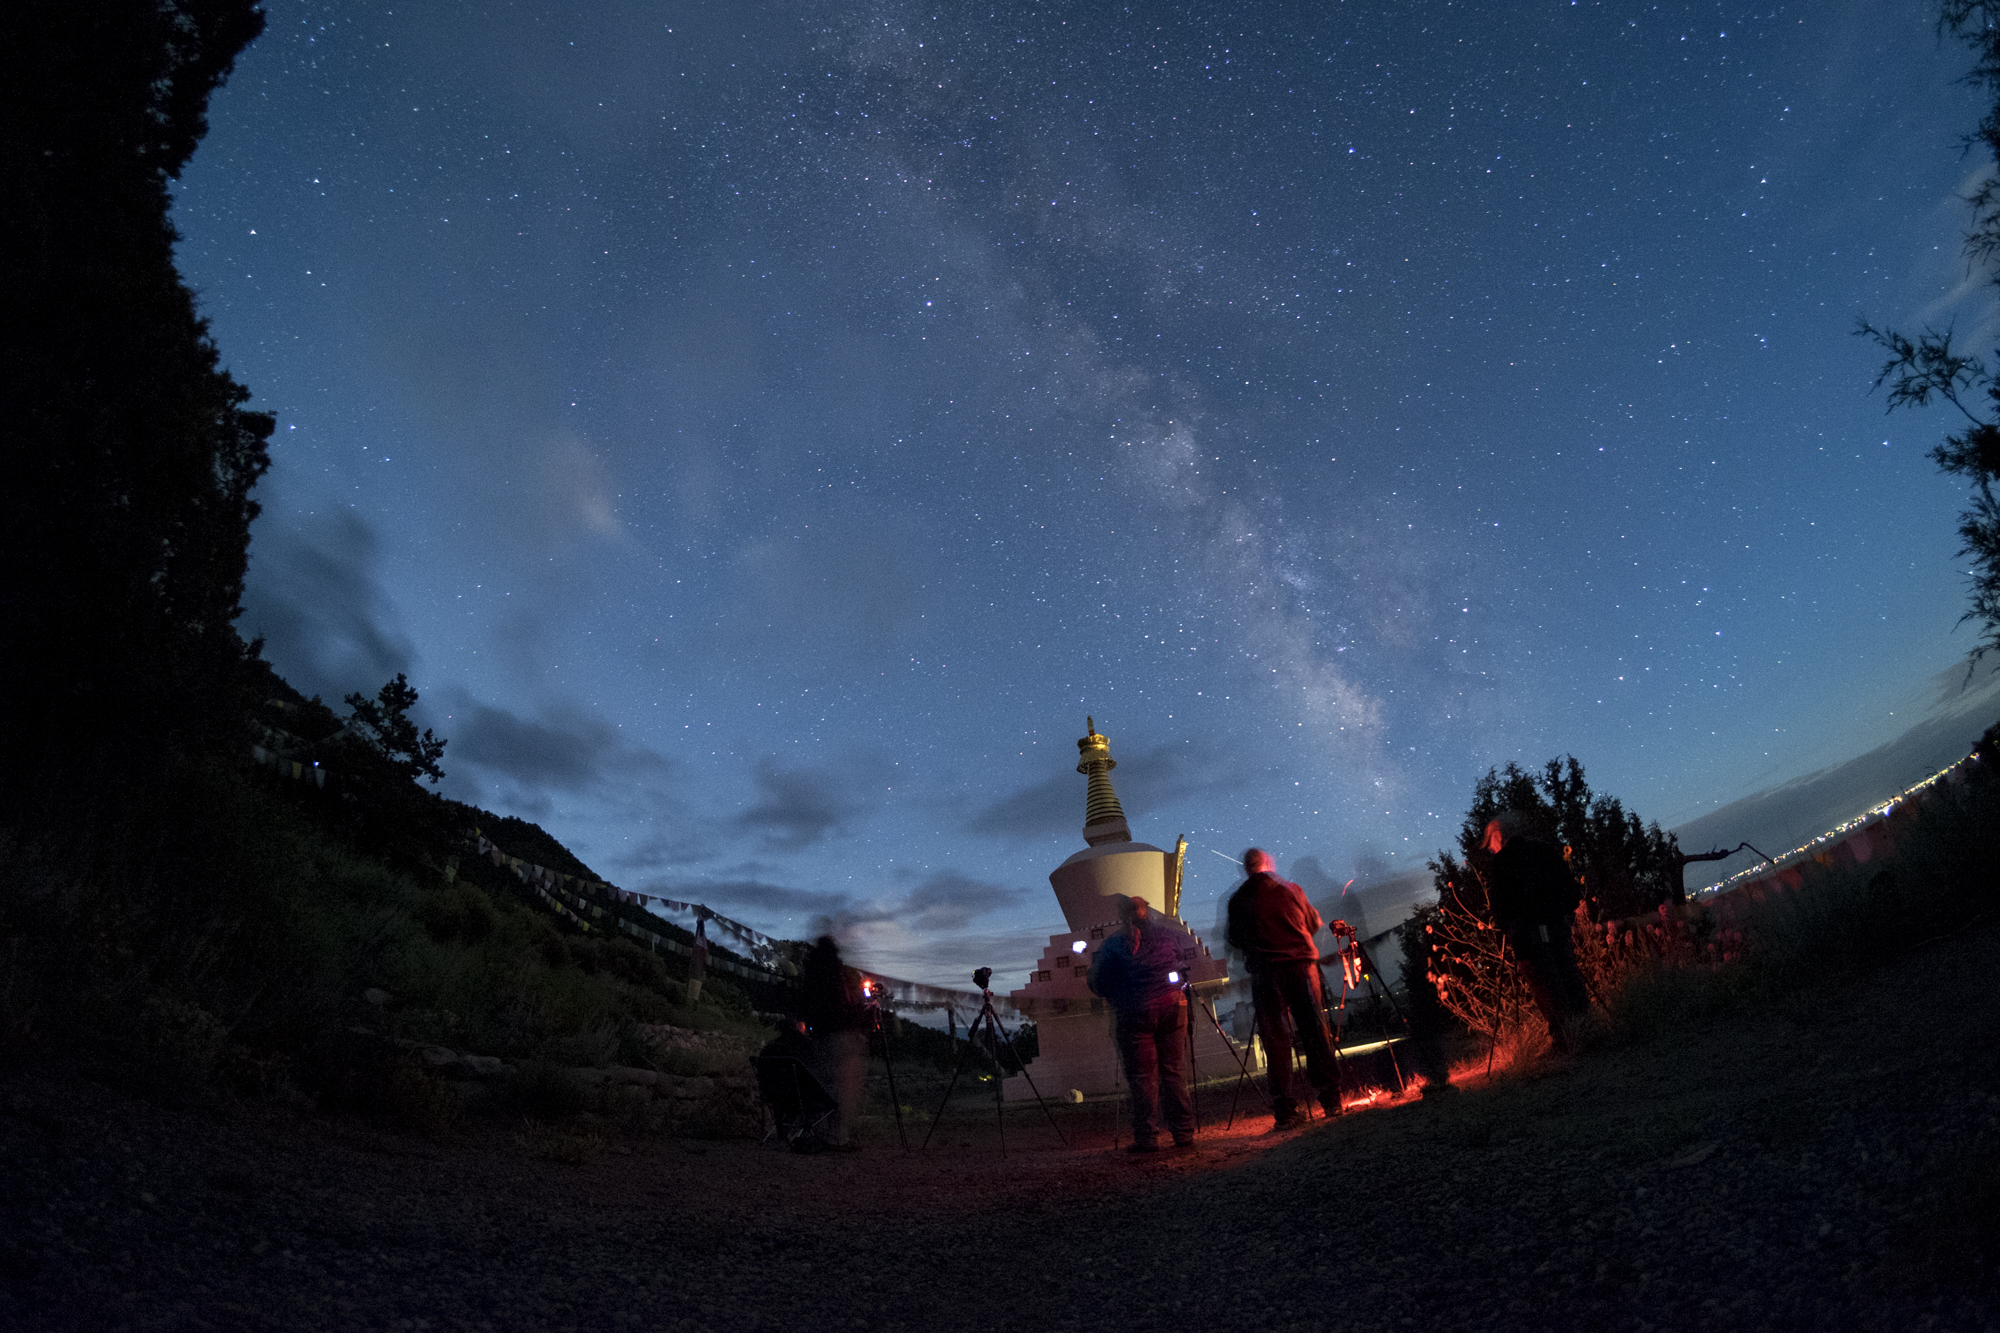
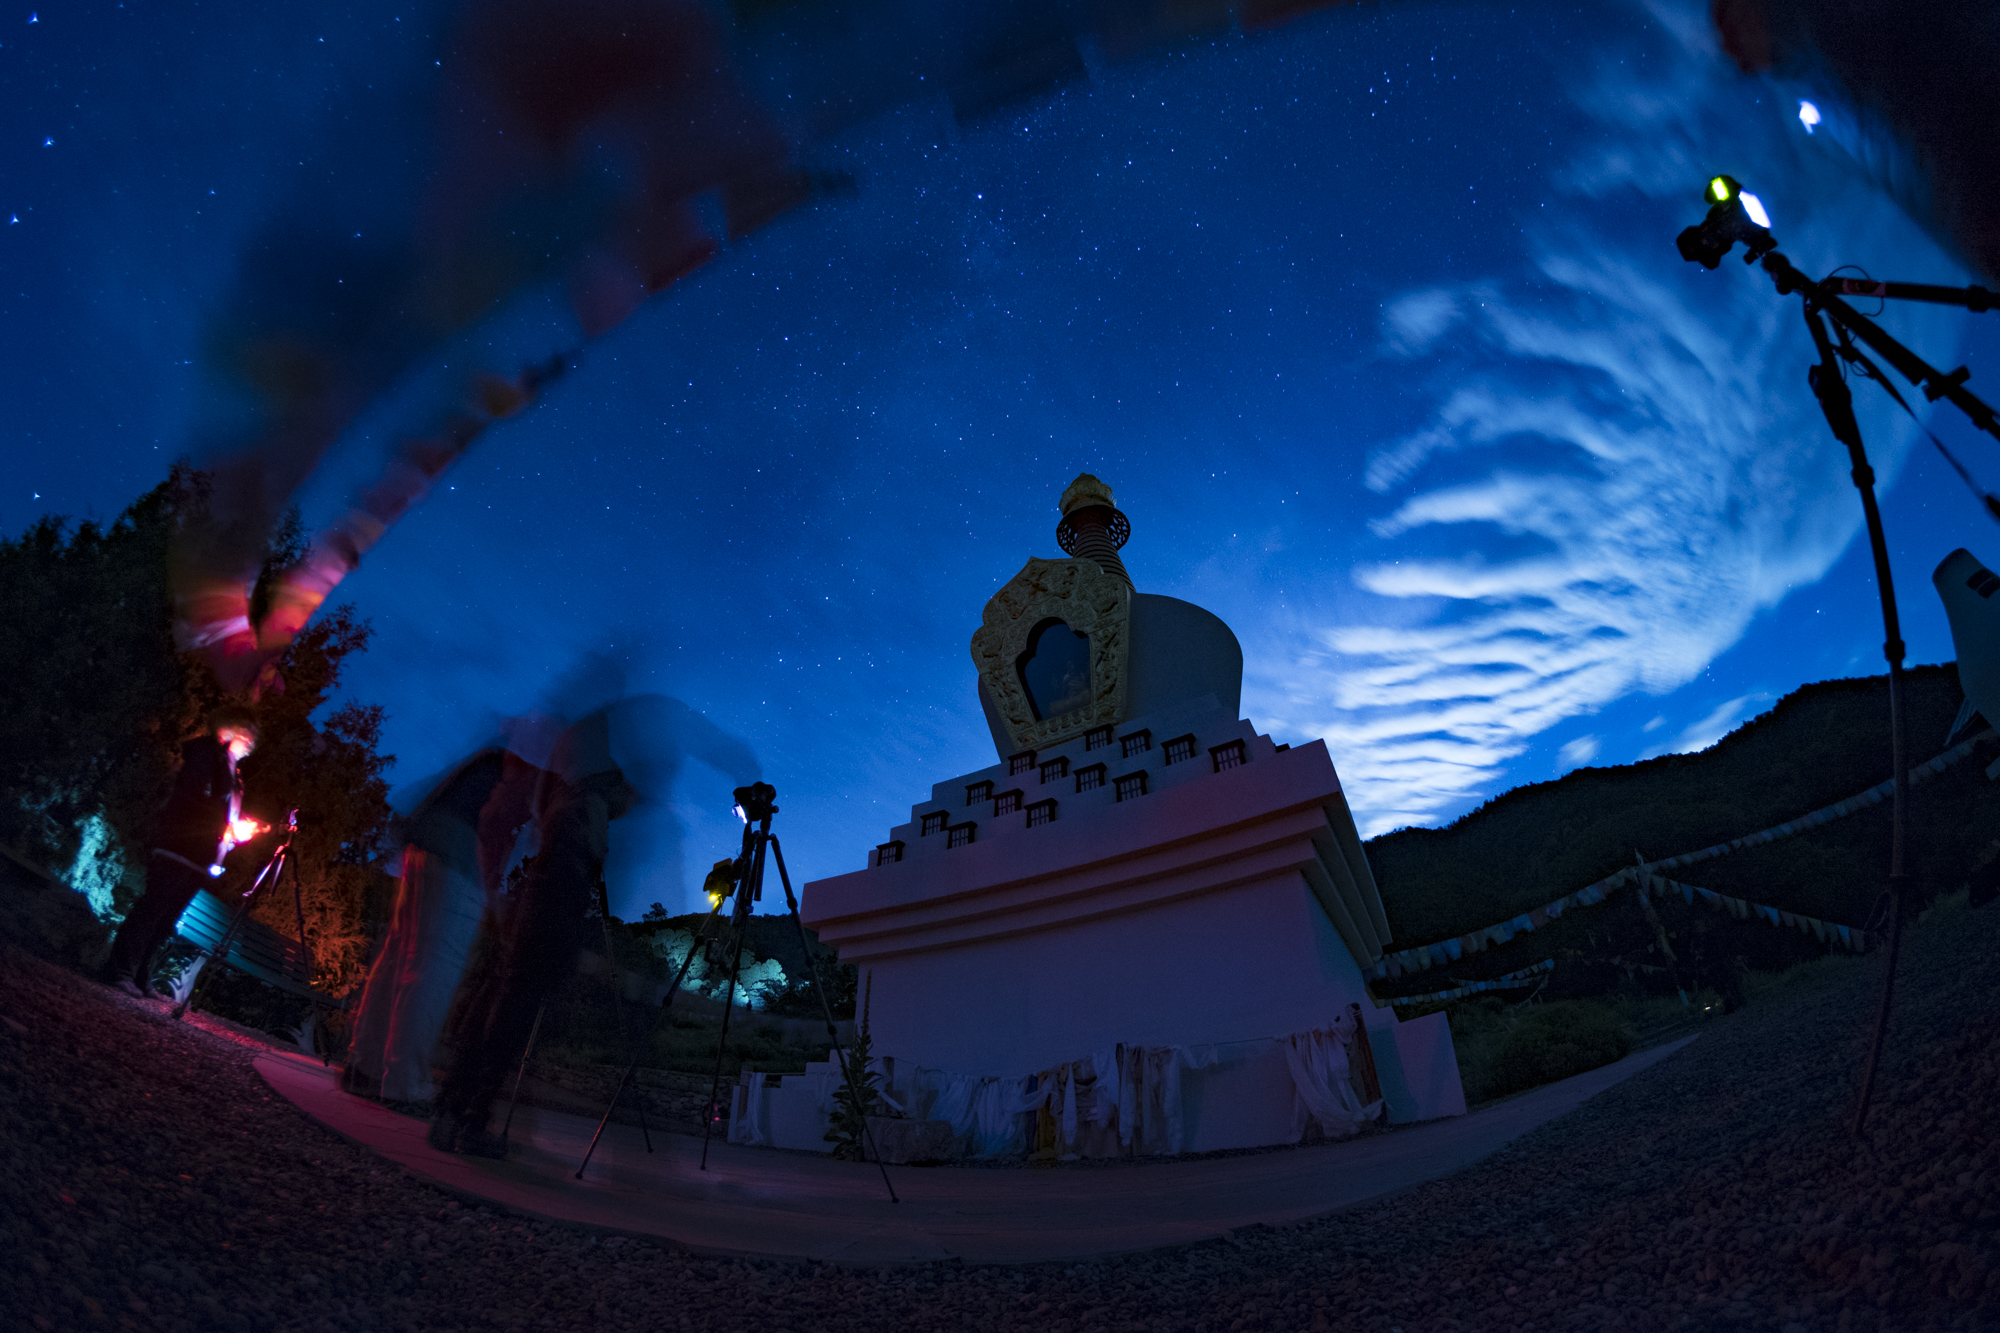
Our second evening we planned for an ascent onto the dunes, but heavy clouds helped us choose Plan C instead: a Tibetan Stupa high on the mountainside overlooking the valley a bit north of the park and accessed from a primitive road leading south from quaint Crestone, Colorado. The group spent the evening marveling over the somber beauty of the spiritual space, with the Milky Way arcing overhead and with the view of the valley below.

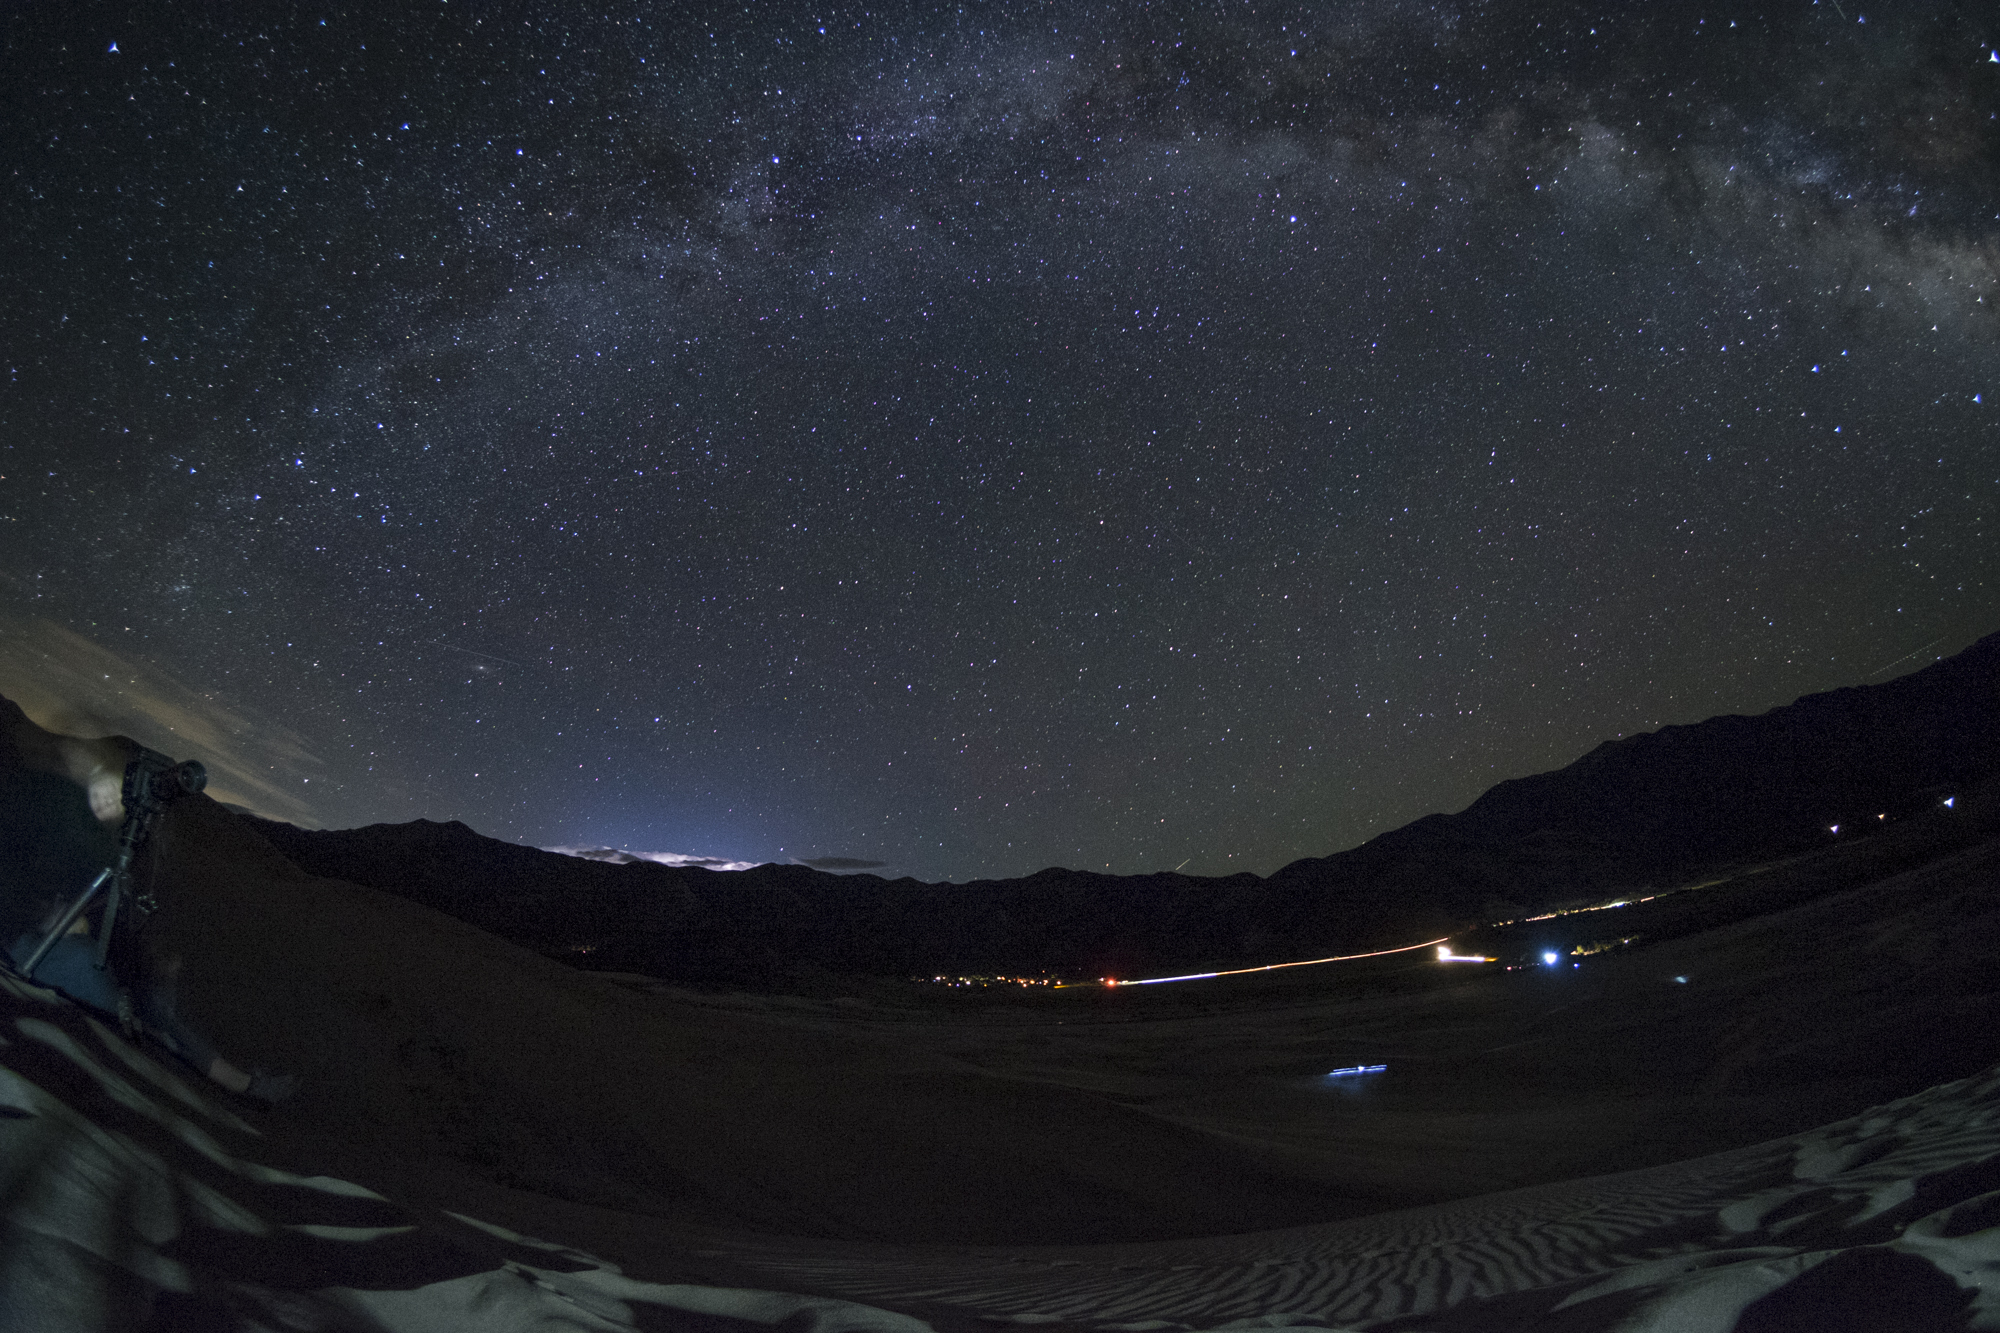
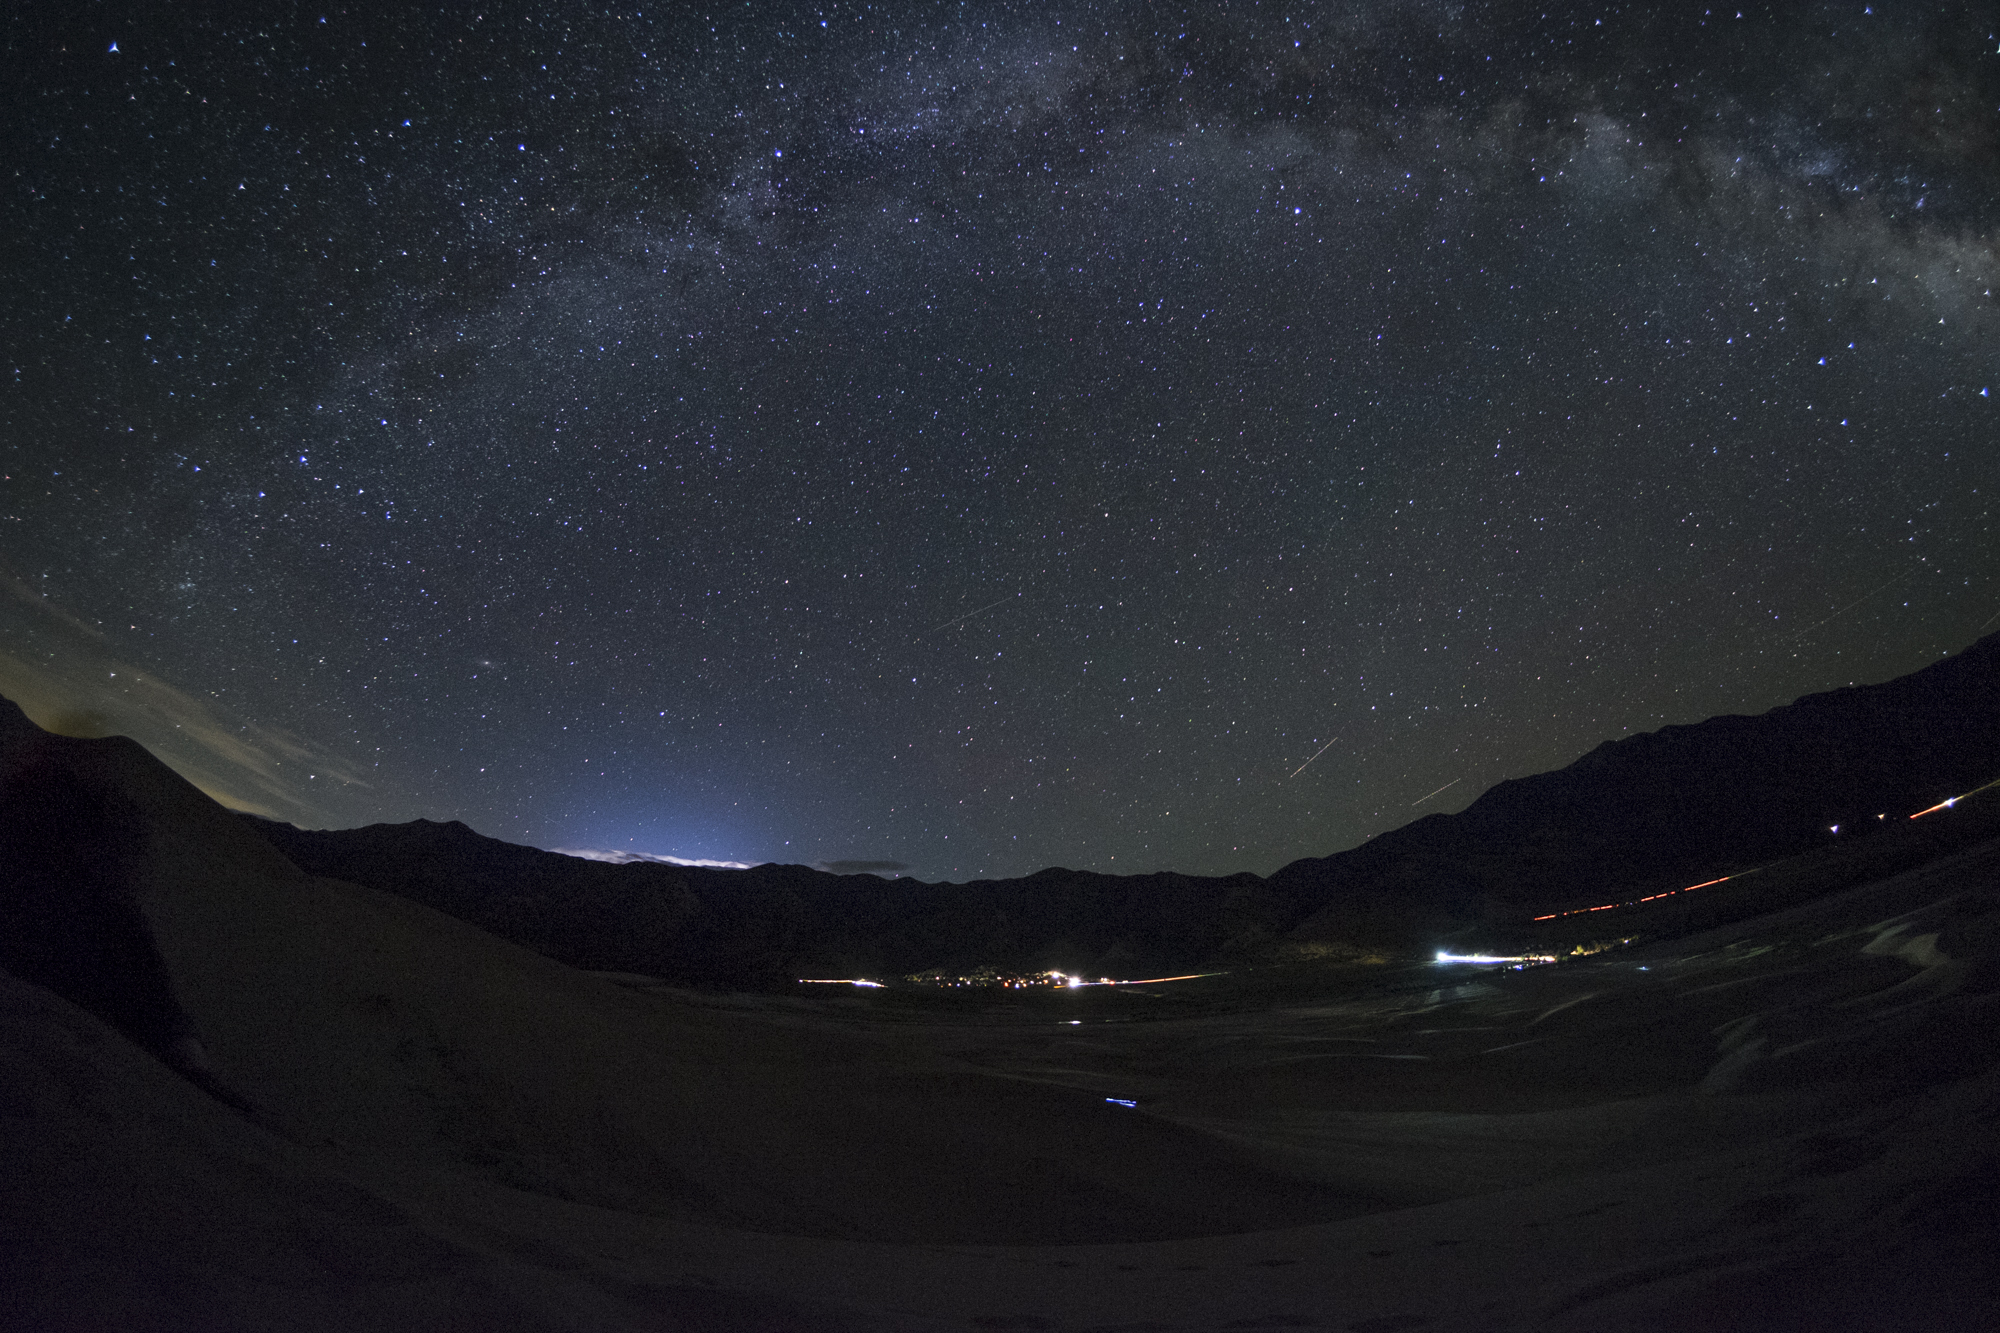
Our third evening was the big one—the hike up the dunes. The skies played nice and we huffed and puffed our way up the equivalent of 70 flights of stairs on what felt like cane sugar. At 8,000-plus feet! Not for the faint of heart, yet our entire group made the hike (and we’re hella proud of them!). We were rewarded with an amazing view of the Perseids, a lightning storm playing behind the Sangre de Cristo mountains, and the obvious signs of civilized life (read: light pollution) to the south in Alamosa.

Our fourth and final evening included sunset at Zapata Falls overlooking the valley, some far-off storms and a compressed view of the dunes snuggled up to the mountains.

We had a ton of fun playing with light writing, light painting and doing some night portraiture. Everyone got to do some work on their goals and the result was a grand slideshow of our students’ efforts. Bravo and brava to all of our students. This workshop was challenging in so many ways, yet they exceeded, and we are really honored to have had this killer adventure together.

Centennial Valley, J Bar L Ranch & Solar Eclipse

August 17-22, 2017

By Gabriel Biderman

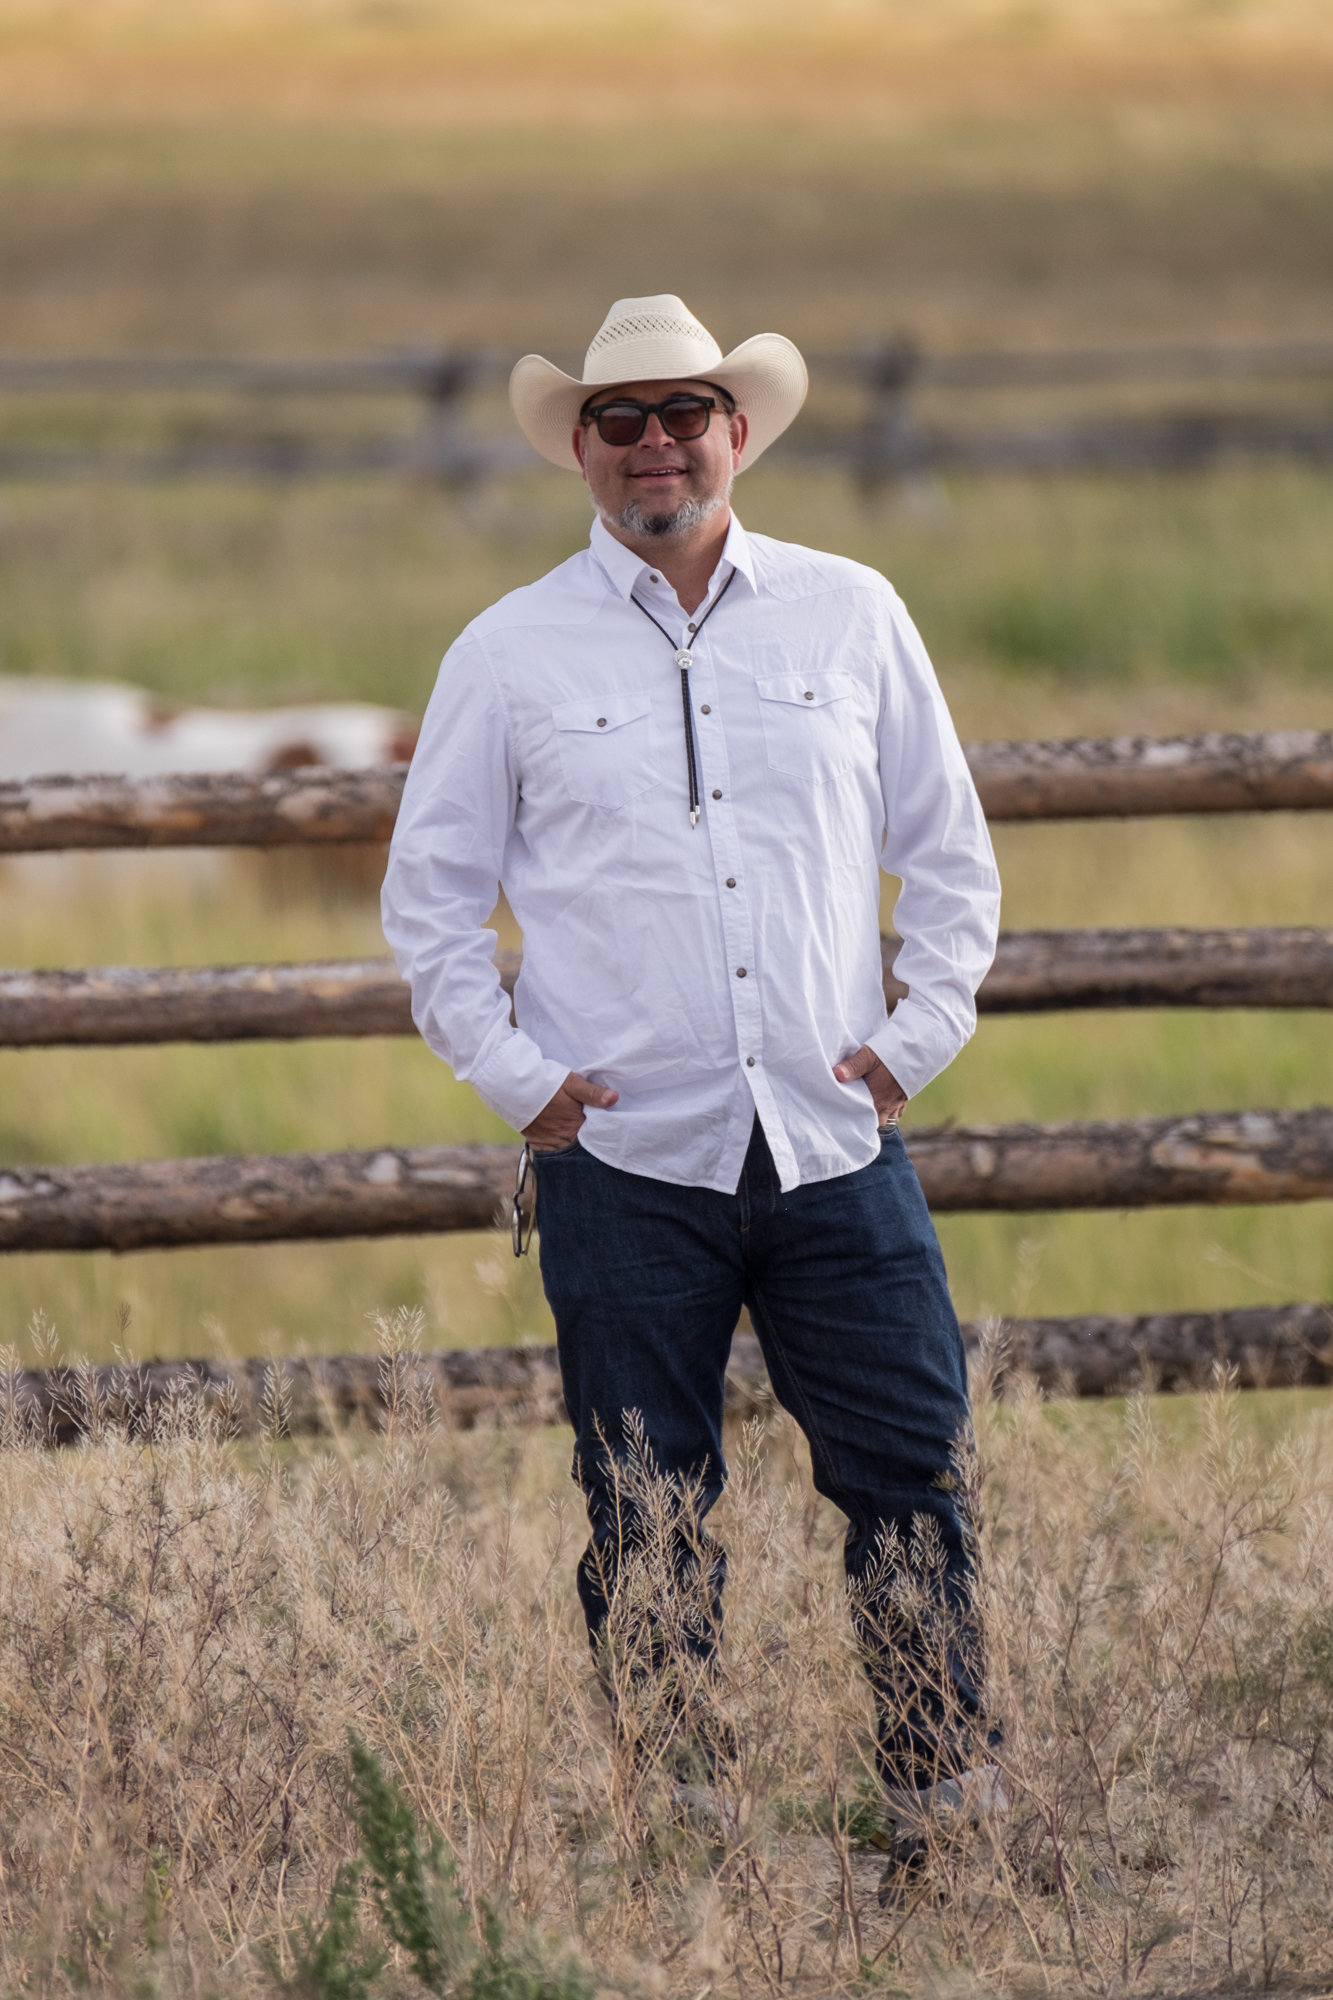
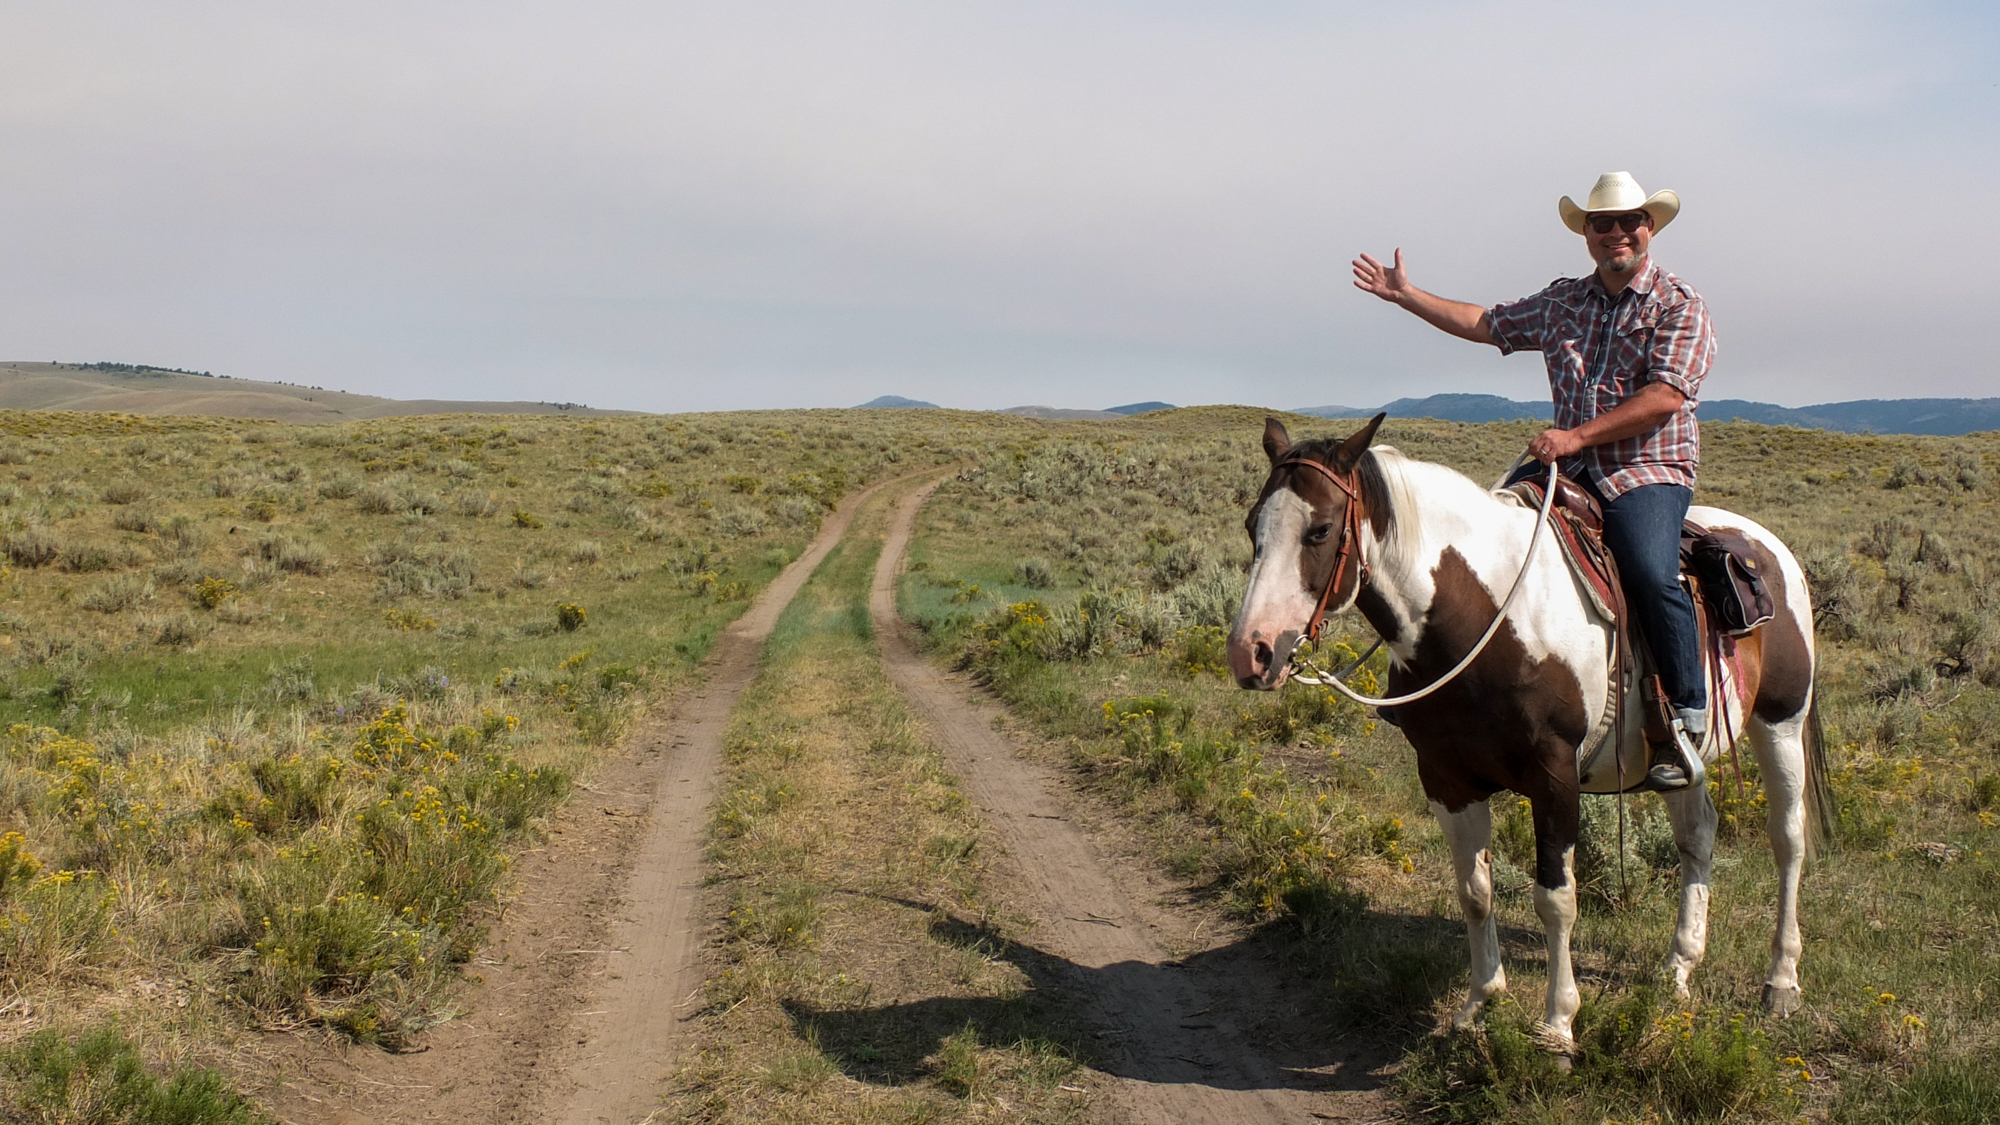
The green and luscious Centennial Valley has miles of big night sky and a population under 100 in the summer. The beauty is eternal, the community kind, and the cowboy hats fit like a fedora! Add to that the first total solar eclipse that any of us on the workshop had ever photographed and you have the makings of an ultimate experience.

Weather is always a factor, and when we landed in Montana, smoke-filled skies burnt our eyes. Montana and much of the rest of the West was experiencing some of the worst forest fires in history. Luckily for us some rain came just in time, right before the workshop kicked off. So we headed south to Exit 0 in high spirits.

Everyone arrived in time for dinner on the first night, created by our Chef Eric, who was catering all our meals from his free-range kitchen. Our first night brought us crisp, clear and star-tactic skies. We strolled down to the river and shot the reflecting and rising Milky Way over the water. We had a very experienced group and everyone experimented a little bit and came away with some spectacular shots.

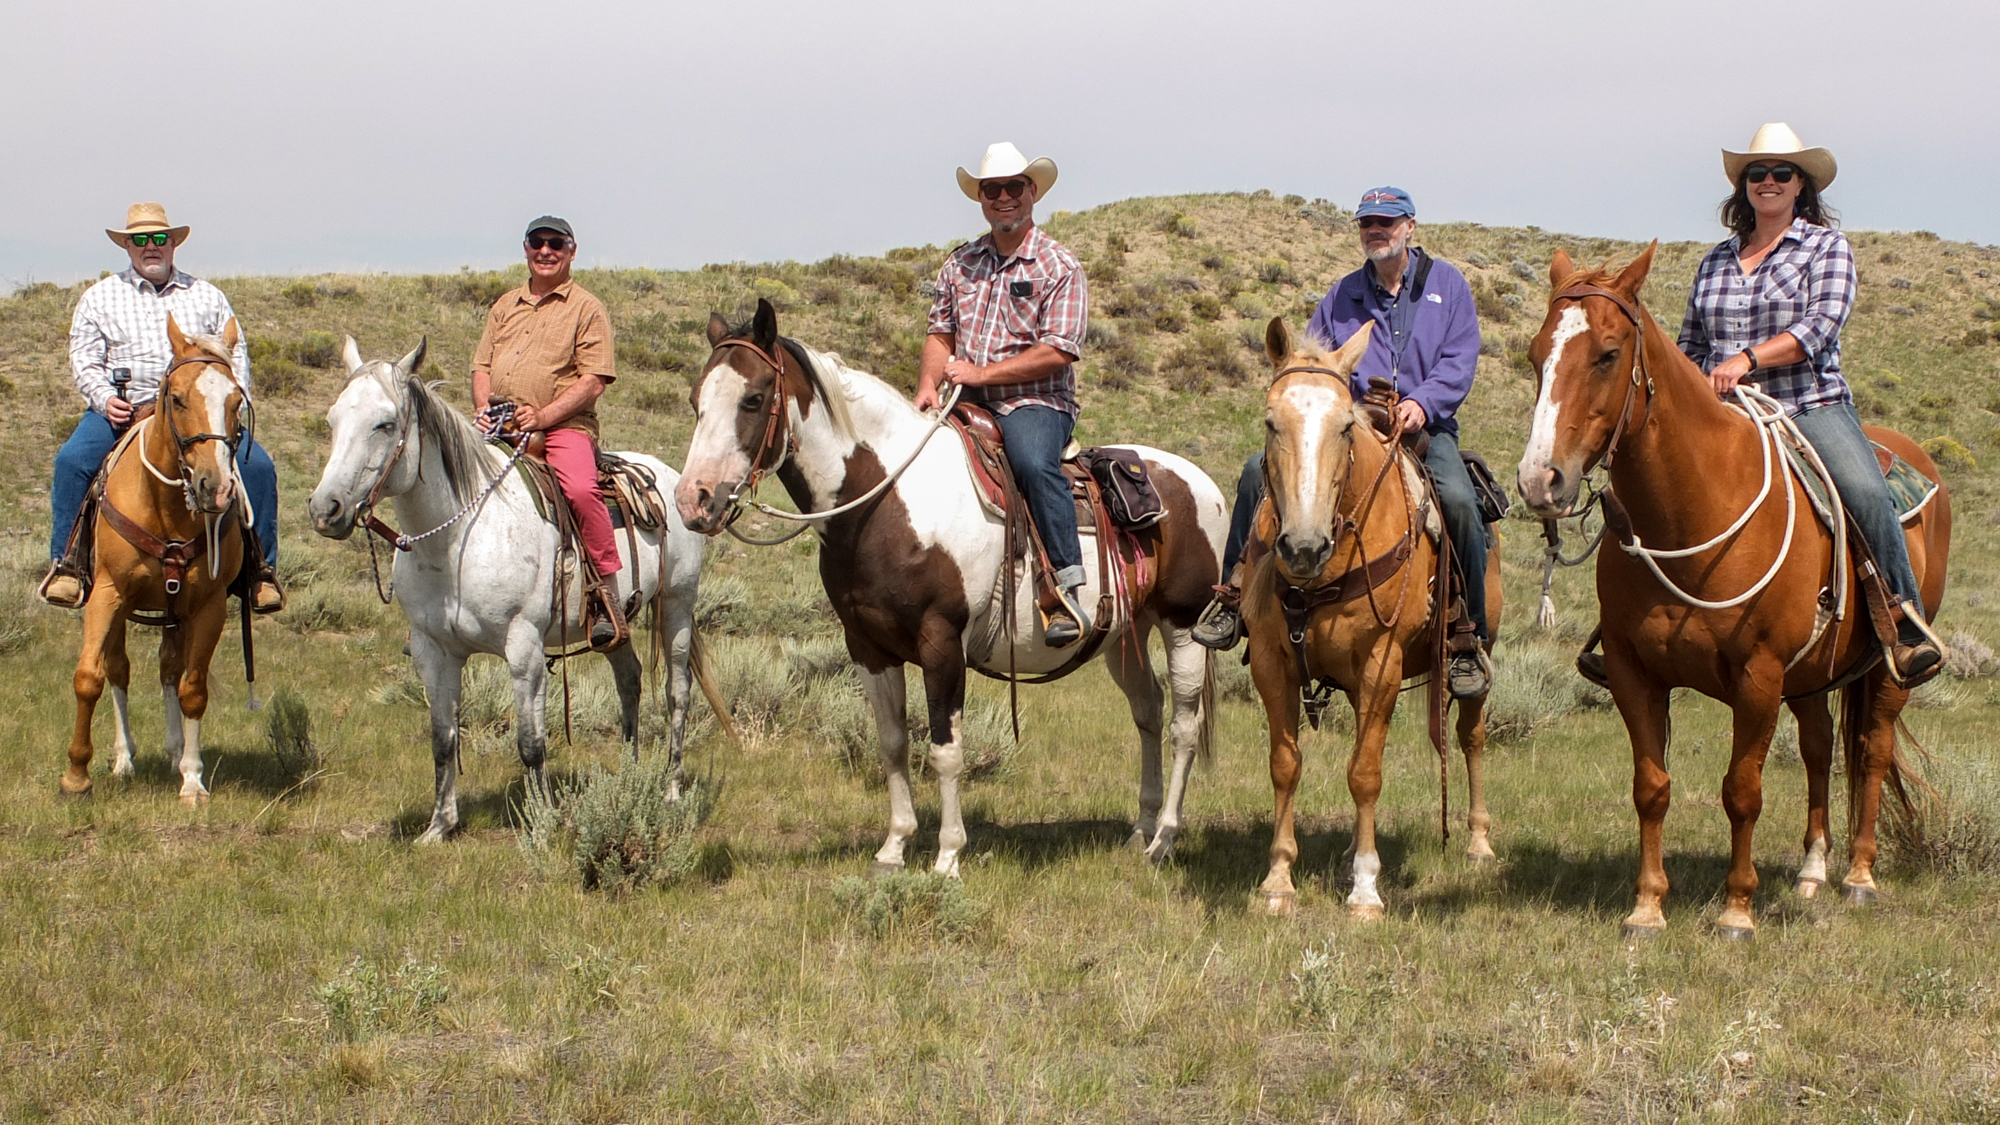
The daily schedule consisted of breakfast, morning horse rides or nature walks, group lunches, one-on-one sessions with me, down time, a group dinner, and then night shoots. I really enjoyed the bonding aspect of this workshop; everyone had solo or shared a rustic cabins, but were often found hanging out and working together on images or practicing shooting the sun.

Instead of formal classes, I opted for the aforementioned one-hour individual sessions with each participant. This proved to be incredibly successful to further bond us, as well as to help answer attendees’ specific questions and push their visions along. Some people showed portfolios, others went over gear, and some were a combination of all.

Bailey’s beads (aka, the diamond ring effect) during the 2017 total eclipse. 1/15, f/22, ISO 800. © 2017 Gabriel Biderman.

Of course this was all building up to Monday, August 21—the day of the total solar eclipse. We had all been practicing tracking and shooting the sun during the day, which slightly calmed our nerves about how much the sun moves across the frame through telephoto lenses! We pushed the Planner feature of the PhotoPills app to the max to find the perfect location to view the eclipse—a remote, crowd-free place with an interesting landscape. We ended up on a dirt road sandwiched between the Sawtooth Mountains and Beaverhead Mountains. (To read more about how we photographed the eclipse, see our August blog post, “Eclipse Lessons: What We Learned from Our Day in the Sun.”)

All in all, it was an incredibly thrilling workshop and experience. I look forward to more adventures with my friends, and to experiencing the next total eclipse in 2024!

Westfjords of Iceland

August 27-September 5, 2017

By Lance Keimig

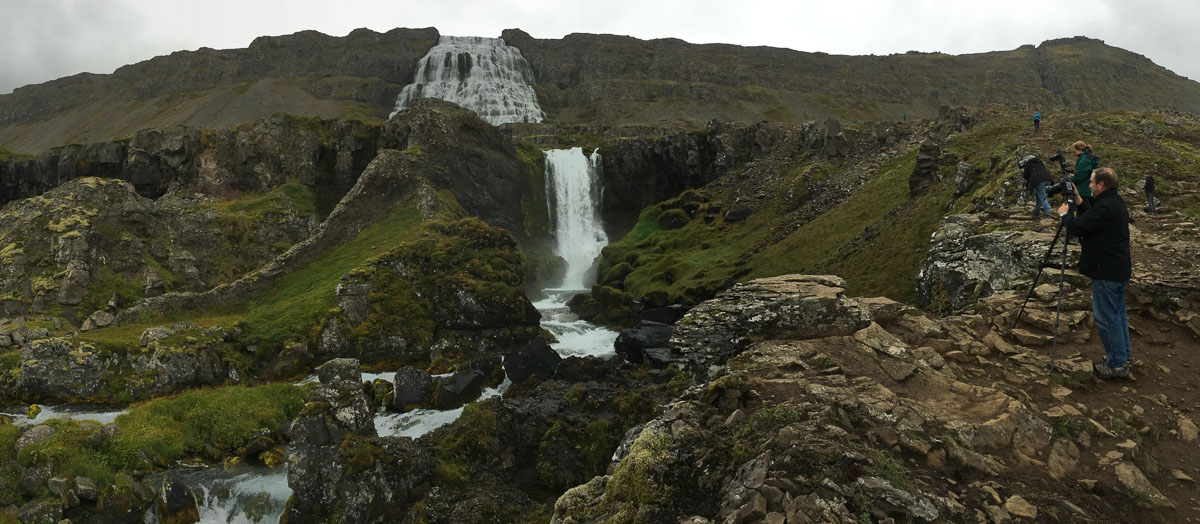
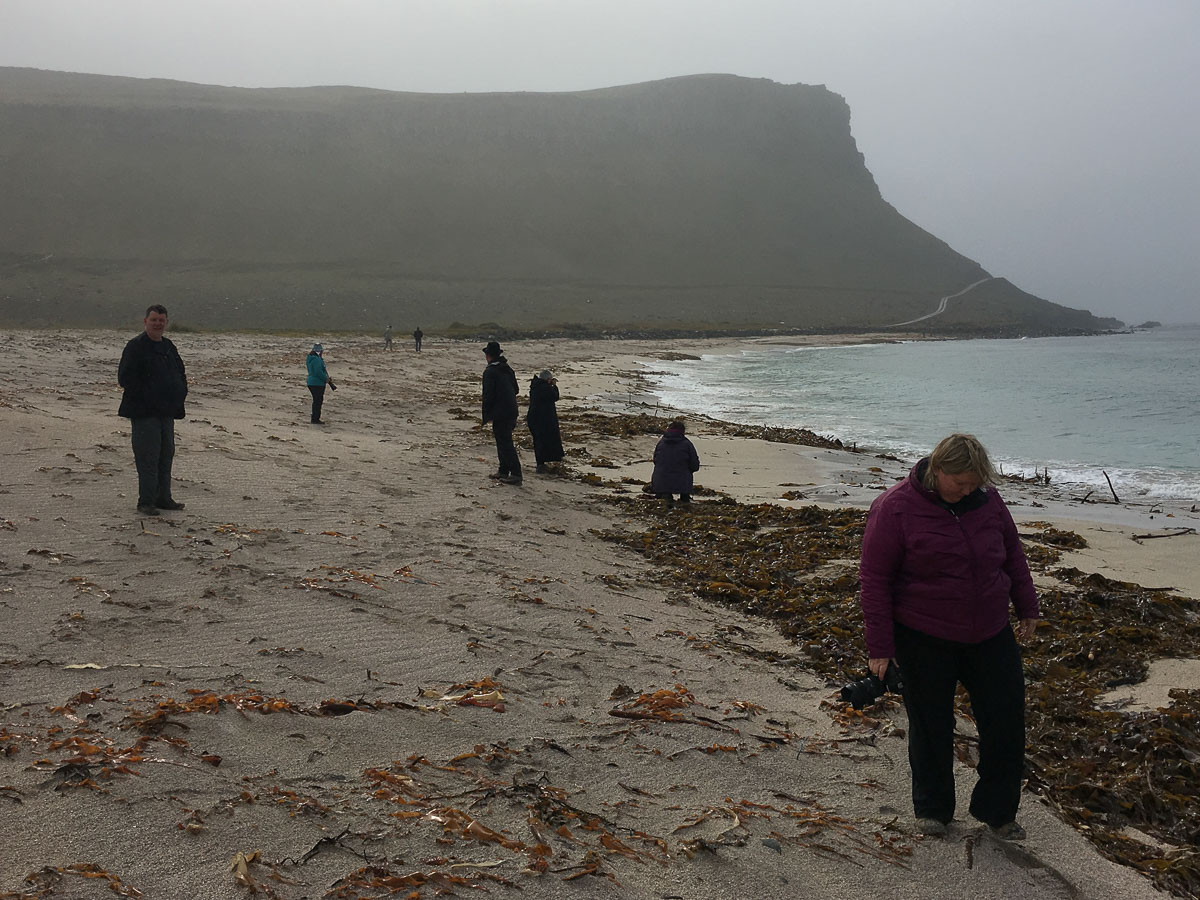
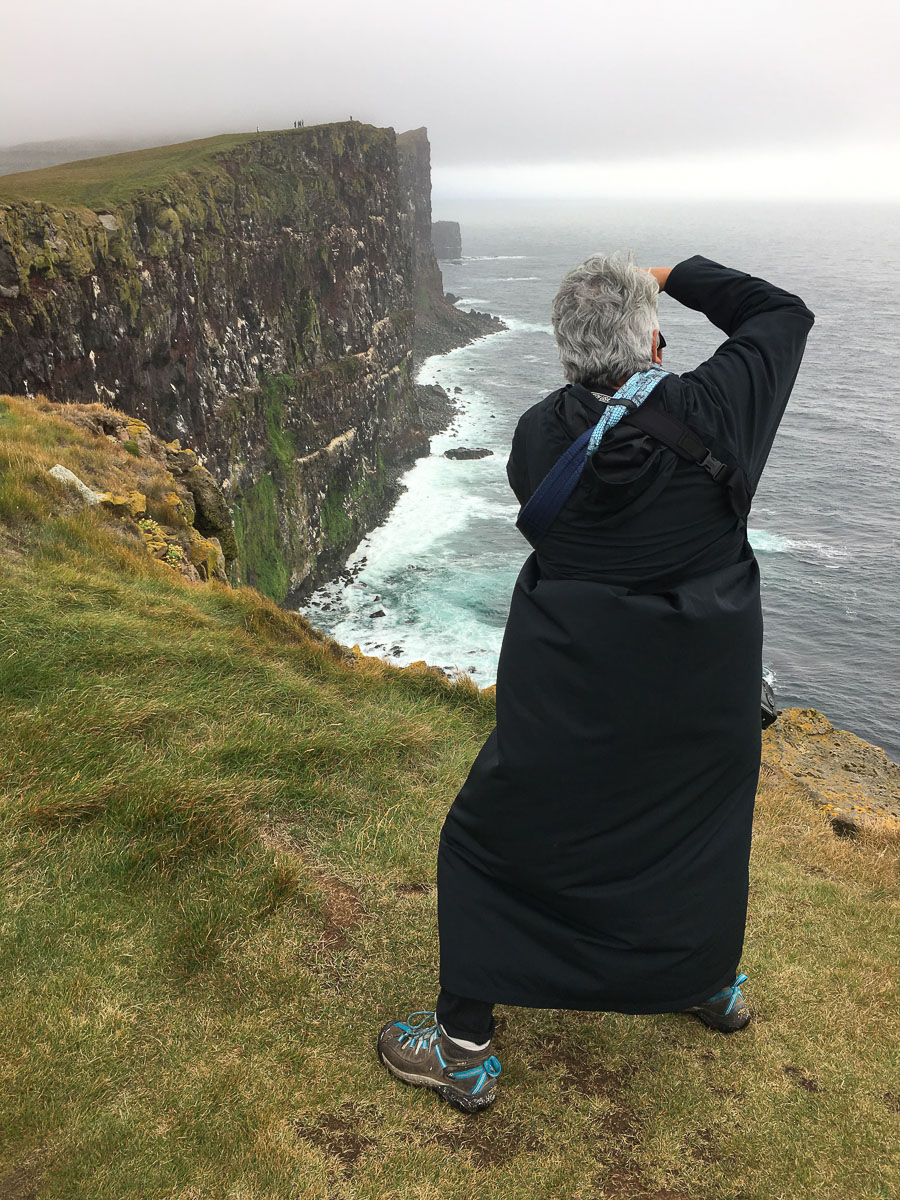
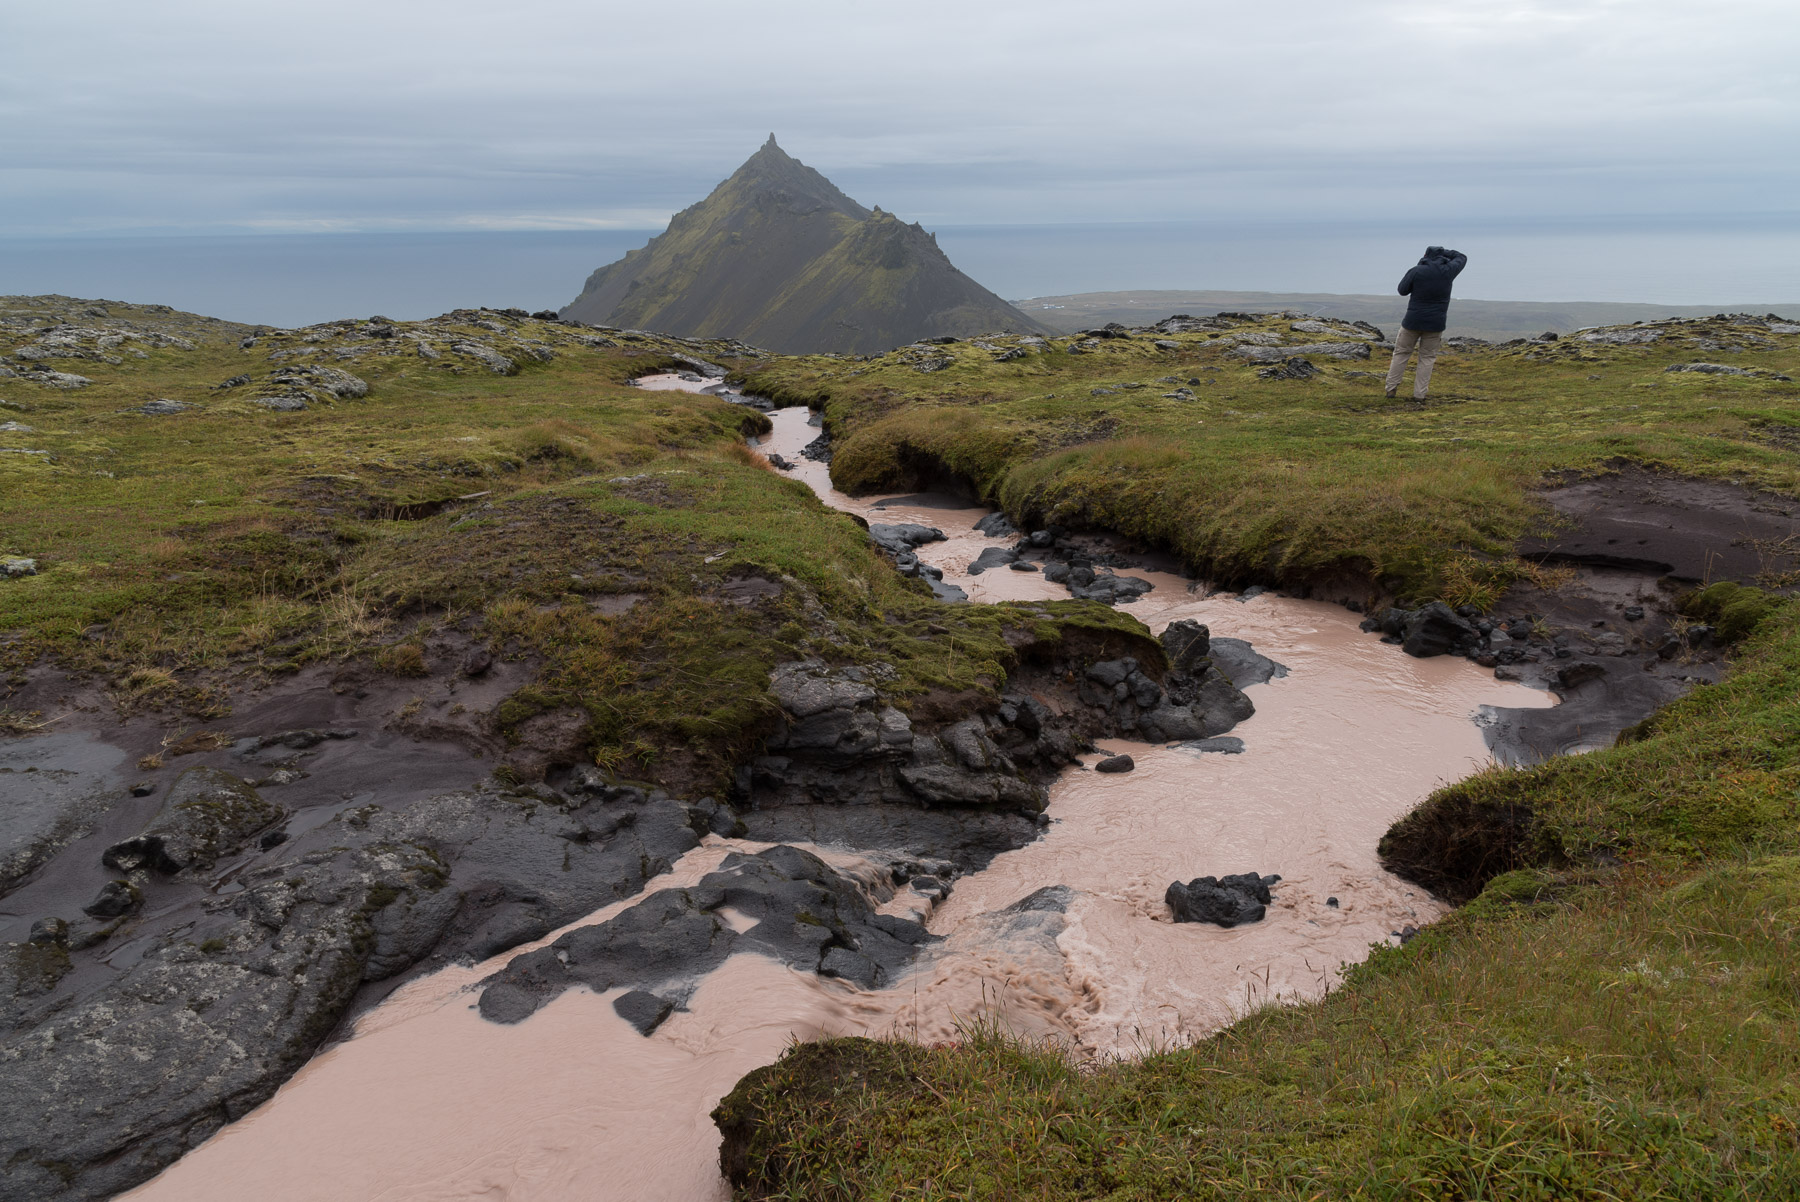
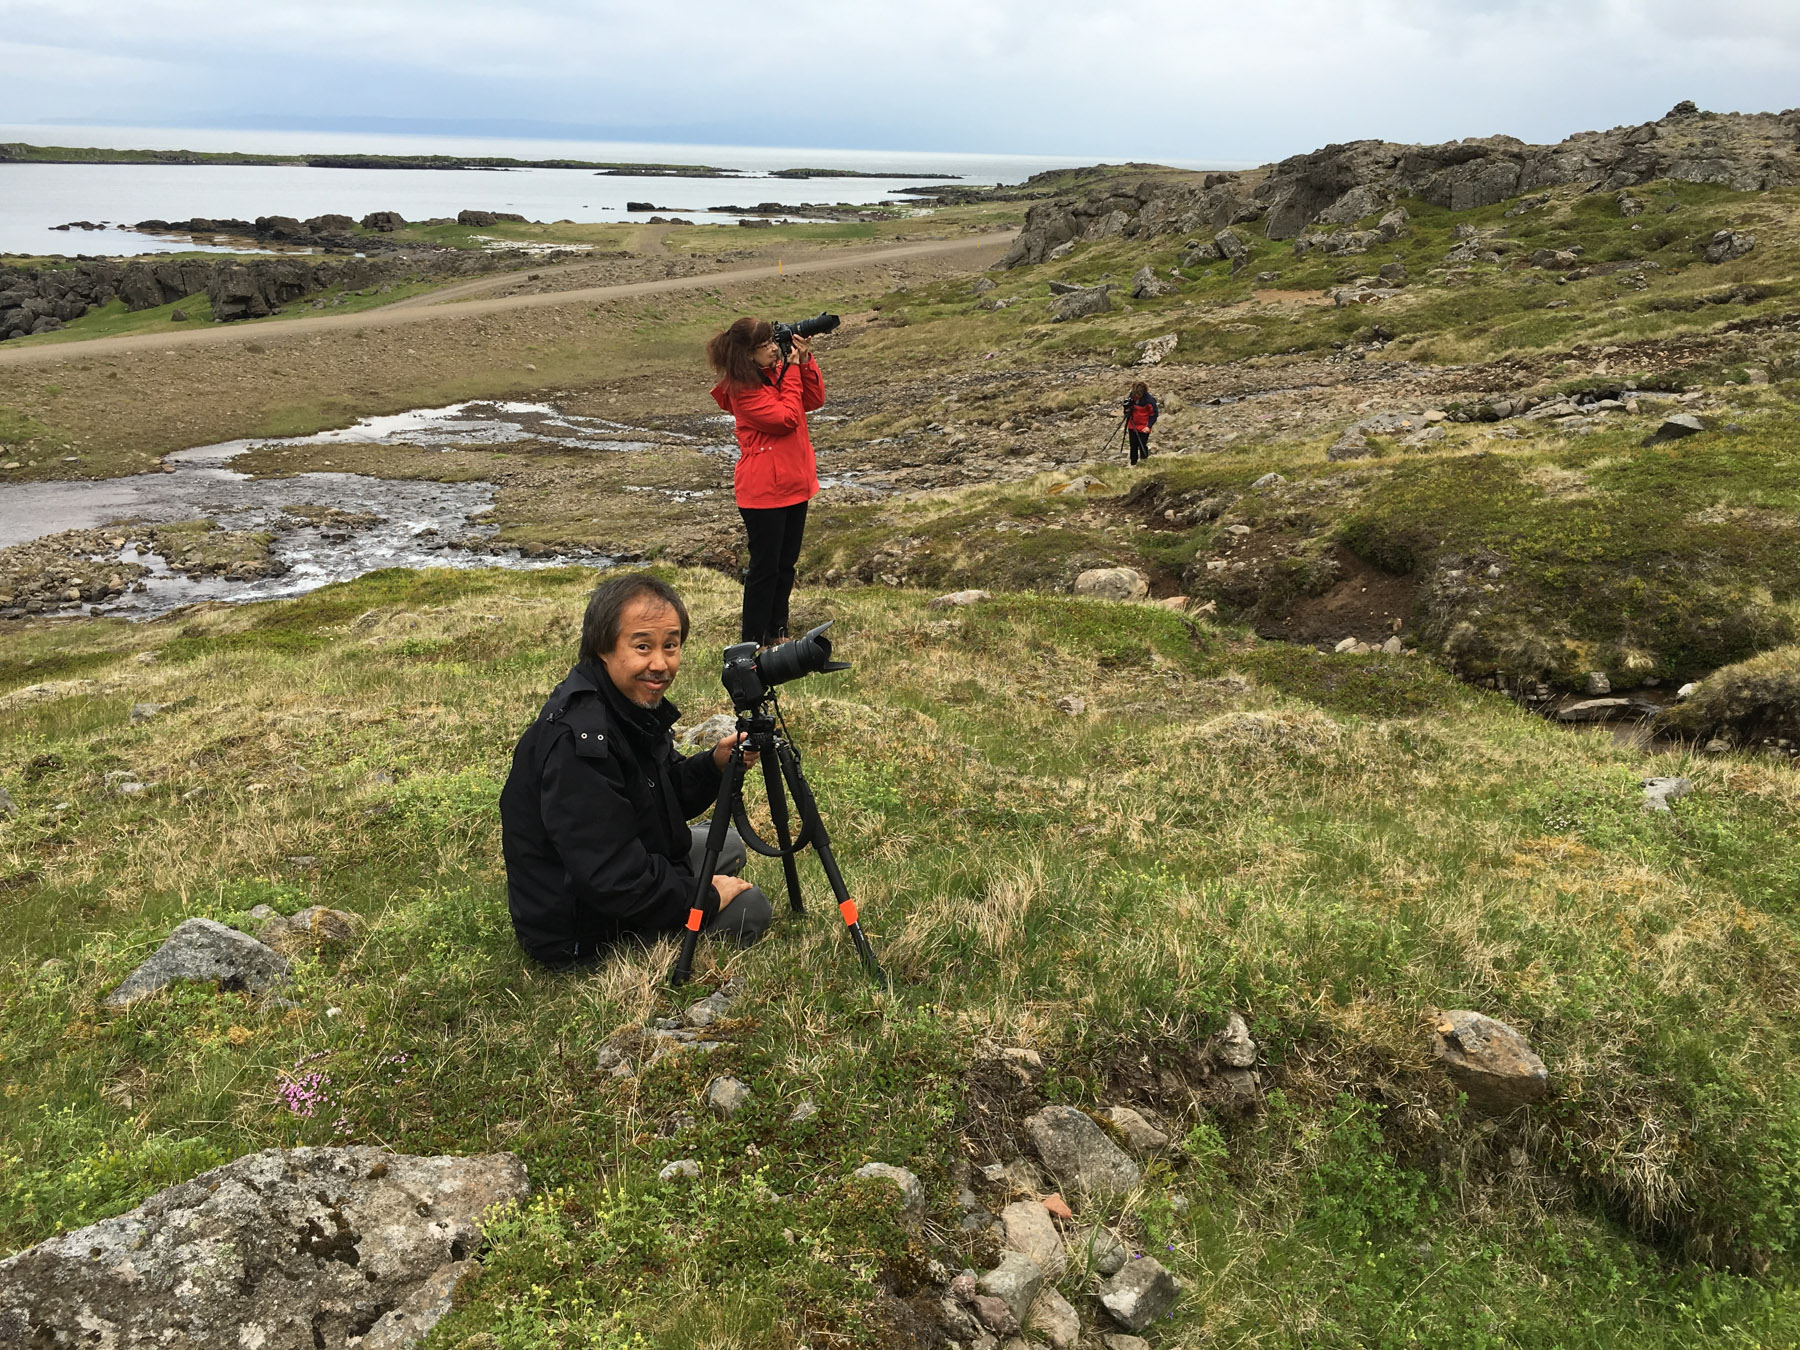
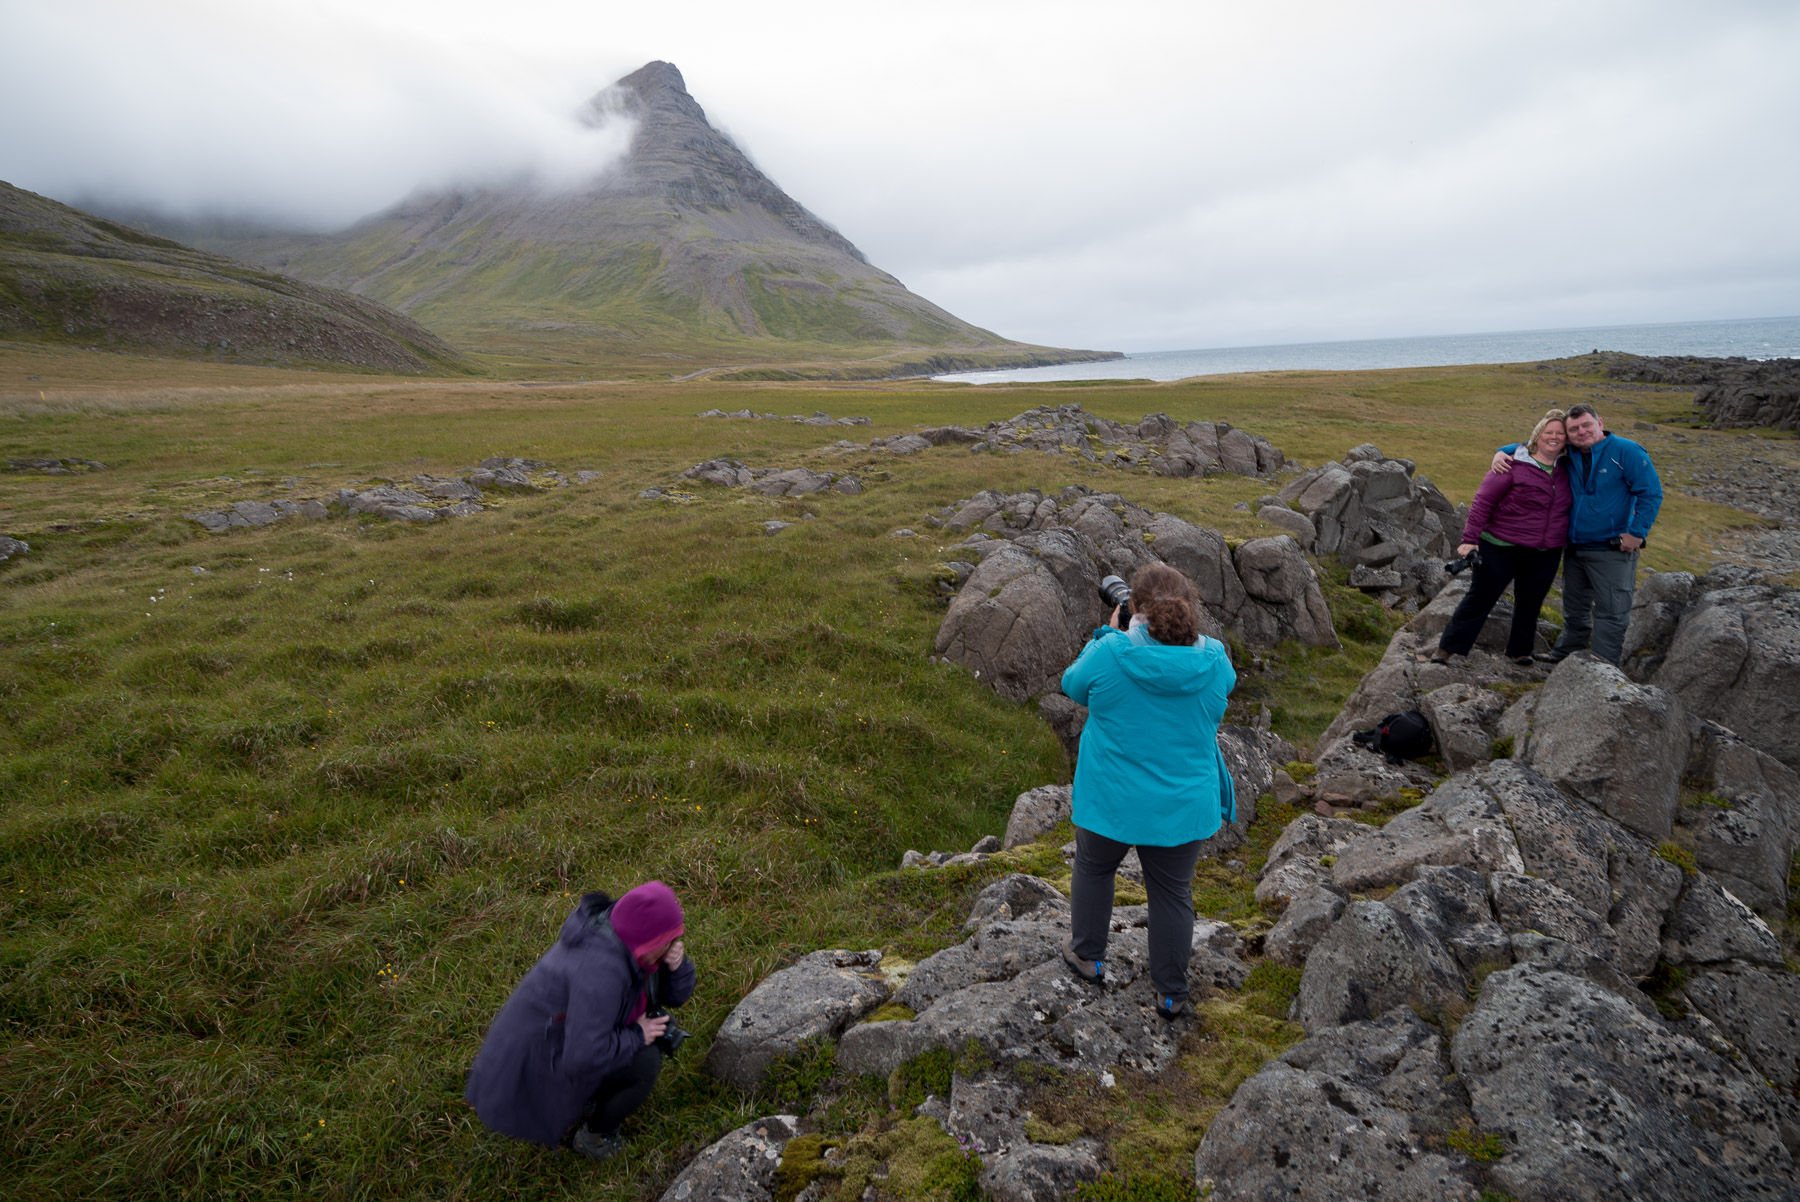
Gabe and I led National Parks at Night’s first international trip, to the Westfjords of Iceland at the very end of August and beginning of September. We chose the Westfjords because it is the least visited part of the country, and we chose to go at the end of their short summer because of the possibility of seeing the northern lights without having to suffer the dead of winter.

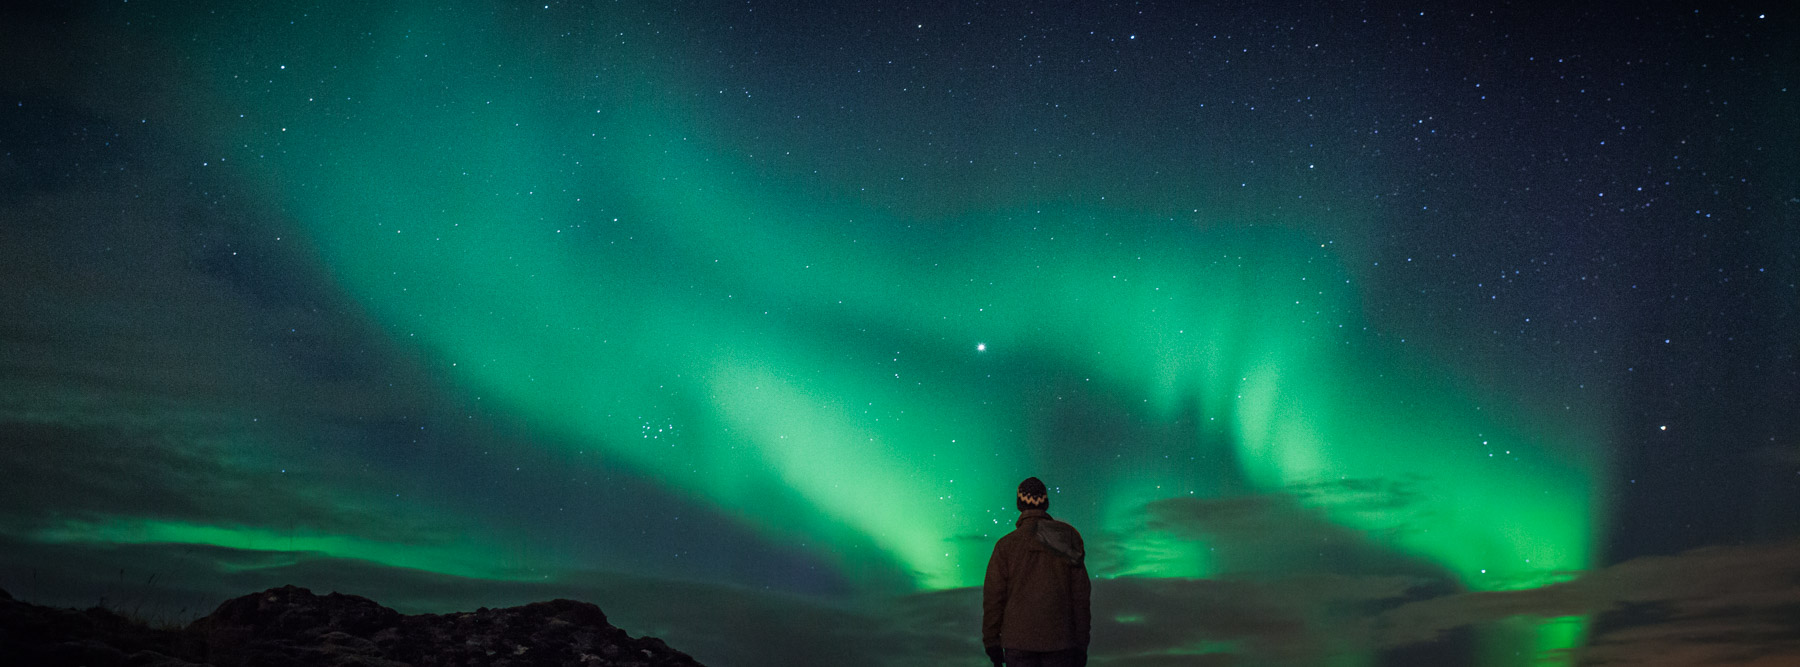
I think the group would tell you that it was worth every bit of effort to get to that far northwestern corner of the tiny island nation in the North Atlantic. We were fortunate too in that auroras graced us with their amazing presence on multiple nights, including one night when the entire sky glowed green for hours on end. We had chosen a location with panoramic views in all directions to photograph, because at 64 degrees north latitude, an aurora can appear anywhere in the sky––and it did! The lights were so ubiquitous and long-lasting that Gabe even made a series of individual “aurora portraits” of the entire group (see our “group photo”collage, above).

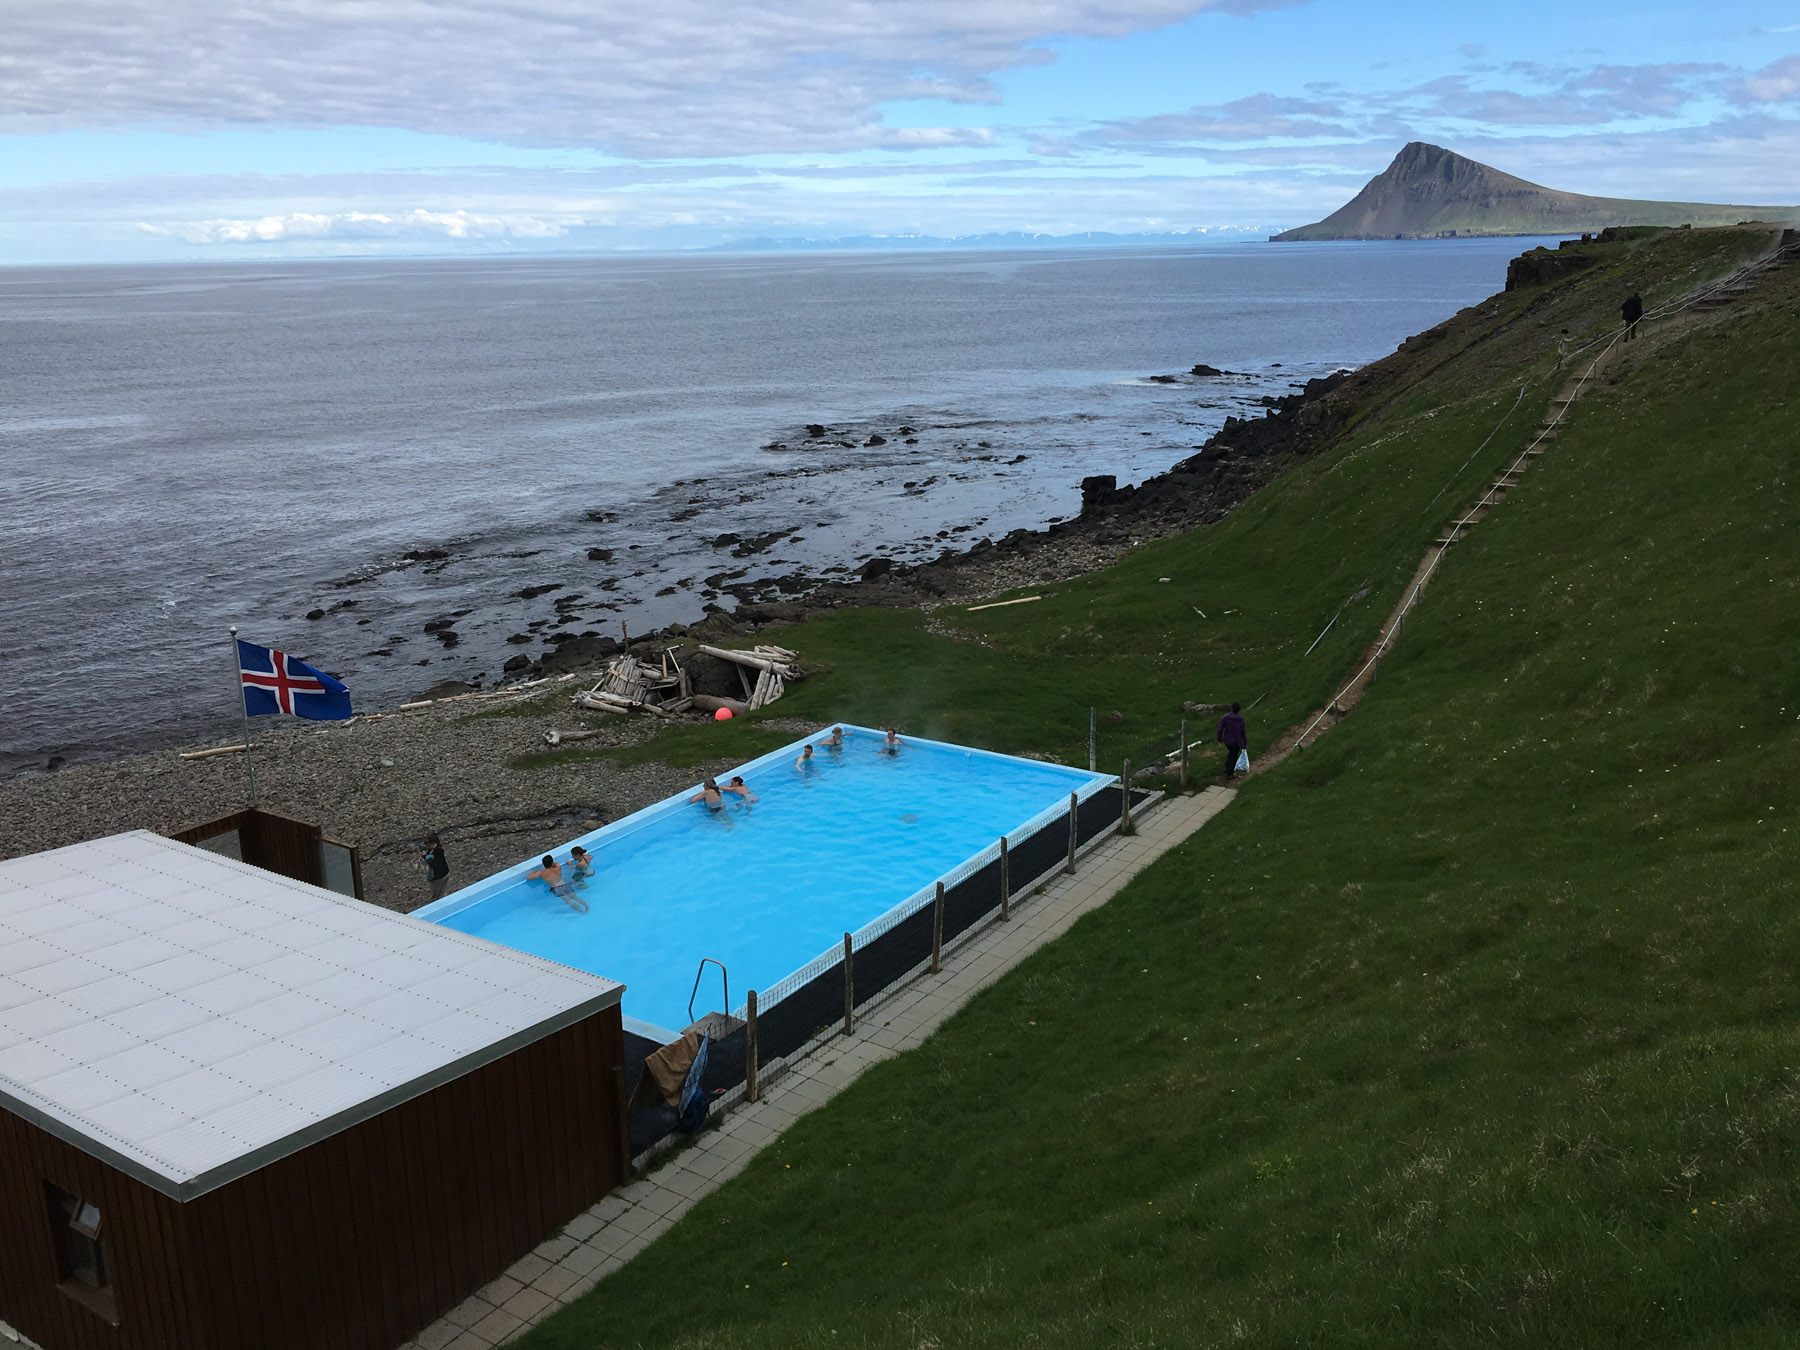
It was unanimous that Djupavik was the group’s favorite location, and it’s ours too. The site of a former herring processing factory, Djupavik was converted into a small hotel in the late 1970s by a couple from Reykjavik with a unique vision, and is now lovingly run by their son-in-law Magnus. There’s little doubt that we’ll be back.

Note: Speaking of going back, we have a few spots remaining in our upcoming March trip to Iceland, which will take us along the south coast to see both some of the best-known waterfalls in the country, and also to some off-the-beaten-path locations that are just as amazing for photography.

Olympic National Park

September 17-22, 2017 and September 24-29, 2017

By Chris Nicholson

If you’ve ever heard me talk about Olympic National Park, then you know it’s one of my favorite places. So it could probably go unsaid that I was very much looking forward to leading a workshop there—to share the experience of Olympic with my co-instructor Matt and with the 18 amazing photographers attending the two back-to-back workshops, many of whom had never been there.
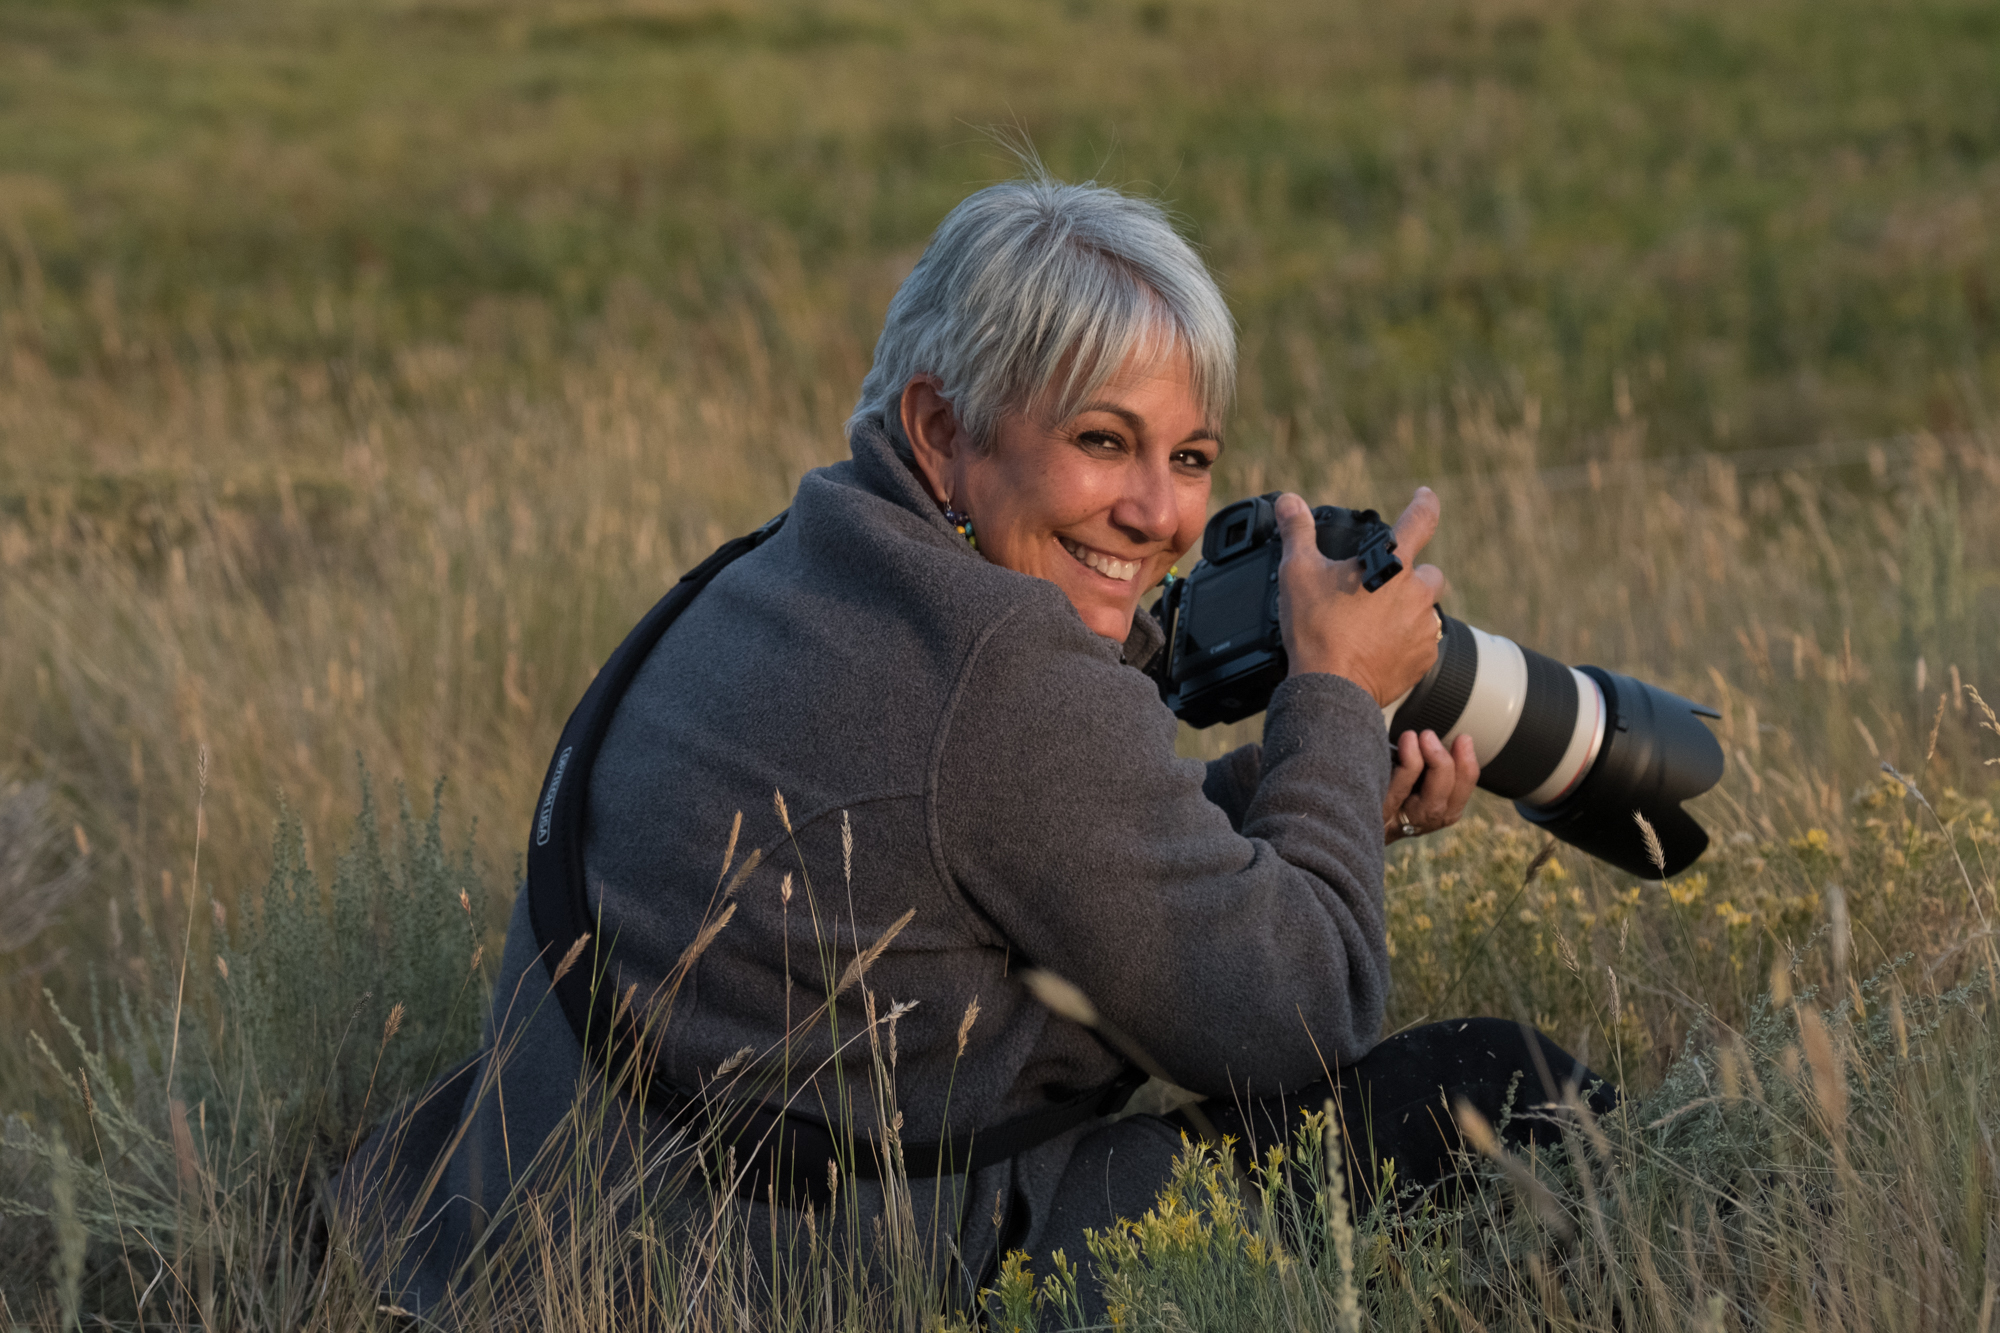
The two workshops were similar, but also varied a bit, as weather and other factors often allow for a fair amount of serendipity.
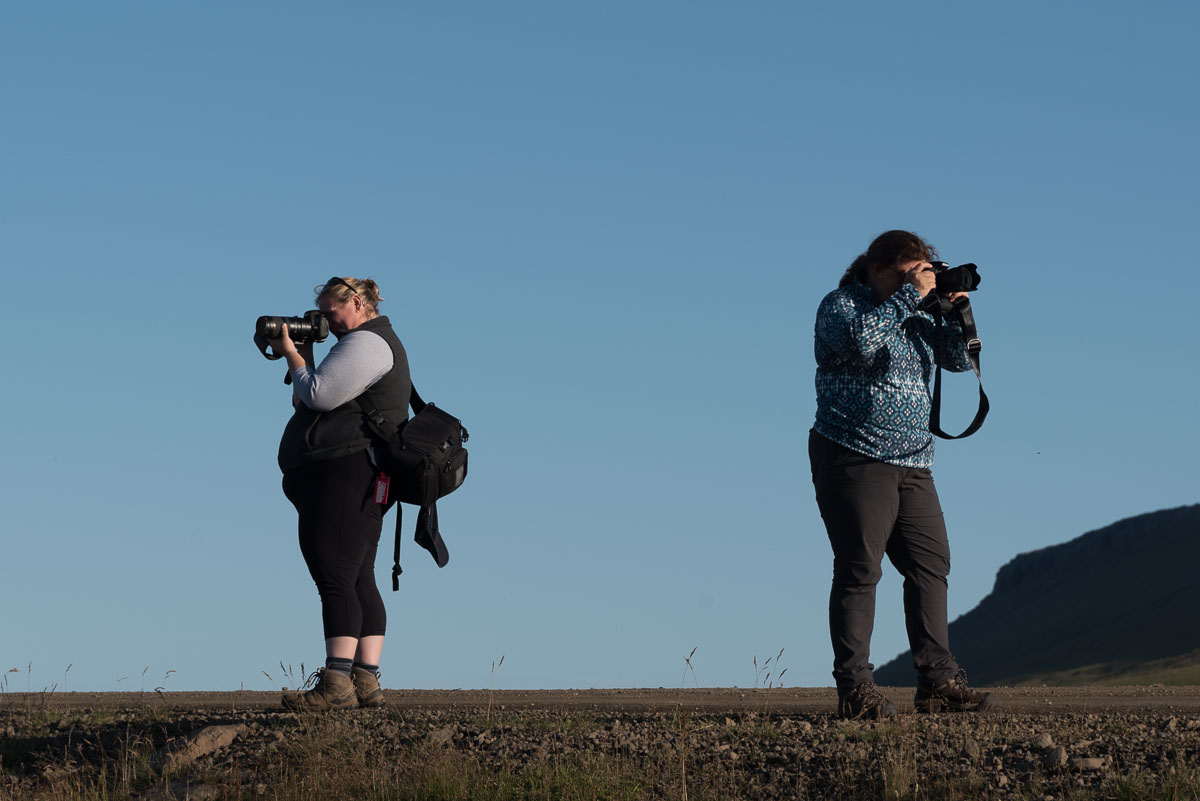
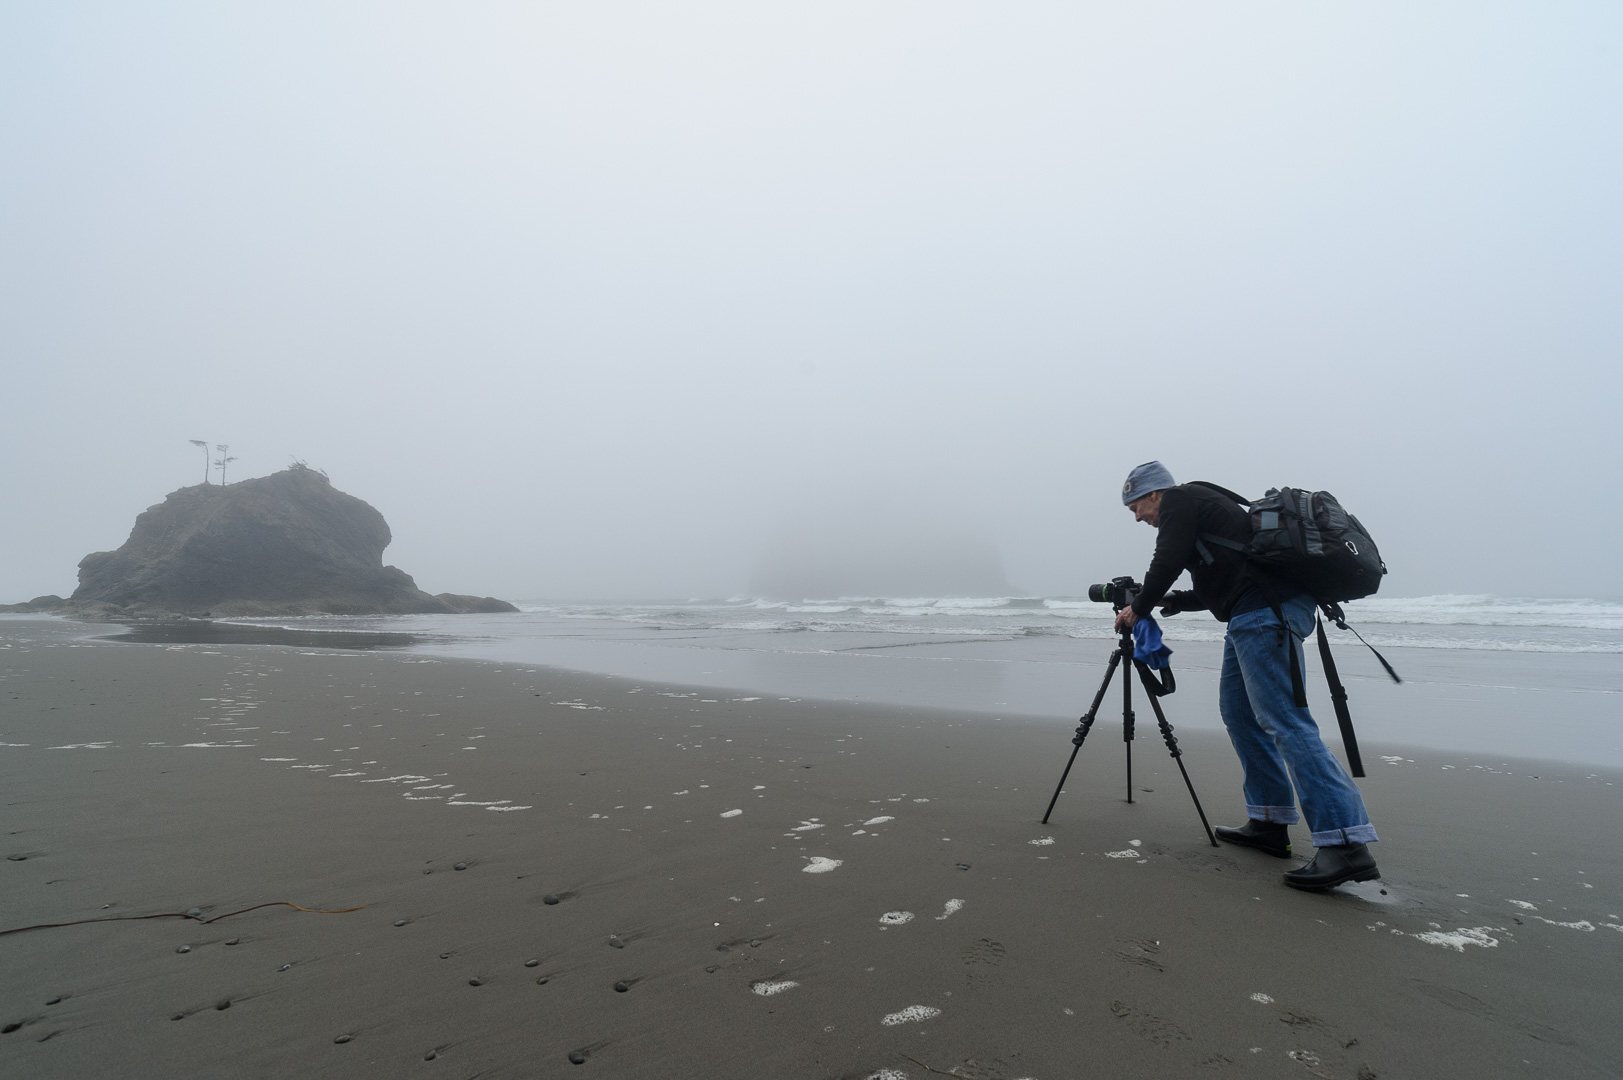
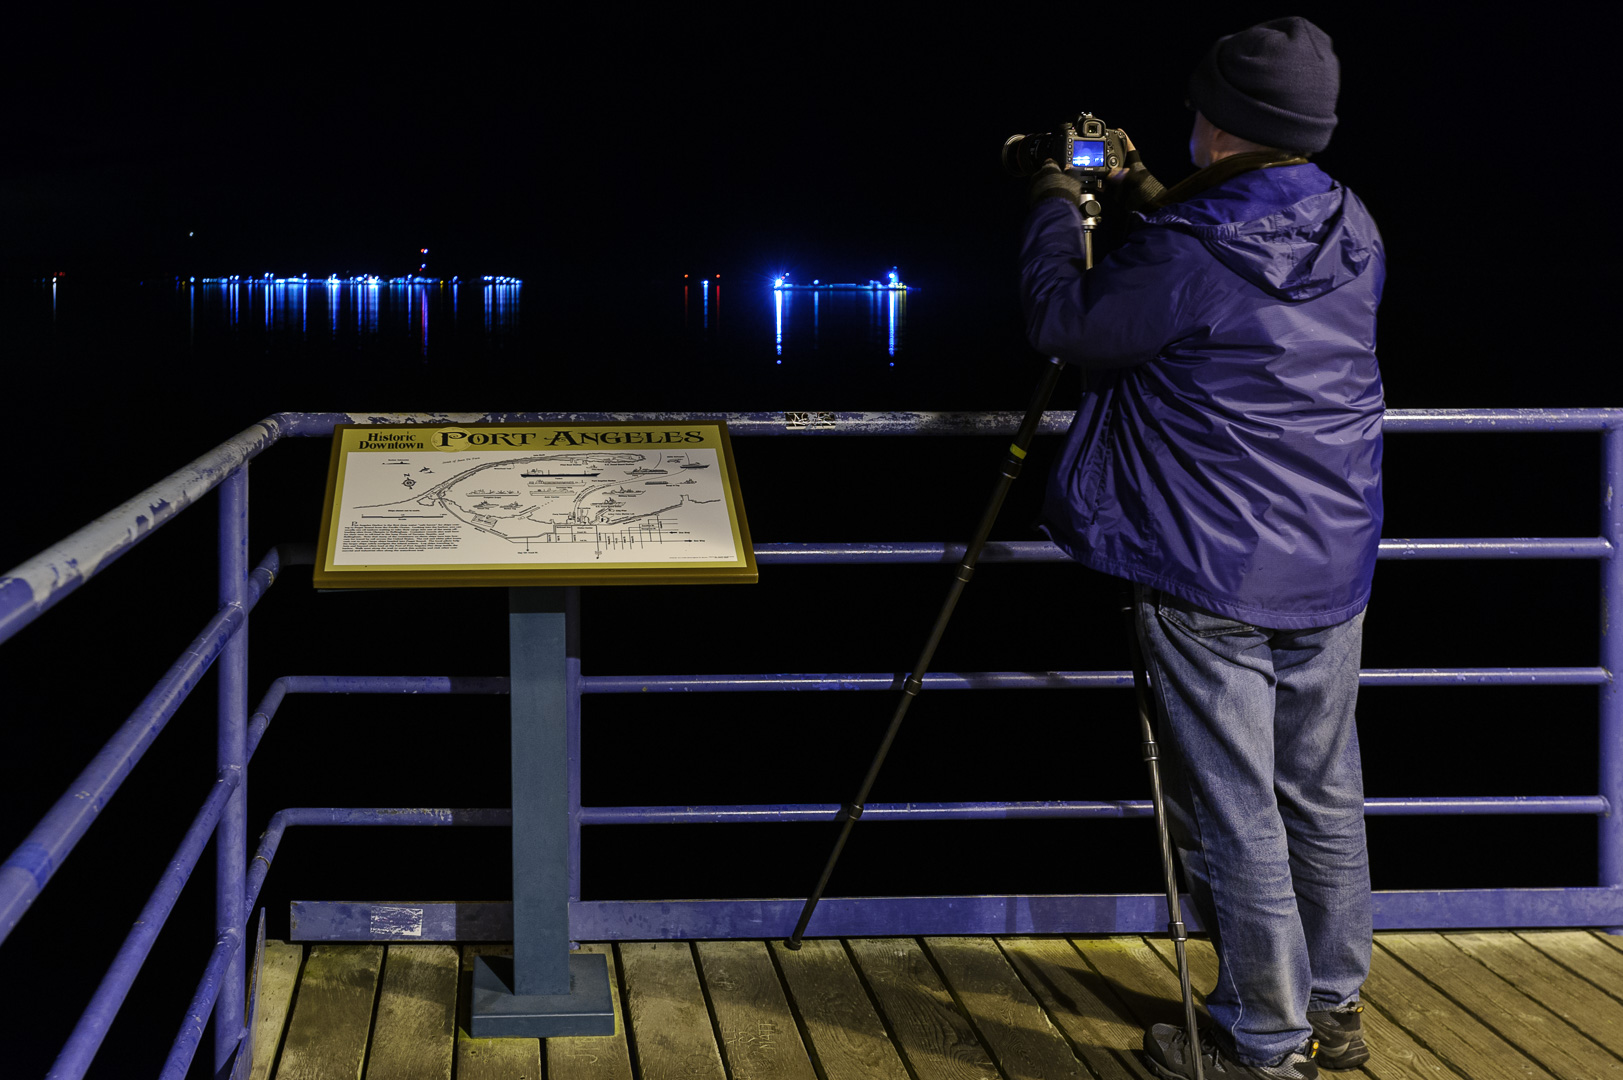
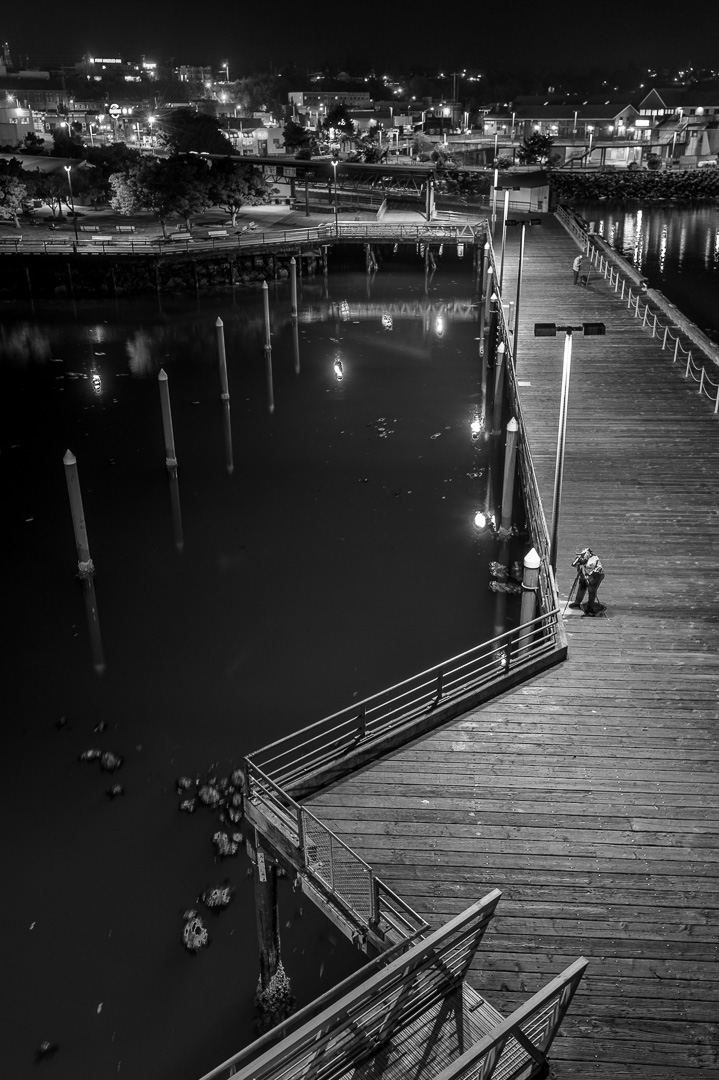
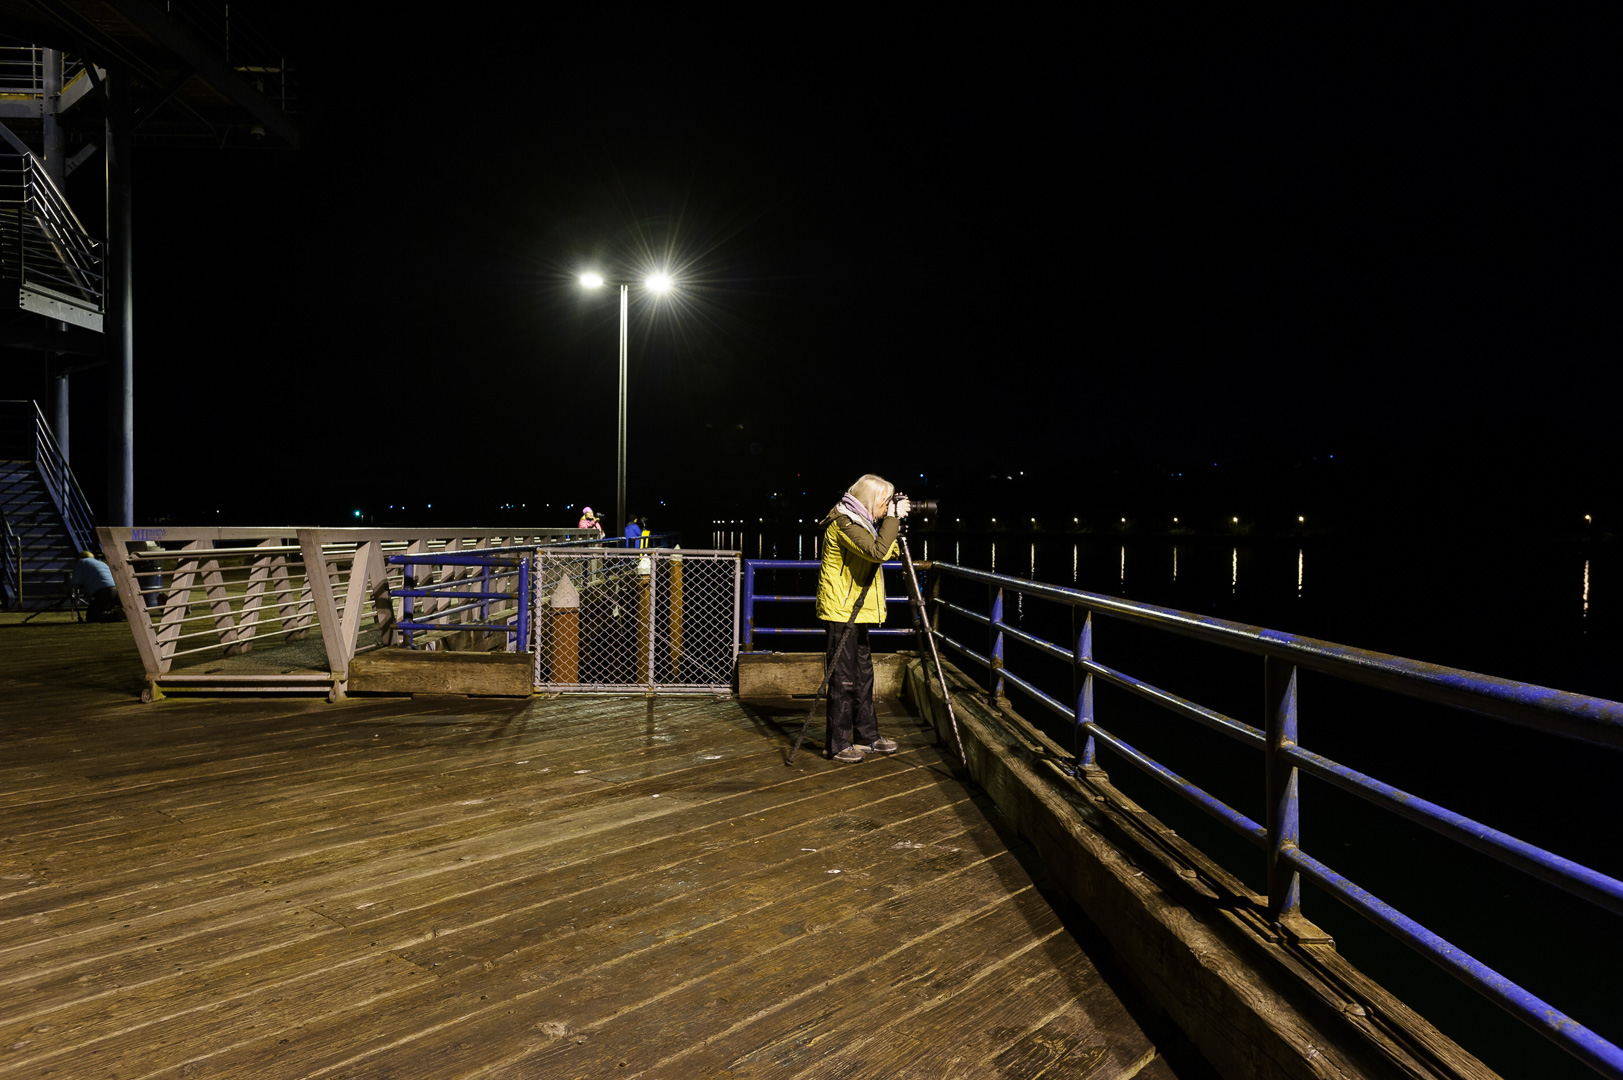
During the first week we started at Lake Crescent and later Elwah River Valley (which just a few years ago was a lake, until the century-old dam was dismantled to restore historic salmon runs). At the latter, we were able to use information gathered during our daytime scouting with PhotoPills to plan on shooting the Milky Way hovering over the valley with the river leading right to it. It was an amazing scene! On the second night, fog and snow greeted us at Hurricane Ridge, and we used the conditions to create some moody light painting. Later we moved down to sea level, where we shot for the rest of the night at the Port Angeles waterfront.

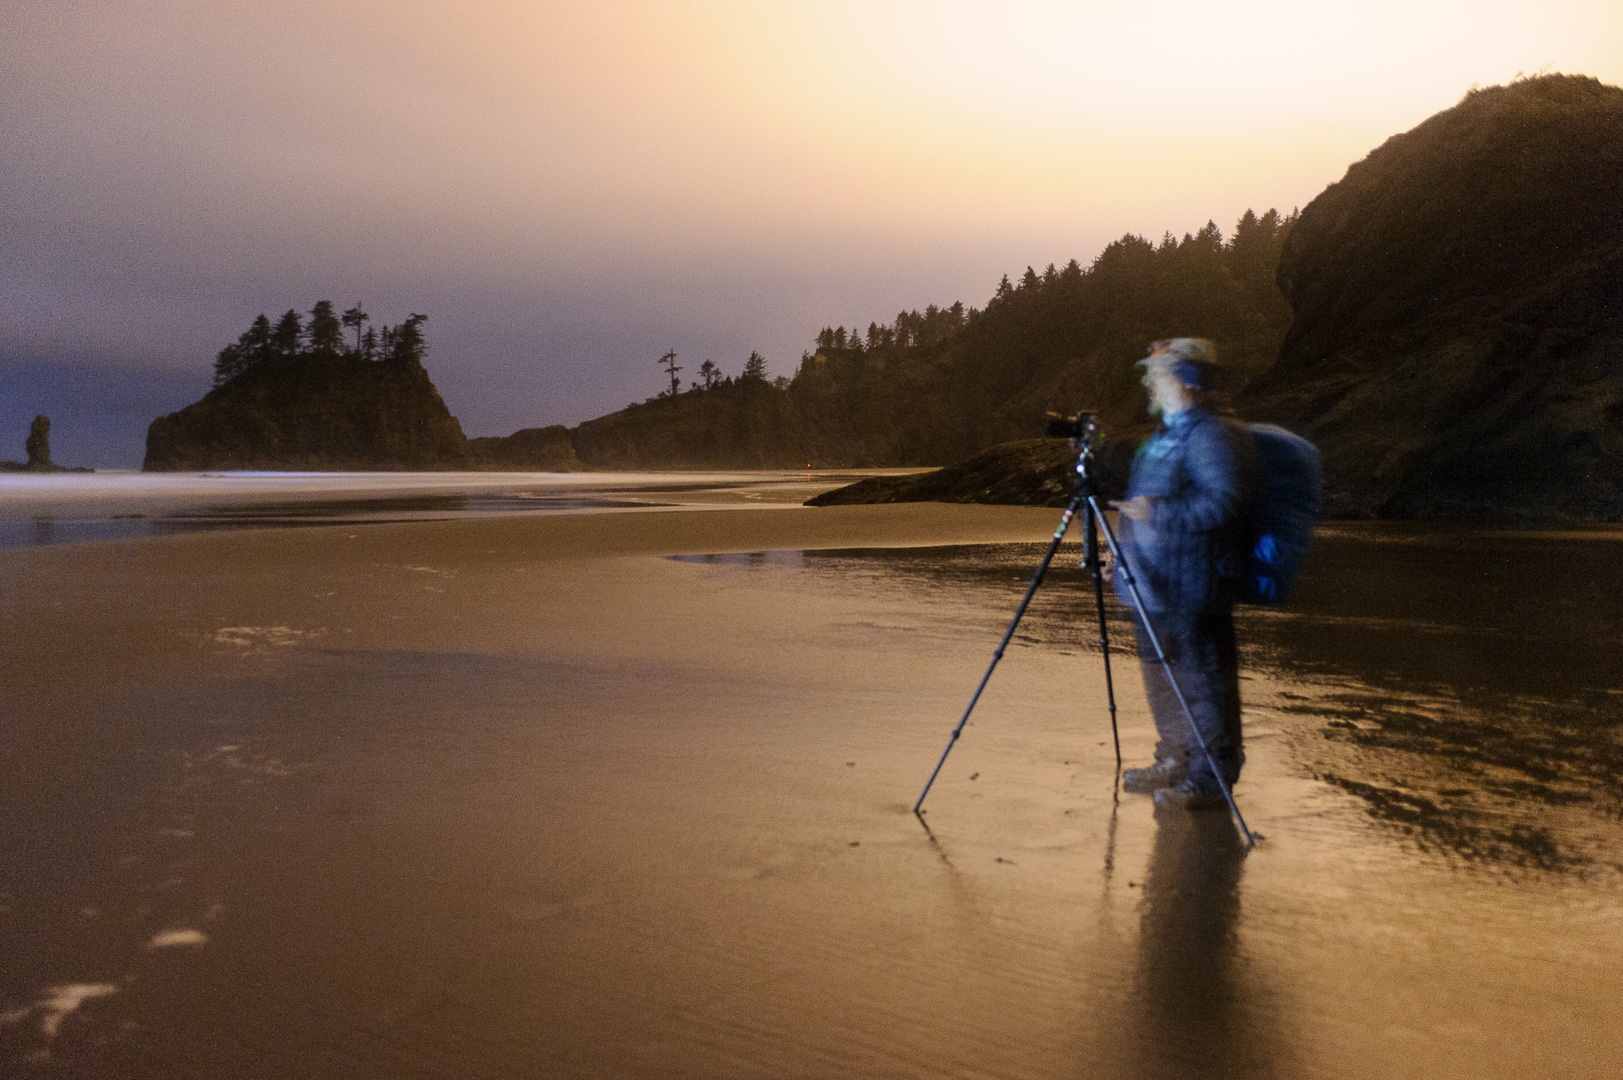
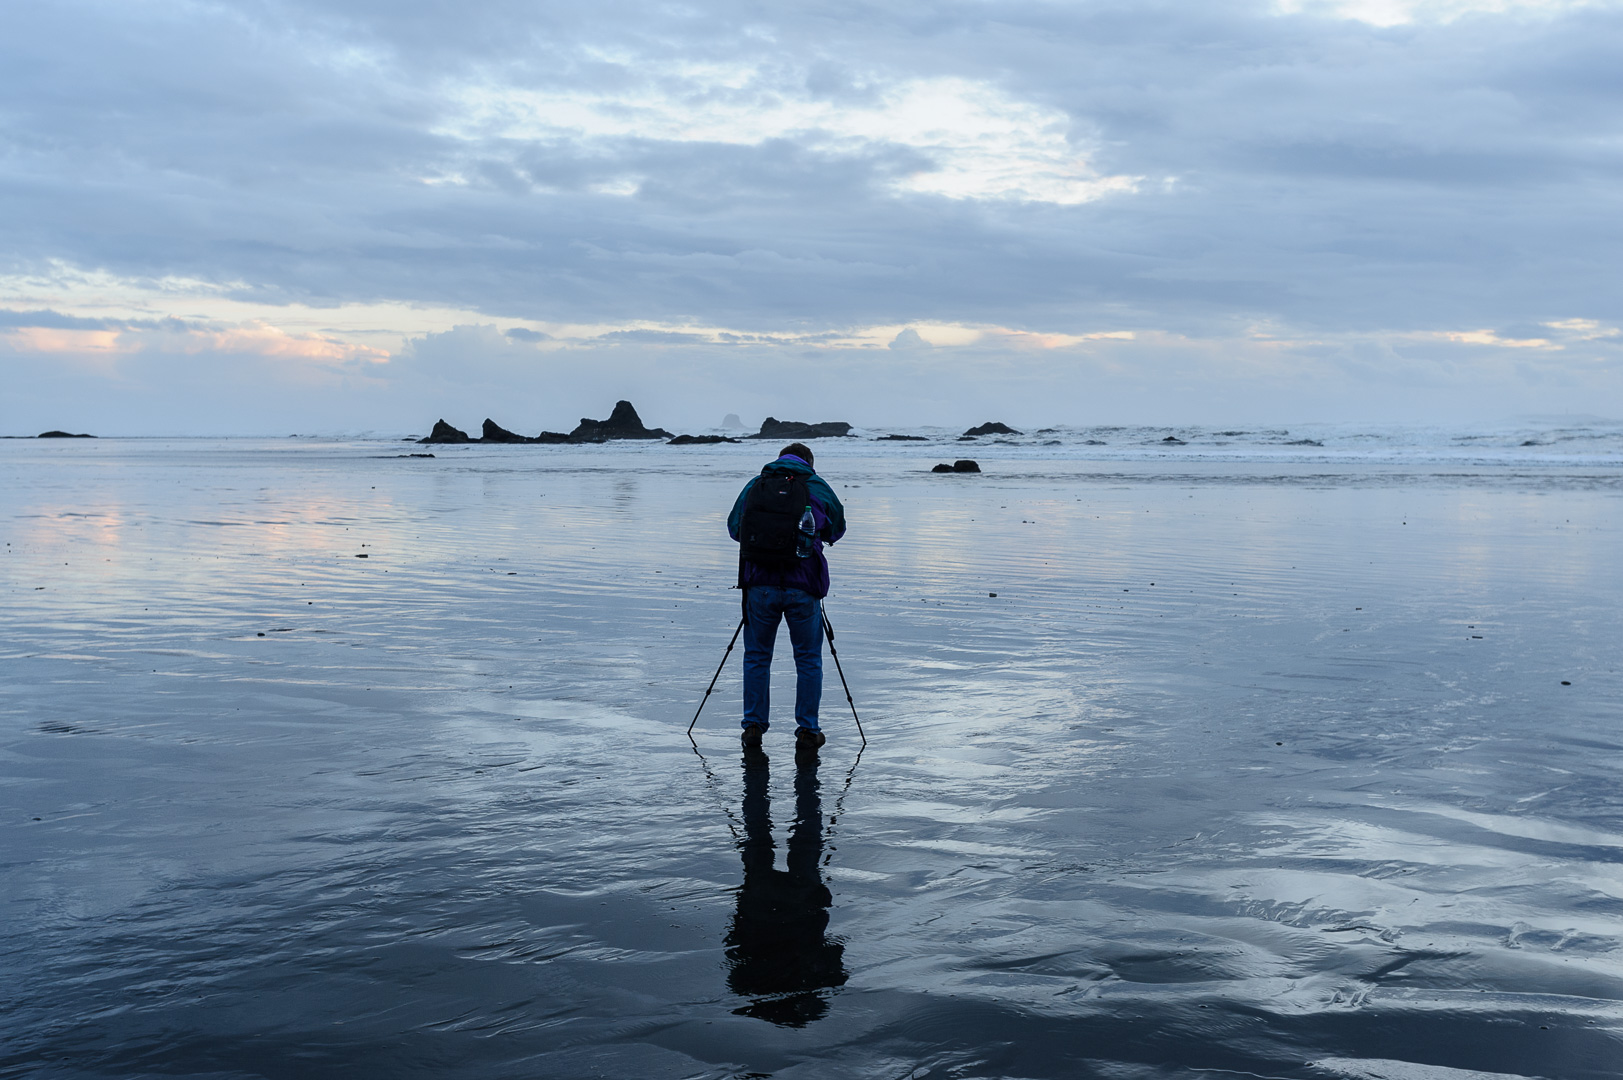
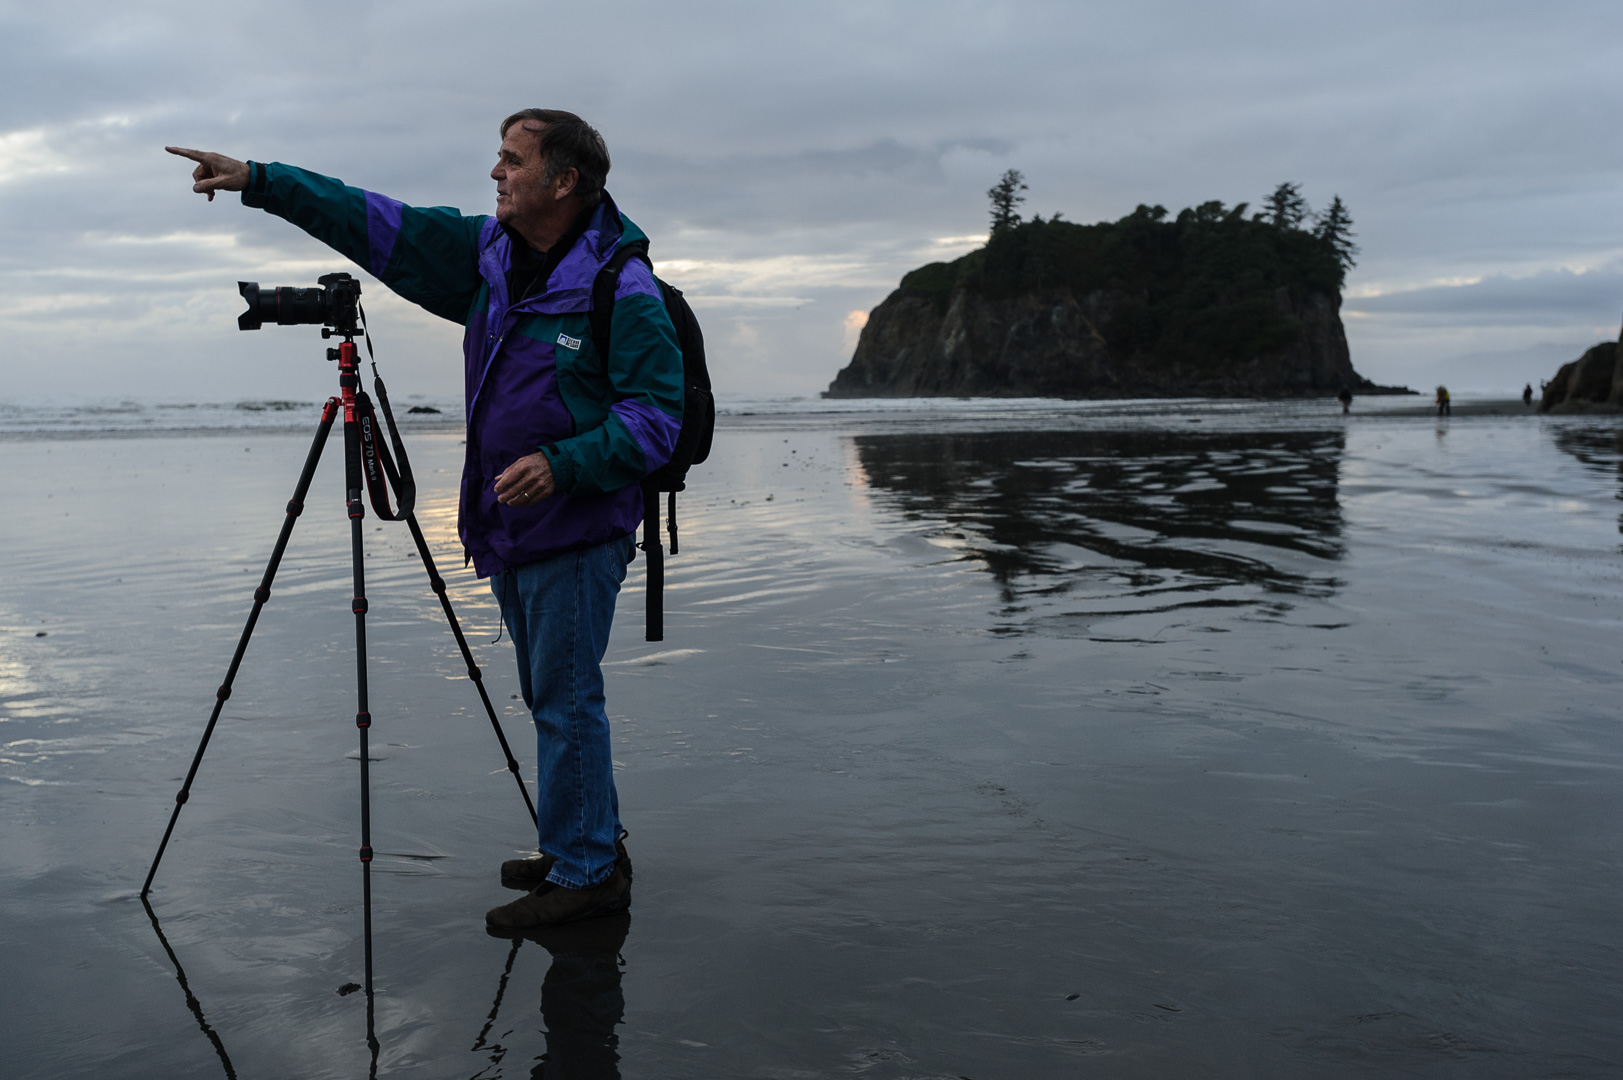
Then we headed out to the coast to shoot at Ruby Beach on the third night, the Hoh Rain Forest (and Ruby again, as the stars returned) on the fourth, and ended the workshop under beautiful skies at Second Beach.

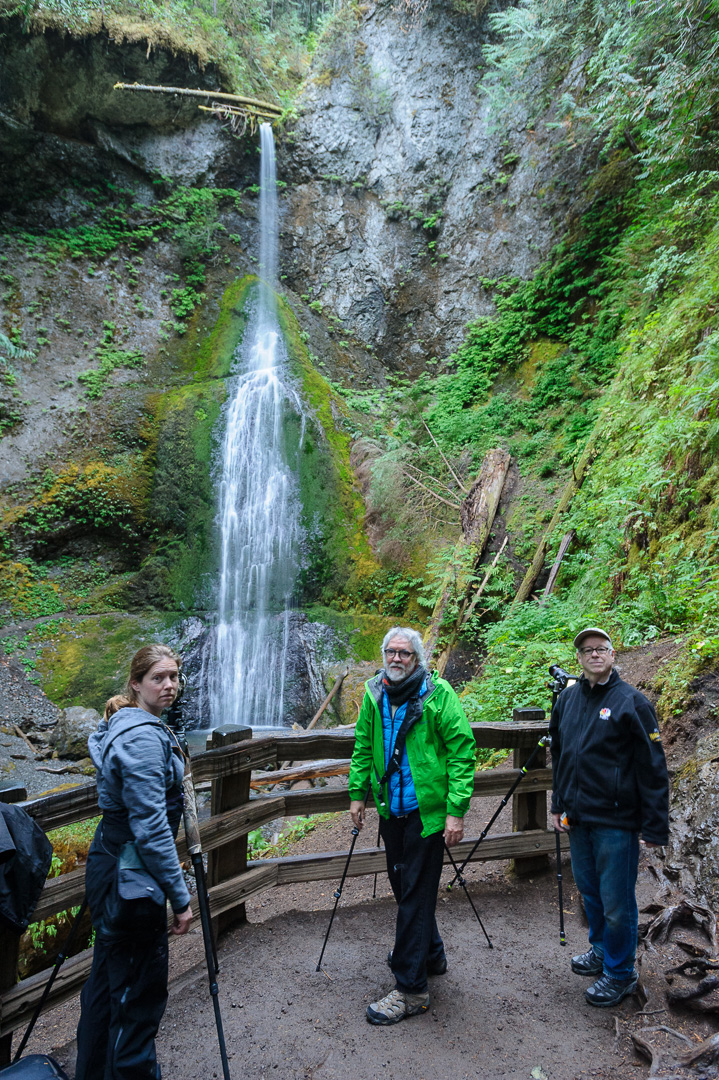
The second week we changed a few locations. We started at Hurricane Ridge, and on the second night we hiked to Marymere Falls, where we light painted the 90-foot waterfall with a pair of Luxli Viola LED panel lights, with Matt changing the intensity and color temperature remotely via his iPhone. On the way out through the new-growth rainforest, everyone stopped at different points to photograph the majestic trees, before ending the night on the shores of Lake Crescent.

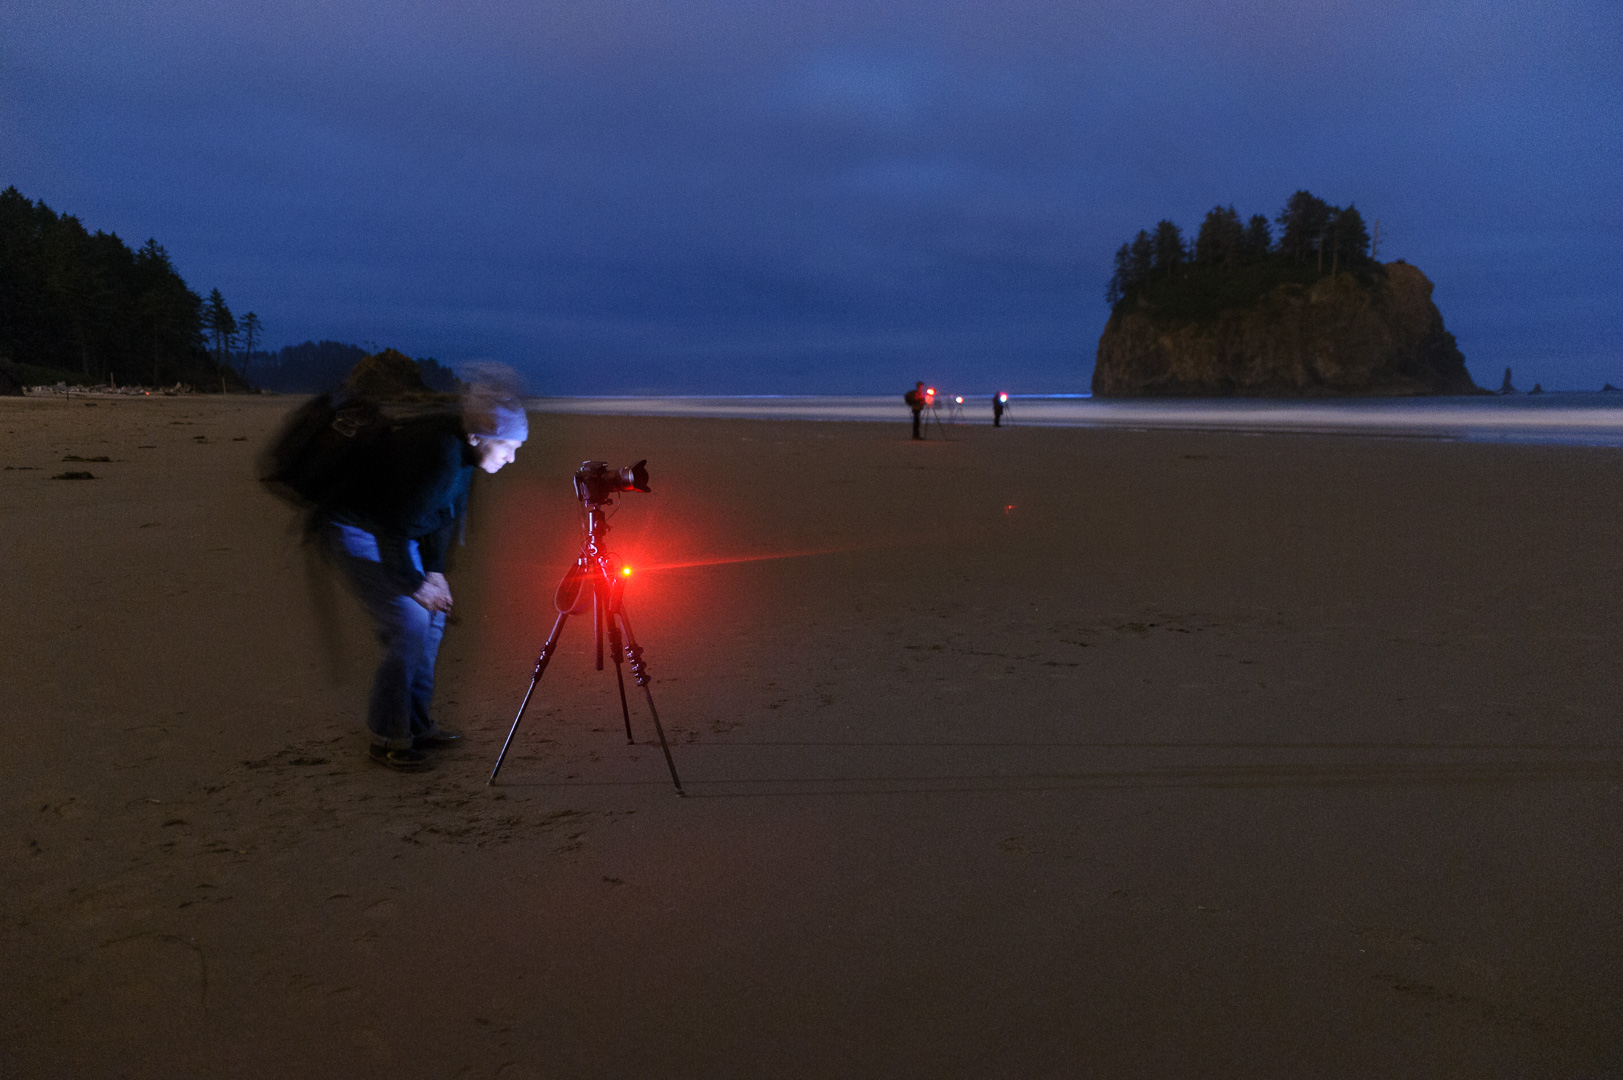
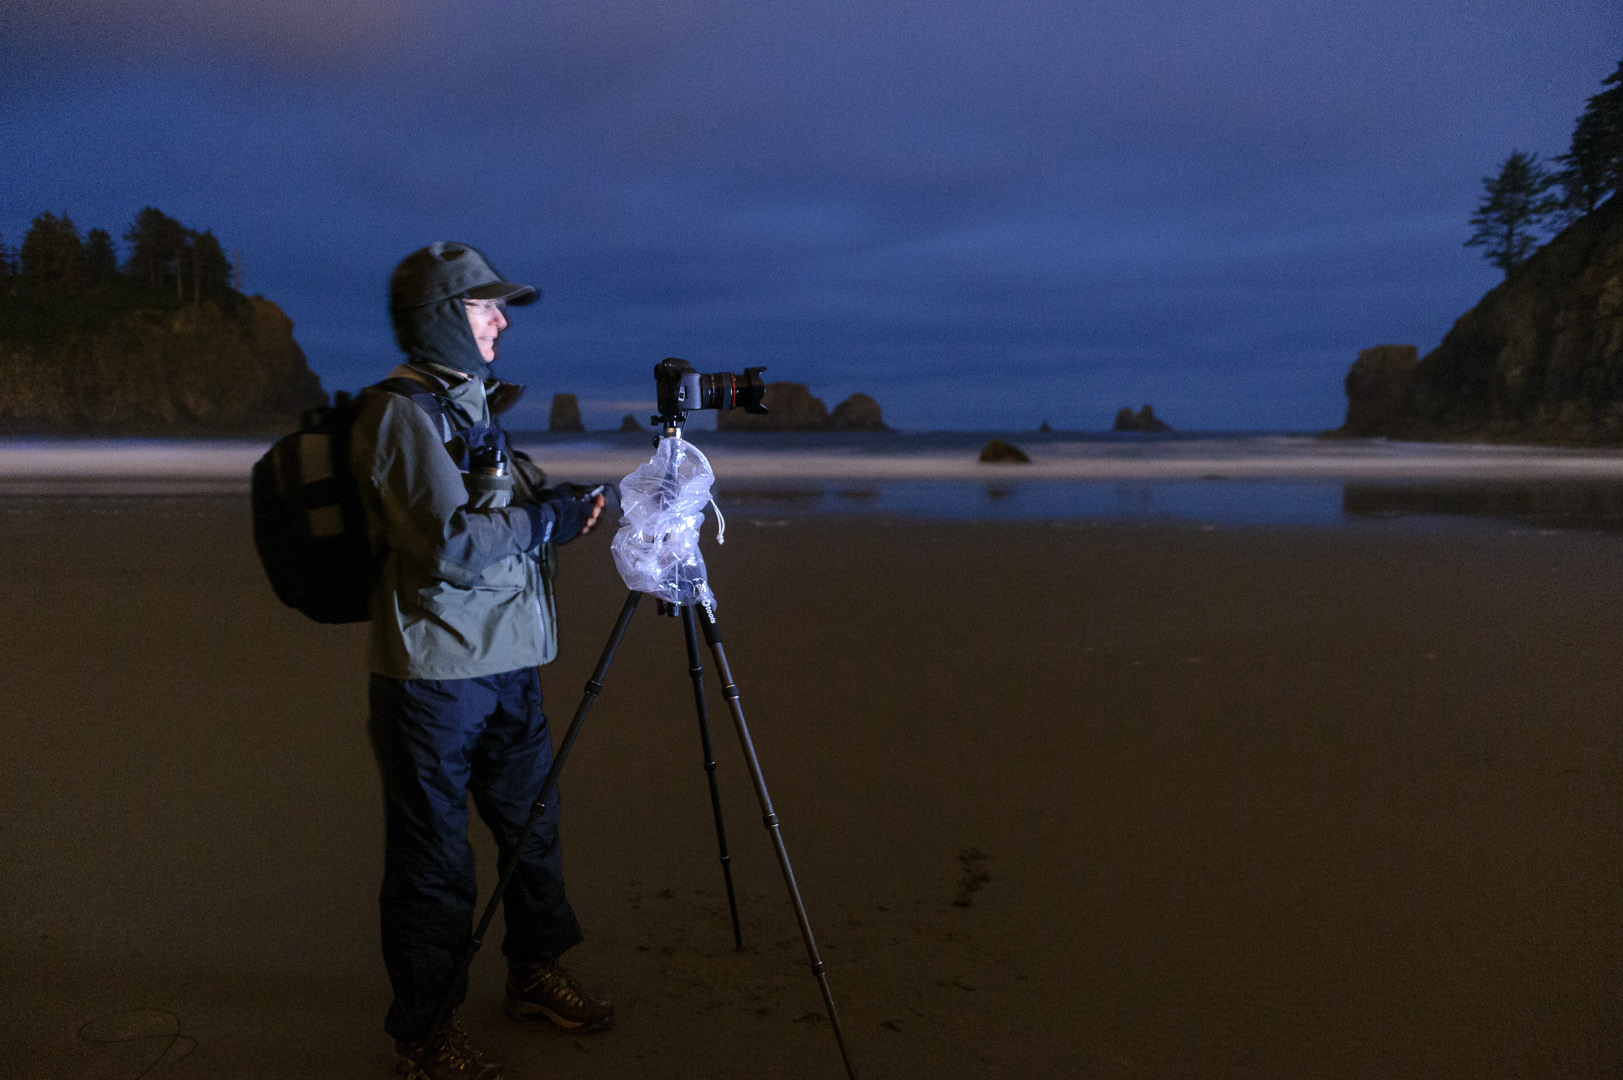
Once on the coast, we started with the hike along Rialto Beach to shoot the entire third night near and at Hole-in-the-Wall. The fourth night we shot at the Hoh Rain Forest and Ruby Beach again, where we got the amazing treat of seeing and photographing an aurora over the sea stacks and coastal cliffs, as bioluminescent plankton lit up the waves beneath. Then we once again ended the workshop at Second Beach, albeit this time in moody fog and mist.

During both workshops we focused primarily on light painting, Milky Way and star trails, and Matt did a fair amount of side instruction for participants who wanted to learn about night portraiture. Over the course of both workshops, Matt and I got to spend 17 days in this amazing place (which we talked about in a video we released shortly afterward). There were a variety of experiences that we won’t soon forget—a sentiment I hope and trust that the attendees share.

Eastern Sierra

October 30-November 4, 2017

By Lance Keimig

Tim and I led the last National Parks at Night workshop of 2017, to California’s Eastern Sierra. Highway 395 stretches across the eastern side of the Sierra Nevada mountains, and passes through some of the best night photography locations in the U.S. This workshop focused on the southern end of the route, where we photographed at the Alabama Hills for three nights, and the Owen’s Valley Radio Observatory and Laws Railroad Museum for one night each. We had hoped to visit the Ancient Bristlecone Pine Forest too, but with temperatures in the single digits at night, the group’s sentiment was a resounding “No!” (A few members of the group also stayed an extra night and followed the Bishop petroglyph trail through the BLM-managed Volcanic Tablelands.)

The arches and rock formations of the Alabama Hills are challenging to photograph and light paint, but our group took to it with aplomb. Lighting the arches well requires some scrambling over steep and uneven surfaces, and in the case of Lathe Arch, wedging yourself and your camera into a narrow crevice to get low enough to have a good angle.

We chose to hold this workshop around the full moon because of the challenging nature of the topography, and because we wanted to emphasize light painting. With so much emphasis on Milky Way photography these days, it was great to get back to our night photography roots and work in bright moonlight for a change.

The sheer scale and number of radio telescopes at the observatory was a treat for all to experience. The Cal Tech staff was generous in giving us access to their facility, and we made the most of it.

Even though we normally scout each location in person and try to plan every detail of our workshops before the attendees arrive, sometimes opportunities appear that are too good to pass up. Such was the case with our surprise visit to the Laws Museum, a place that was unknown to both Tim and I until the signal tower caught our eye as we were passing by on the way to check out the petroglyphs.

Considering the richness and diversity of both the natural and historical sites in the region, a workshop along the northern part of the Highway 395 corridor is sure to follow someday.

Wrapping Up

Last, but always first in our hearts, is a big thank you to the most important people in our program—our participants. The energy and enthusiasm these photographers brought to the workshops cannot be paralleled.

We were thrilled to work with everyone who attended our workshops in 2017, and look forward to all the new places where we’re learning and shooting in 2018. Browse our new adventures here and grab a seat before they sell out.

BenQ sent a SW2700PT 27-inch display to some workshops this year, including Cuyahoga Valley National Park in Ohio (above), for attendees to use for image editing and review.

Secondly, we’d like to thank all our brand partners who helped make the experience that much better for the workshop attendees:

  • Nikon sent some of the best photography gear ever made for students to use for free. The kit they shipped to each workshop included a wide range of cameras, including the D5, D850, D810A, D810, D750 and D500, plus a huge selection of lenses, including the awesome 14-24mm f/2.8, 20mm f/1.8, 28mm f/1.4 and more!
  • Coast gave away HP1 flashlights at our Passport Series events, provided a grand assortment of free loaner lights at all our workshops, and 30 percent discounts for all our participants and followers. (Want to take advantage of that last one? Use code “parksatnight” at www.coastportland.com.)
  • B&H Photo sent along loaner gear such as intervalometers, remote shutter releases and bubble levels.
  • BenQ provided projectors for presentations and the crystal-clear SW2700PT 27-inch display at two of our workshops for attendees to use while editing.
  • Light Painting Brushes provided a Deluxe Starter Kit for attendees to practice light writing.
  • X-Rite supplied an i1Display Pro to profile and calibrate anyone’s laptops and the instructors’ projectors.
  • Bay Photo provided free prints to award to attendees in random drawings, as well as a 25 percent discount to all the students.
  • Peak Design supplied a random giveaway as well, in the form of their Clutch strap.
  • Irix Lenses sent 11mm f/4 and 15mm f/2.4 Blackstone lenses to several workshops for students to borrow and love.
  • Luxli sent their brand new Viola light panels to several workshops as free loaners, prompting all five instructors and scores of students to buy them.

Finally, here’s to you, for reading, subscribing and attending. We appreciate you, and your support. Seize the night, y’all.

Matt Hill is a partner and workshop leader with National Parks at Night. See more about his photography, art, workshops and writing at MattHillArt.com. Follow Matt on Twitter Instagram Facebook.

UPCOMING WORKSHOPS FROM NATIONAL PARKS AT NIGHT